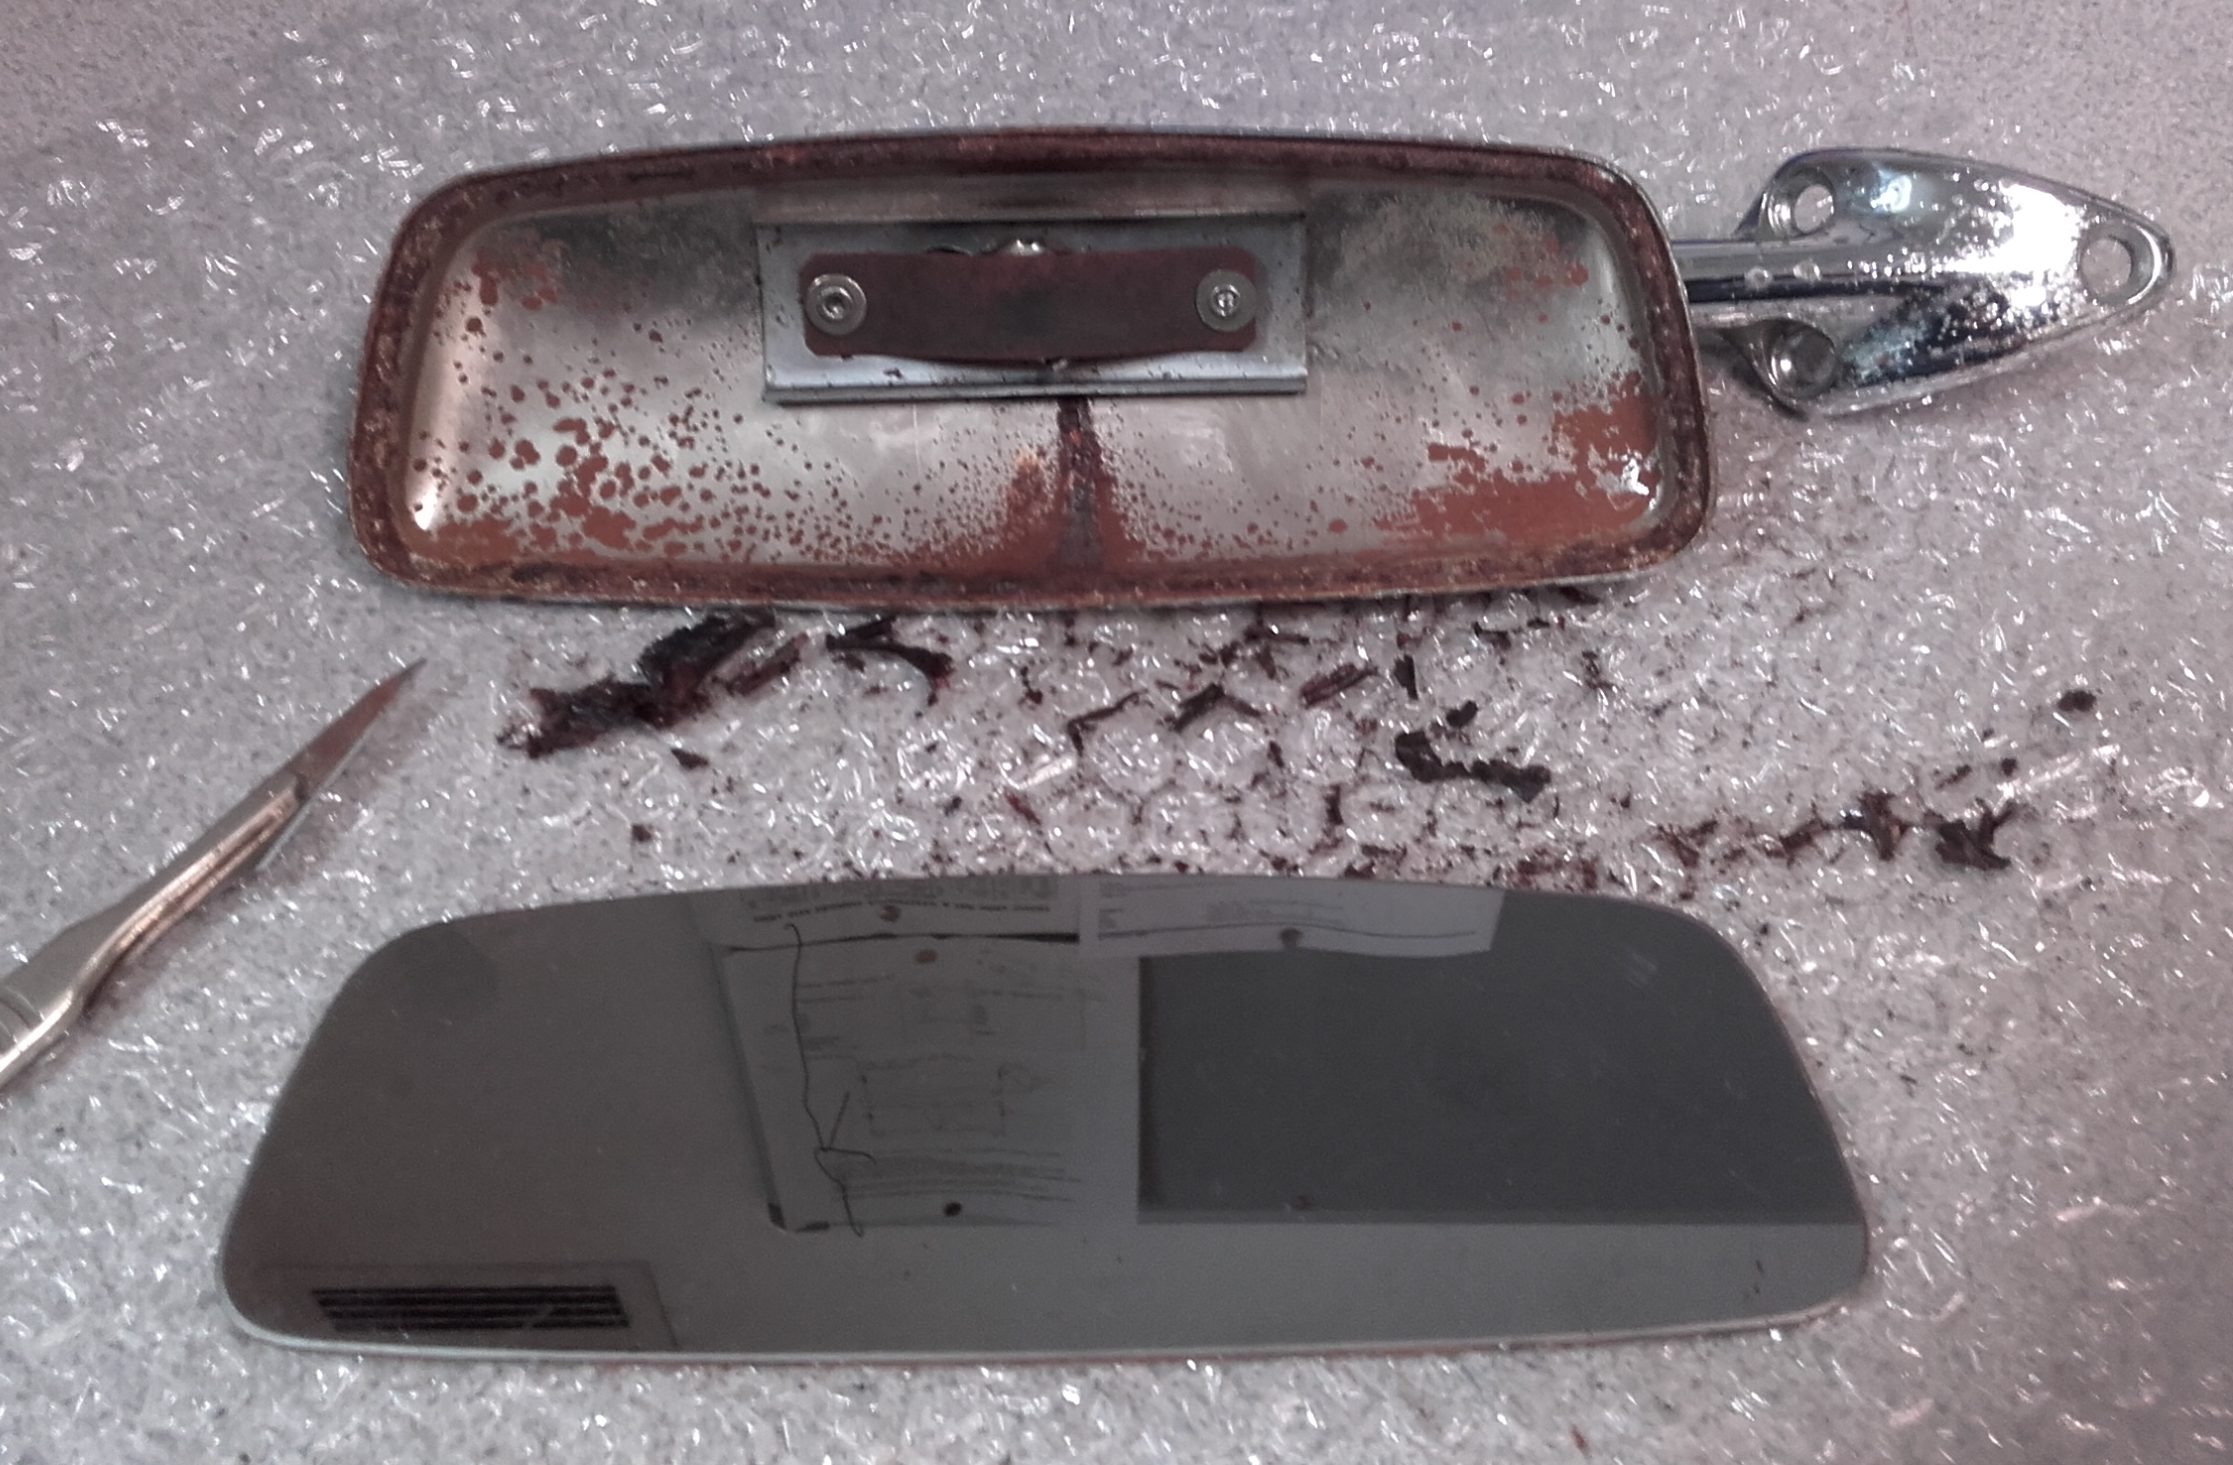
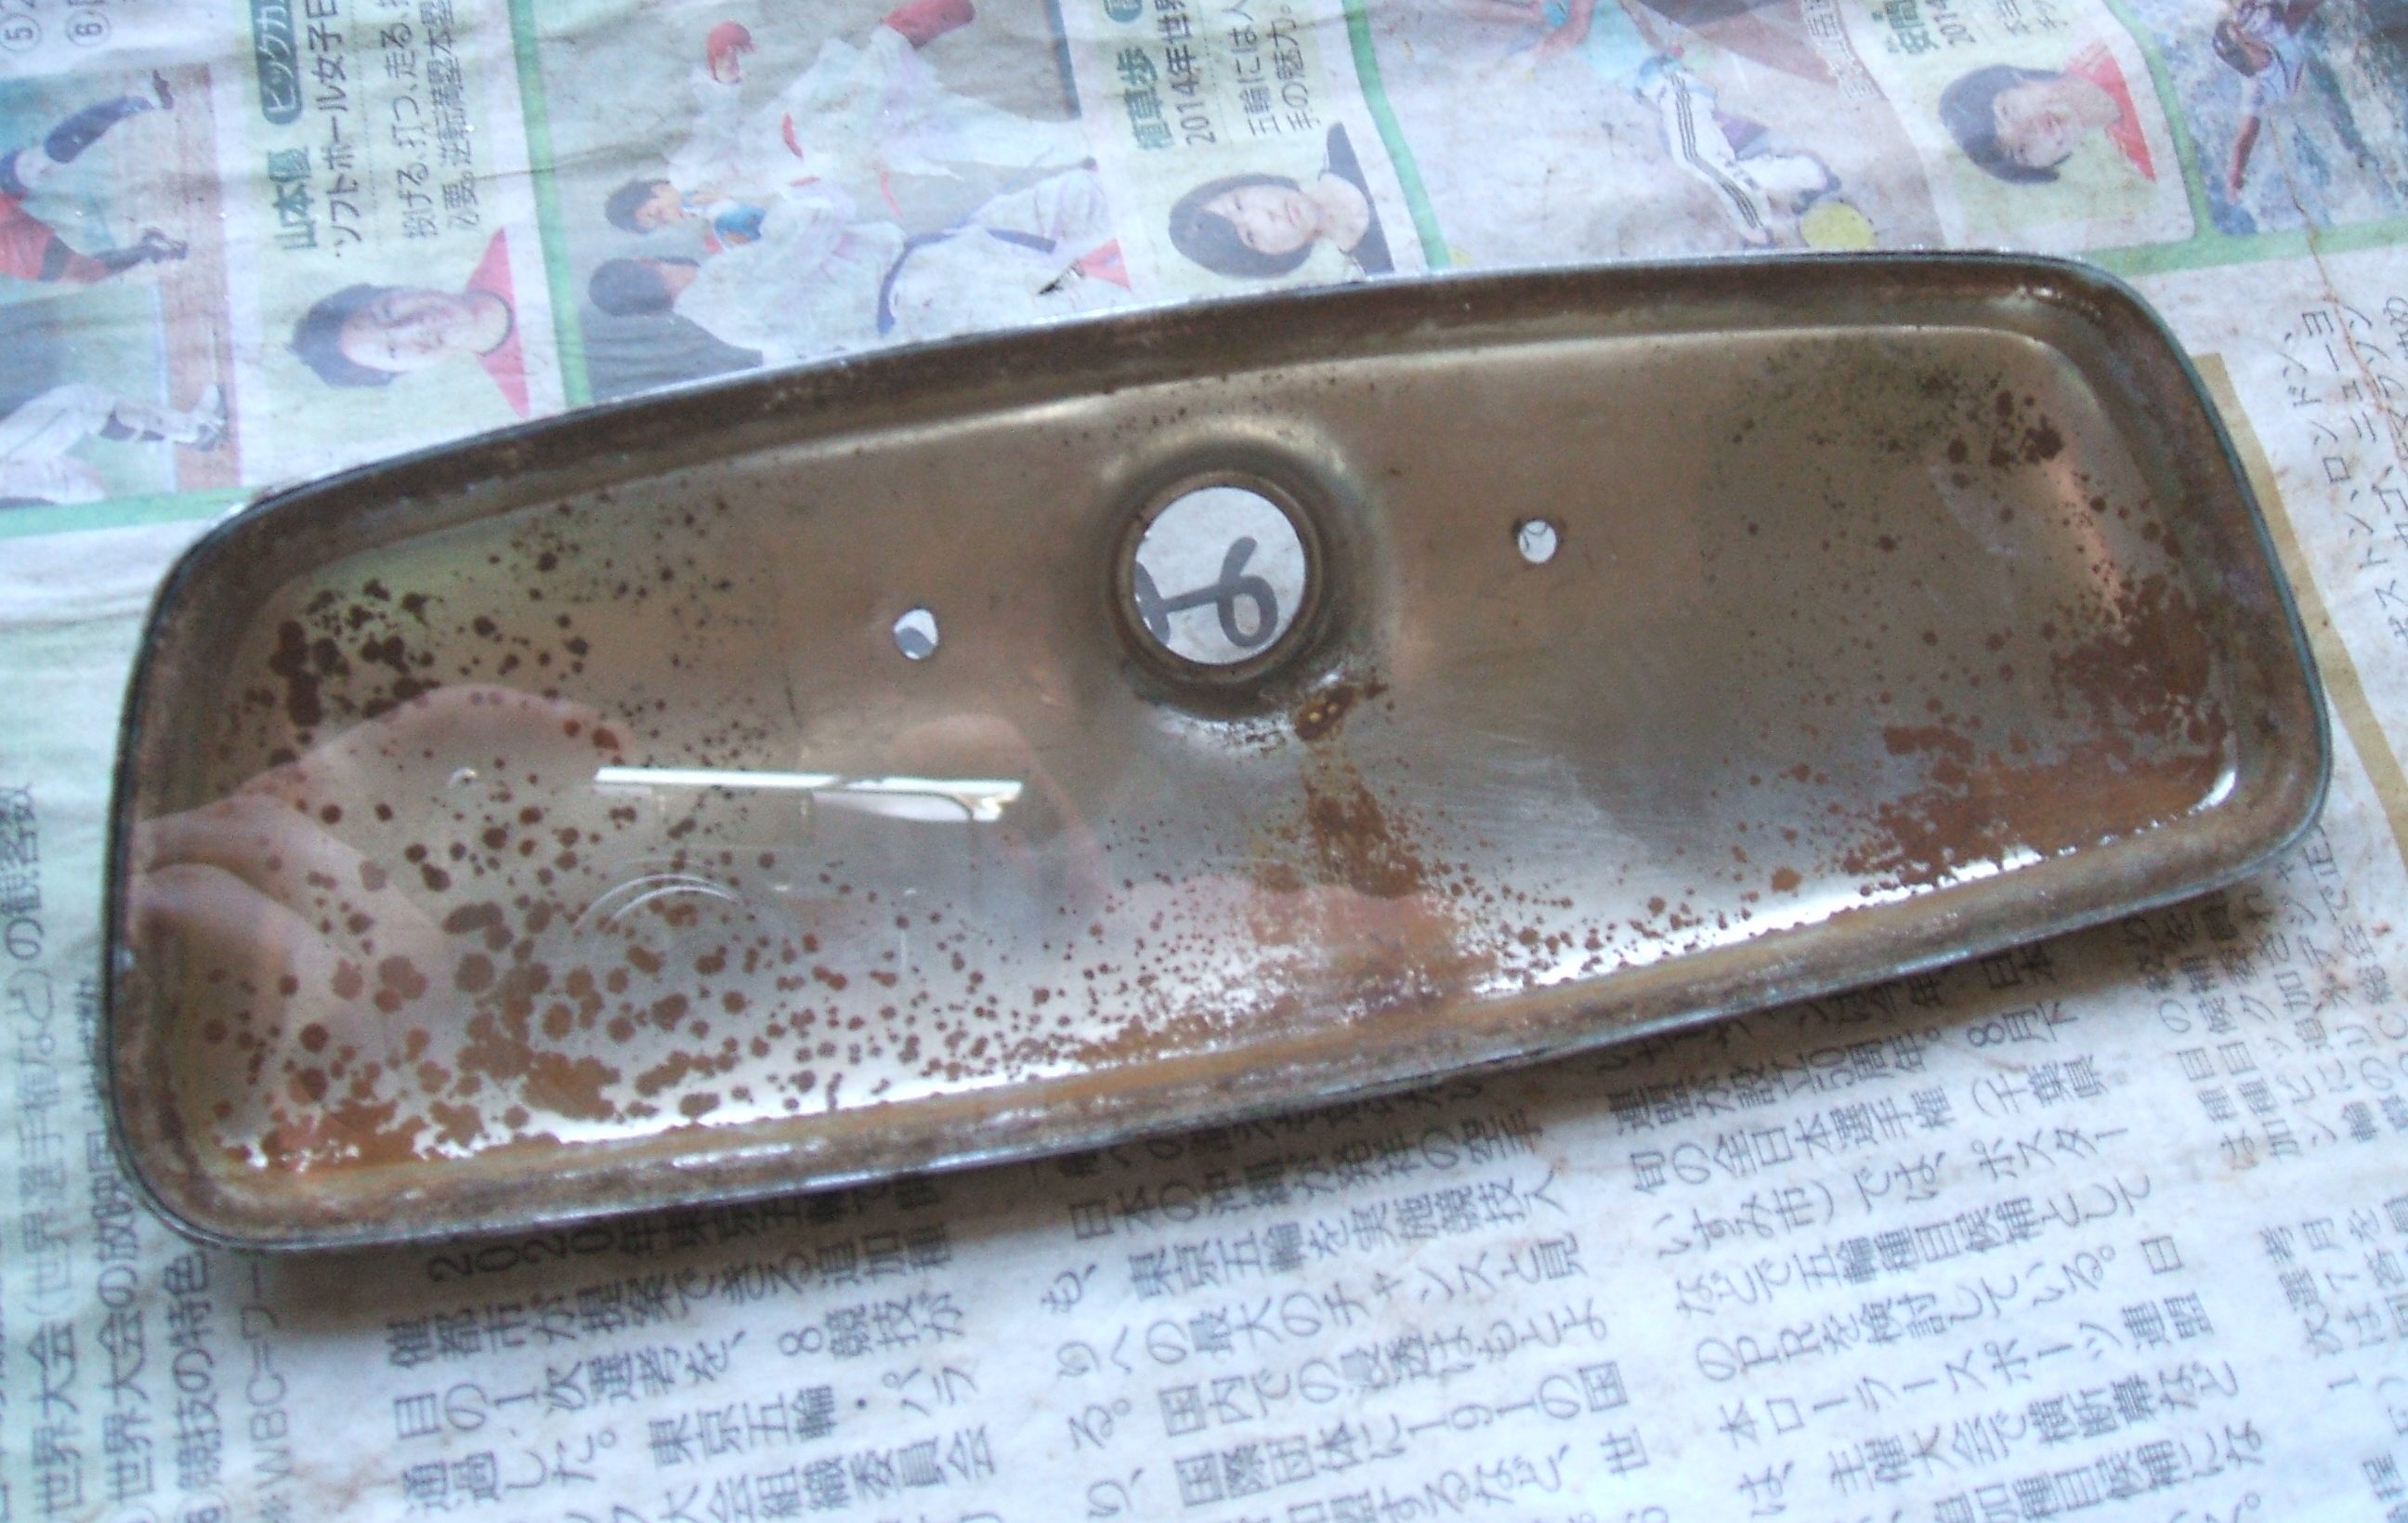
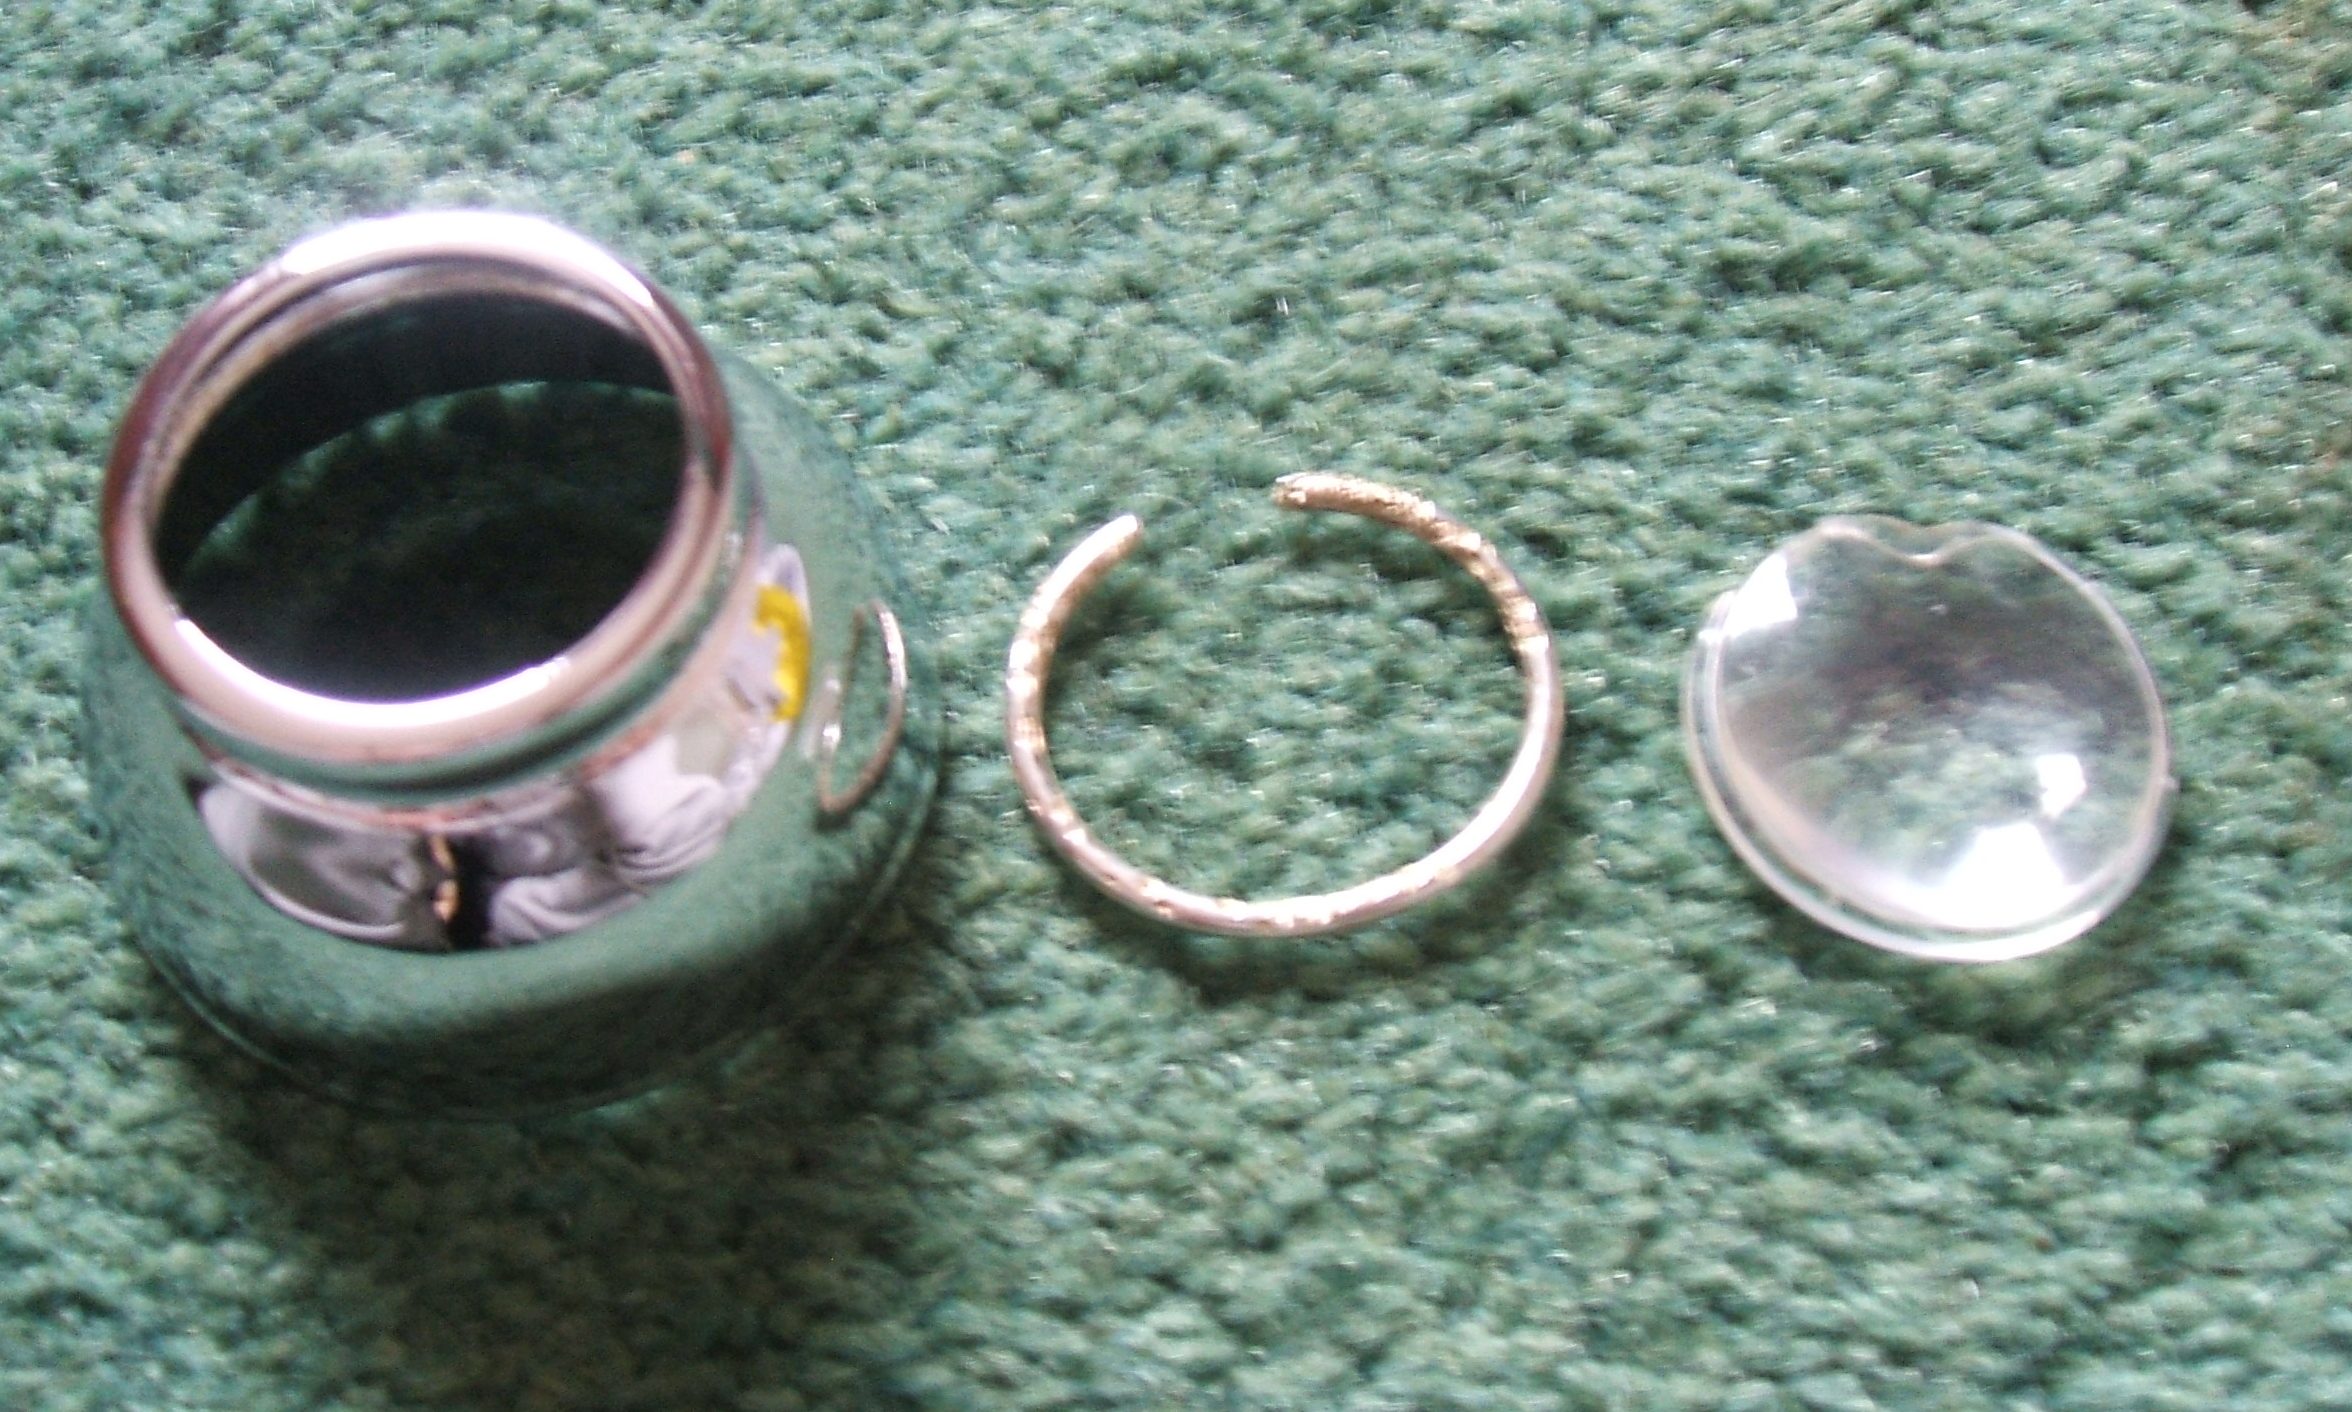
I have restored a Silvia interior mirror. Original condition, chrome pitted, glass light scratches, rust. Restoration starts by carefully removing the original glass. The glass is glued in. It is easily broken. In removing this glass, I chipped the back.
私はシルビアインテリアミラーを復元しました。元の状態、クロムピット、ガラスの軽い傷、錆。元のガラスを慎重に取り外すことによって、修復が始まります。ガラスが接着されています。簡単に割れます。このガラスを外すとき、裏側に欠けがありました。
The arm and mirror base was re-chromed. The fixing parts aqua blasted and yellow zinc plated. New rivets were brought. I polished the glass to remove scratches by holding the glass securely in a jig I made.
アームとミラーのベースはクロムメッキされています。固定部品は水でブラスト処理され、黄色の亜鉛メッキが施されています。新しいリベットがもたらされました。私は傷を取り除くためにガラスを研磨します。私はしっかりとガラスを保持するための治具を作りました。
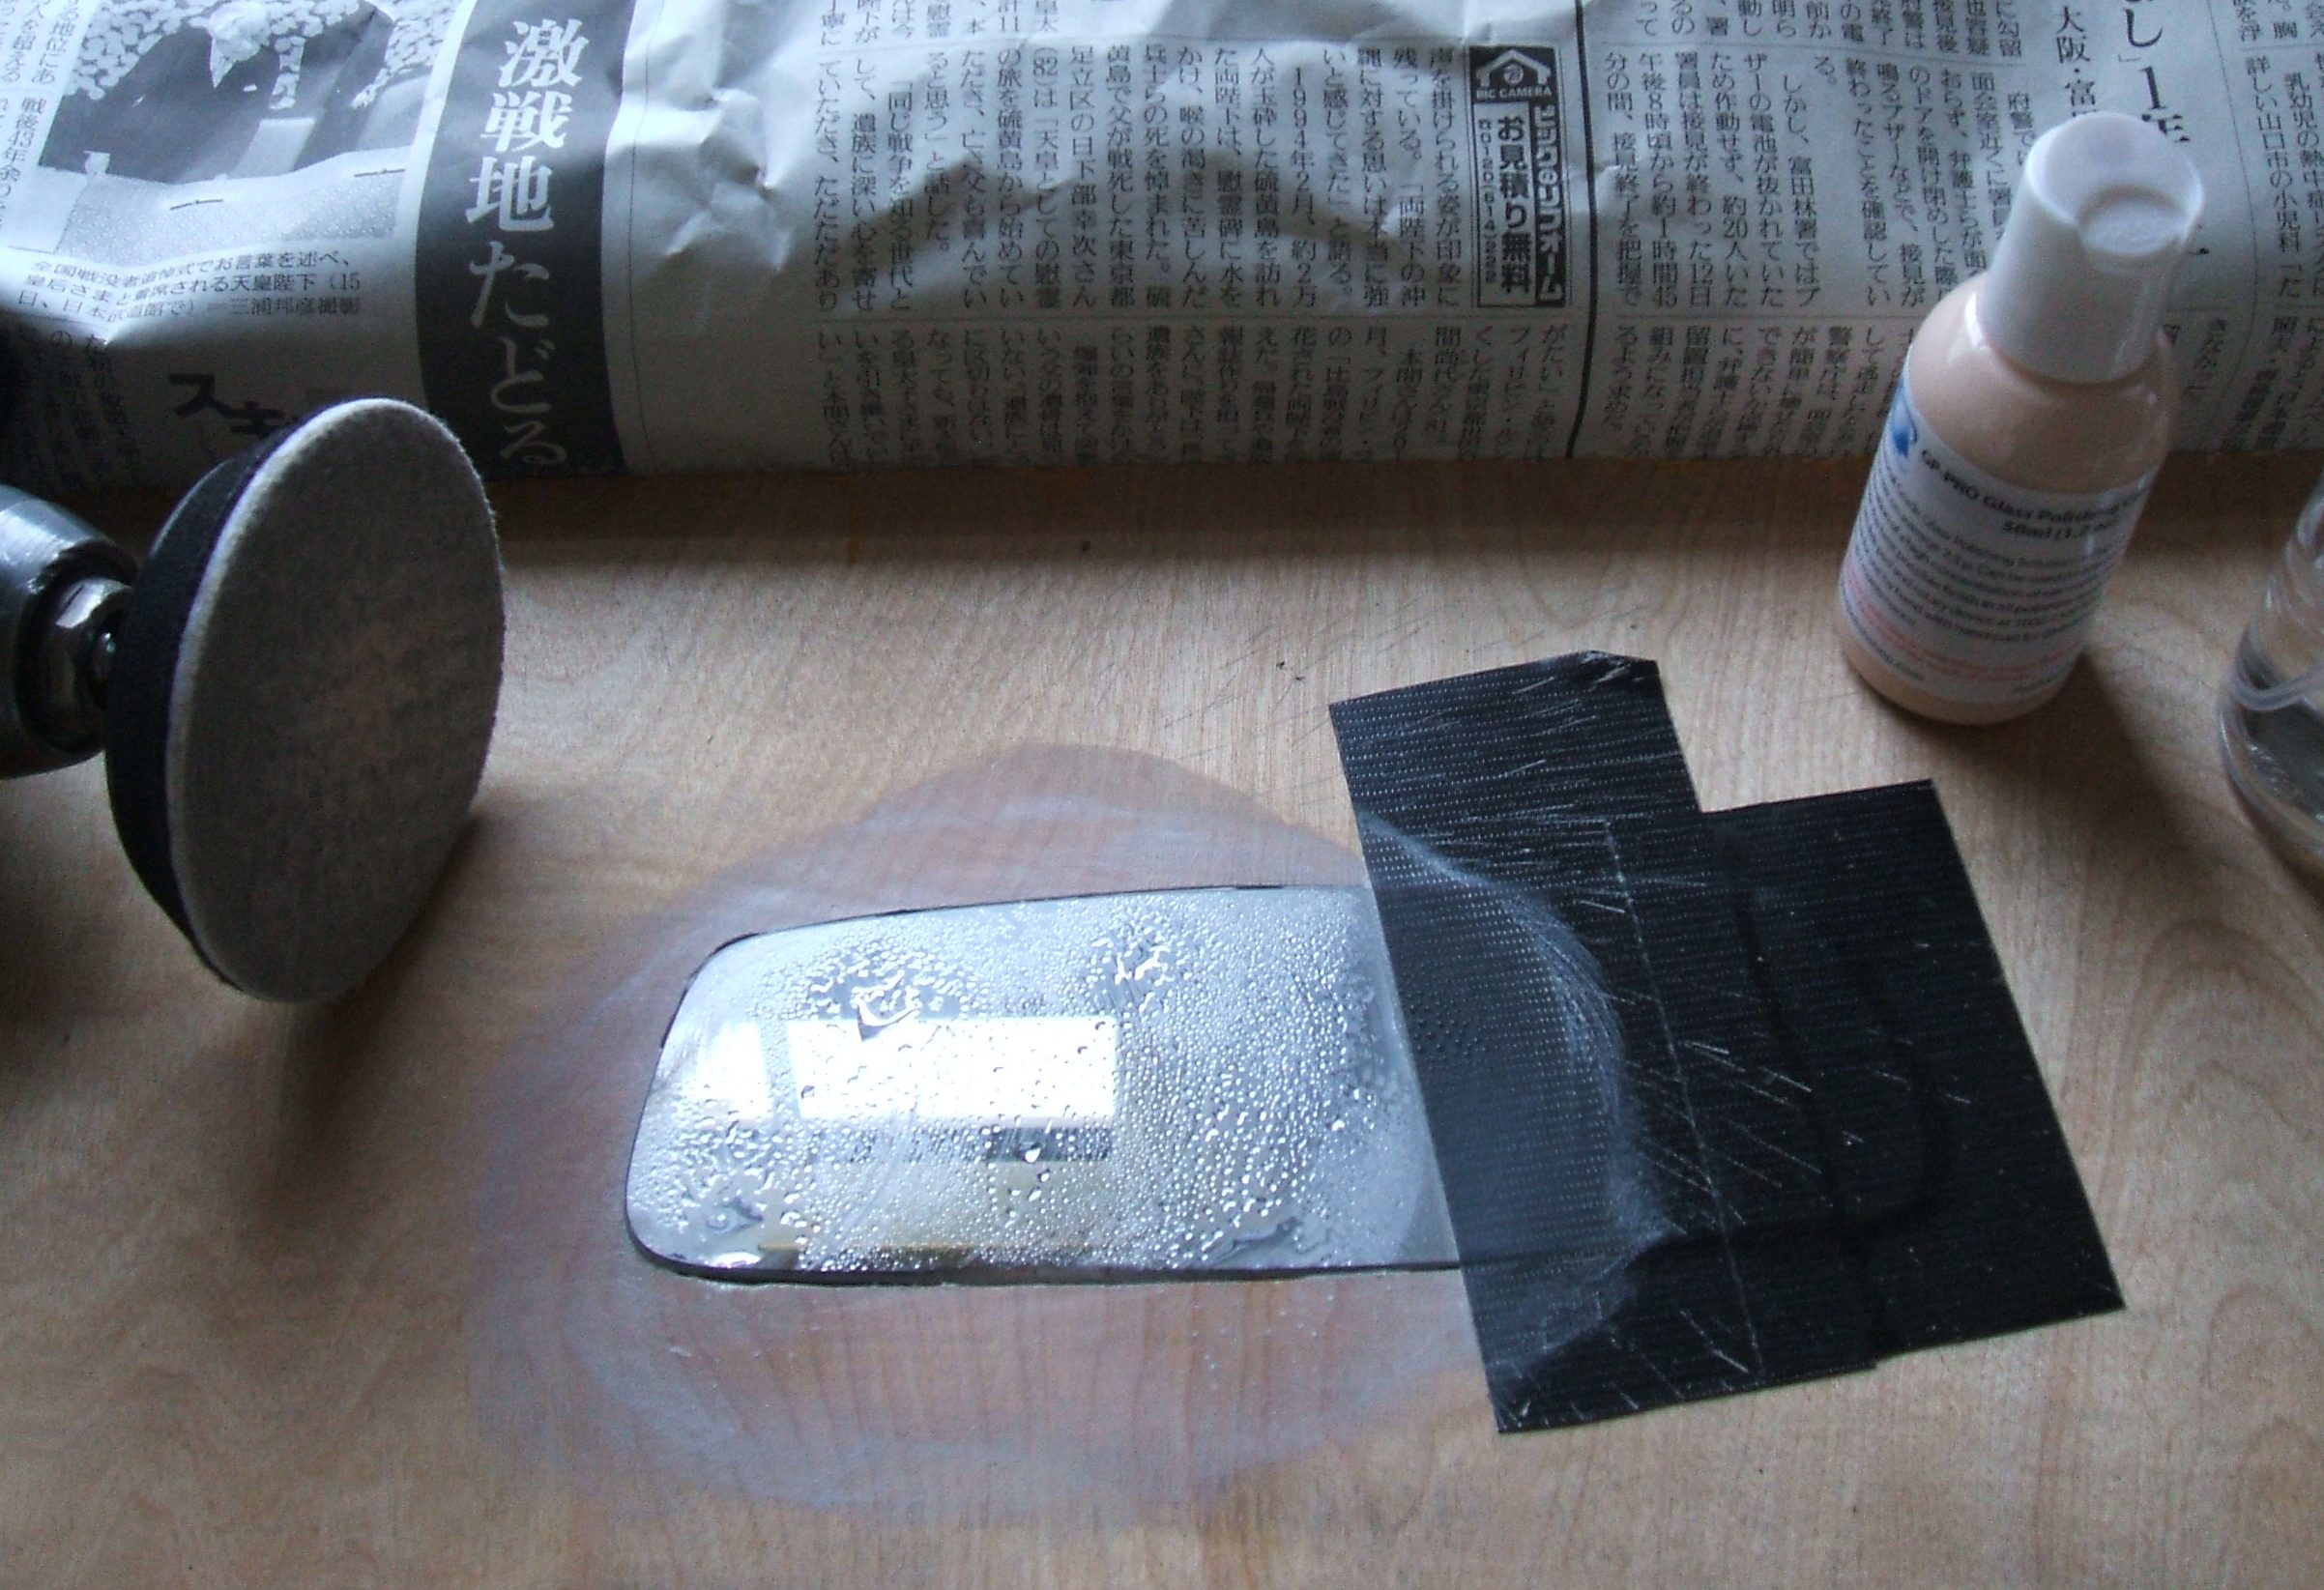
Did you know the original mirror is coated on the front, not the back of the mirror. Most mirrors are coated on the back. This explains why the mirror had lots of fine scratches. Was this done by the original manufacturer to give the mirror some anti-glare properties?
元のミラーがミラーの背面ではなく前面にコーティングされていることをご存知ですか。ほとんどの鏡は裏面がコーティングされています。これはなぜ鏡がたくさんの細かい傷を持っていたかを説明します。これは、ミラーにいくつかのアンチグレア特性を与えるために、元の製造元によって行われましたか?
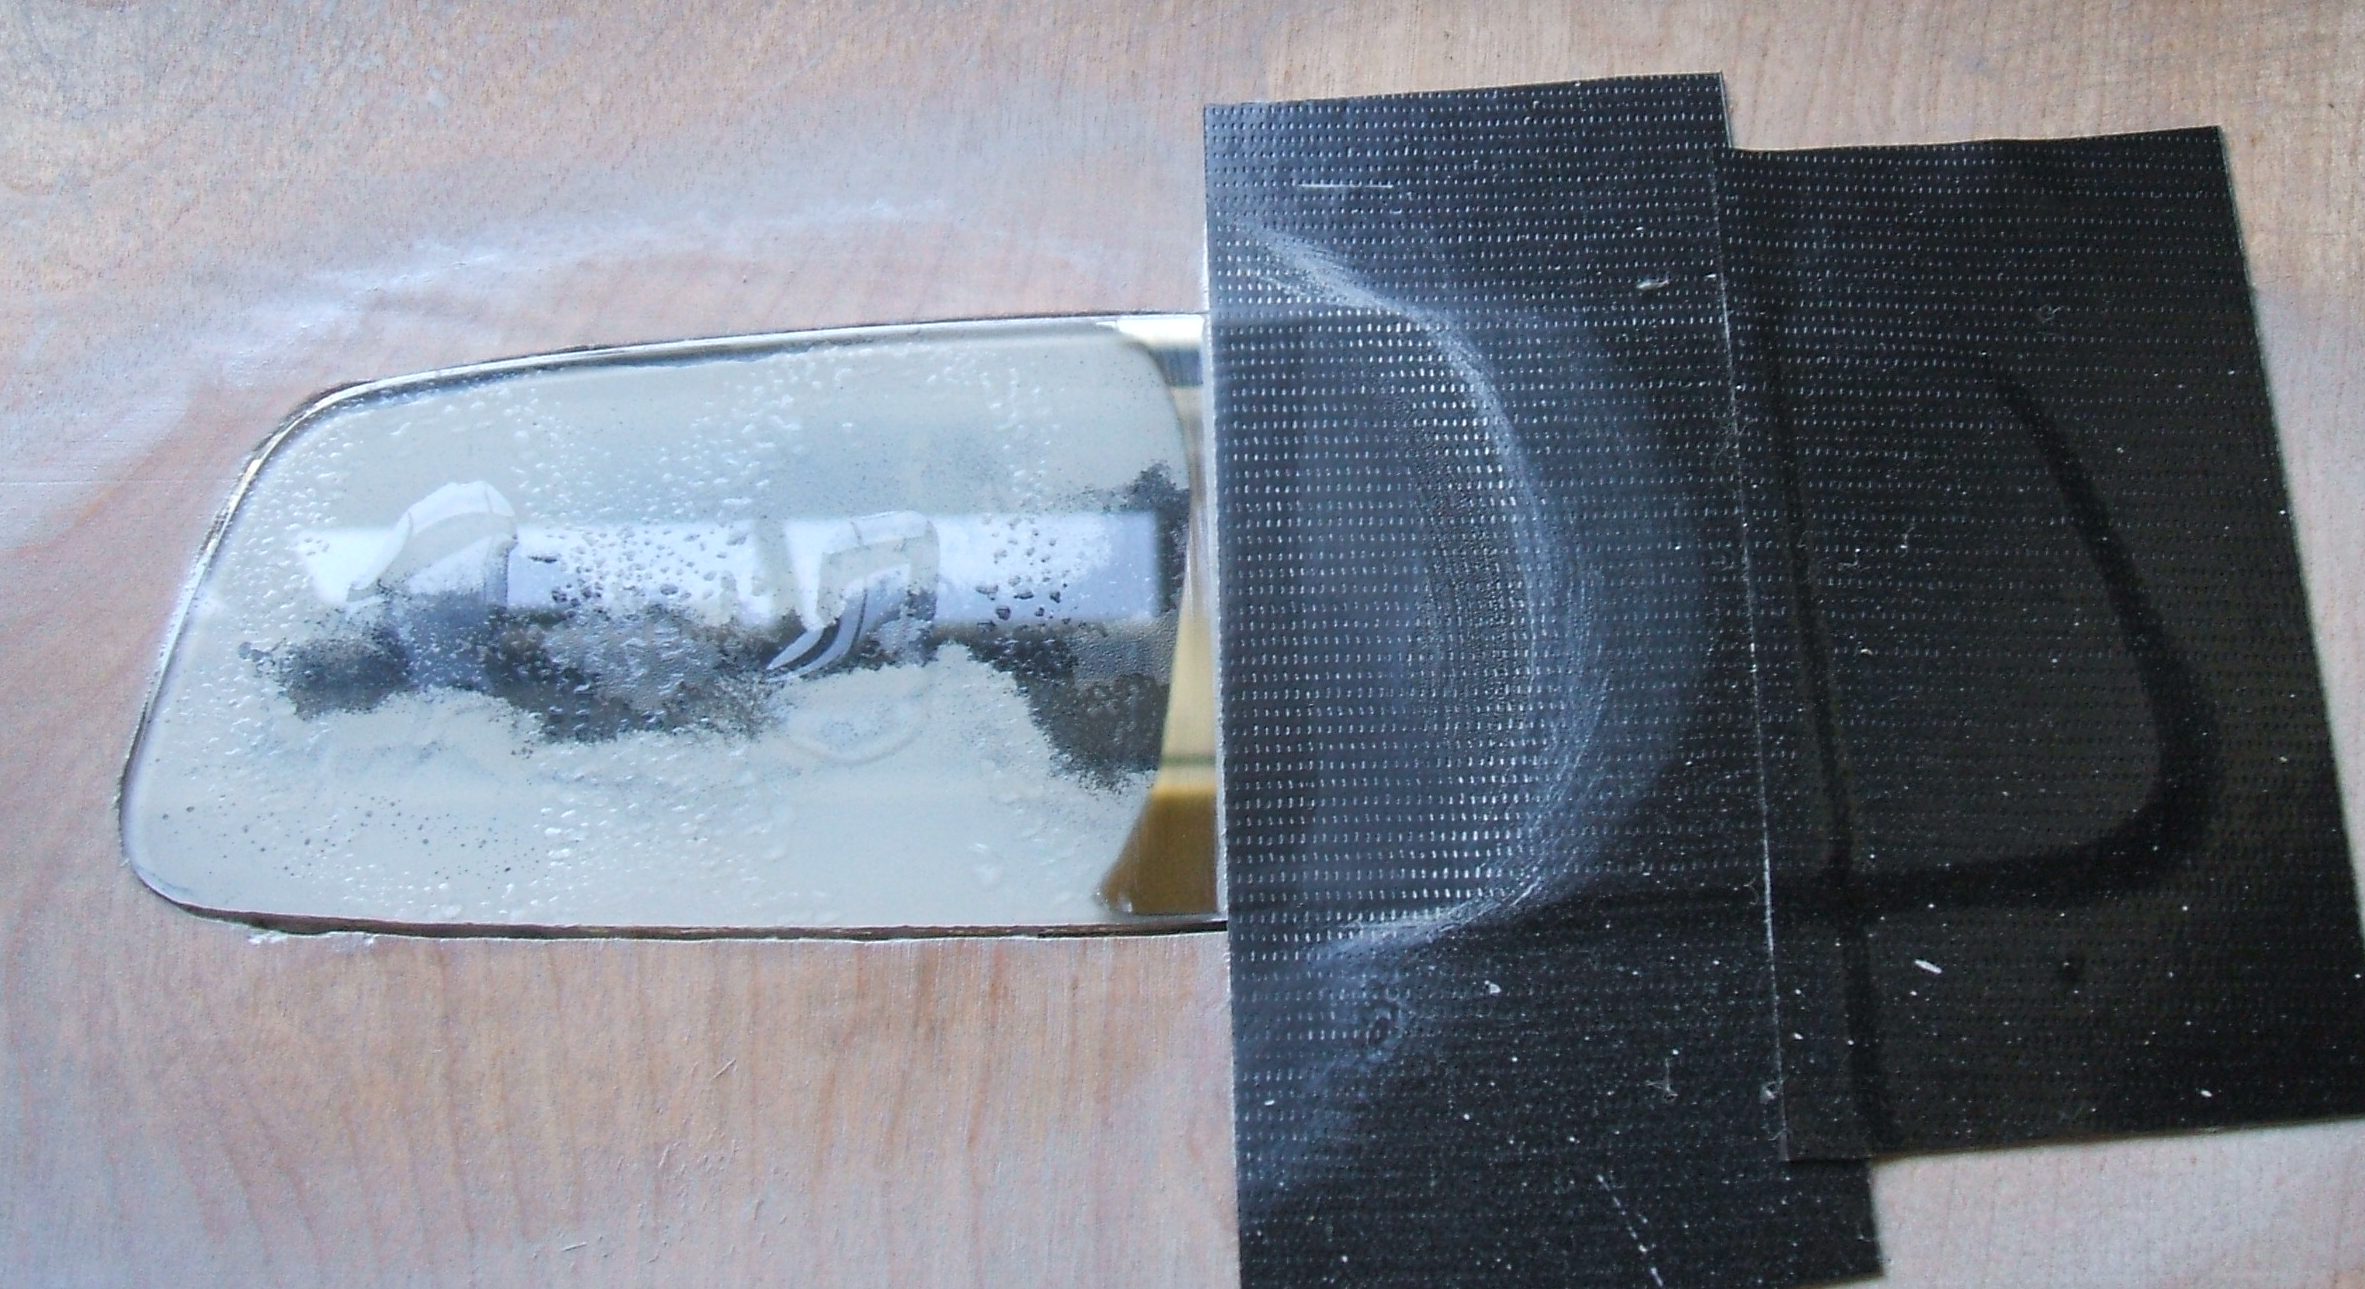
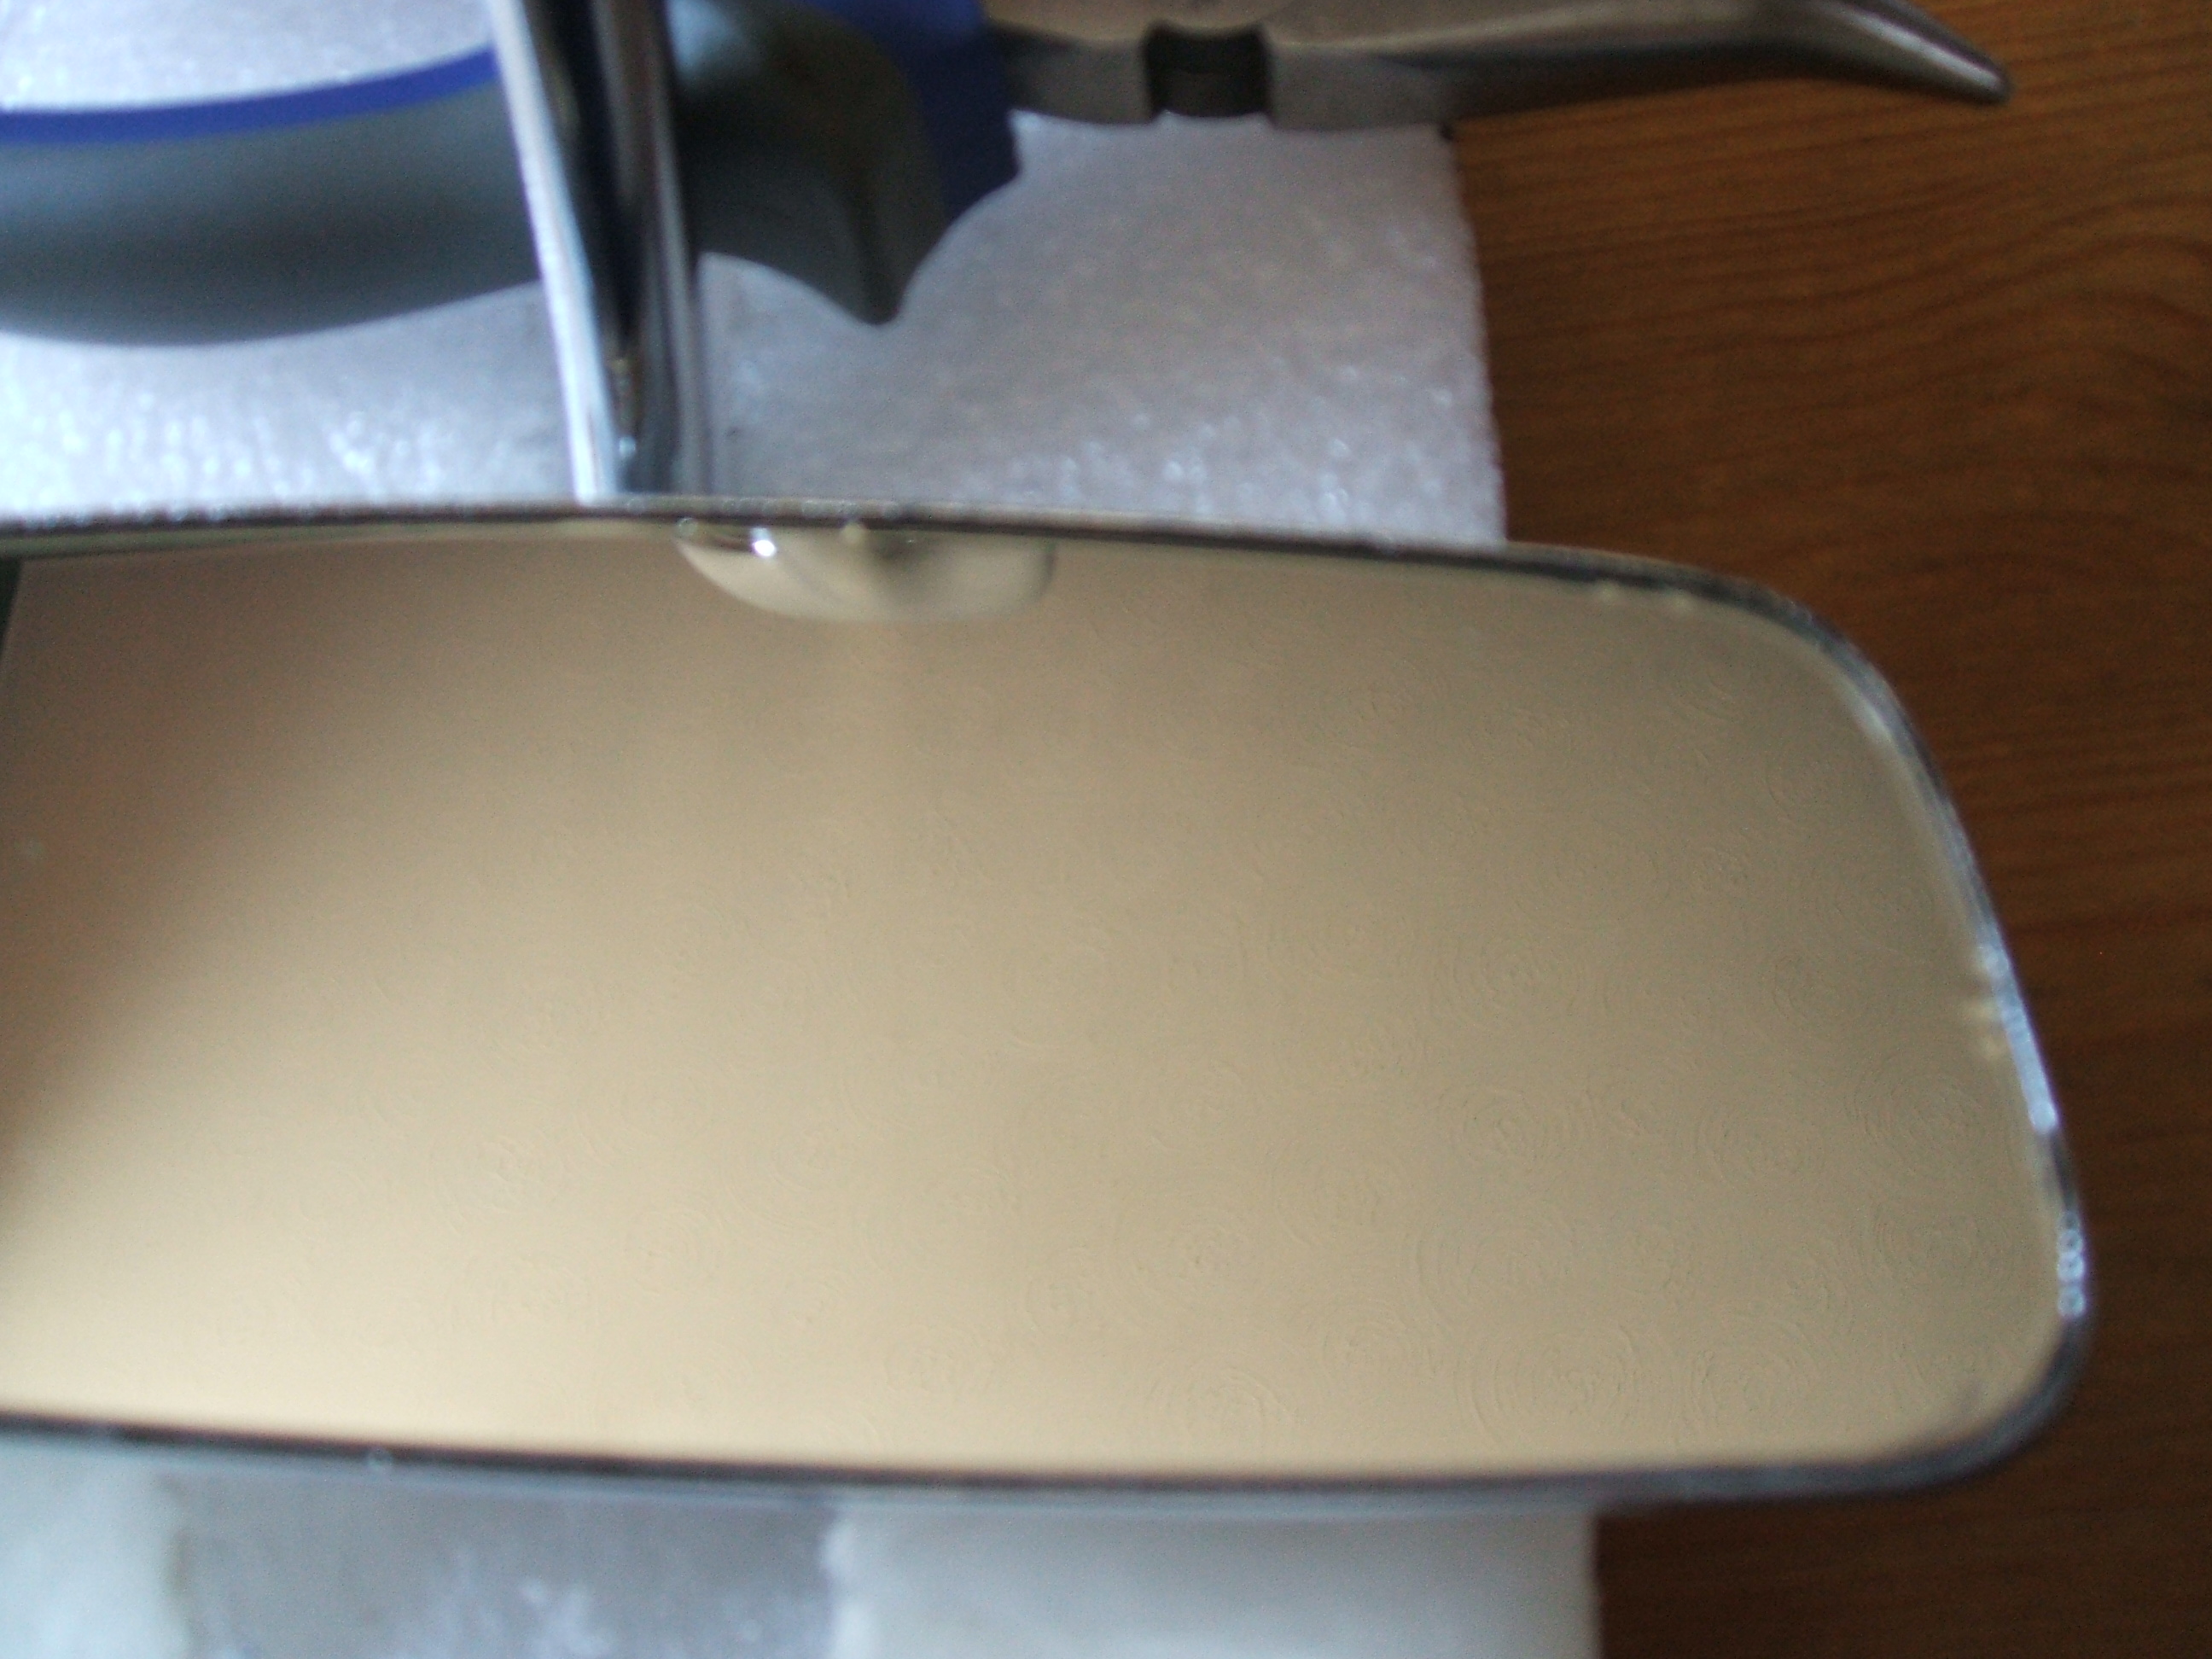
Here is the glass polished front and back. ここではガラス研磨表面と裏面です。
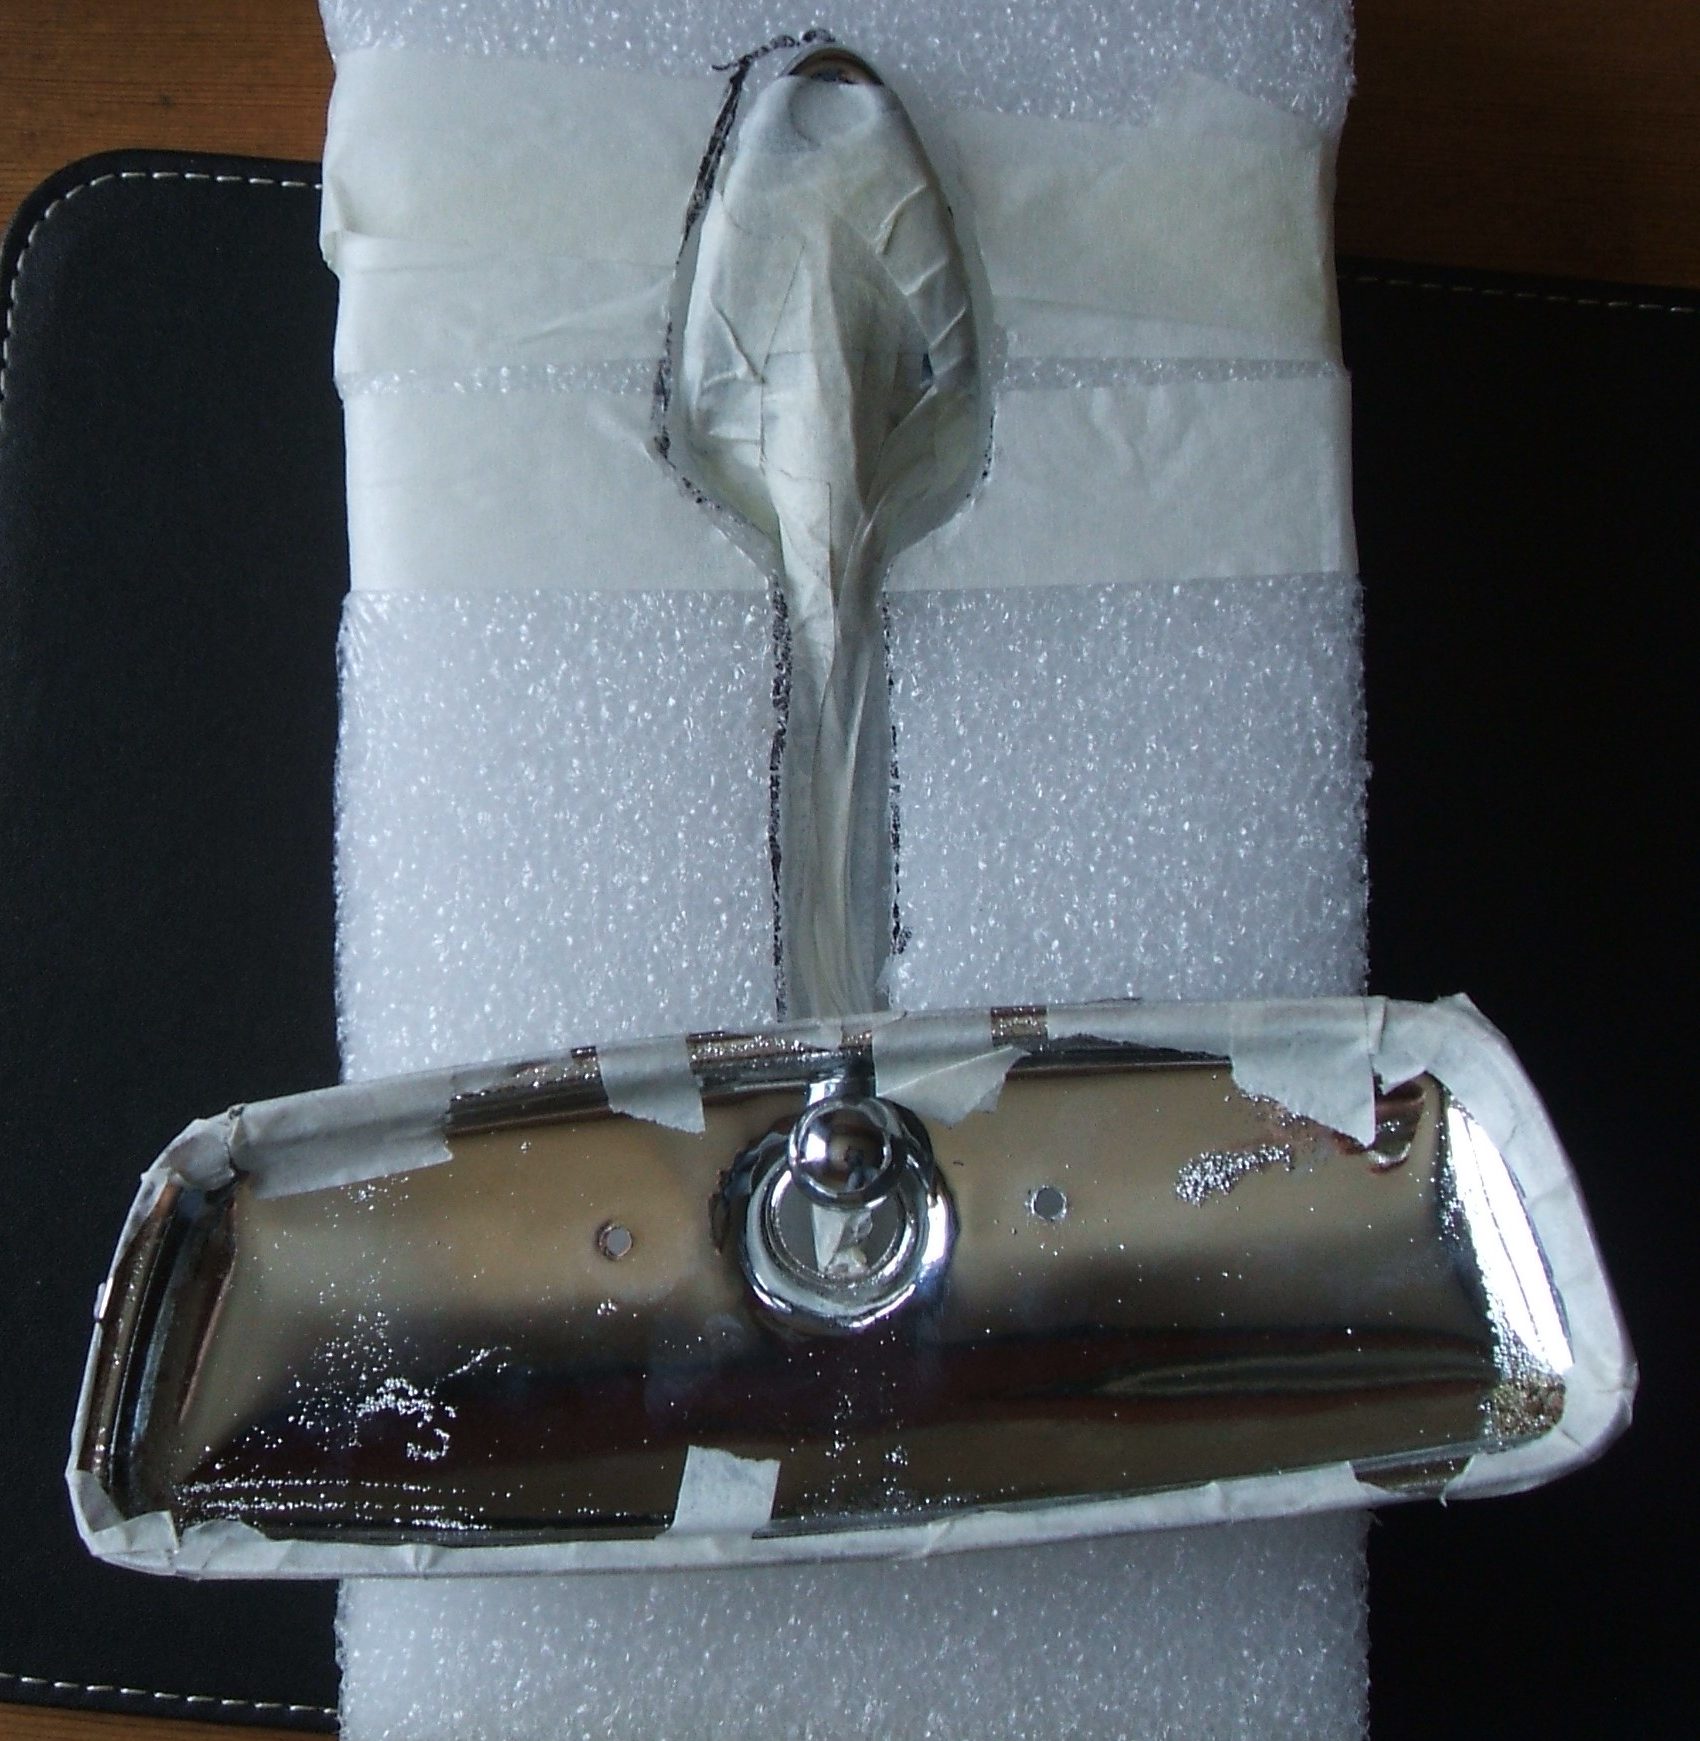
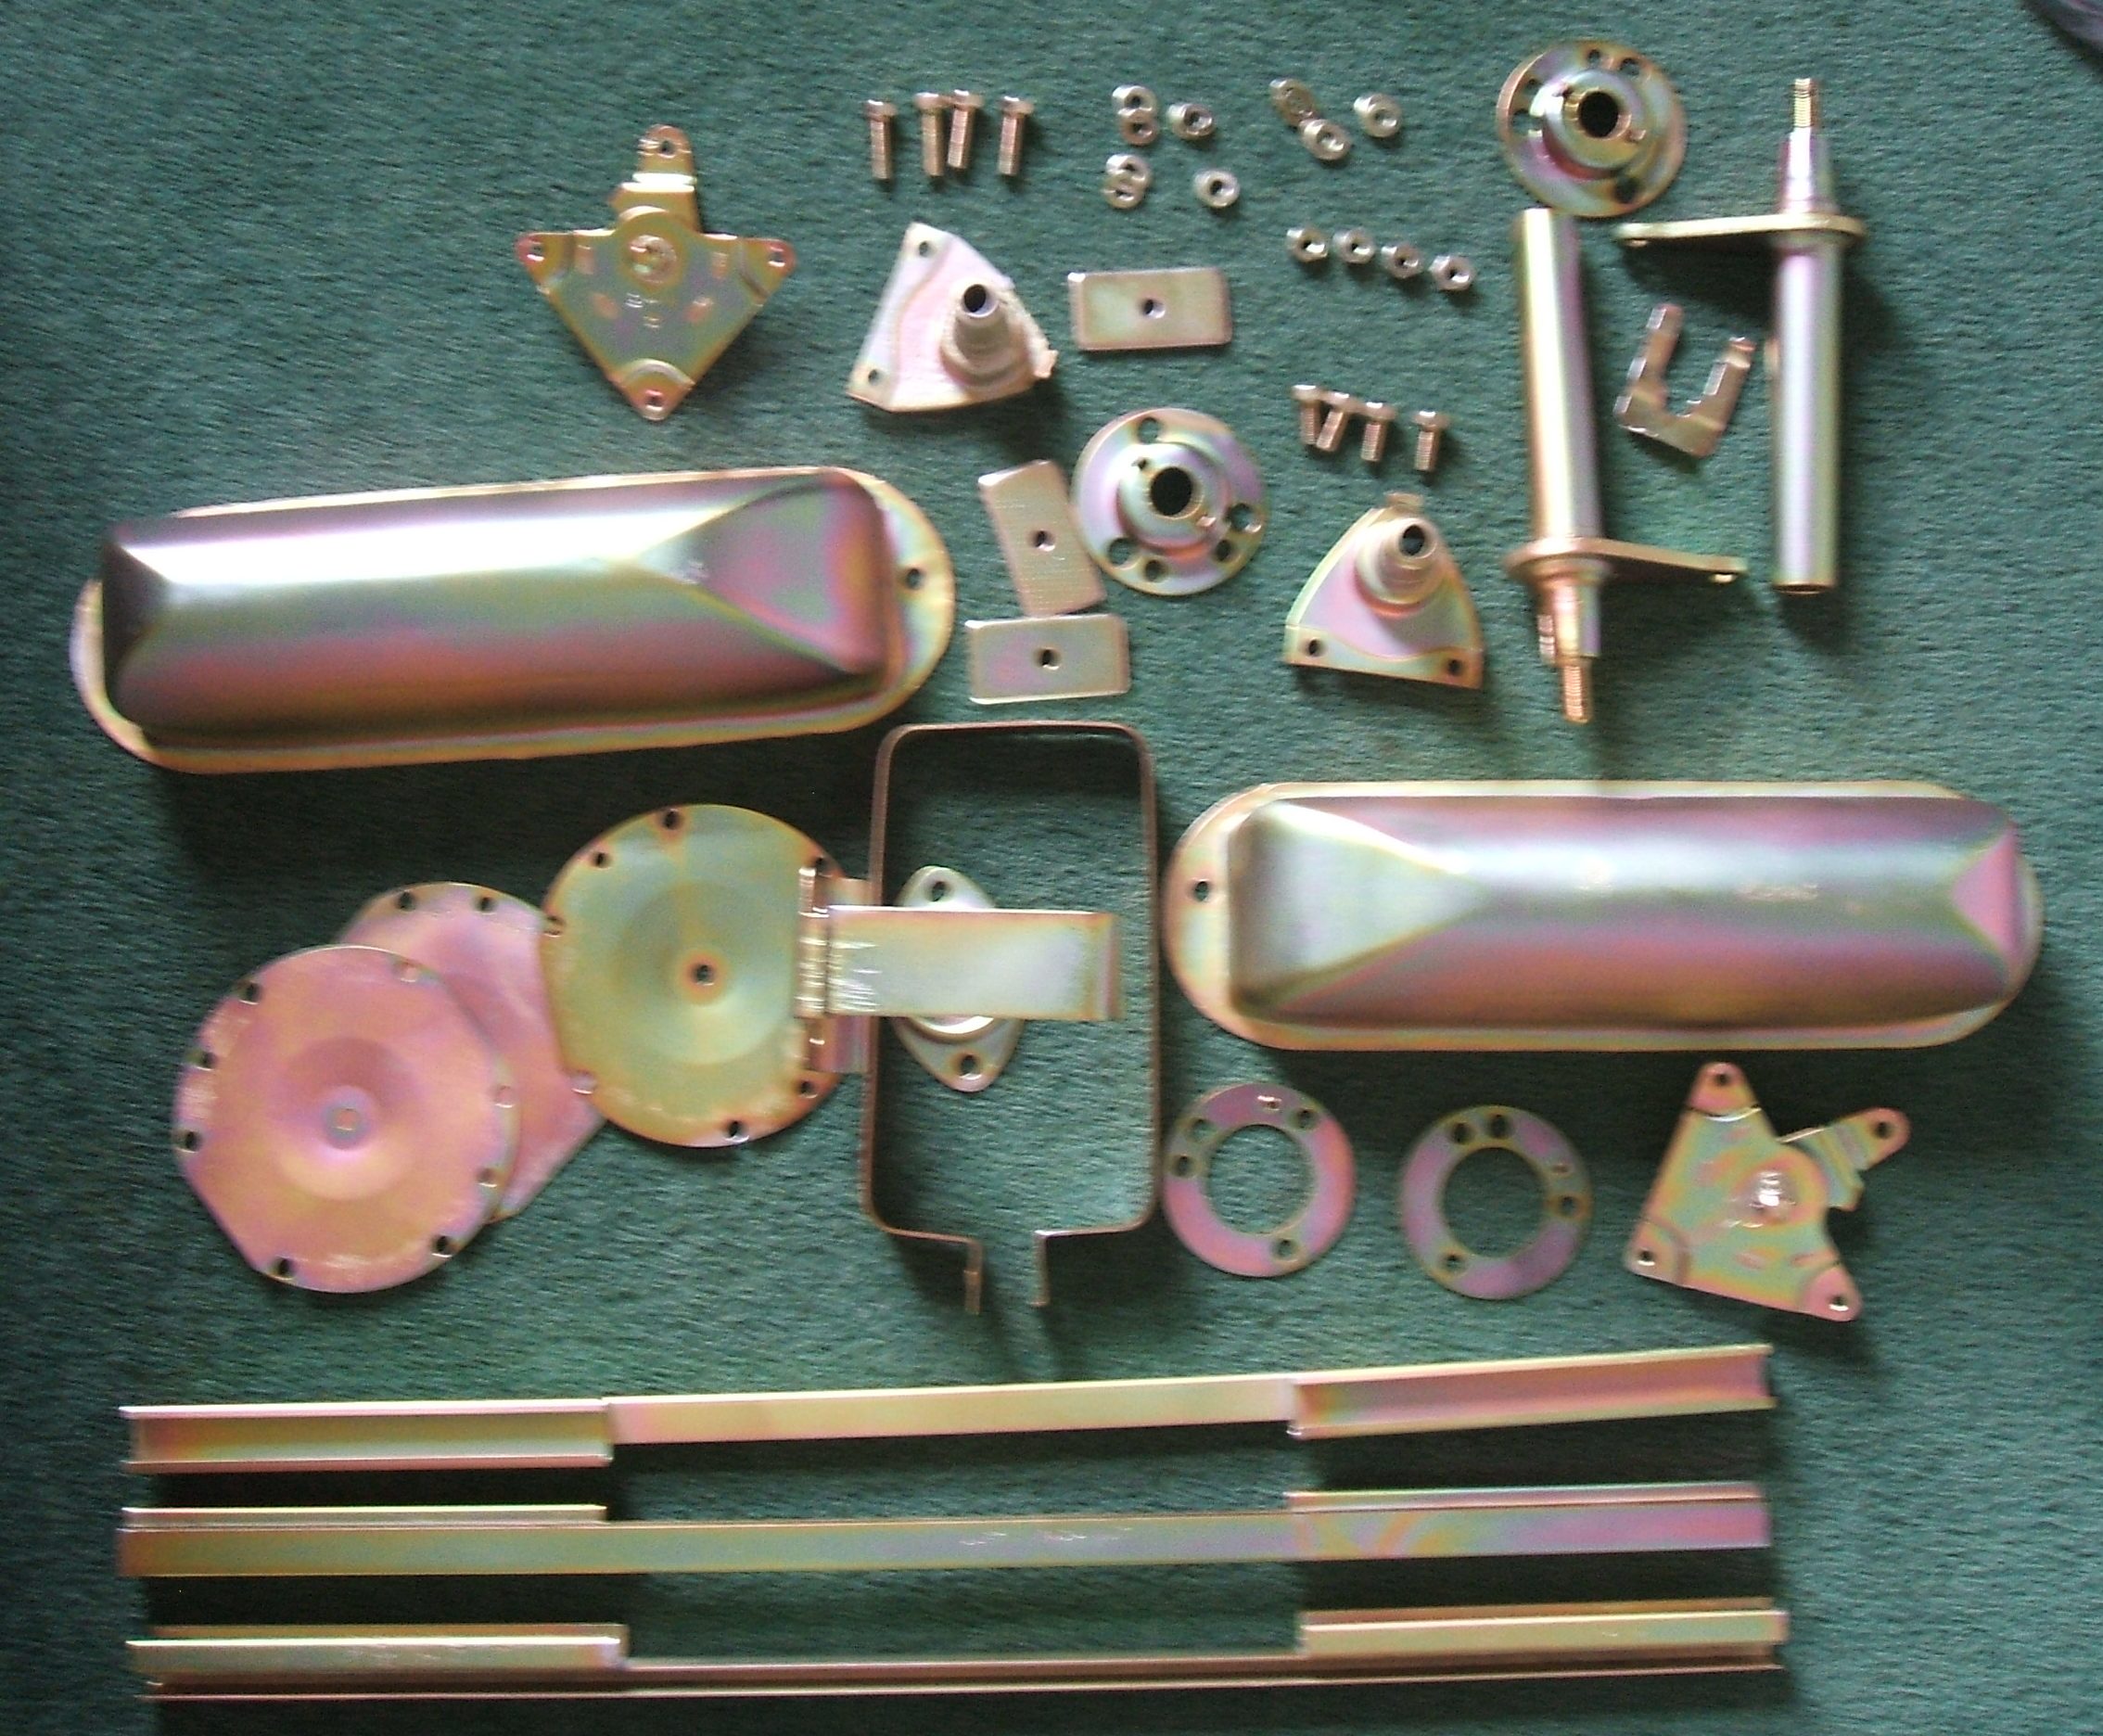
All the parts (except glass) ready for assembly. Masking tape covers the new chrome.
すべての部品(ガラスを除く)を組み立てる準備ができました。 マスキングテープが新しいクロムを覆います。

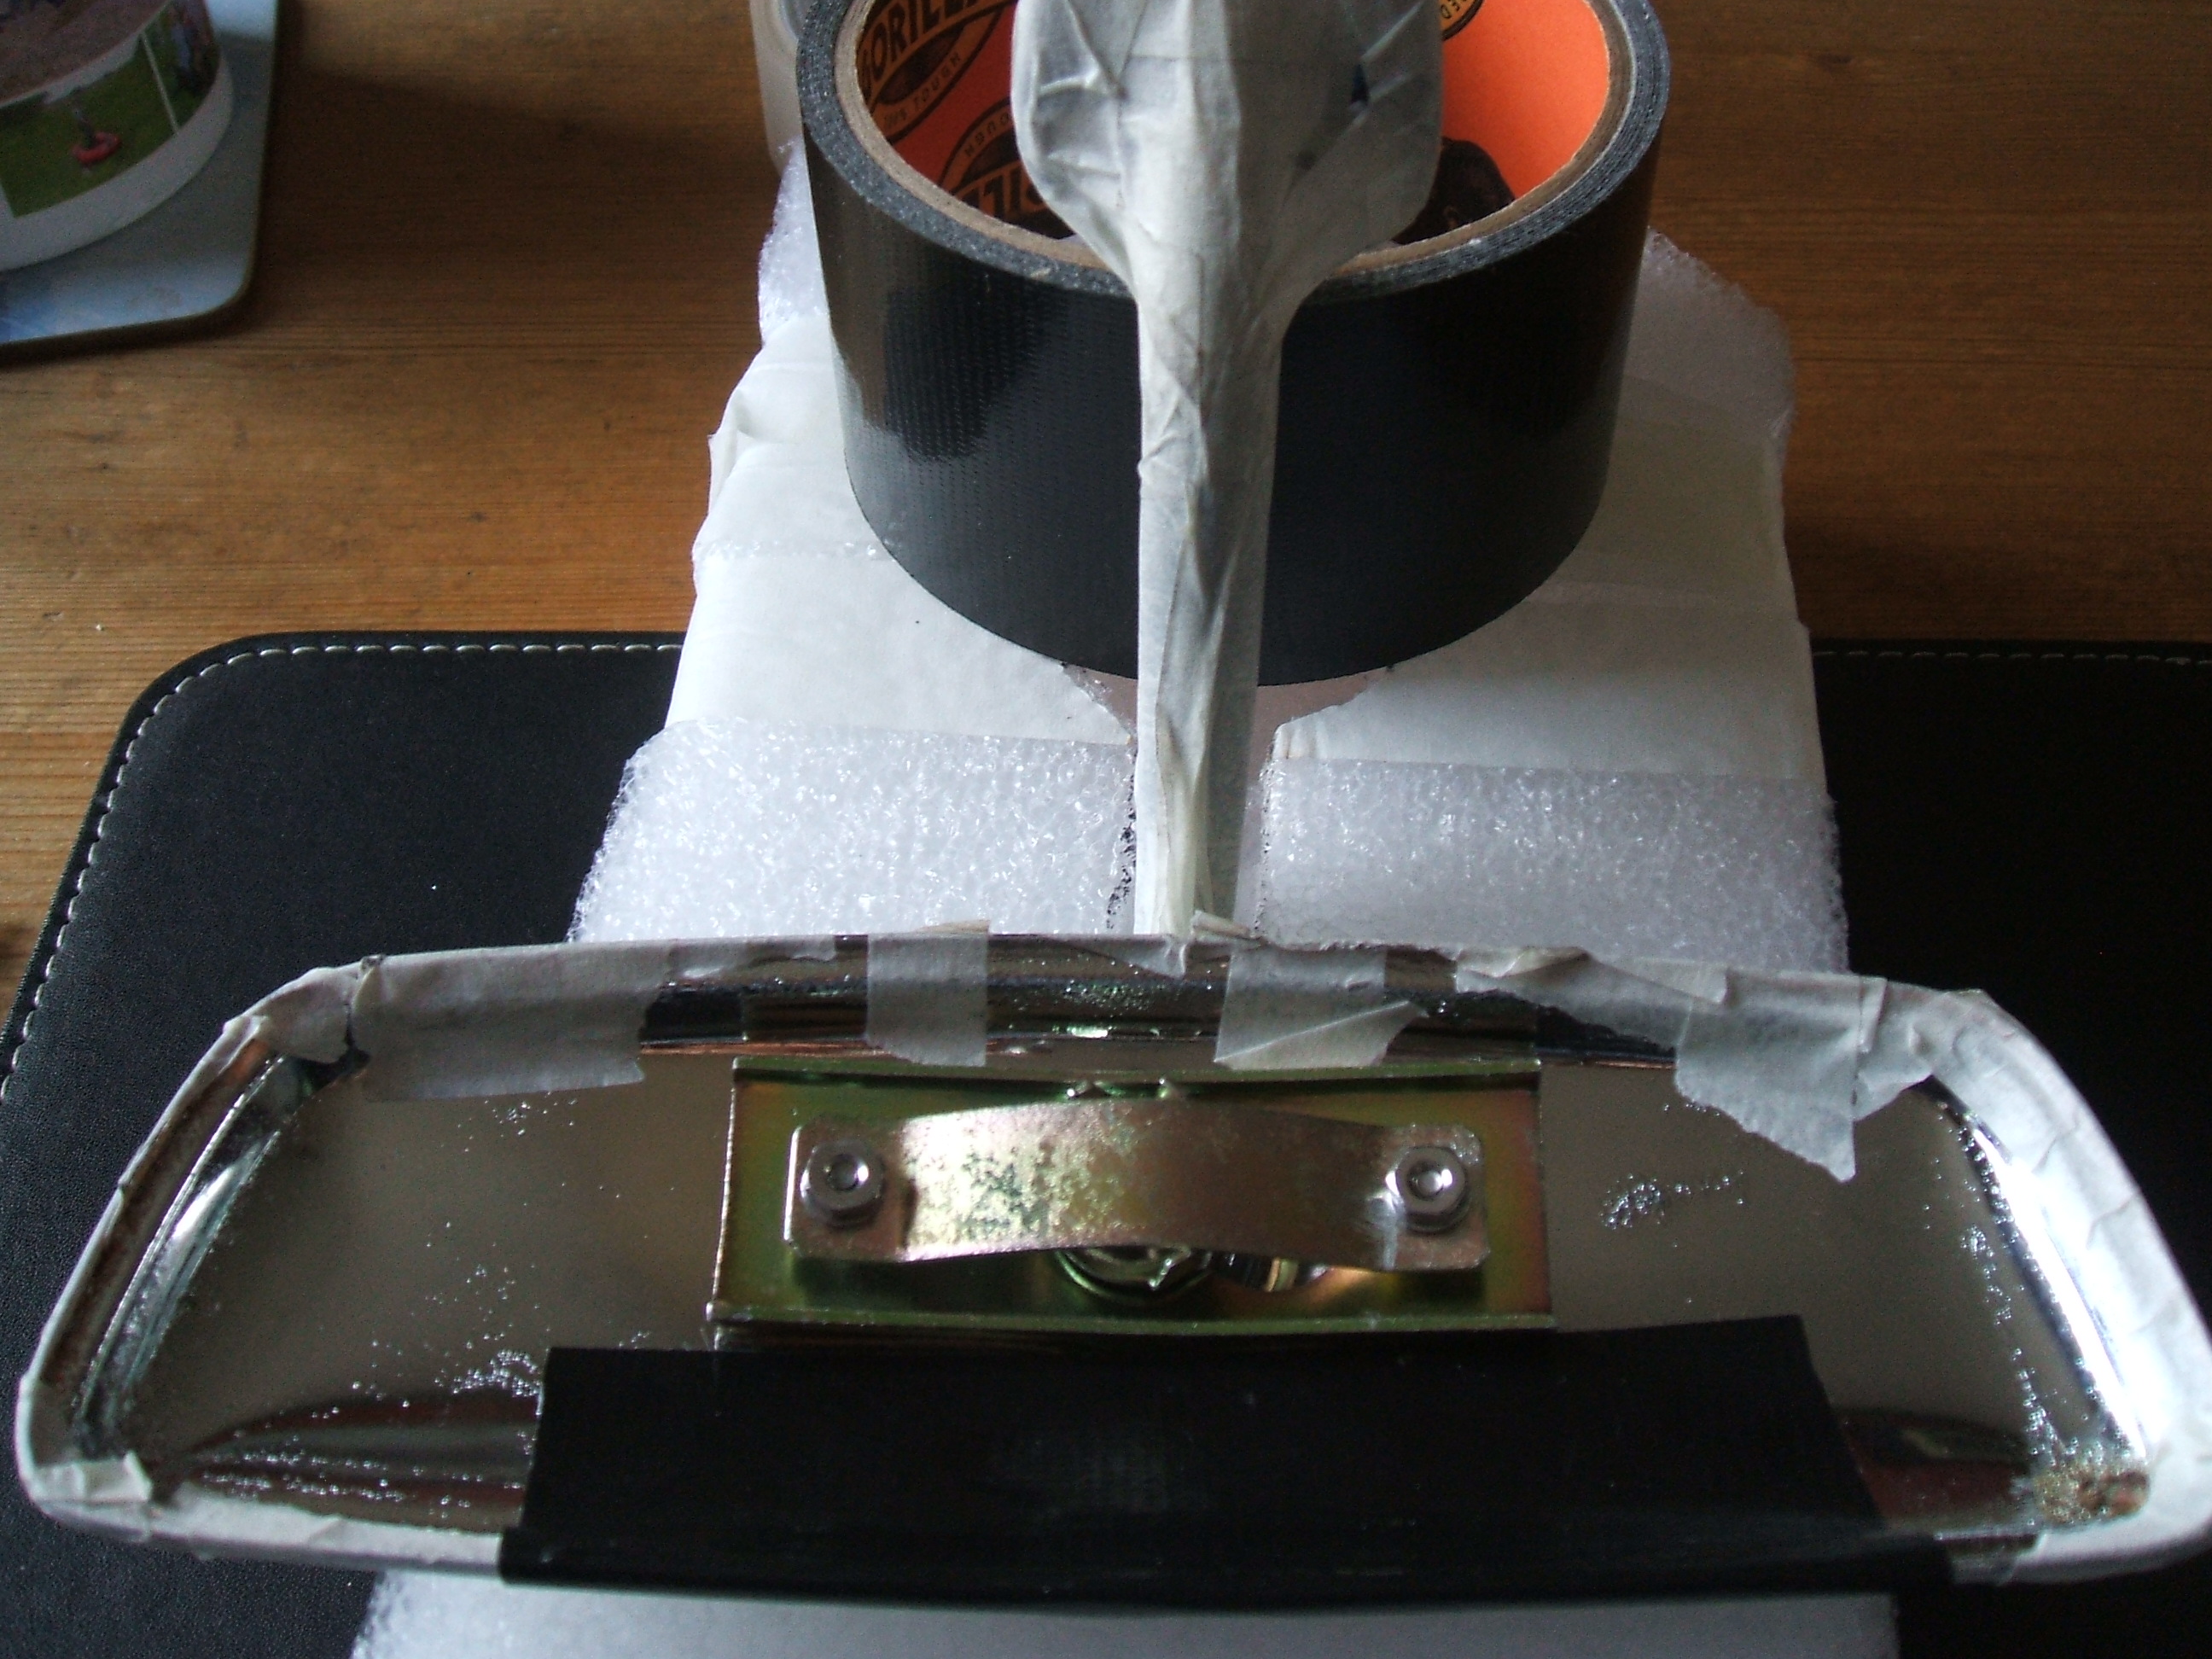
It took a bit of time to get the fixing mechanism in, as there is too much chrome (making the ball end on the arm larger).
(大きい方の腕でボールエンドを作る)あまりにも多くのクロムがあるように、それは、中に固定機構を取得するには少し時間がかかりました。
Re-mirrored glass glued in, held by tape. 再ミラー化されたガラスは、テープで固定されています。

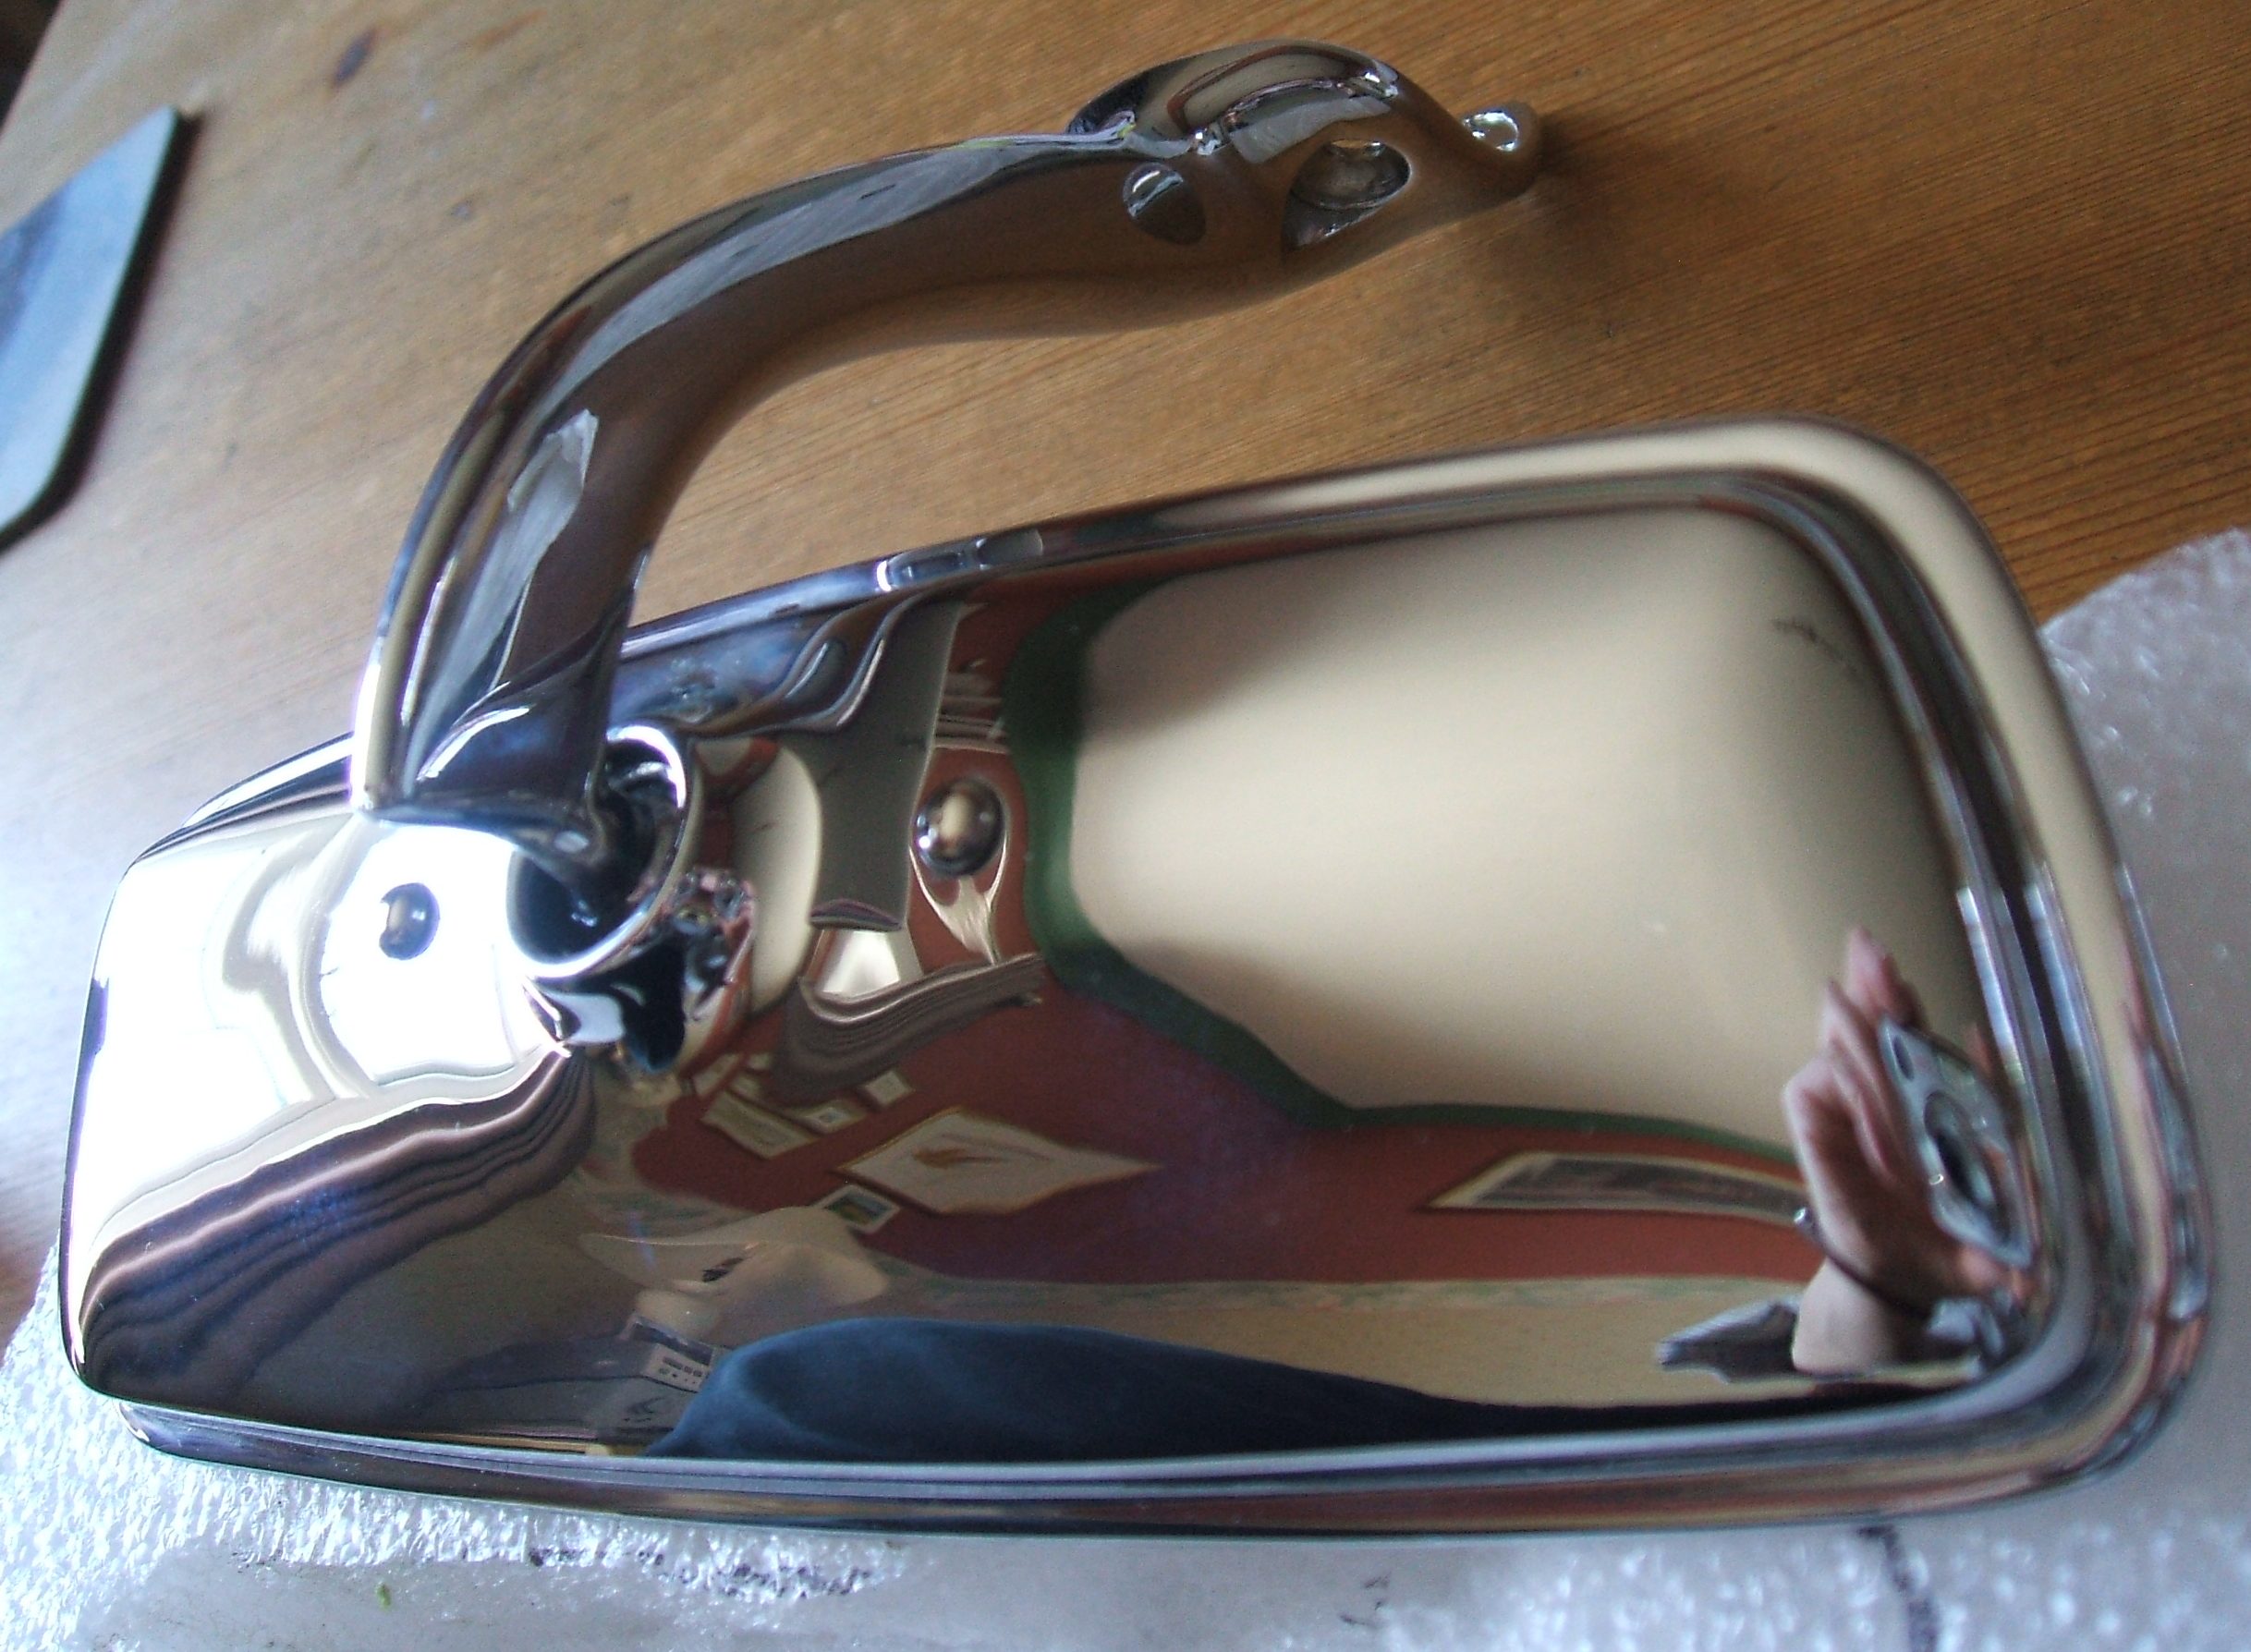
All finished. I am very pleased with the result. 全て完了。 私はその結果に非常に満足しています.
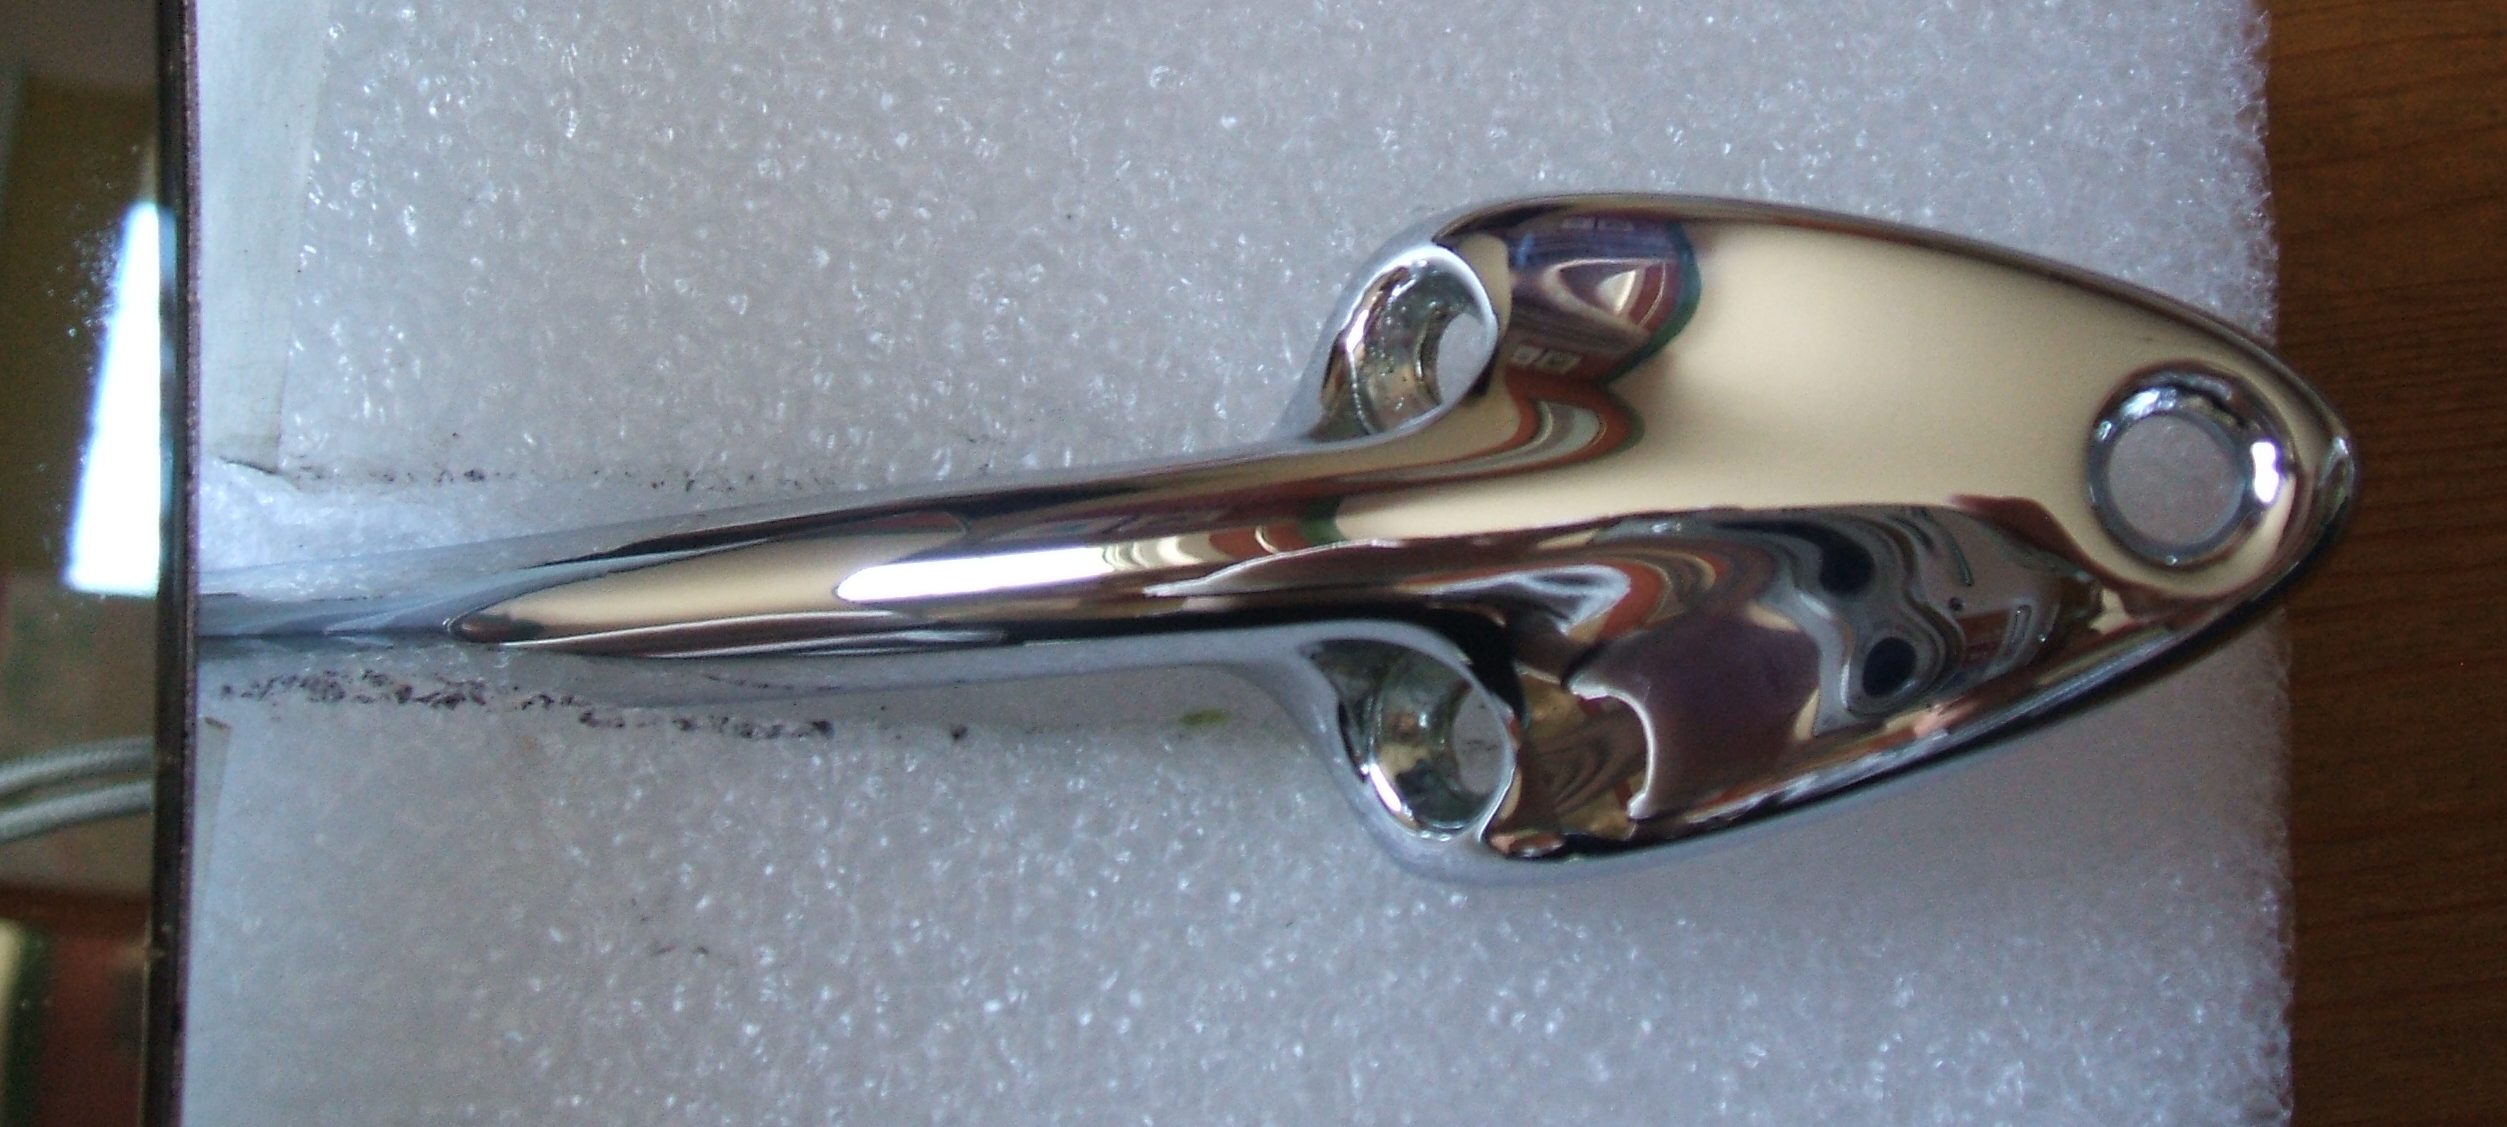
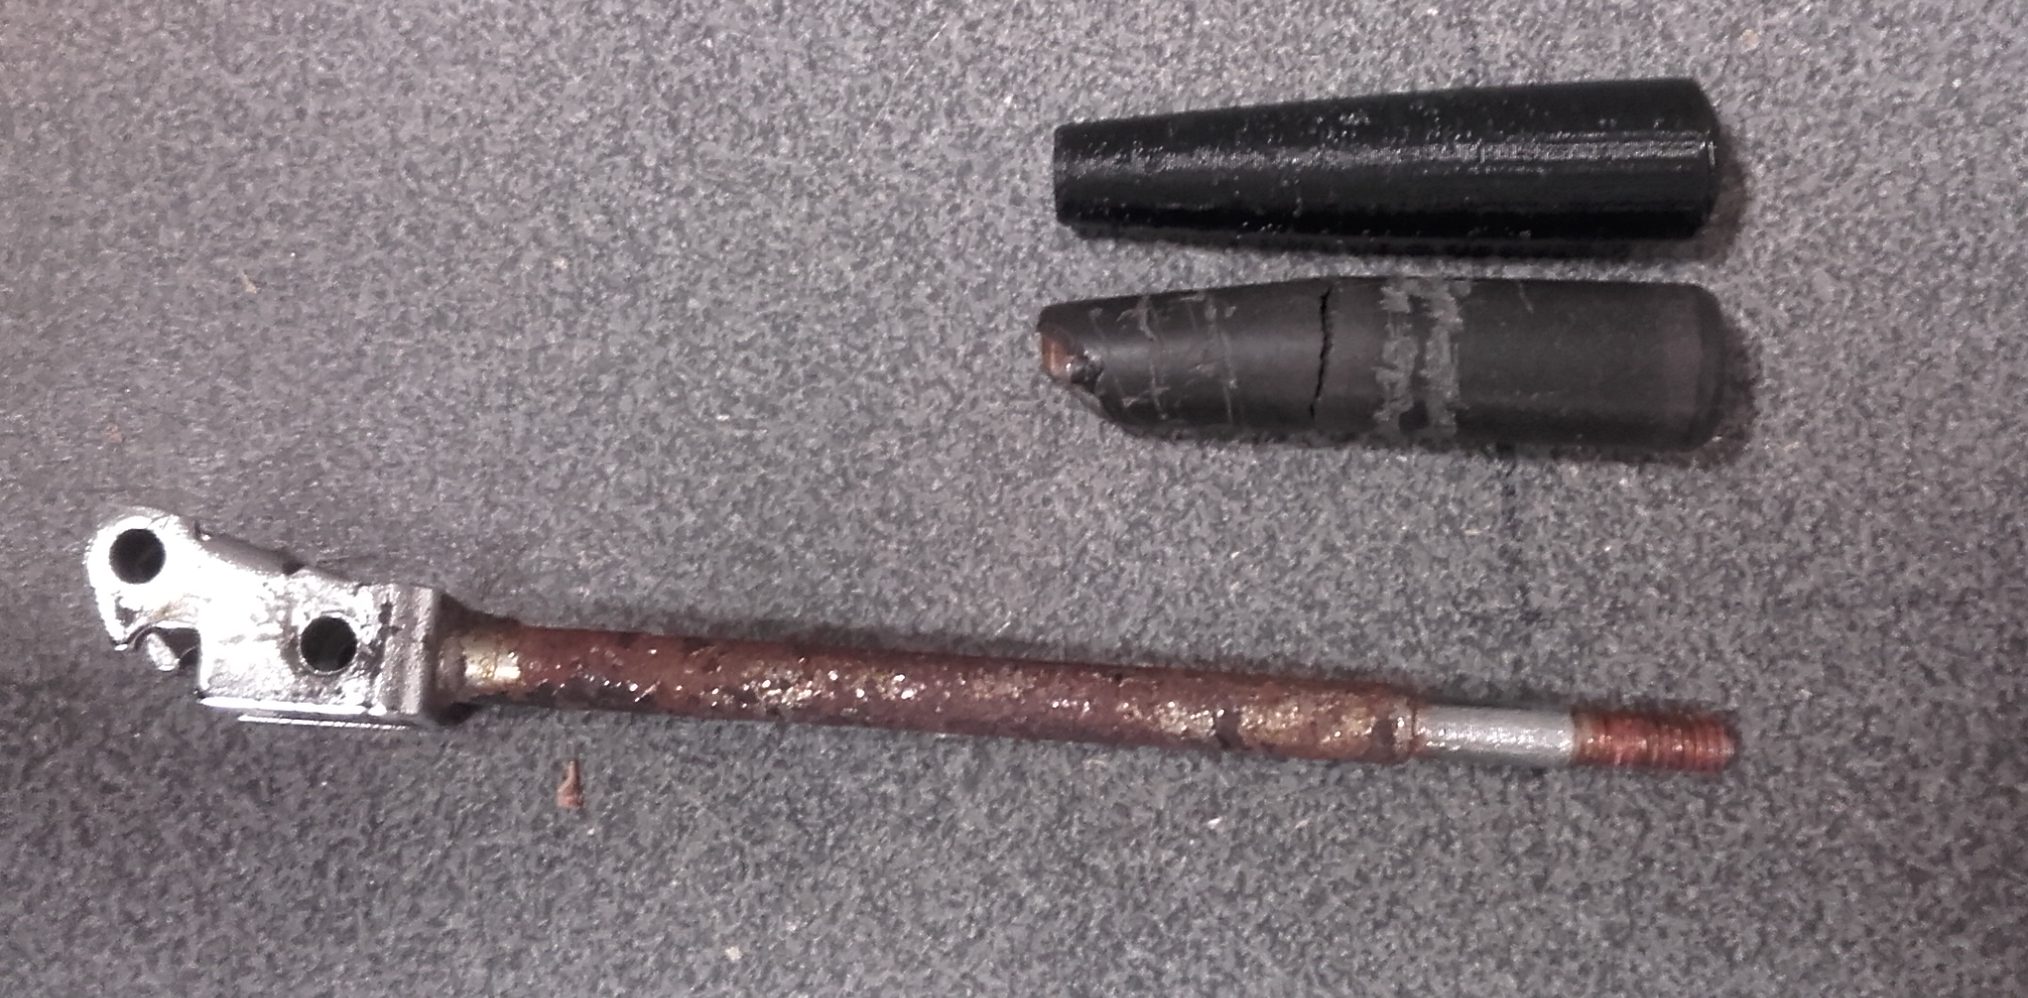
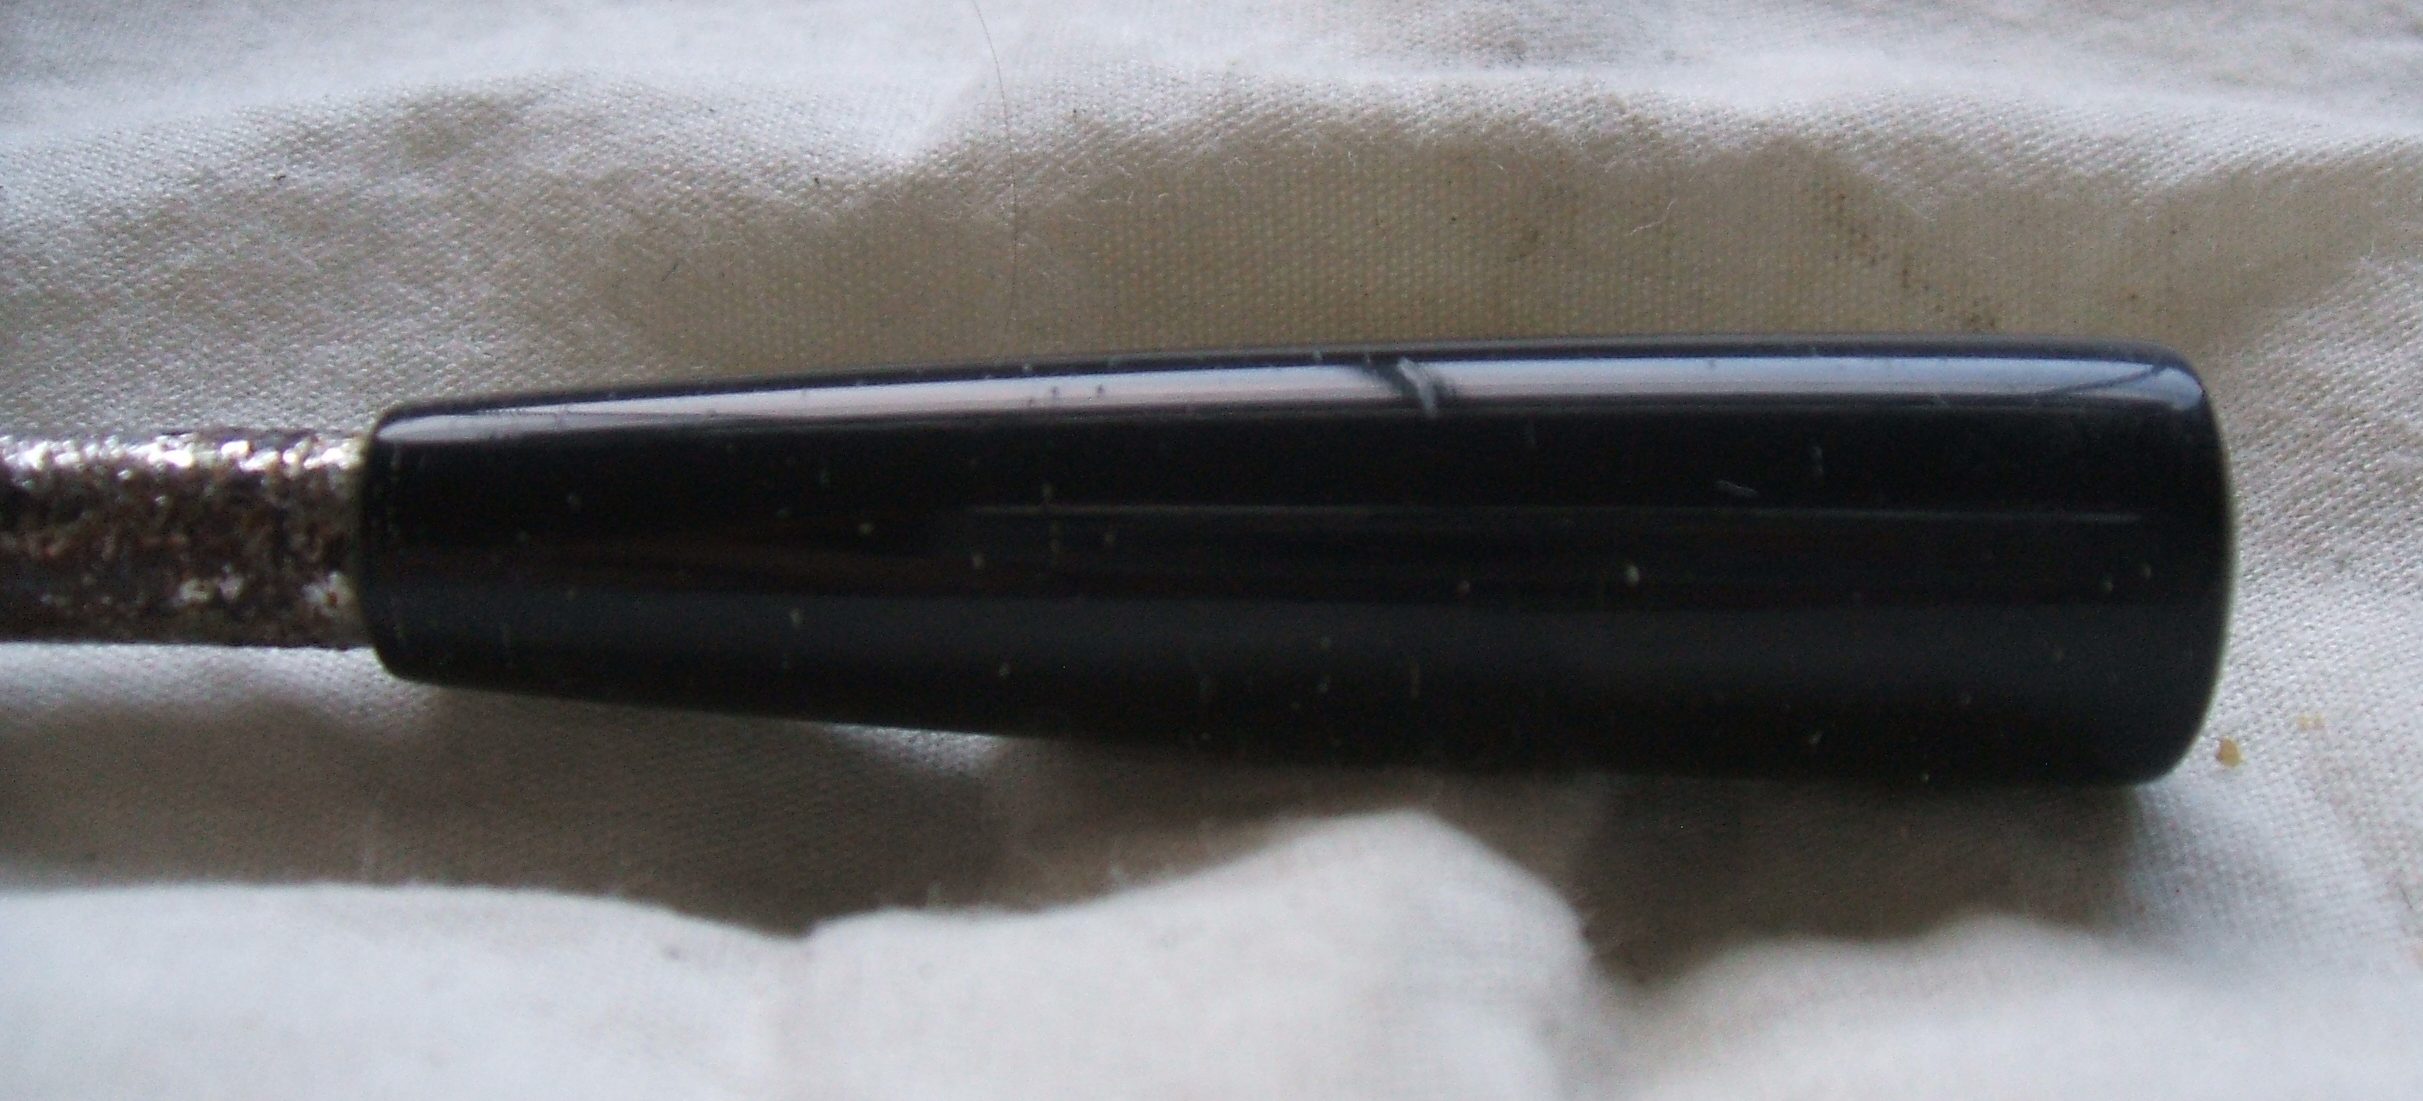
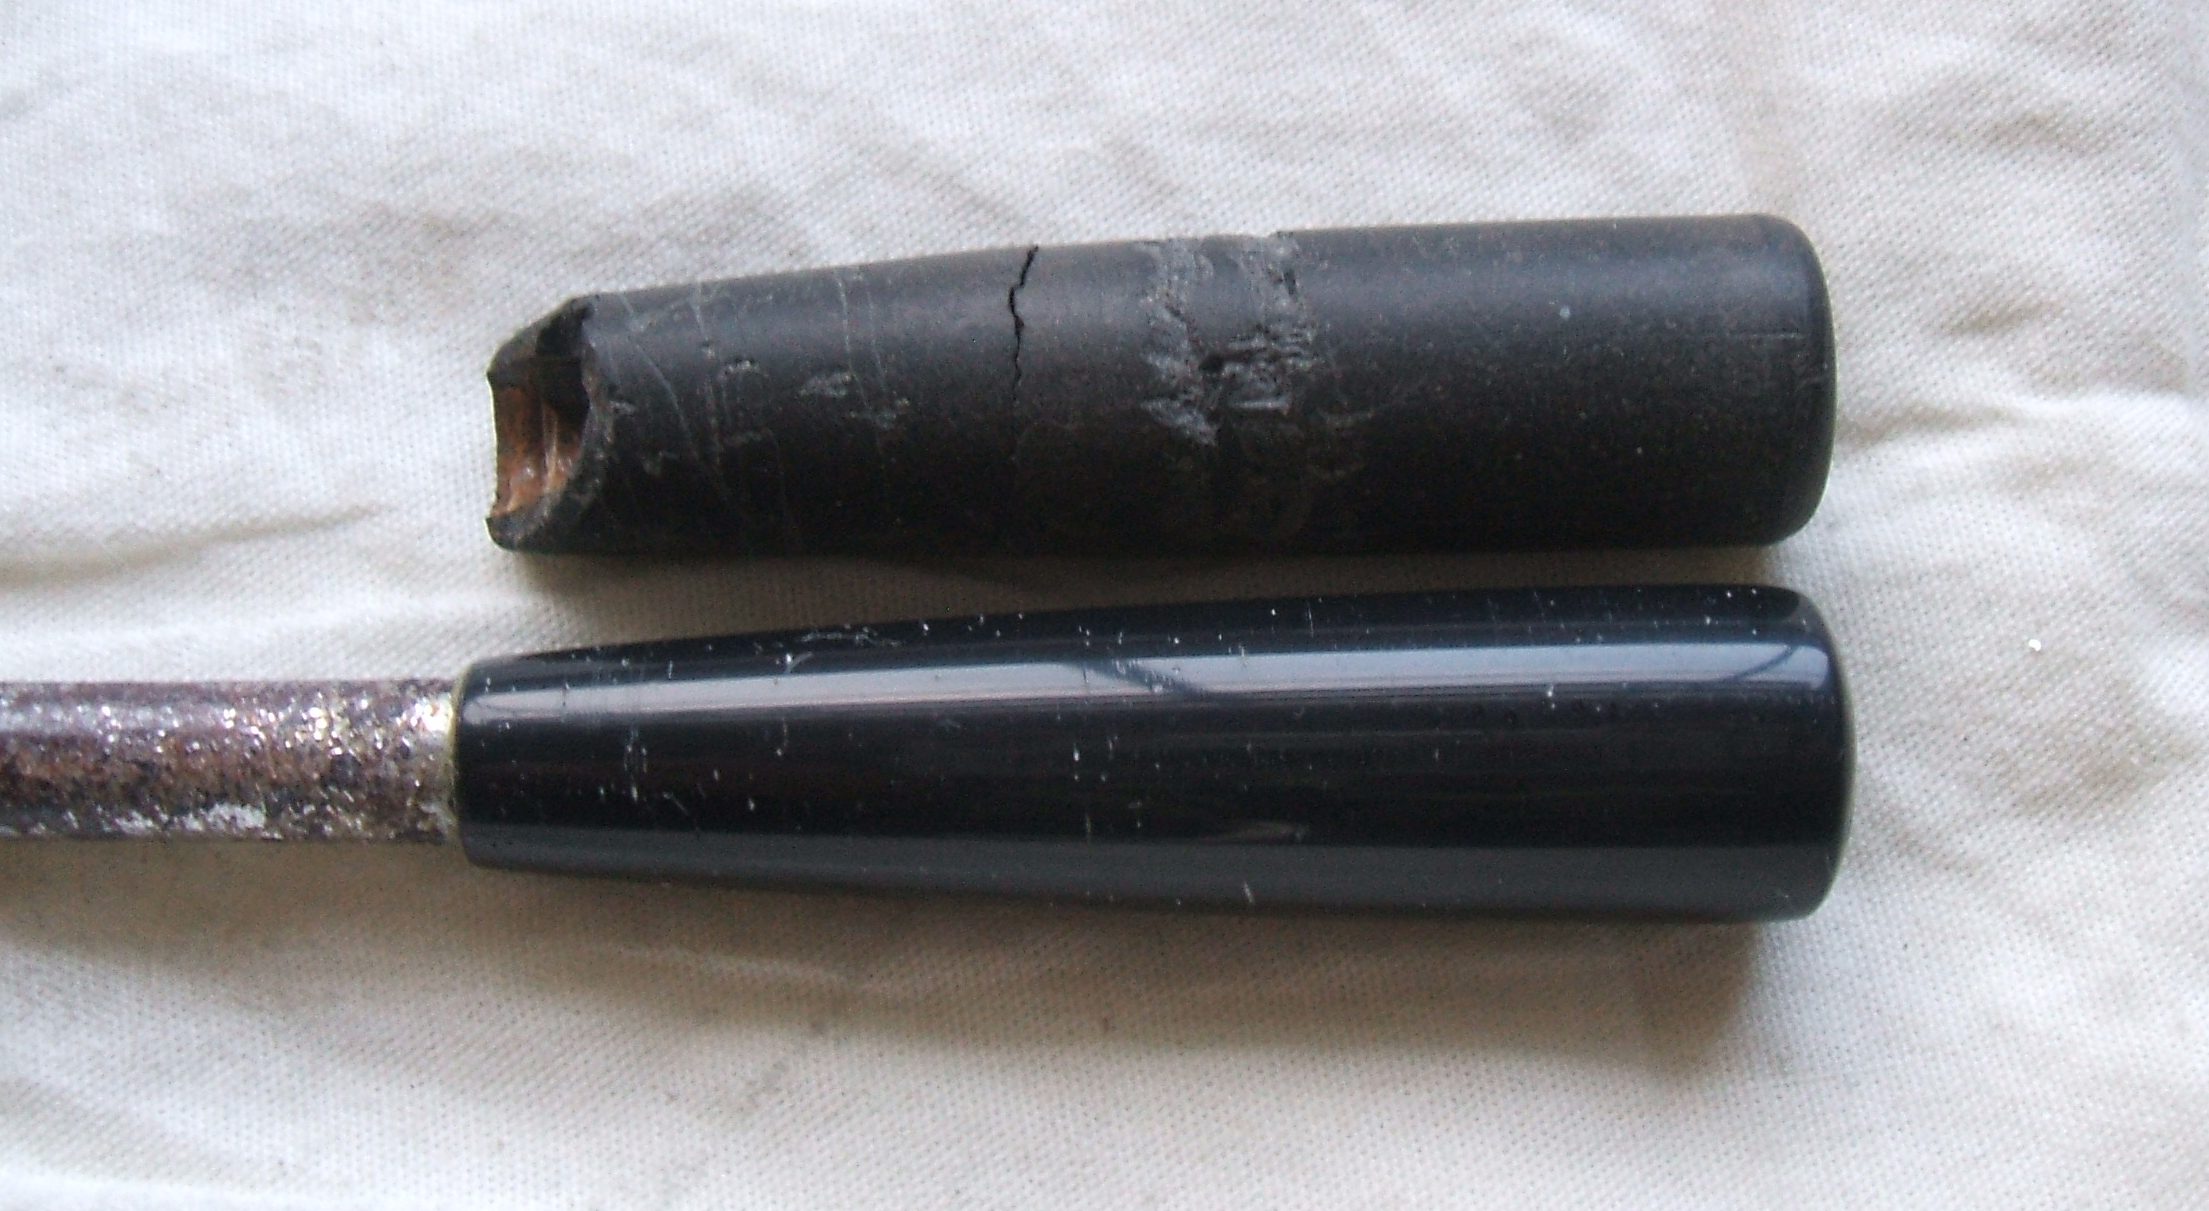
I have many small projects going on with my Silvia restoration. All at different stage of fruition. One of these is a reproduction of the indicator stalk knob. My indicator stem requires re-chroming, but to do this the knob has to come off. I found the only way to remove was to break it. The knob is threaded on, but also glued. As the knob is now broken, I require a new one.
私は私のシルビア修復物と共に進行中の多くの小さなプロジェクトを持っています。結実のさまざまな段階にあります。そのうちの1つは、インジケータステムノブの再現です。私のインジケーターステムは再クロームが必要ですが、これを行うにはノブを外す必要があります。私は削除する唯一の方法は、それを破ることがわかりました。 ノブはねじ込まれているだけでなく、接着されています。ノブが今壊れているように、私は新しいものが必要です。
Below, I tried a Bluebird 411 indicator stalk to see how the knob is attached. (The Bluebird knob is different to the Silvia one, and the stalk has a bend in it).
以下は、私はノブが装着されているかを確認するためにブルーバード411インジケータステムを試してみました。(ブルーバードのノブはシルビアのものとは異なります, ステムは、それに曲がりがあります。)。
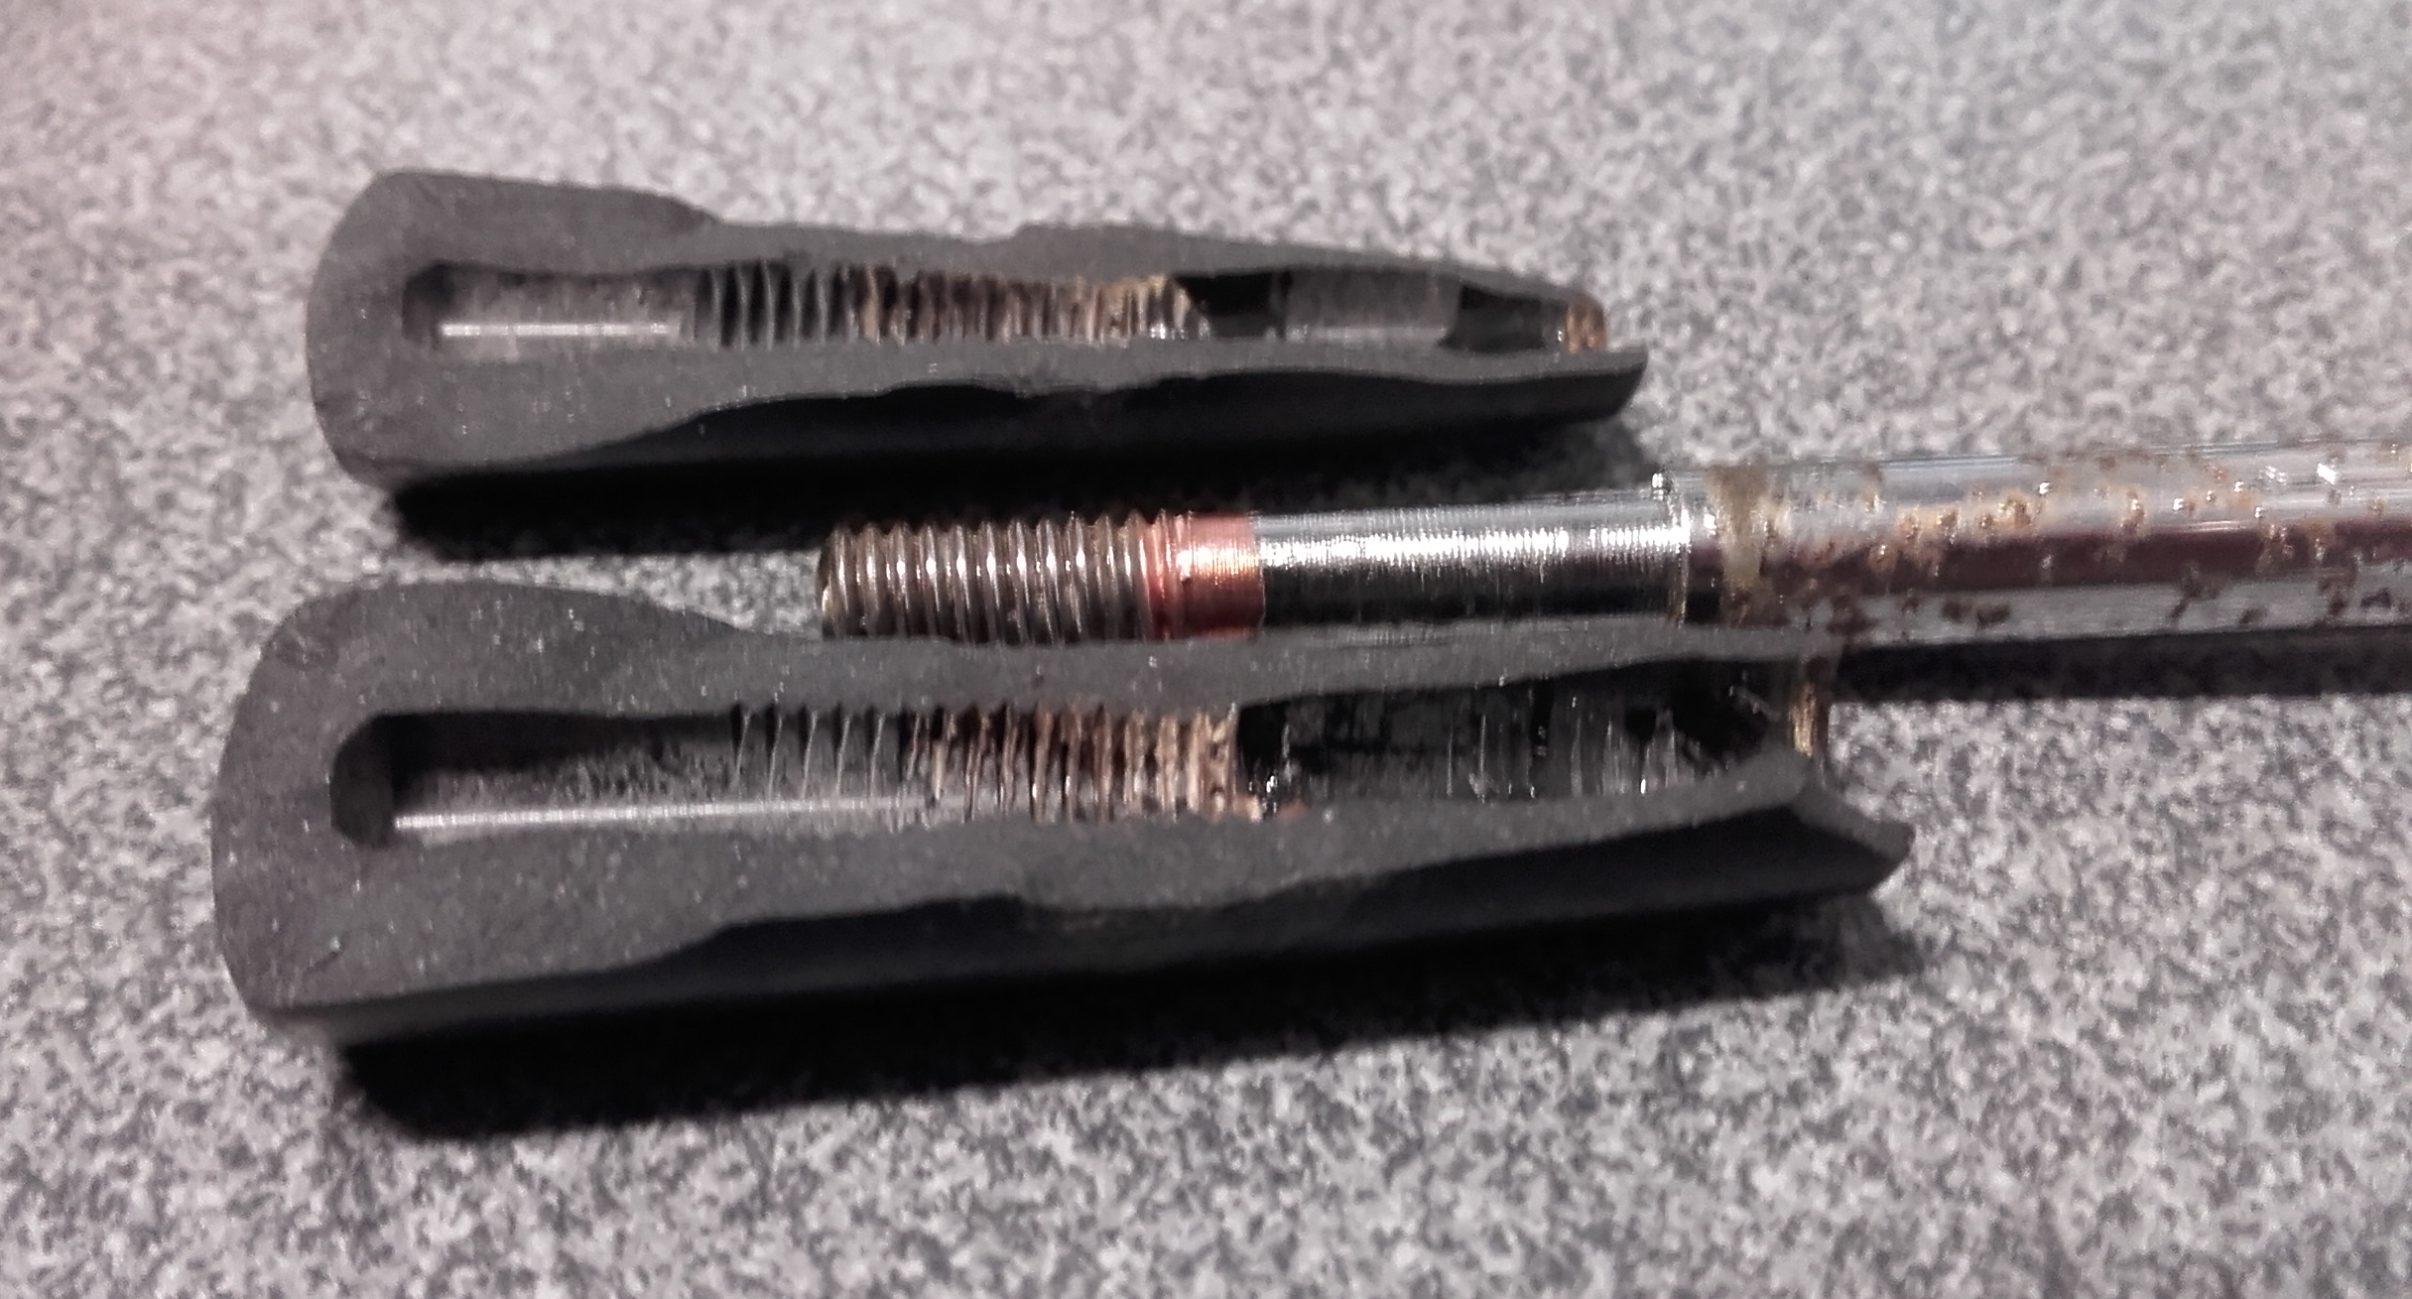
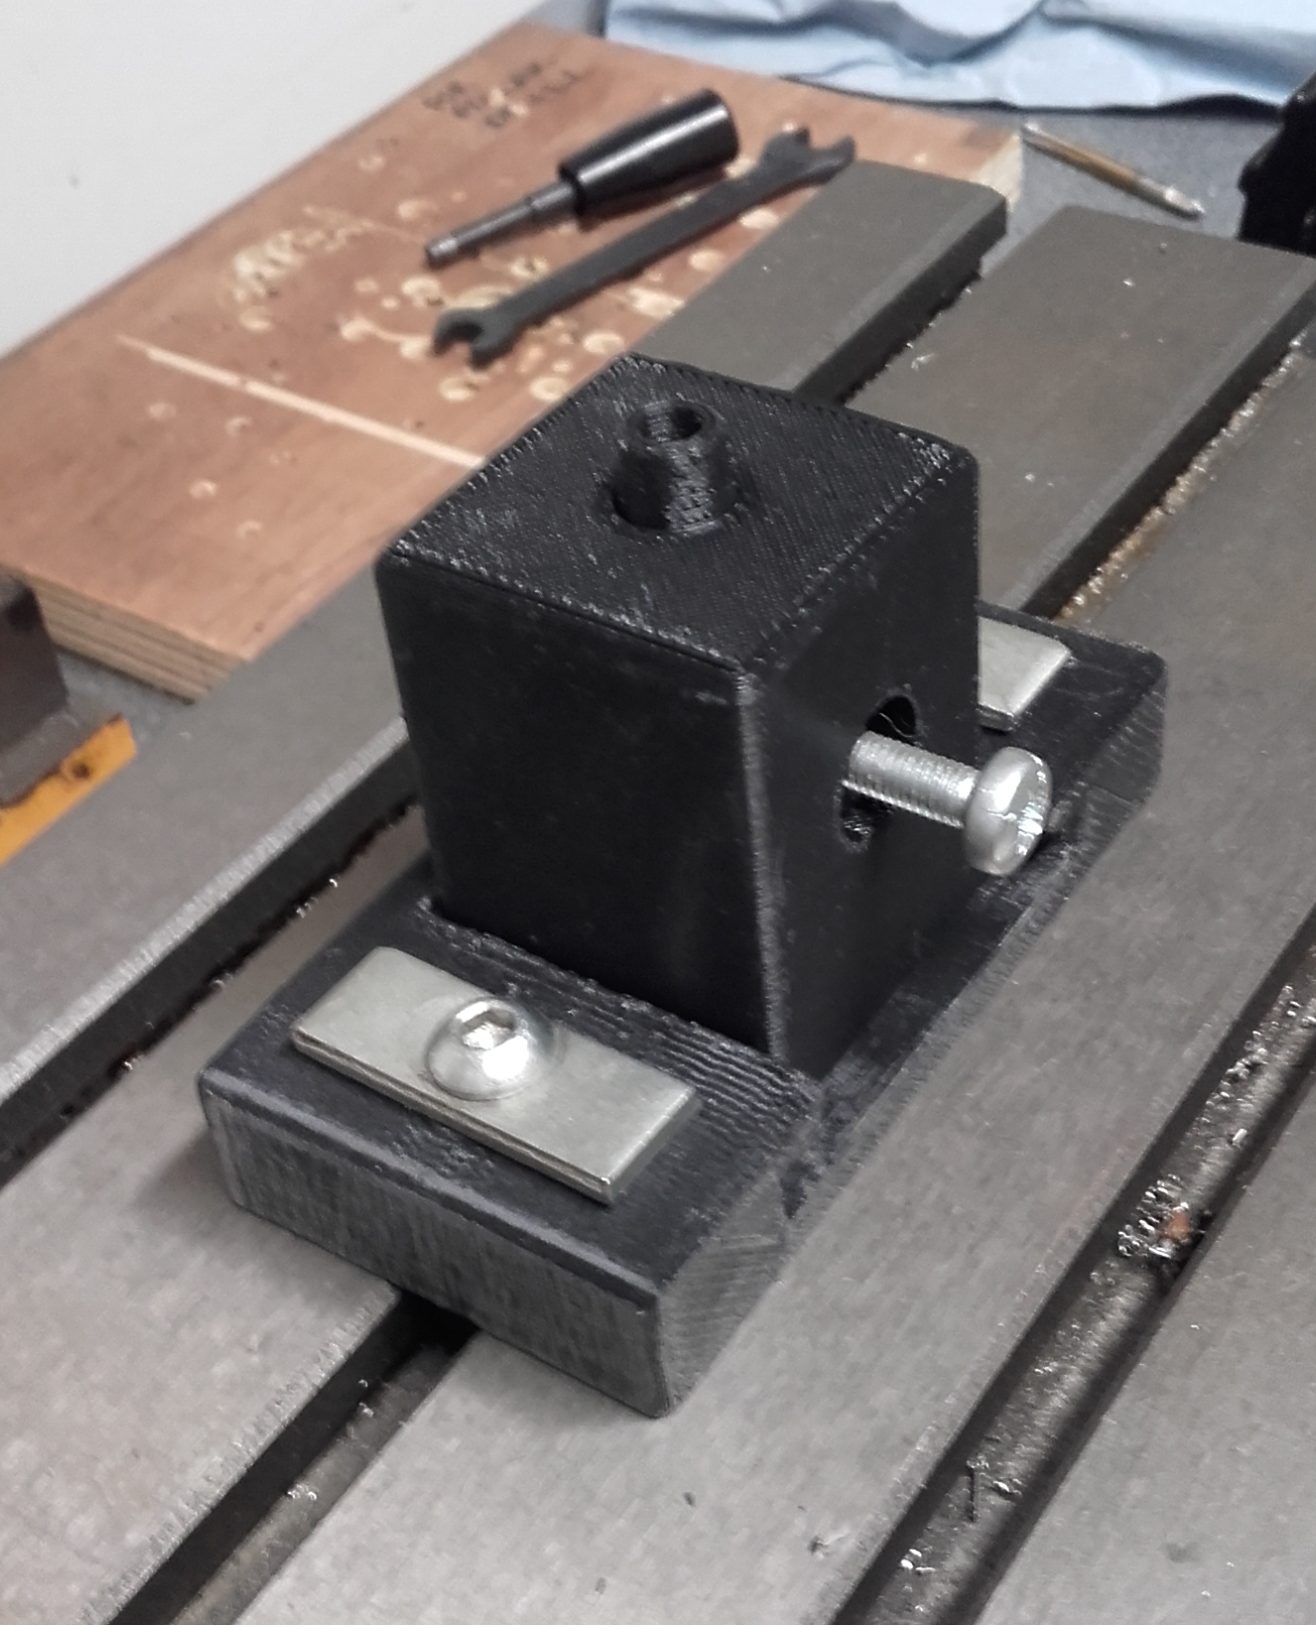
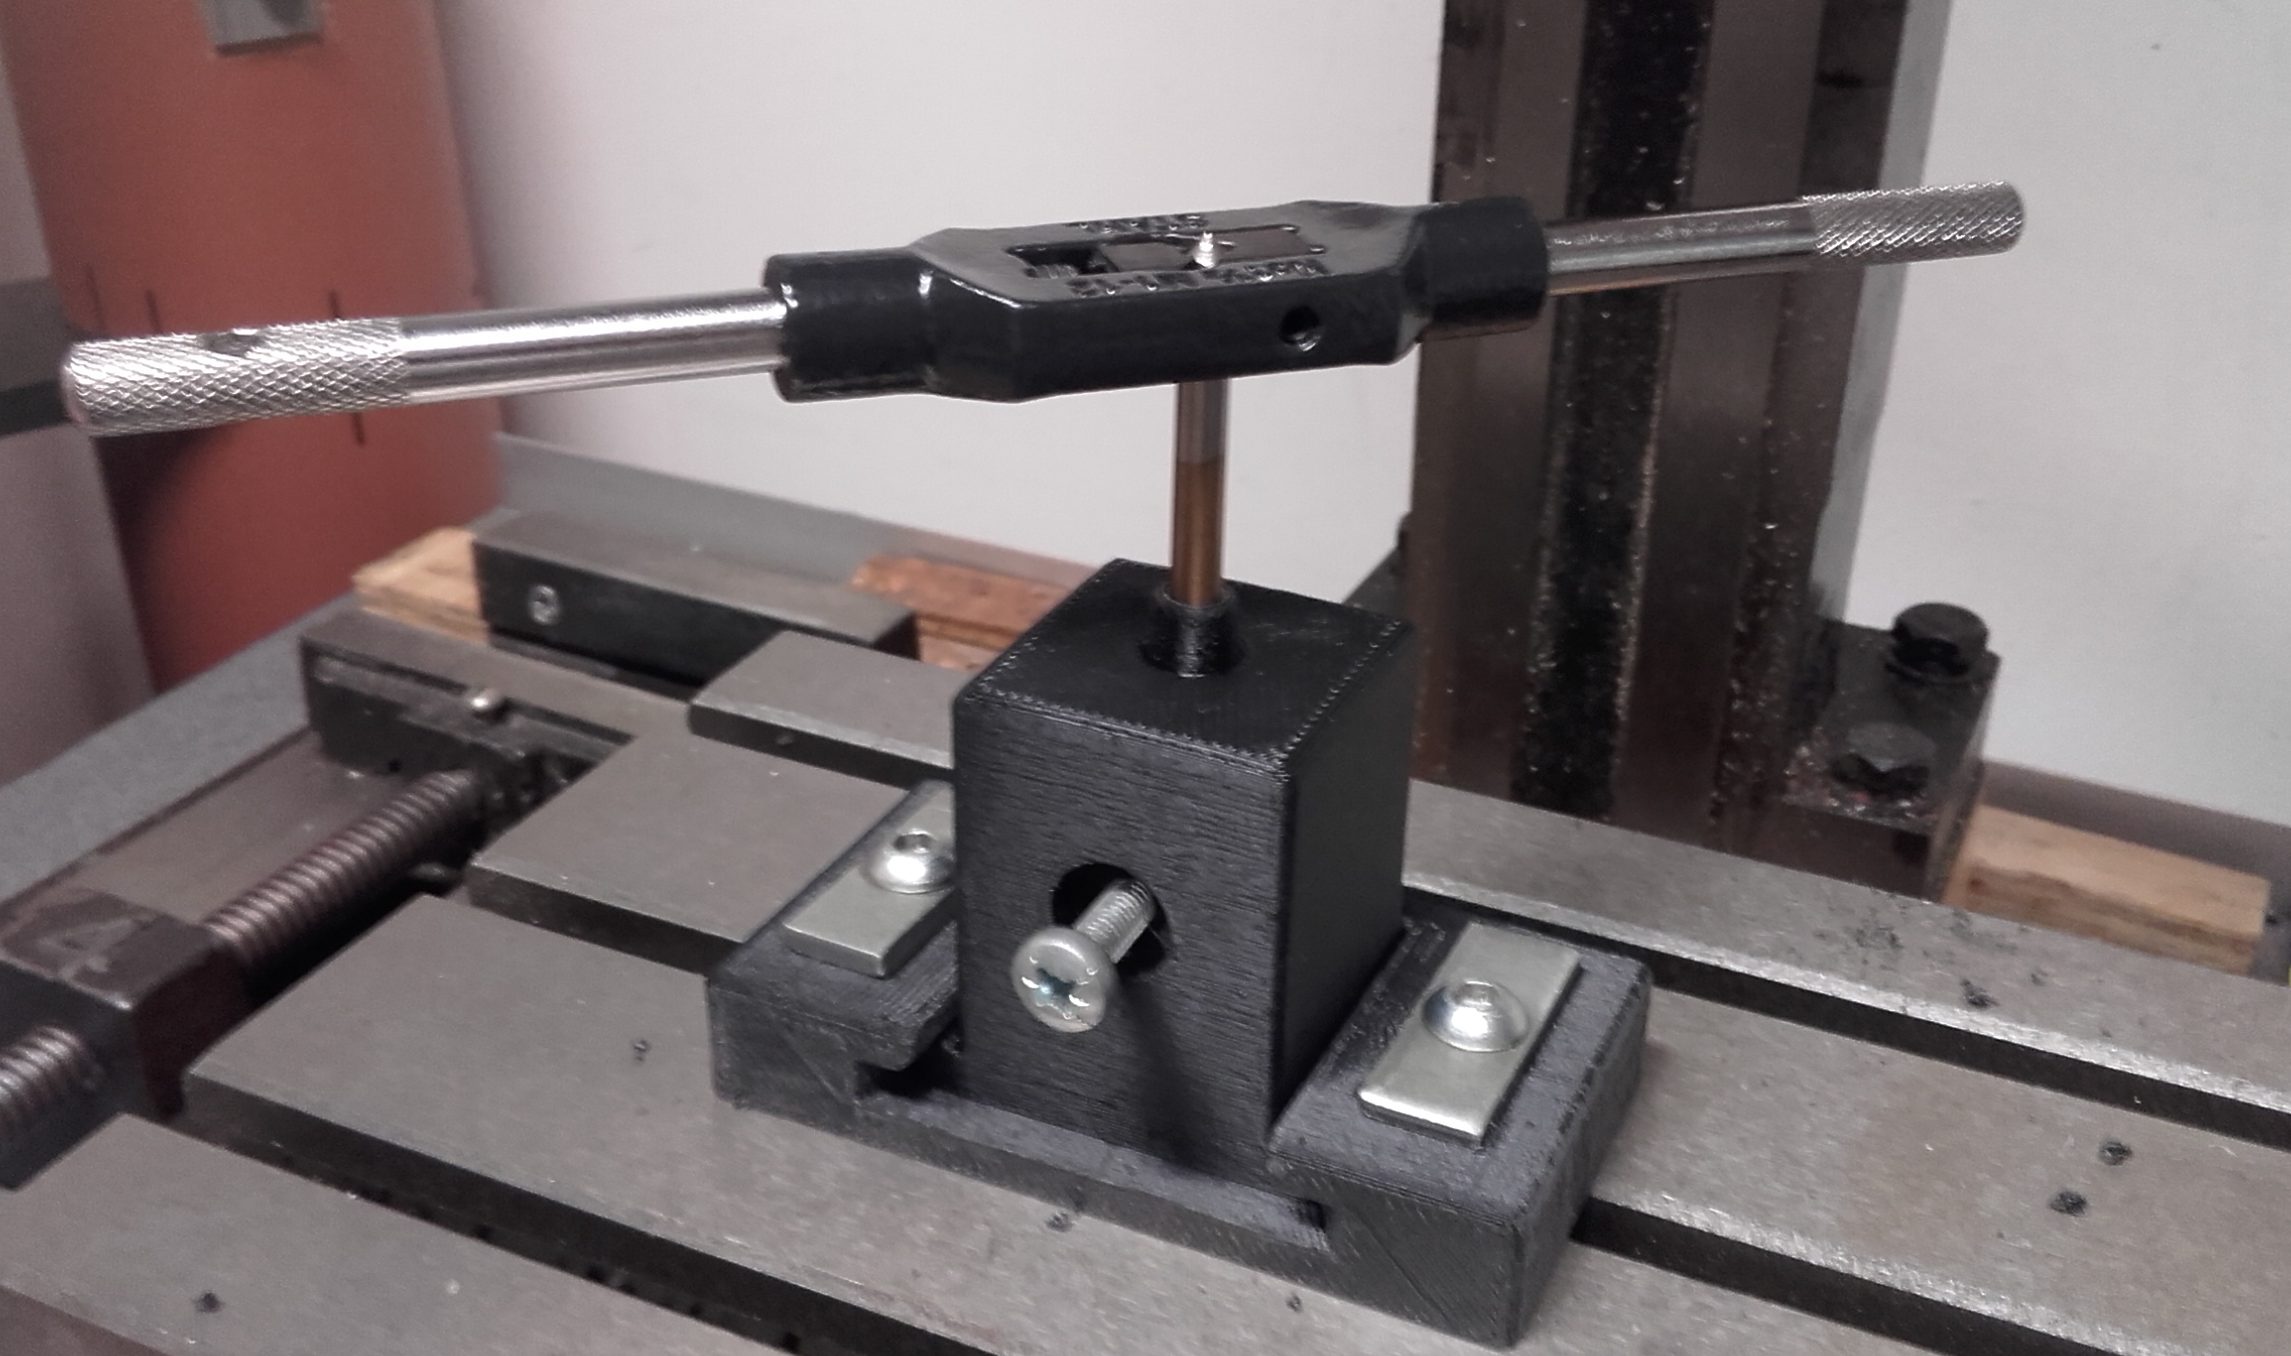
To reproduce the Silvia knob, I had a CAD drawing made, then 3D printed. When 3D printed, the knob comes partly with a hole for fixing. It still requires more drilling out, and threaded. But, I thought, how am I going to hold the knob to drill and thread? I need a jig made, especially for this. So, I had one 3D printed. From the images below, part of the jig bolts to the drilling table, while the square part holds the knob. The square part slides out.
シルビアノブを再現するために、CAD図面を作成してから3D印刷しました。3Dプリントすると、ノブの一部に固定用の穴が付きます。それはまだたくさんの掘削アウト、およびねじり切りが必要です。しかし、私はノブをどのように握ってドリルとねじ切りをするのでしょうか?私は特にこれのために作られたジグが必要です。それで、私は1つを3Dで印刷しました。下の画像から、ジグの一部が穴あけテーブルにボルトで固定され、四角い部分がノブを支えています。四角い部分が出てきます。
And for reference, the broken original Silvia one, and a new printed knob. Also new knob attached to stalk.
そして参考のために、壊れたオリジナルのシルビアのもの、そして新しいプリントノブ。ステムにも新しいノブが付いています。
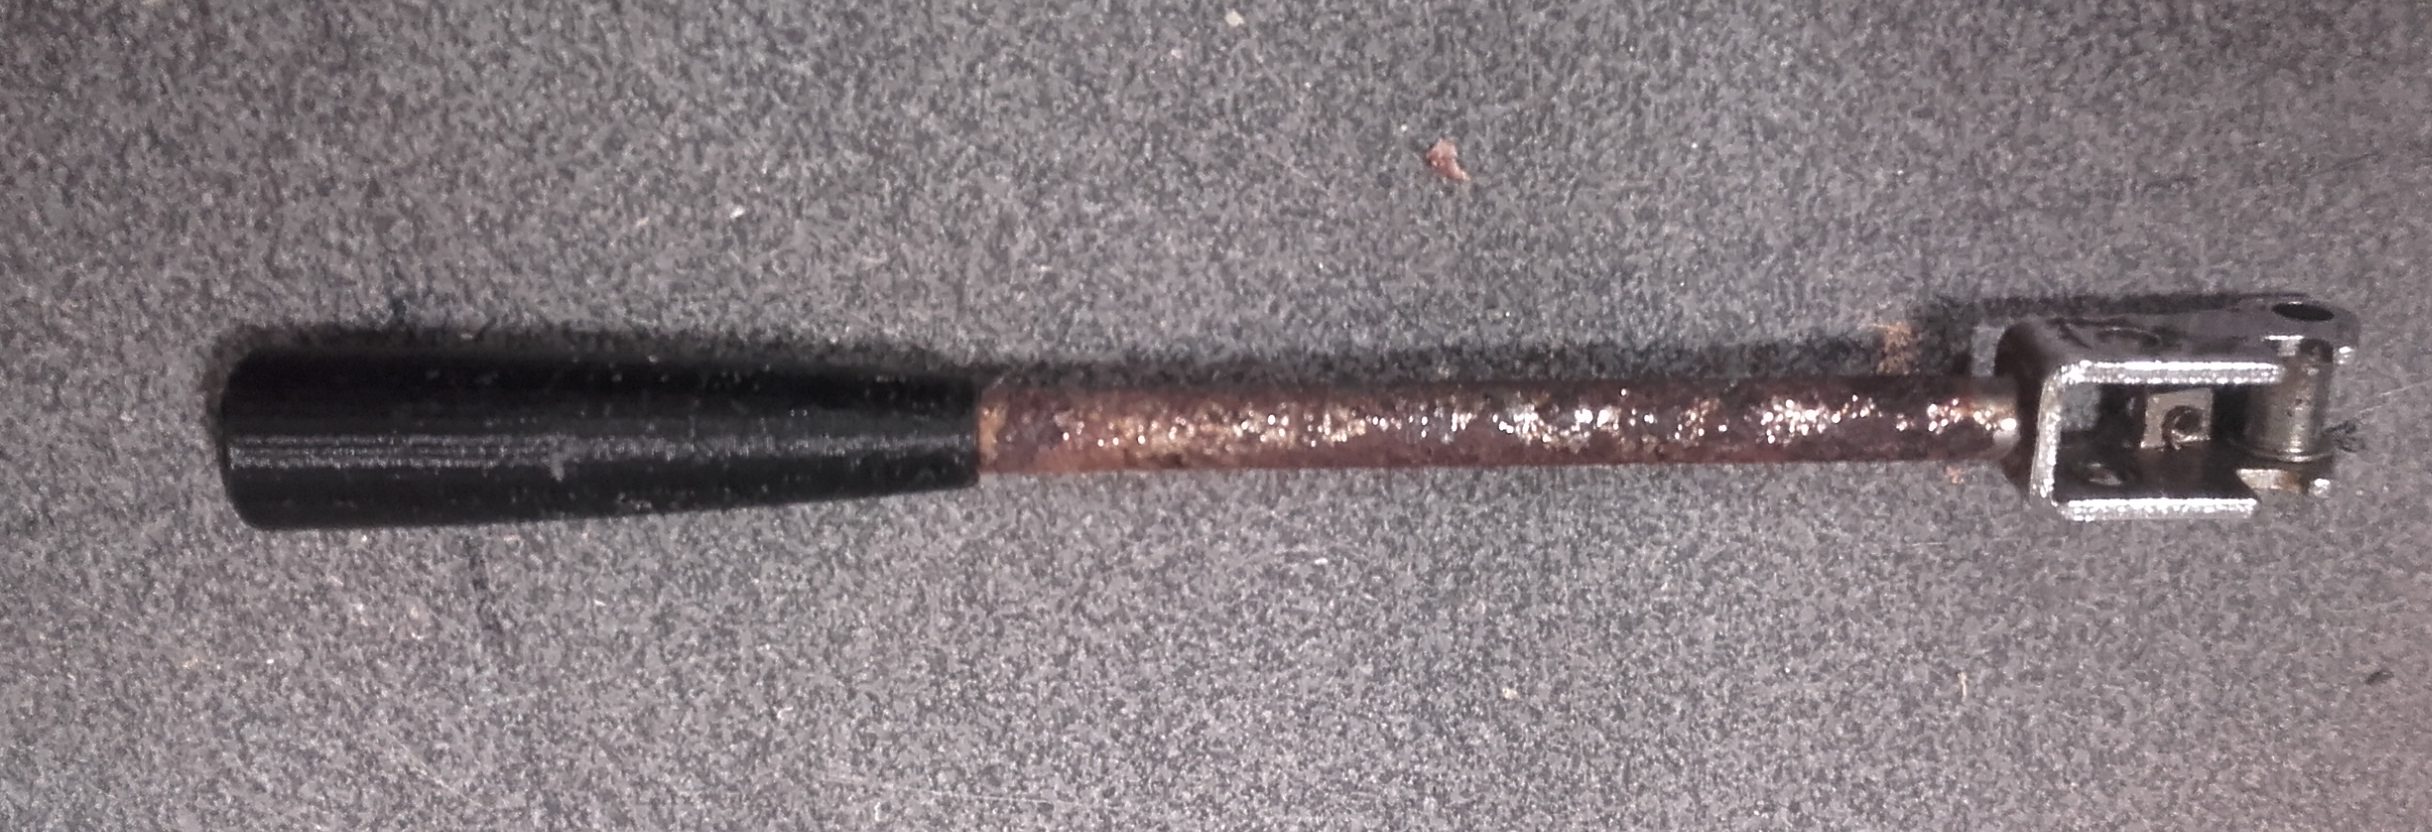
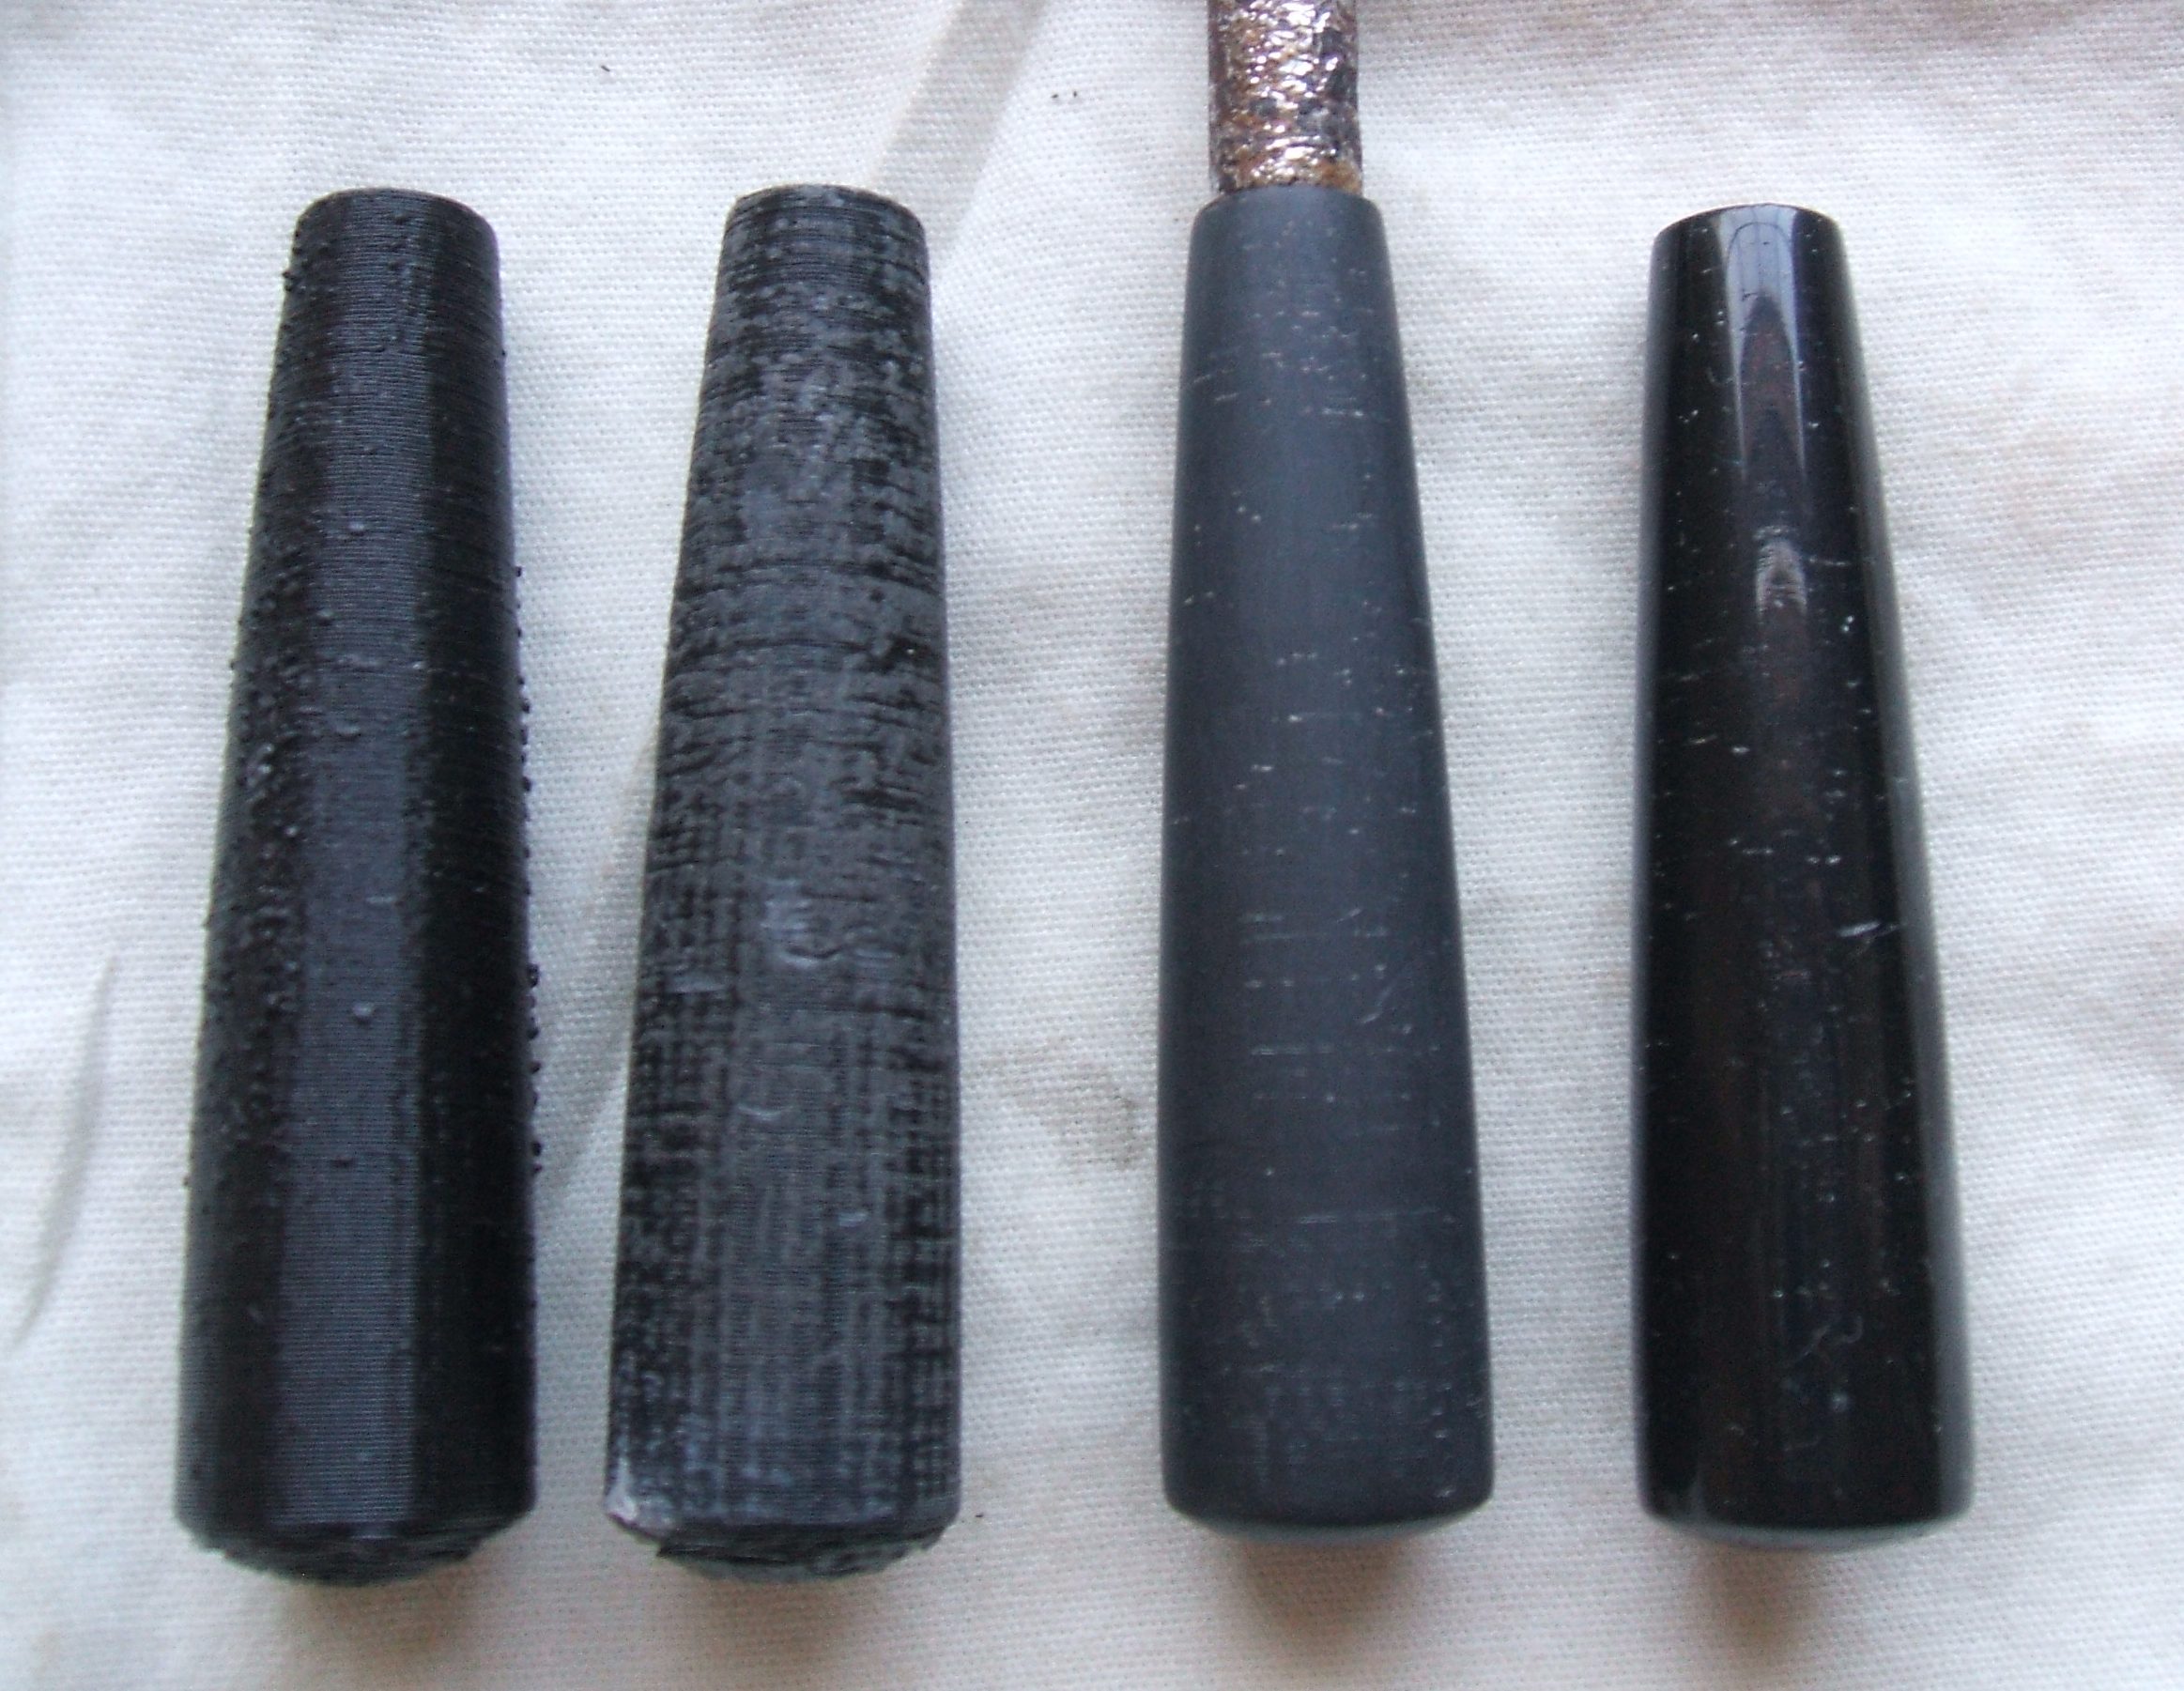
Now, the new knob has a rough surface from the printing process. So, I sand the knob with different grade of sandpaper. I find the job easier with the knob attached to the stalk.
今、新しいノブは印刷プロセスからの粗い表面を持っています。そこで、私はノブを異なるグレードの紙やすりで磨きます。私は、ステムに取り付けたつまみで簡単に仕事を見つけます。
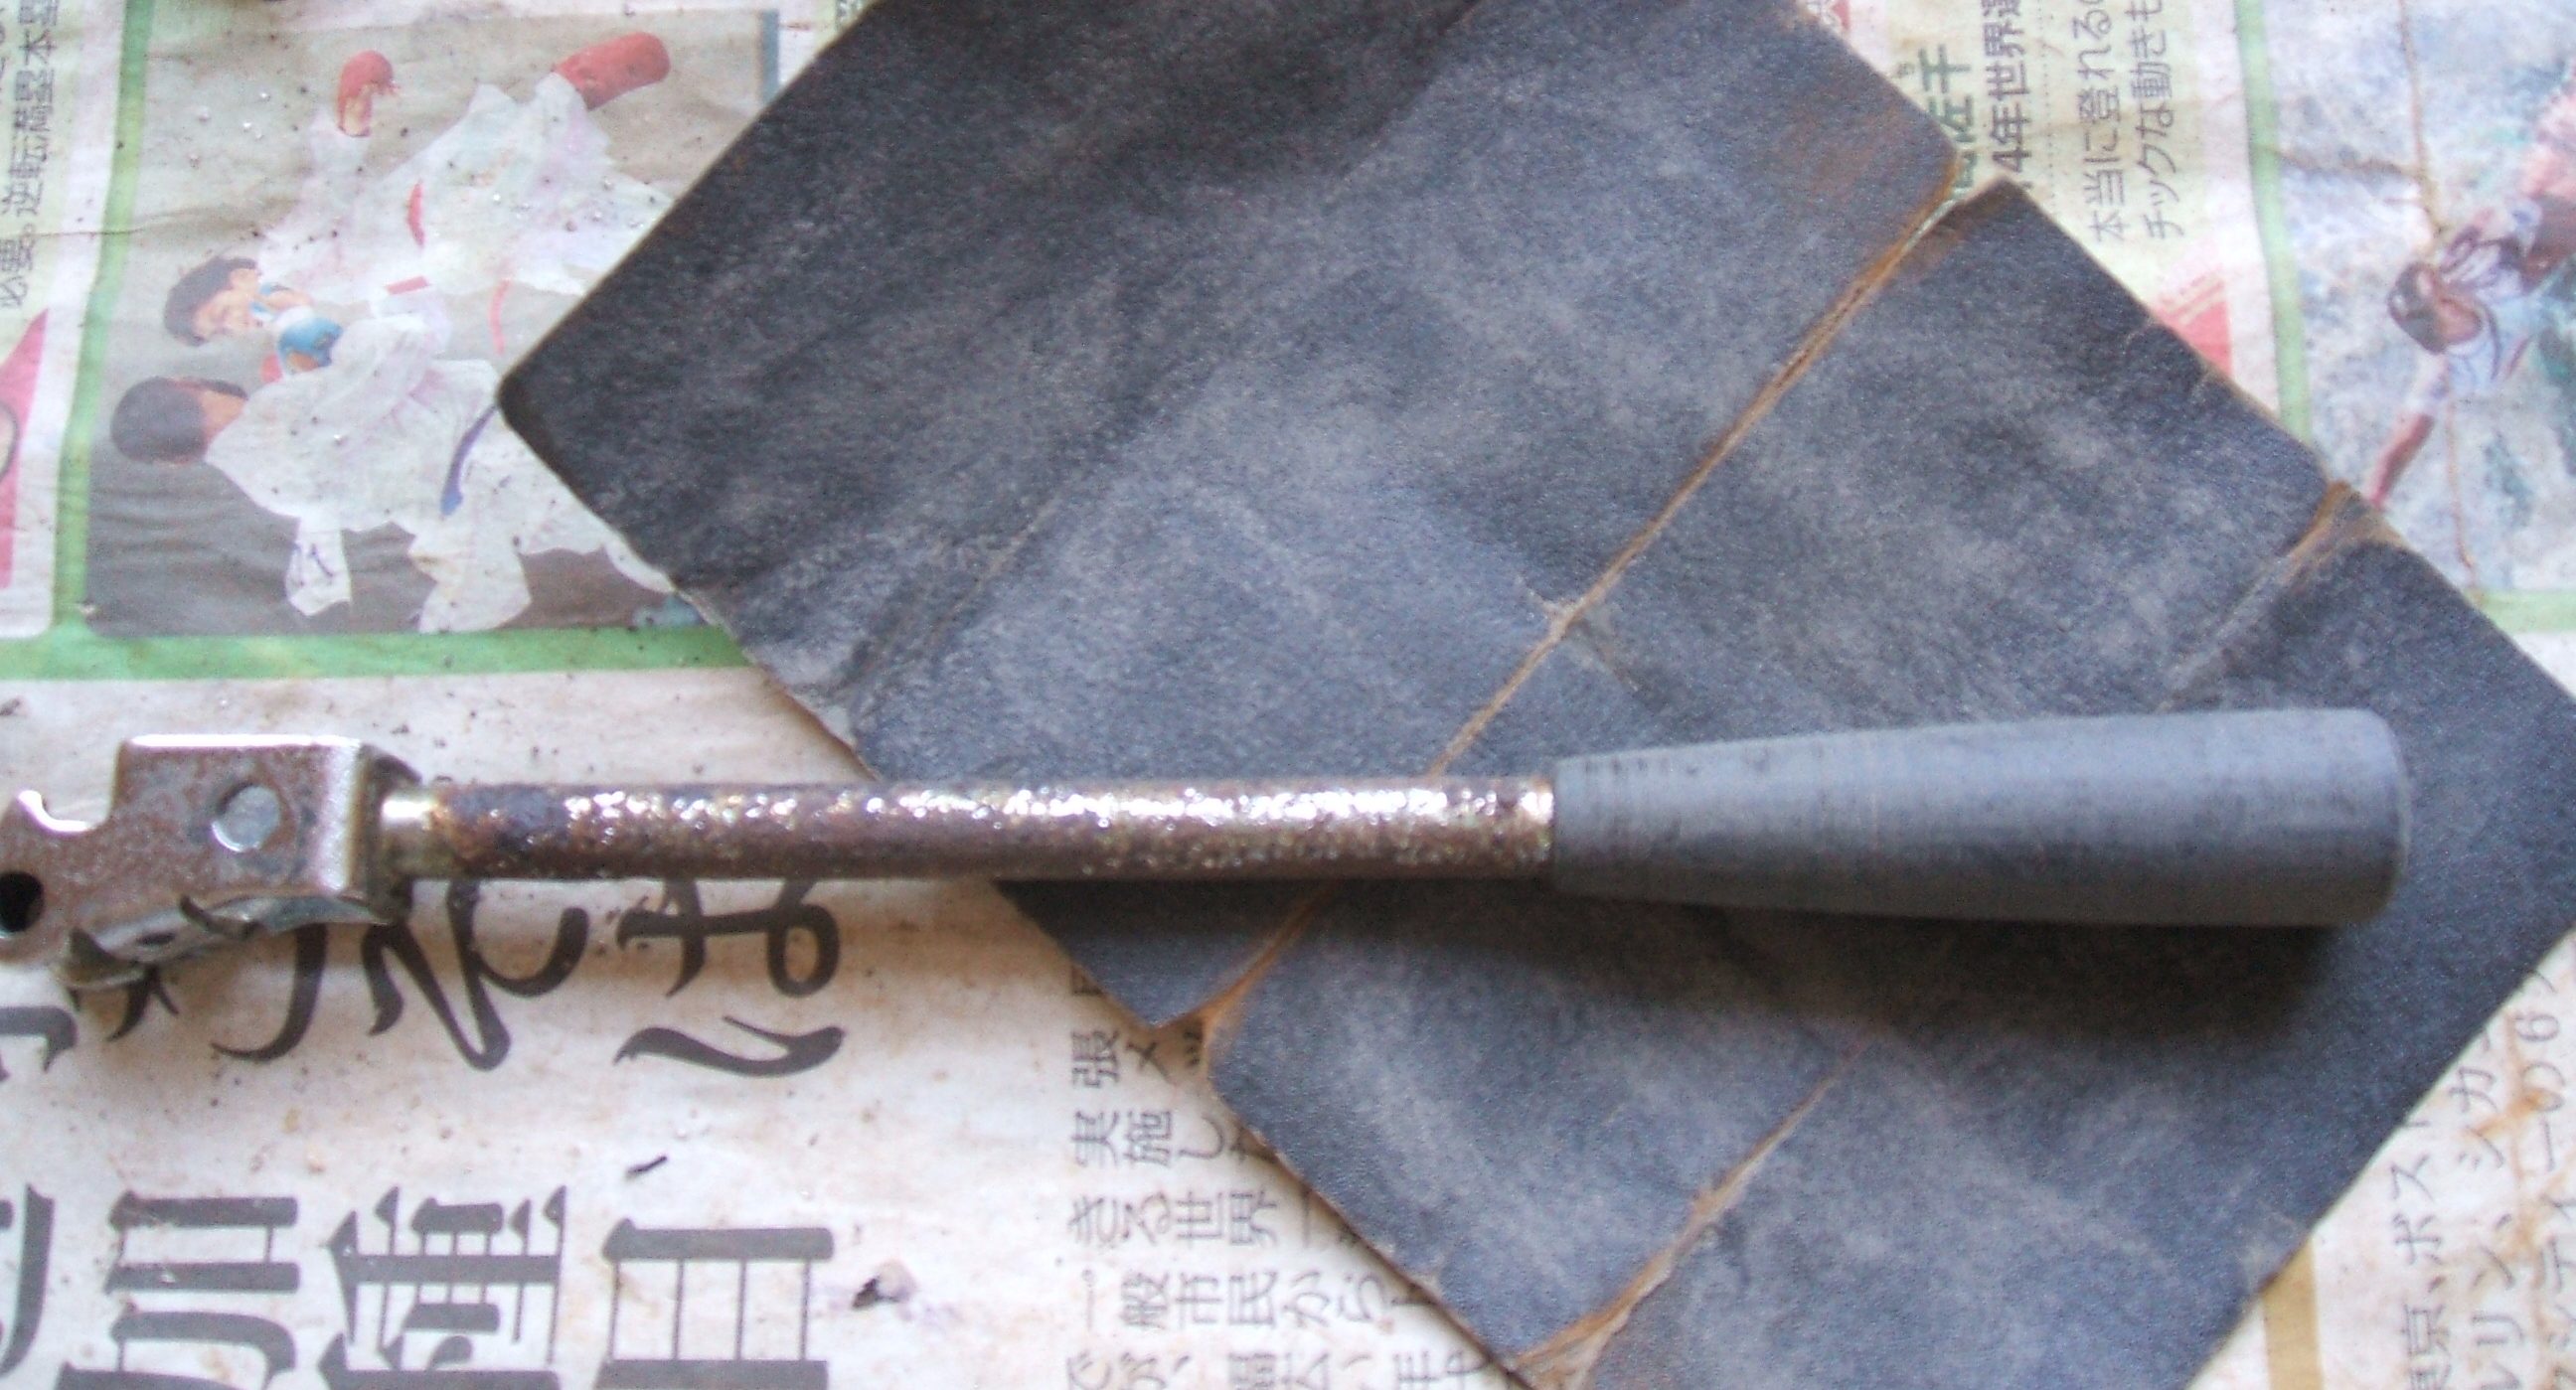
After very fine sandpaper, I then polished. There is still some very fine marks, but the knob looks less new. It has patina.
非常に細かいサンドペーパーの後、私はその後、研磨します。そこはまだいくつかの非常に細かいマークですが、ノブが少ない新しい見えます。それは緑青があります。
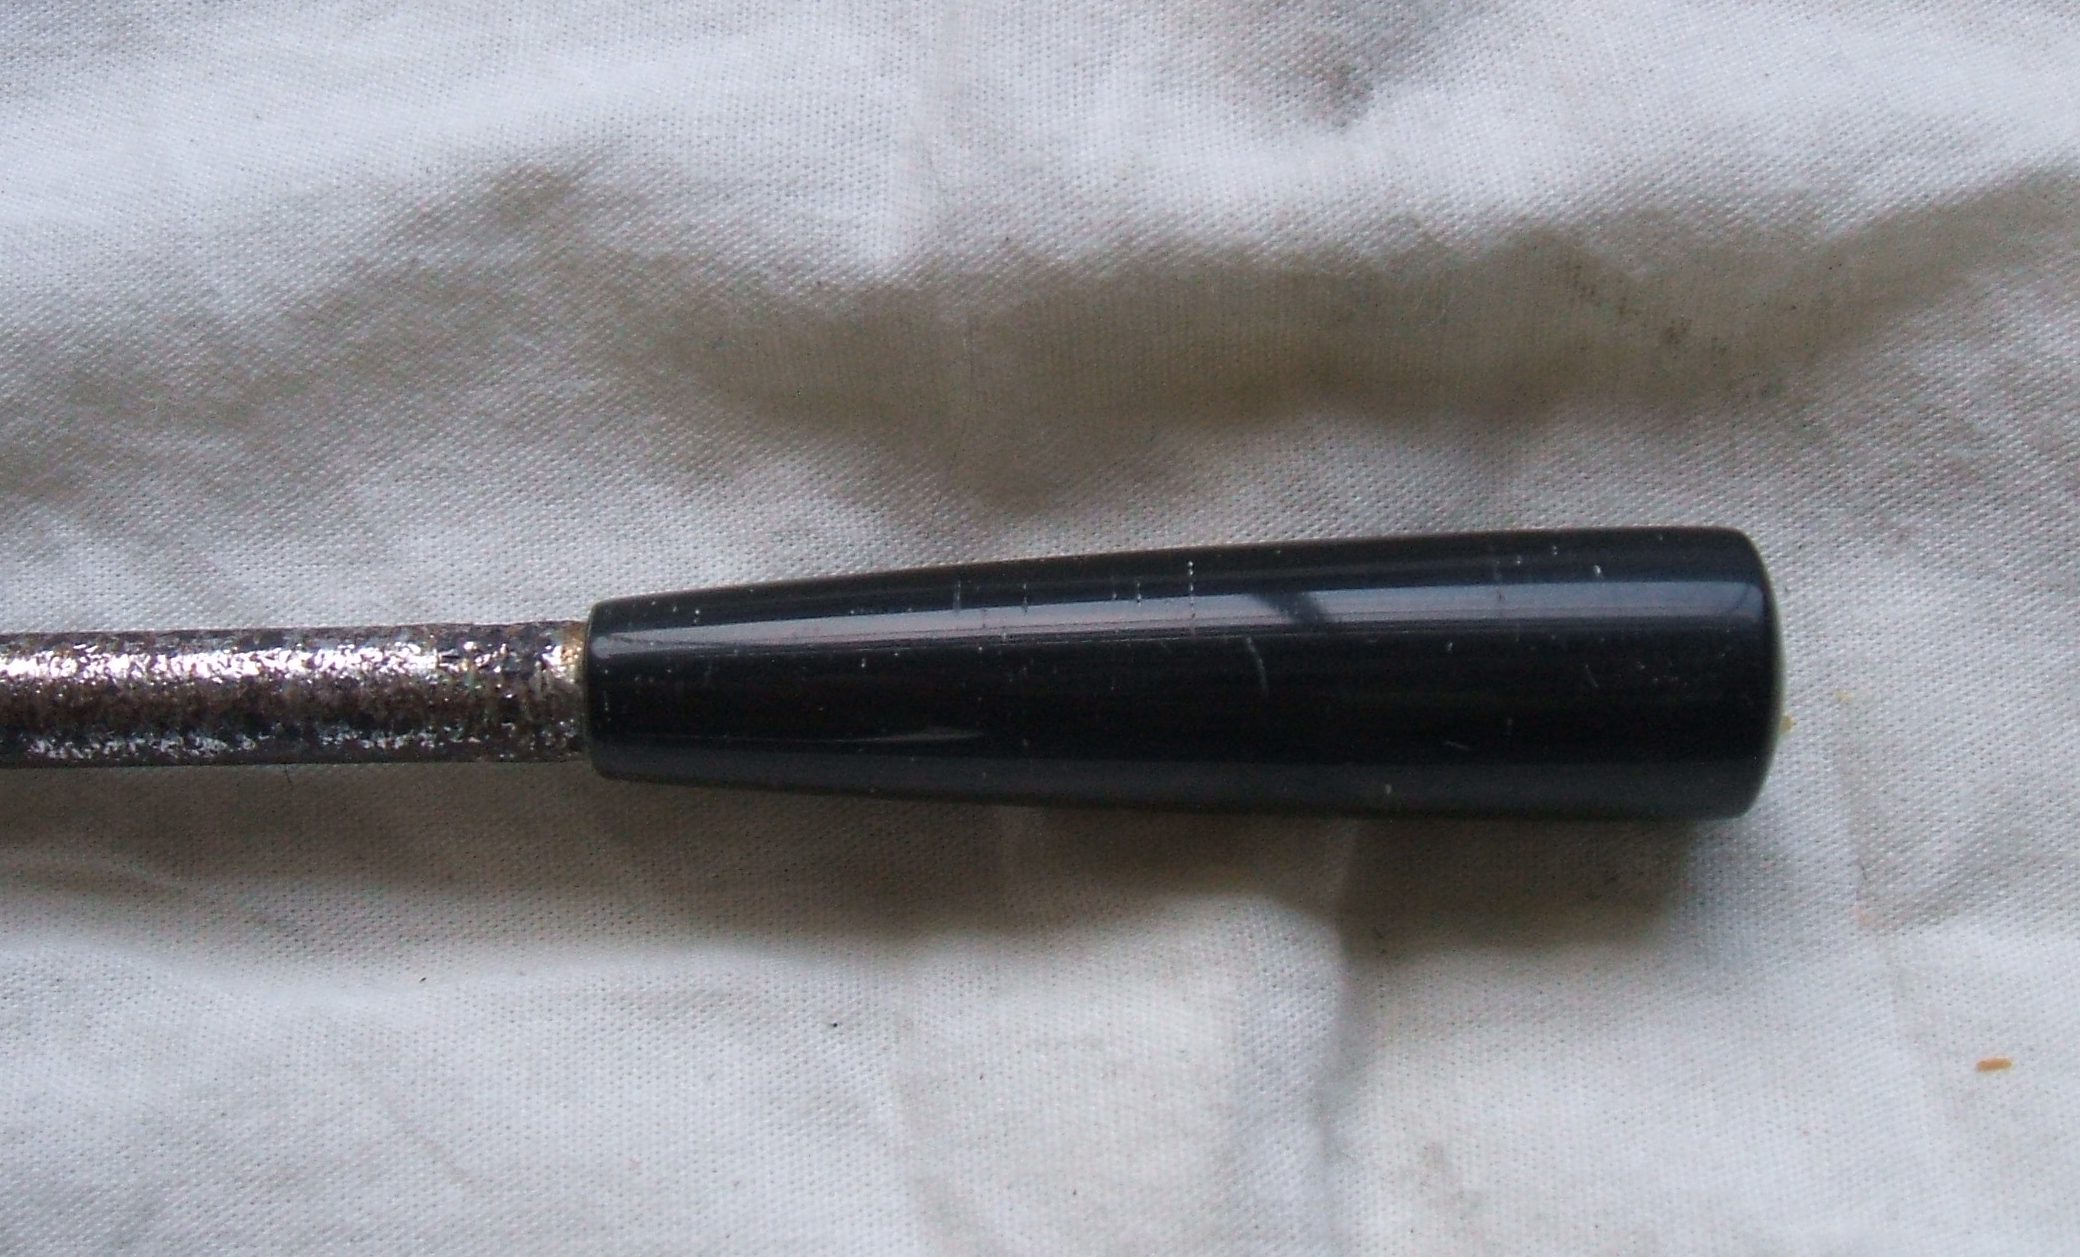
Finished knob next to old one. 古いものの隣に完成したノブ。
Various stages, from old to new. 古いものから新しいものまで、さまざまな段階。
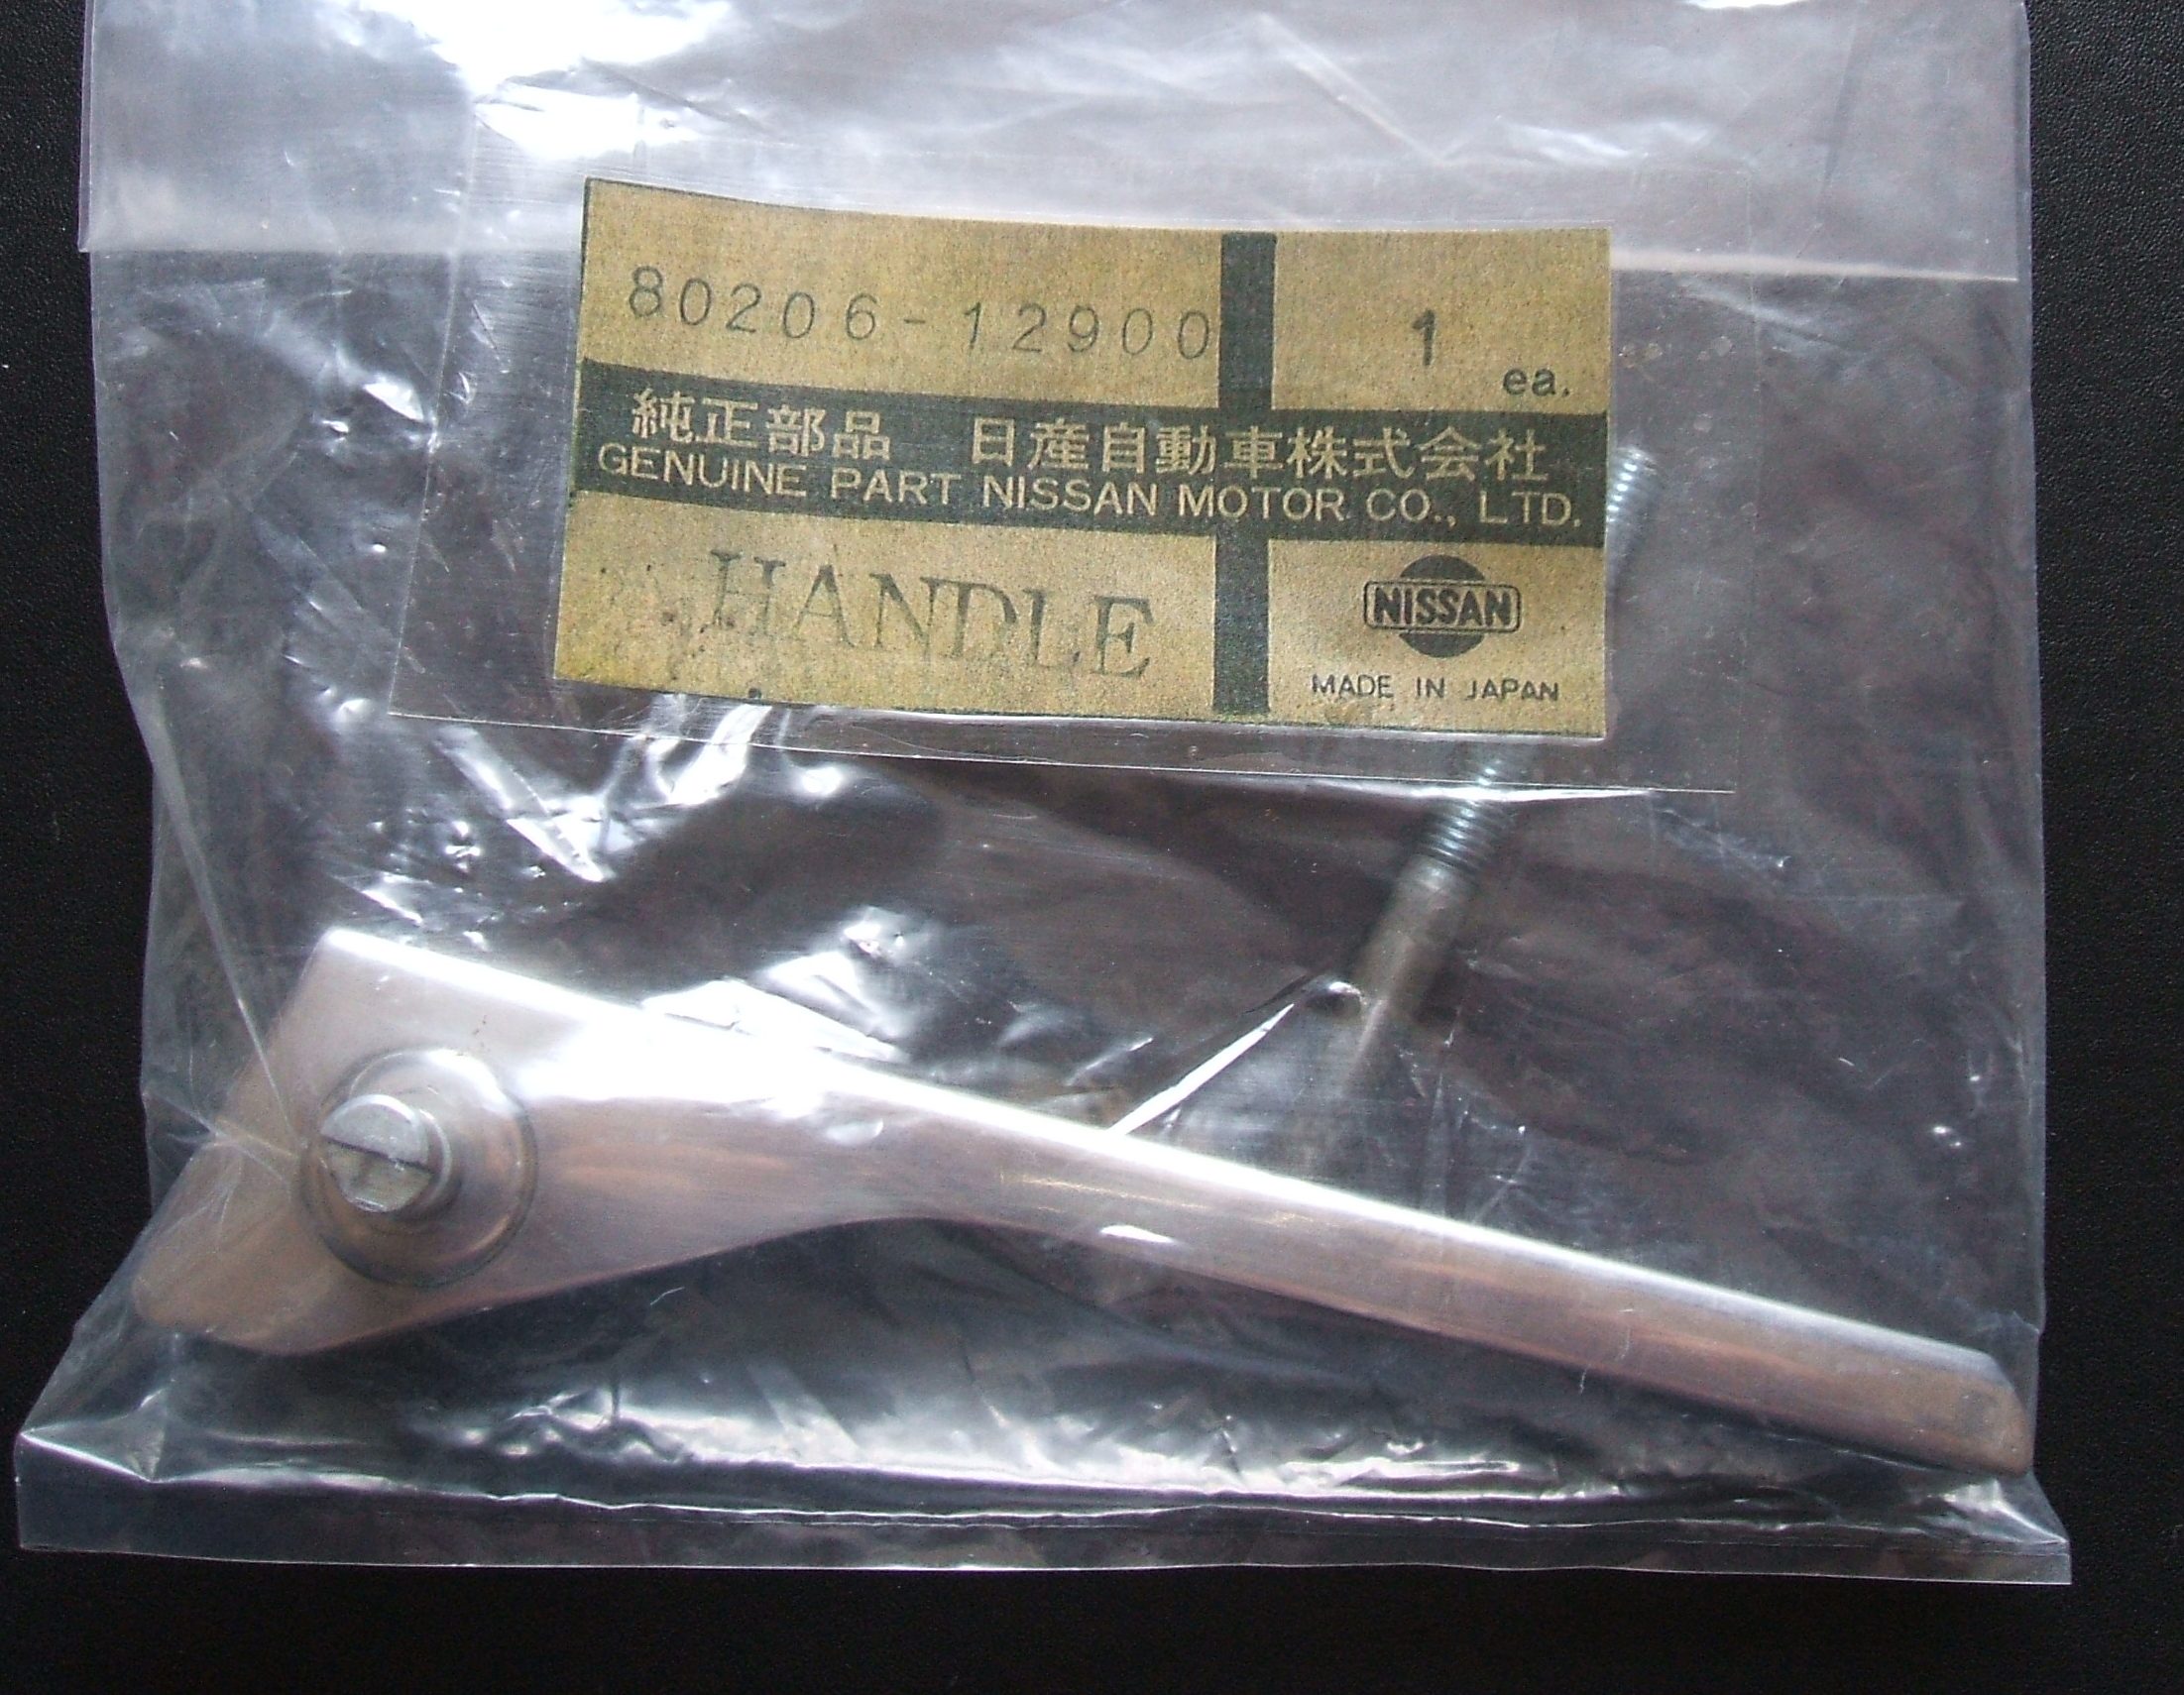
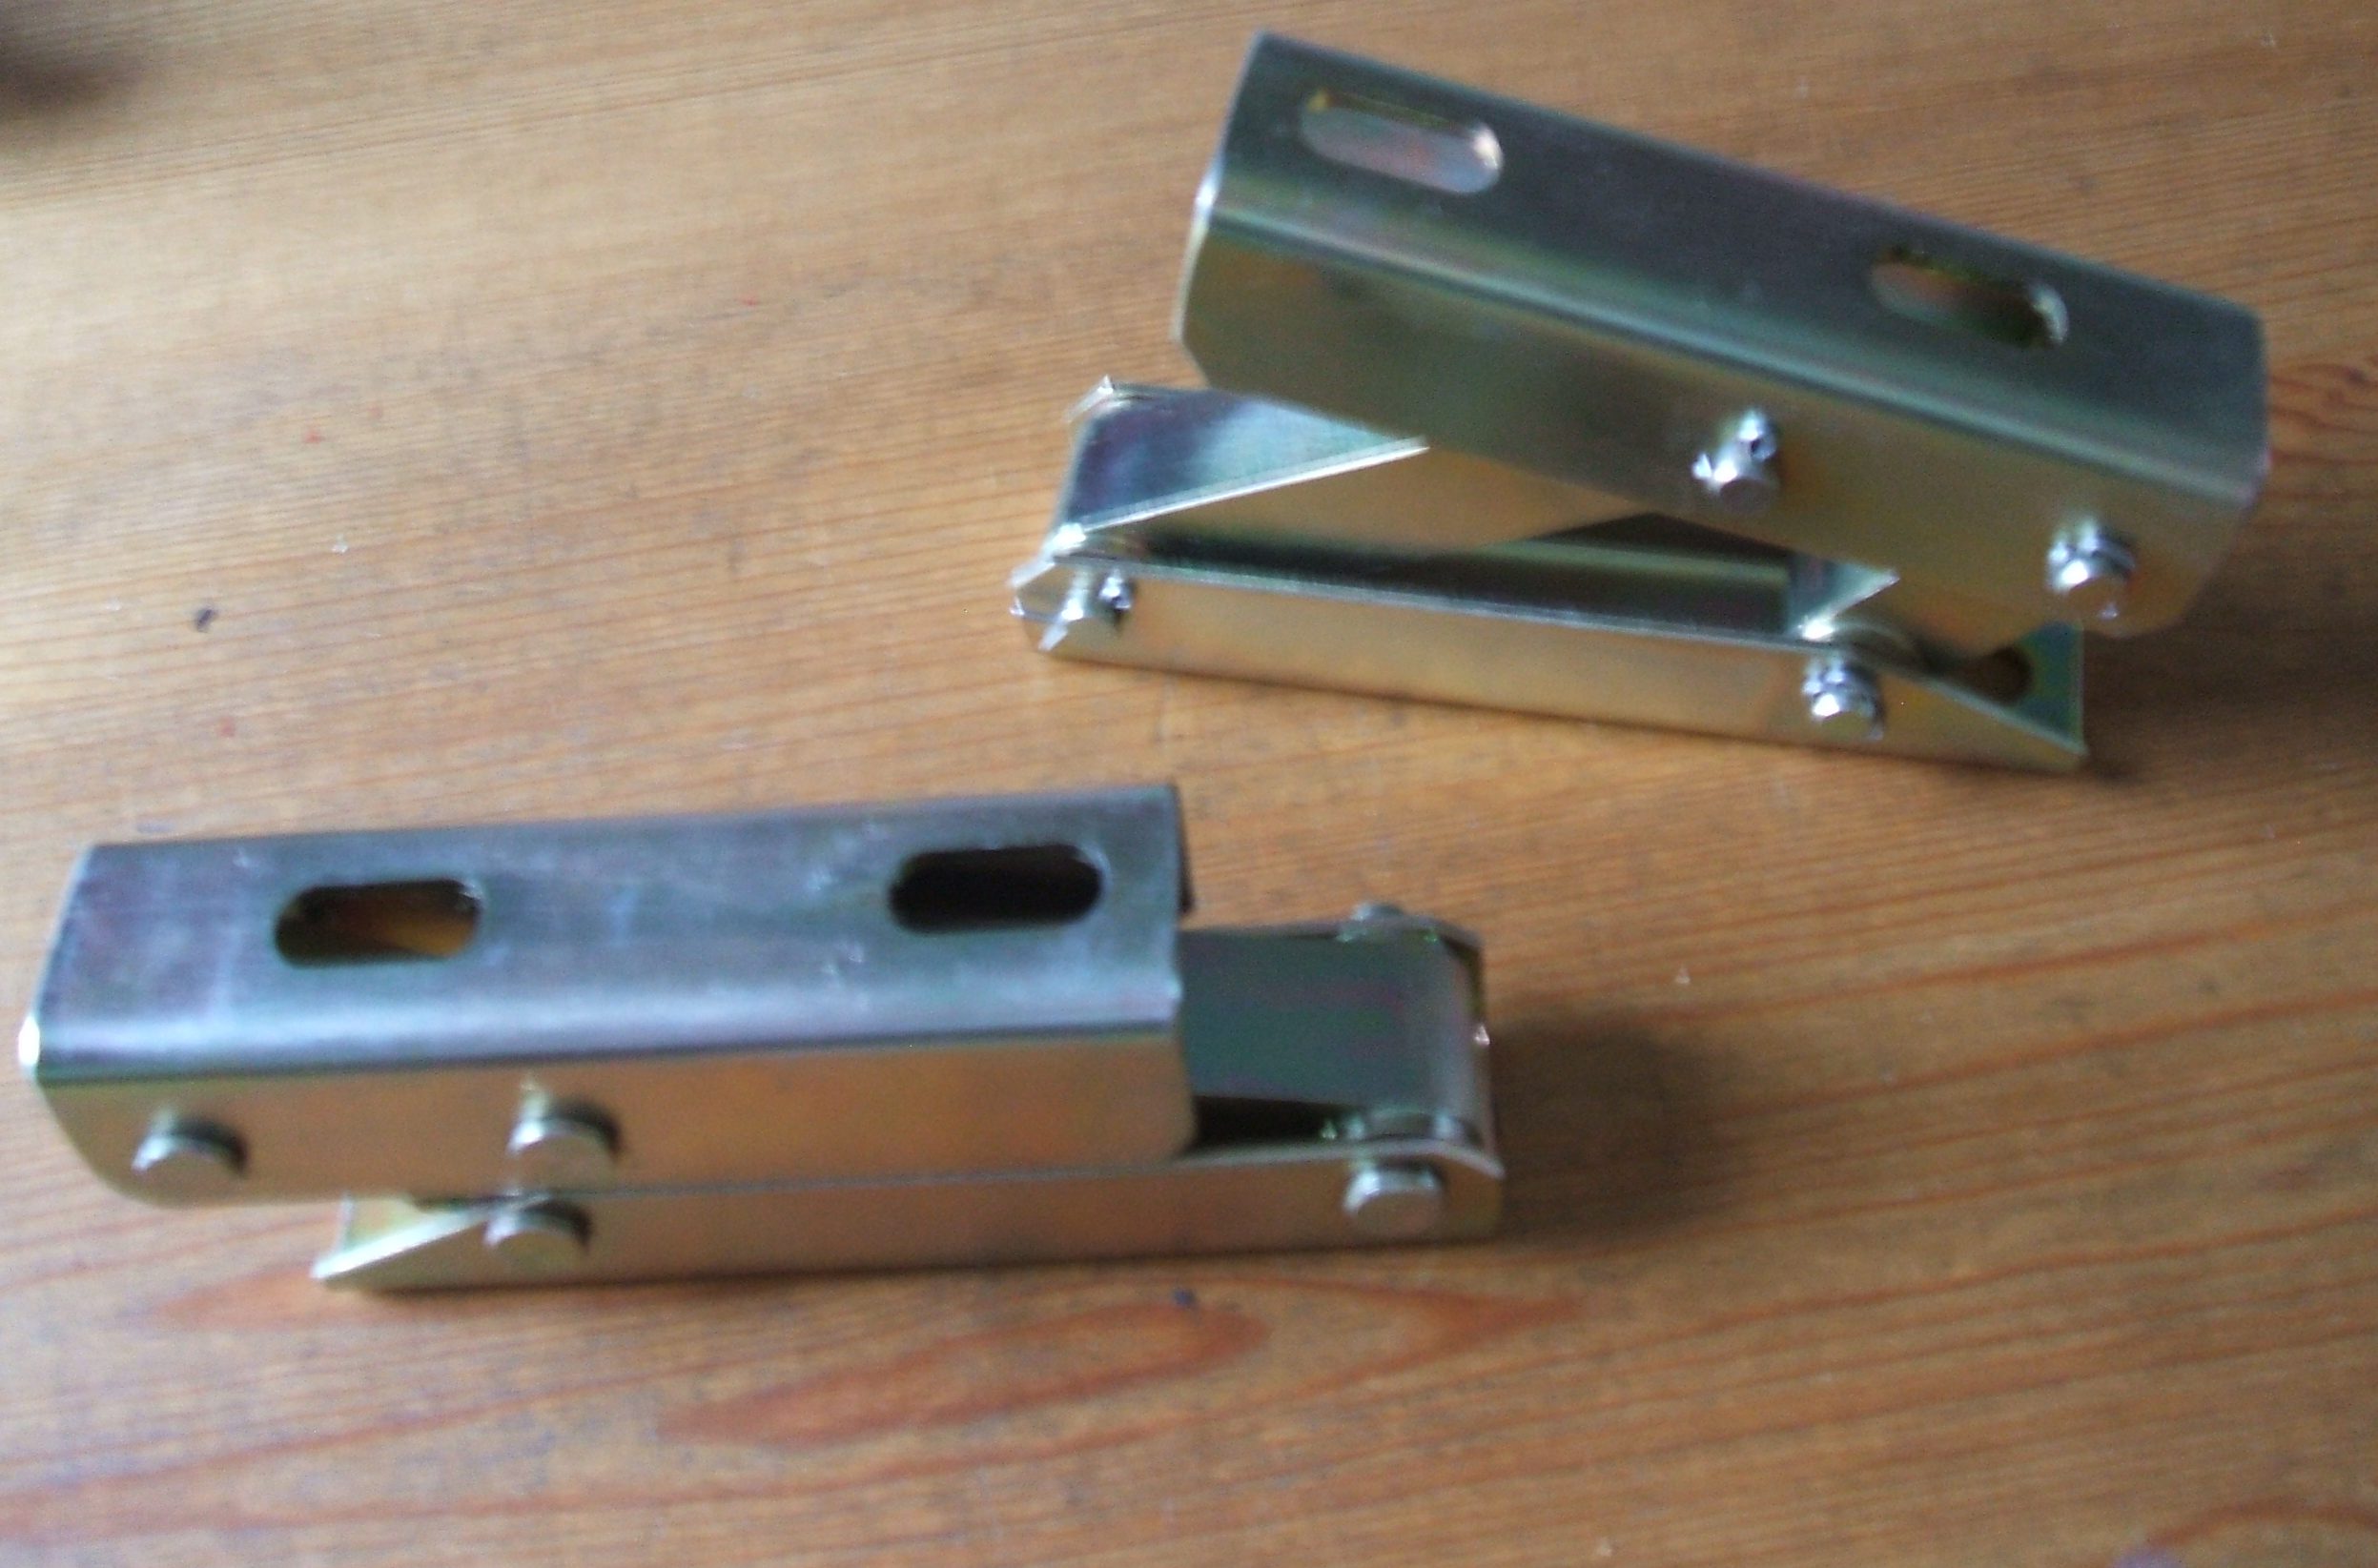
I am always on the look out for parts for my Silvia restoration. Here is NOS window vent pivot. Now to see if I can find the left side.
私はシルビア修復のための部品を常に探しています。ここでは新しい旧在庫ウィンドウベントピボットがあります。今私は左側を見つけることができるかどうかを確認します。
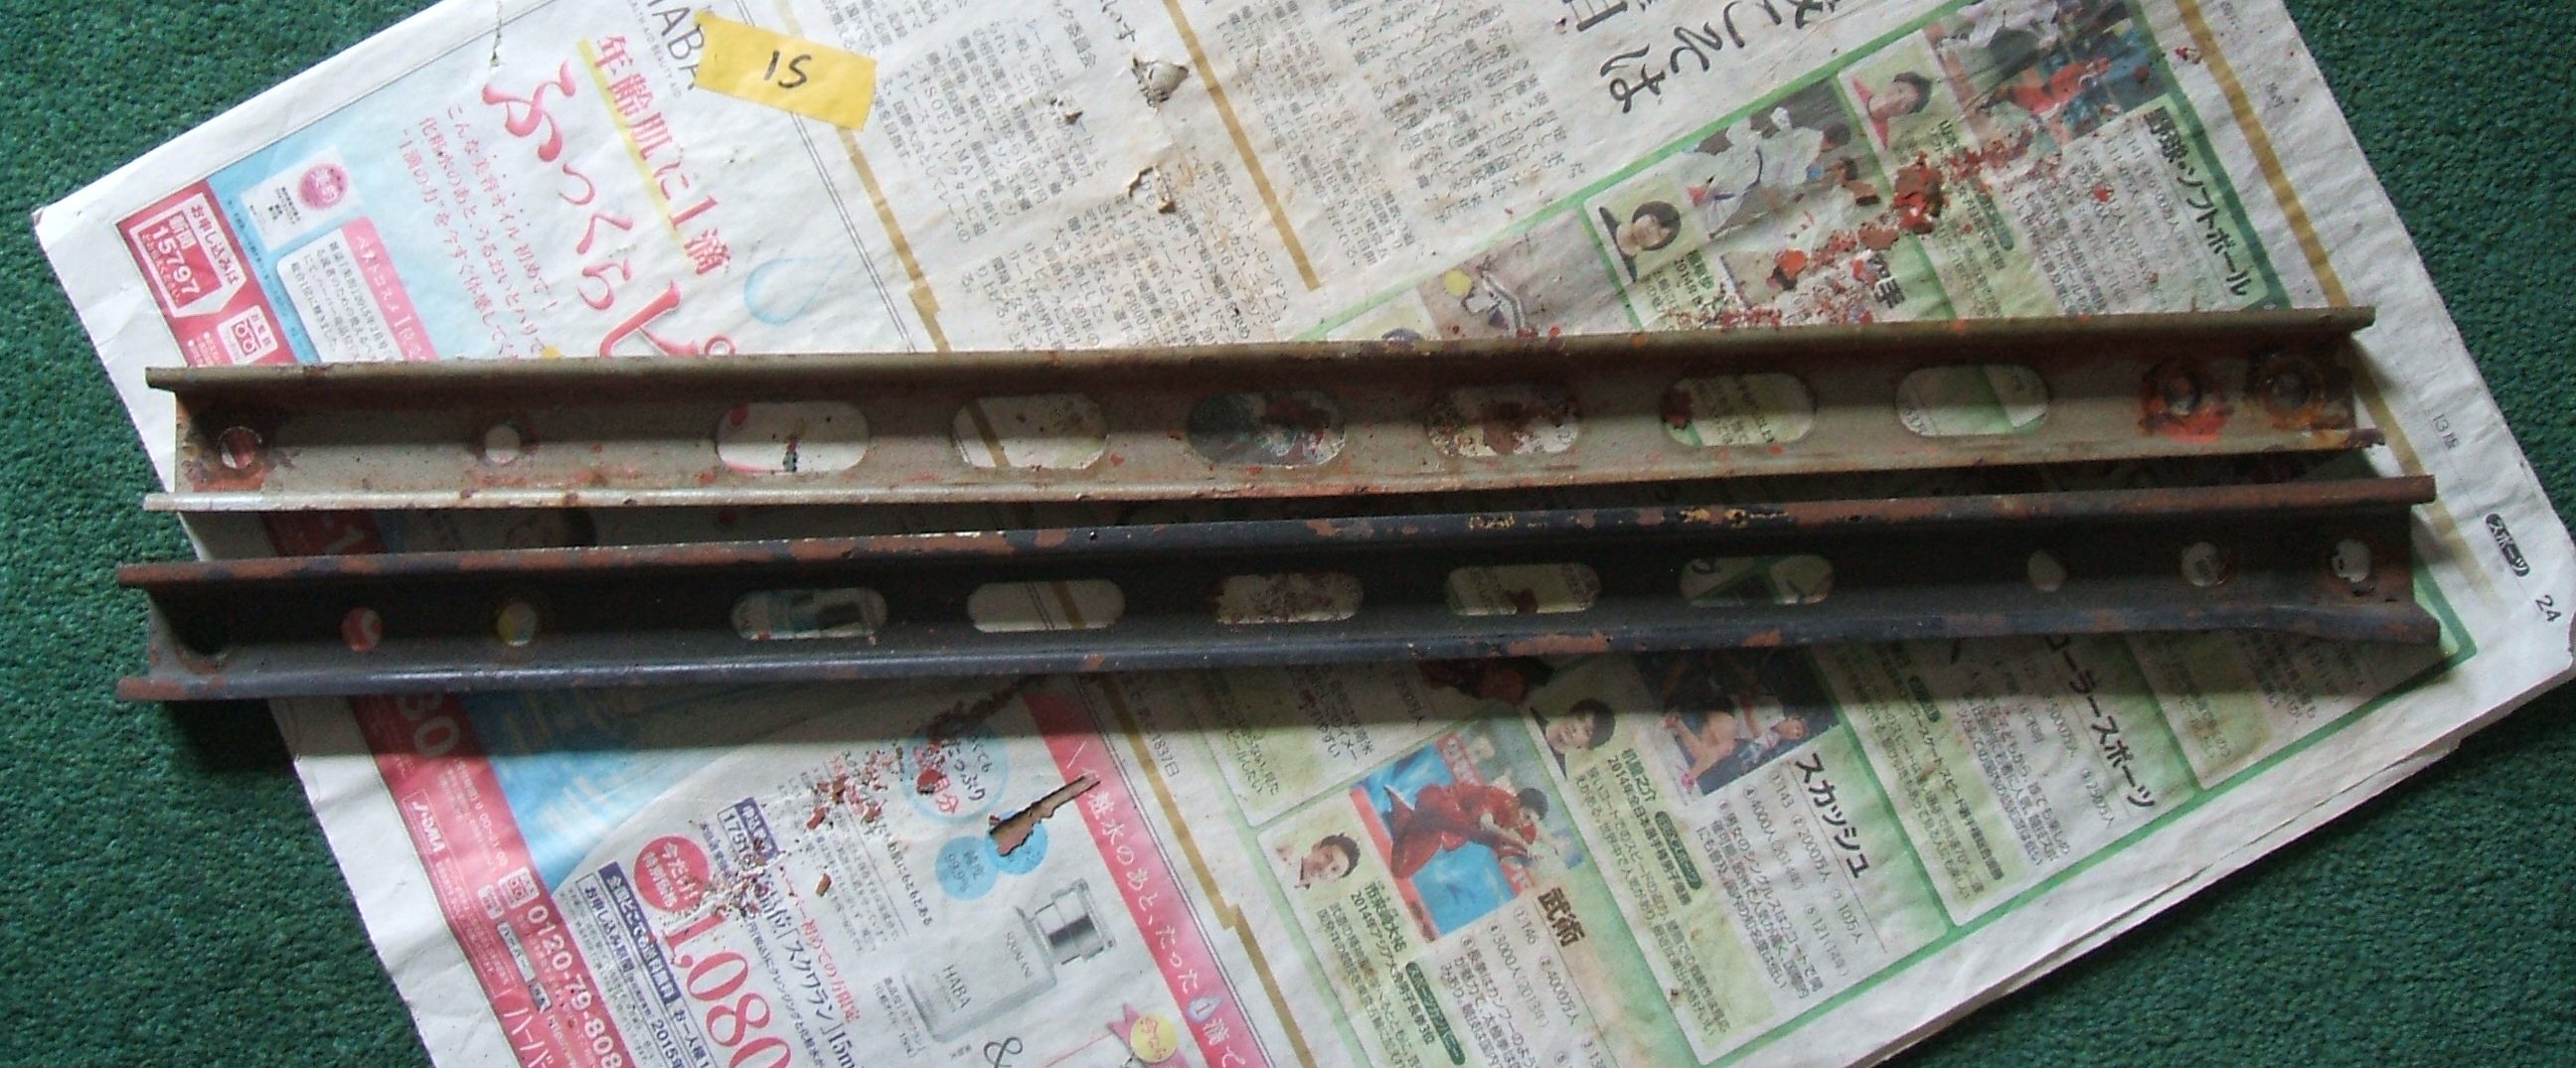
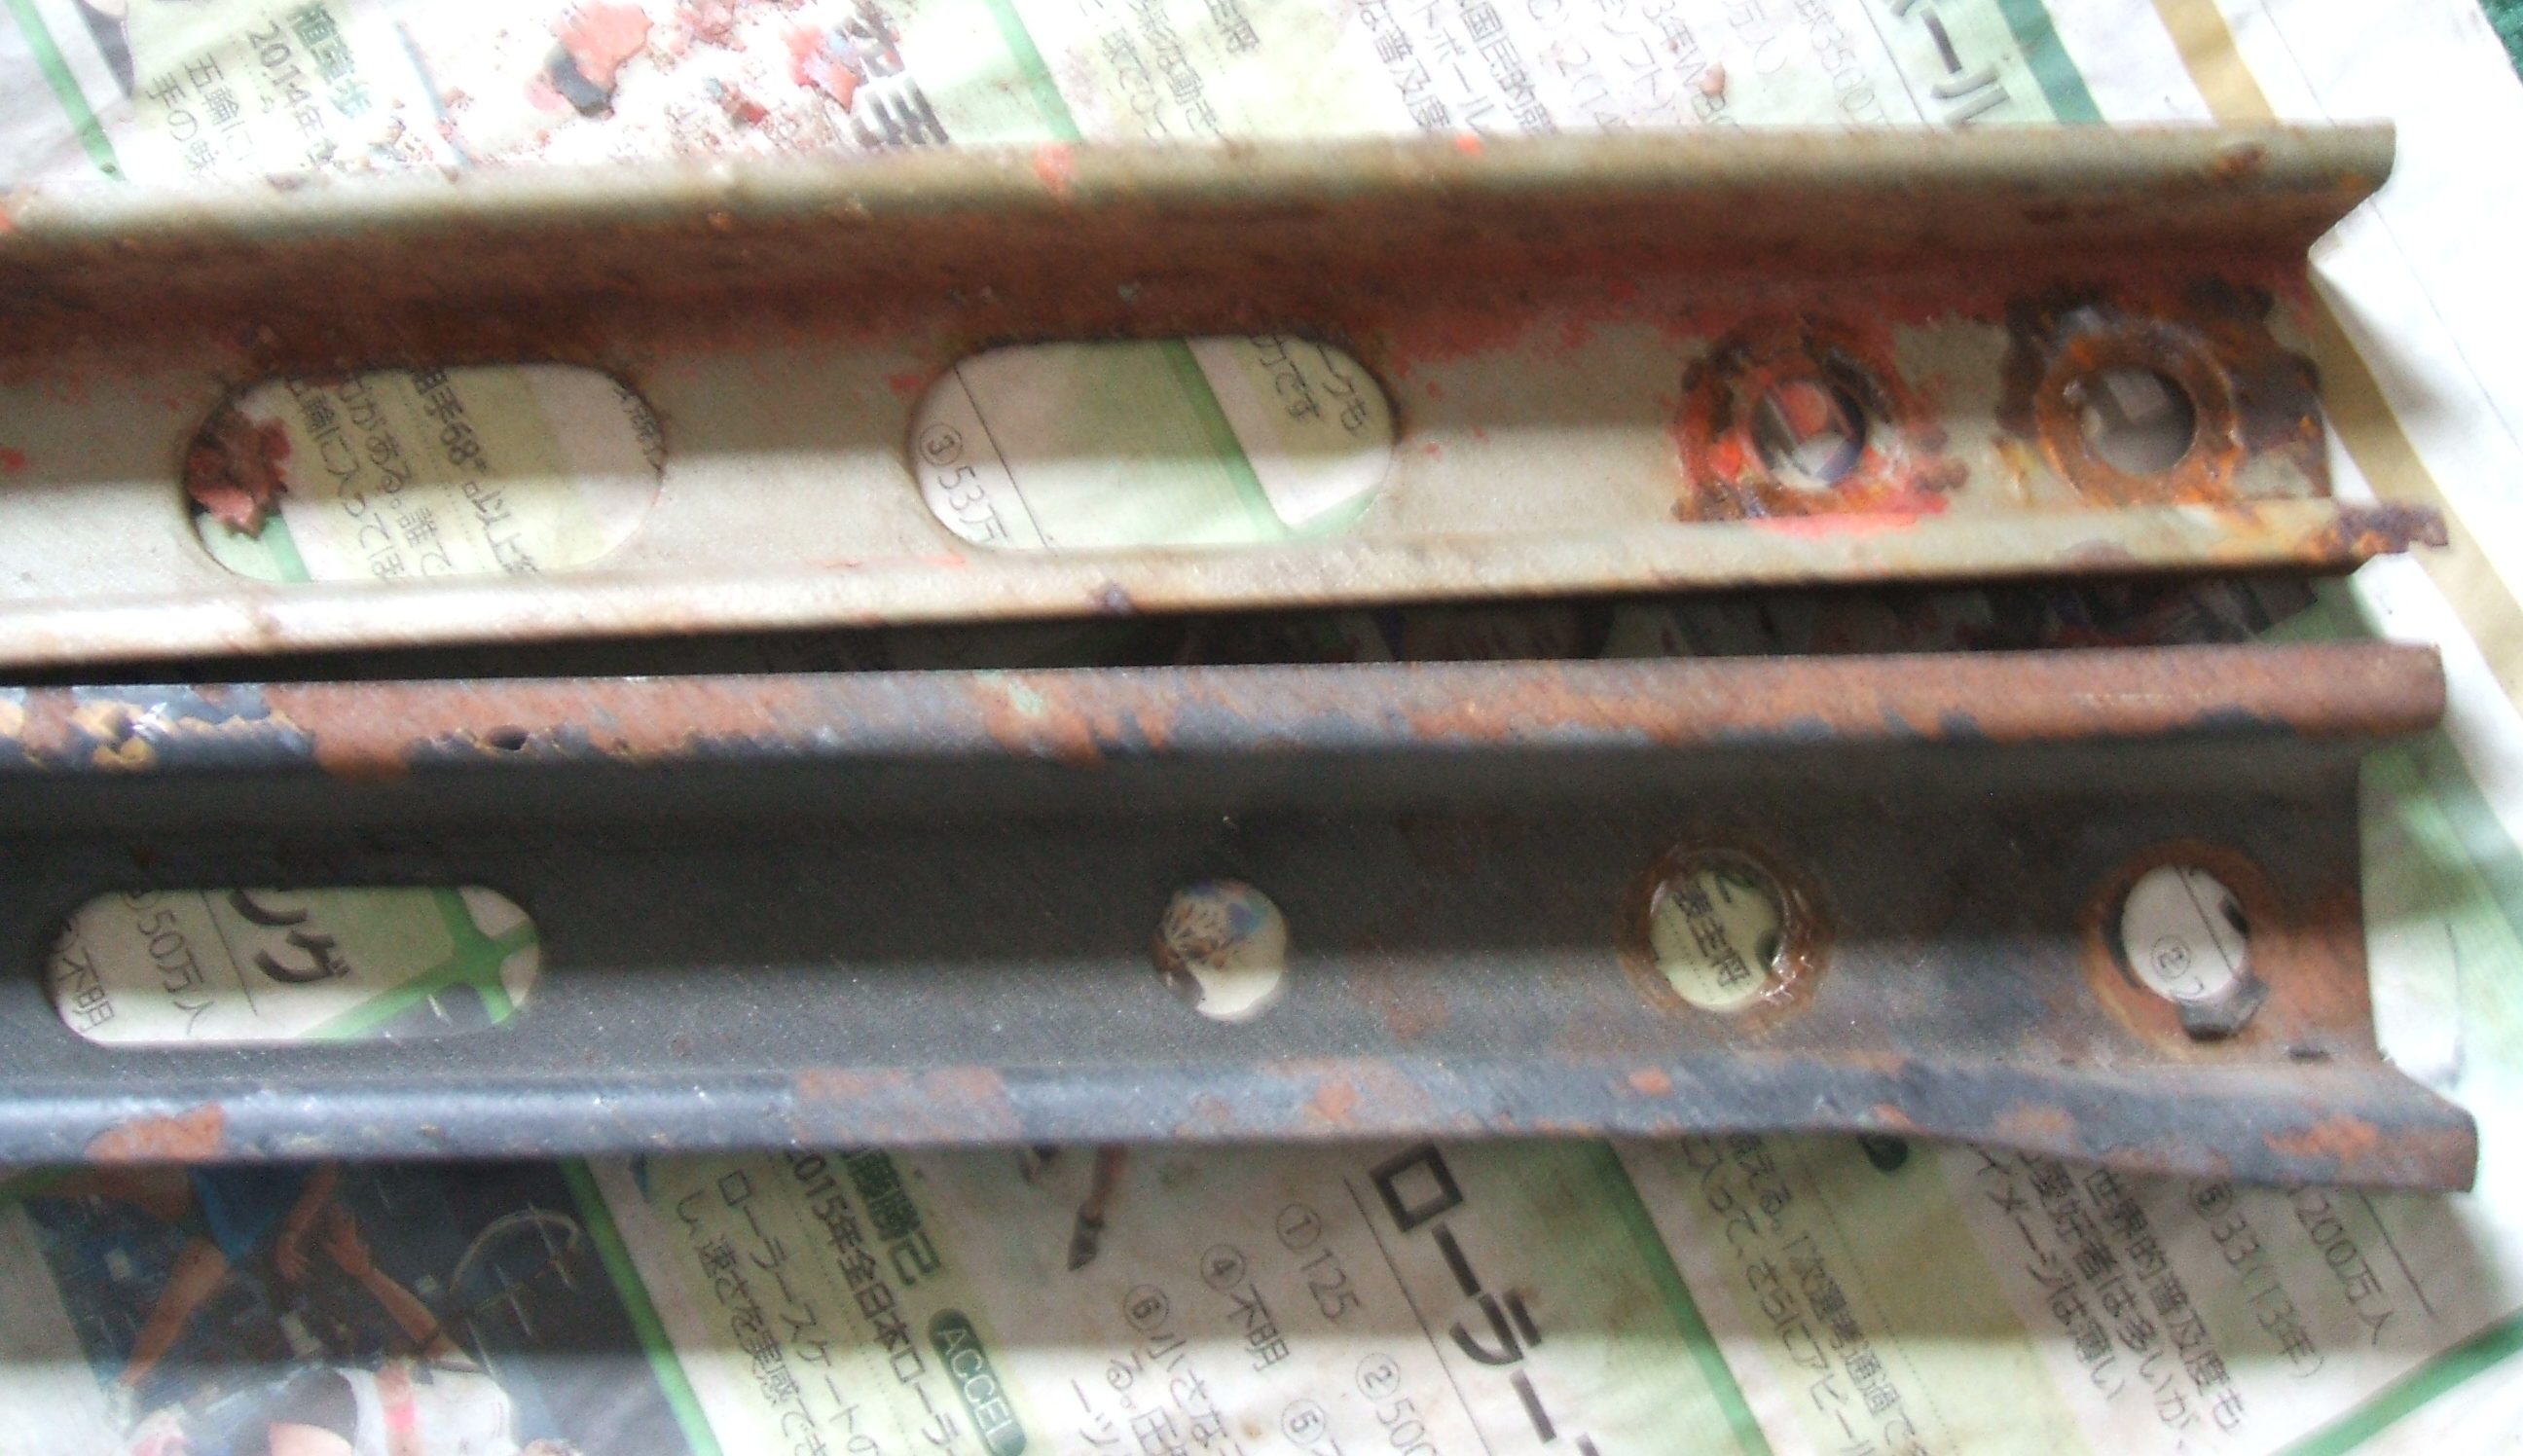
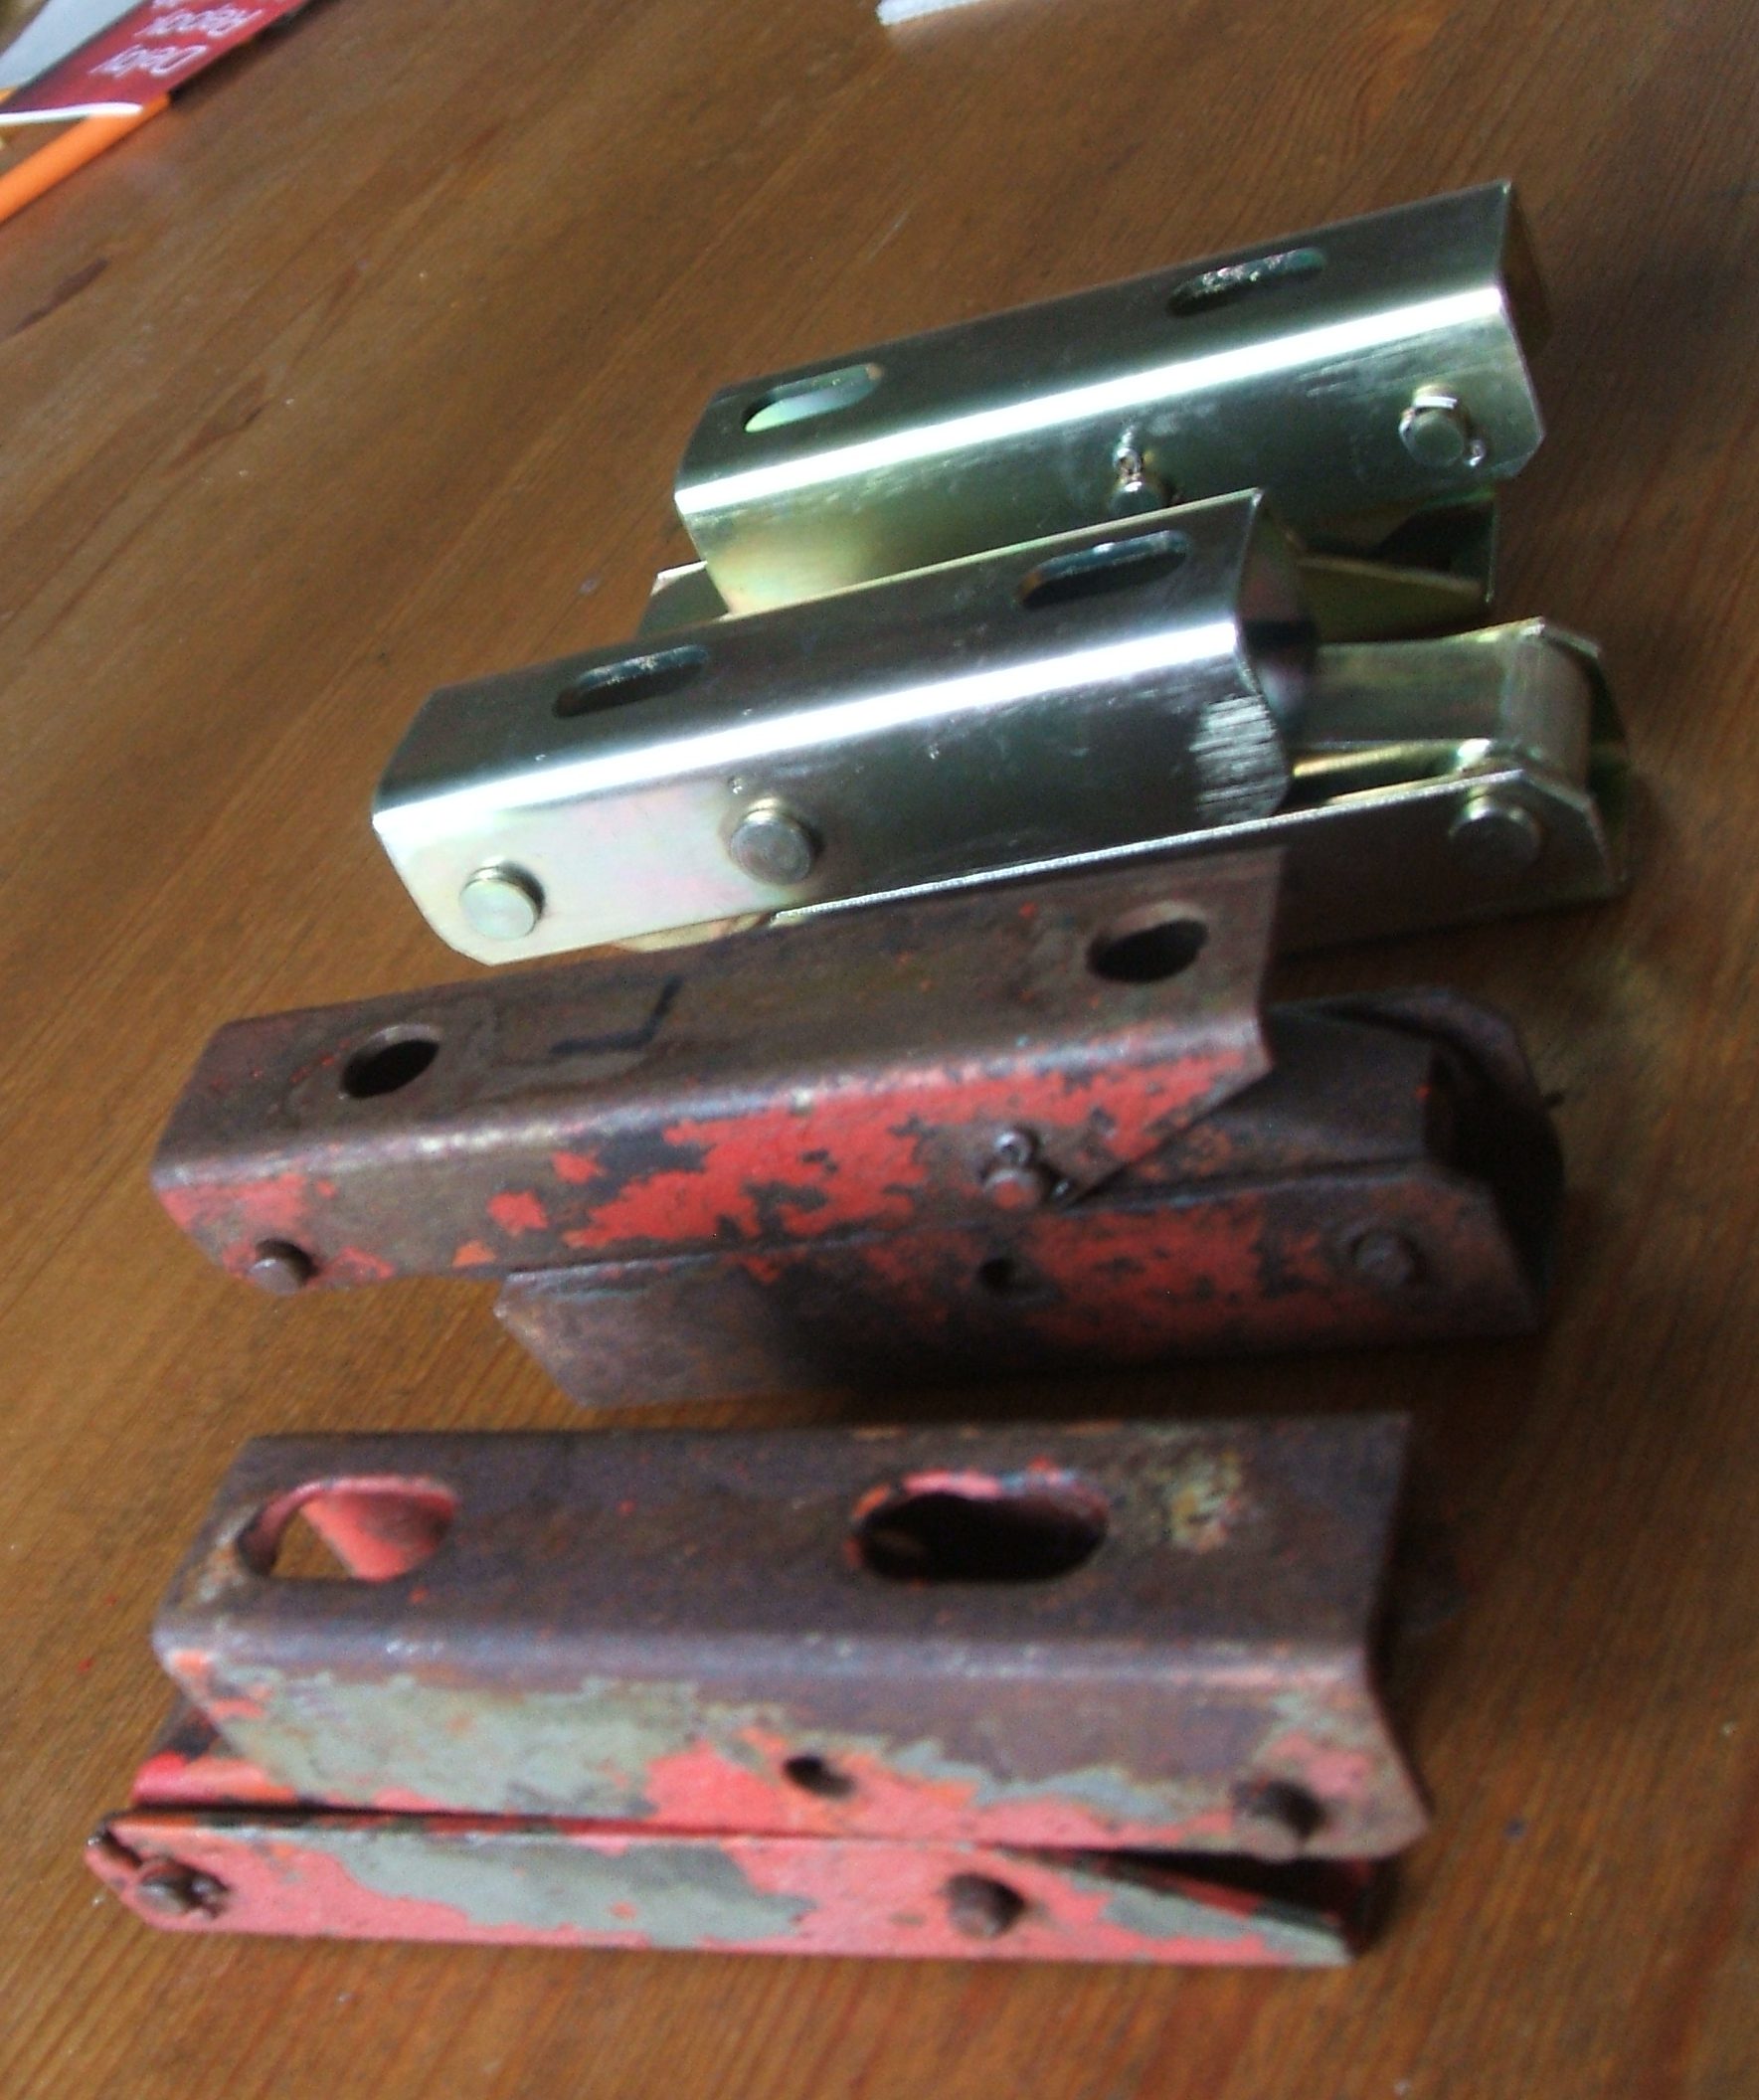
Here is the difference between the CSP311 and SP311 lower radiator cross member.
ここでCSP311及びSP311ロアラジエータークロスメンバーとの間の違いです。

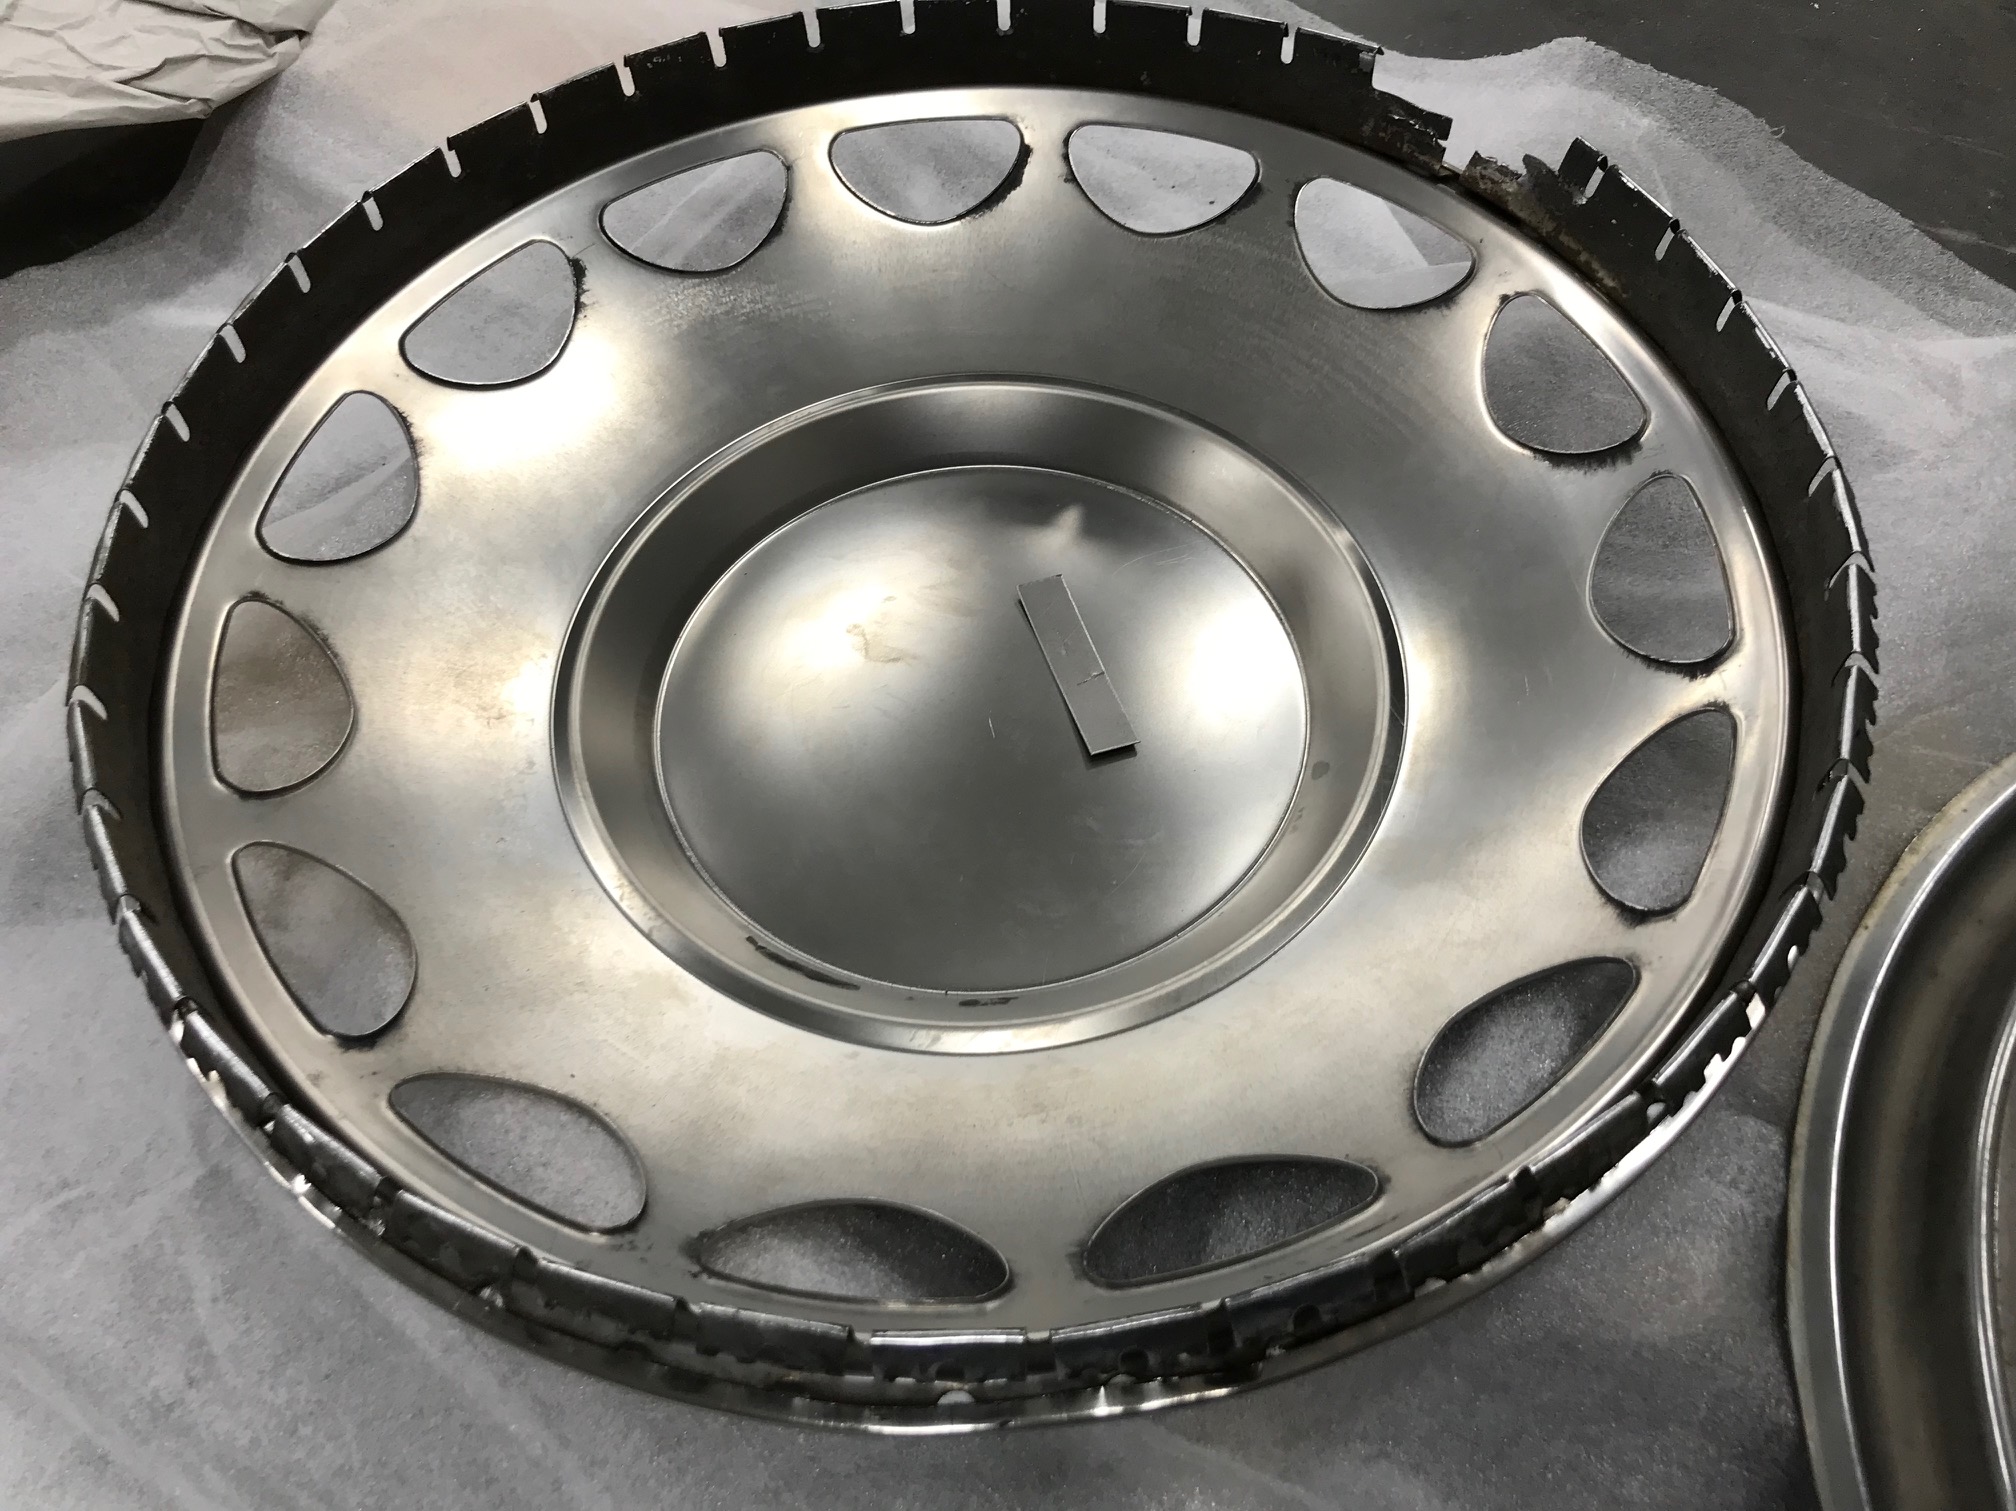
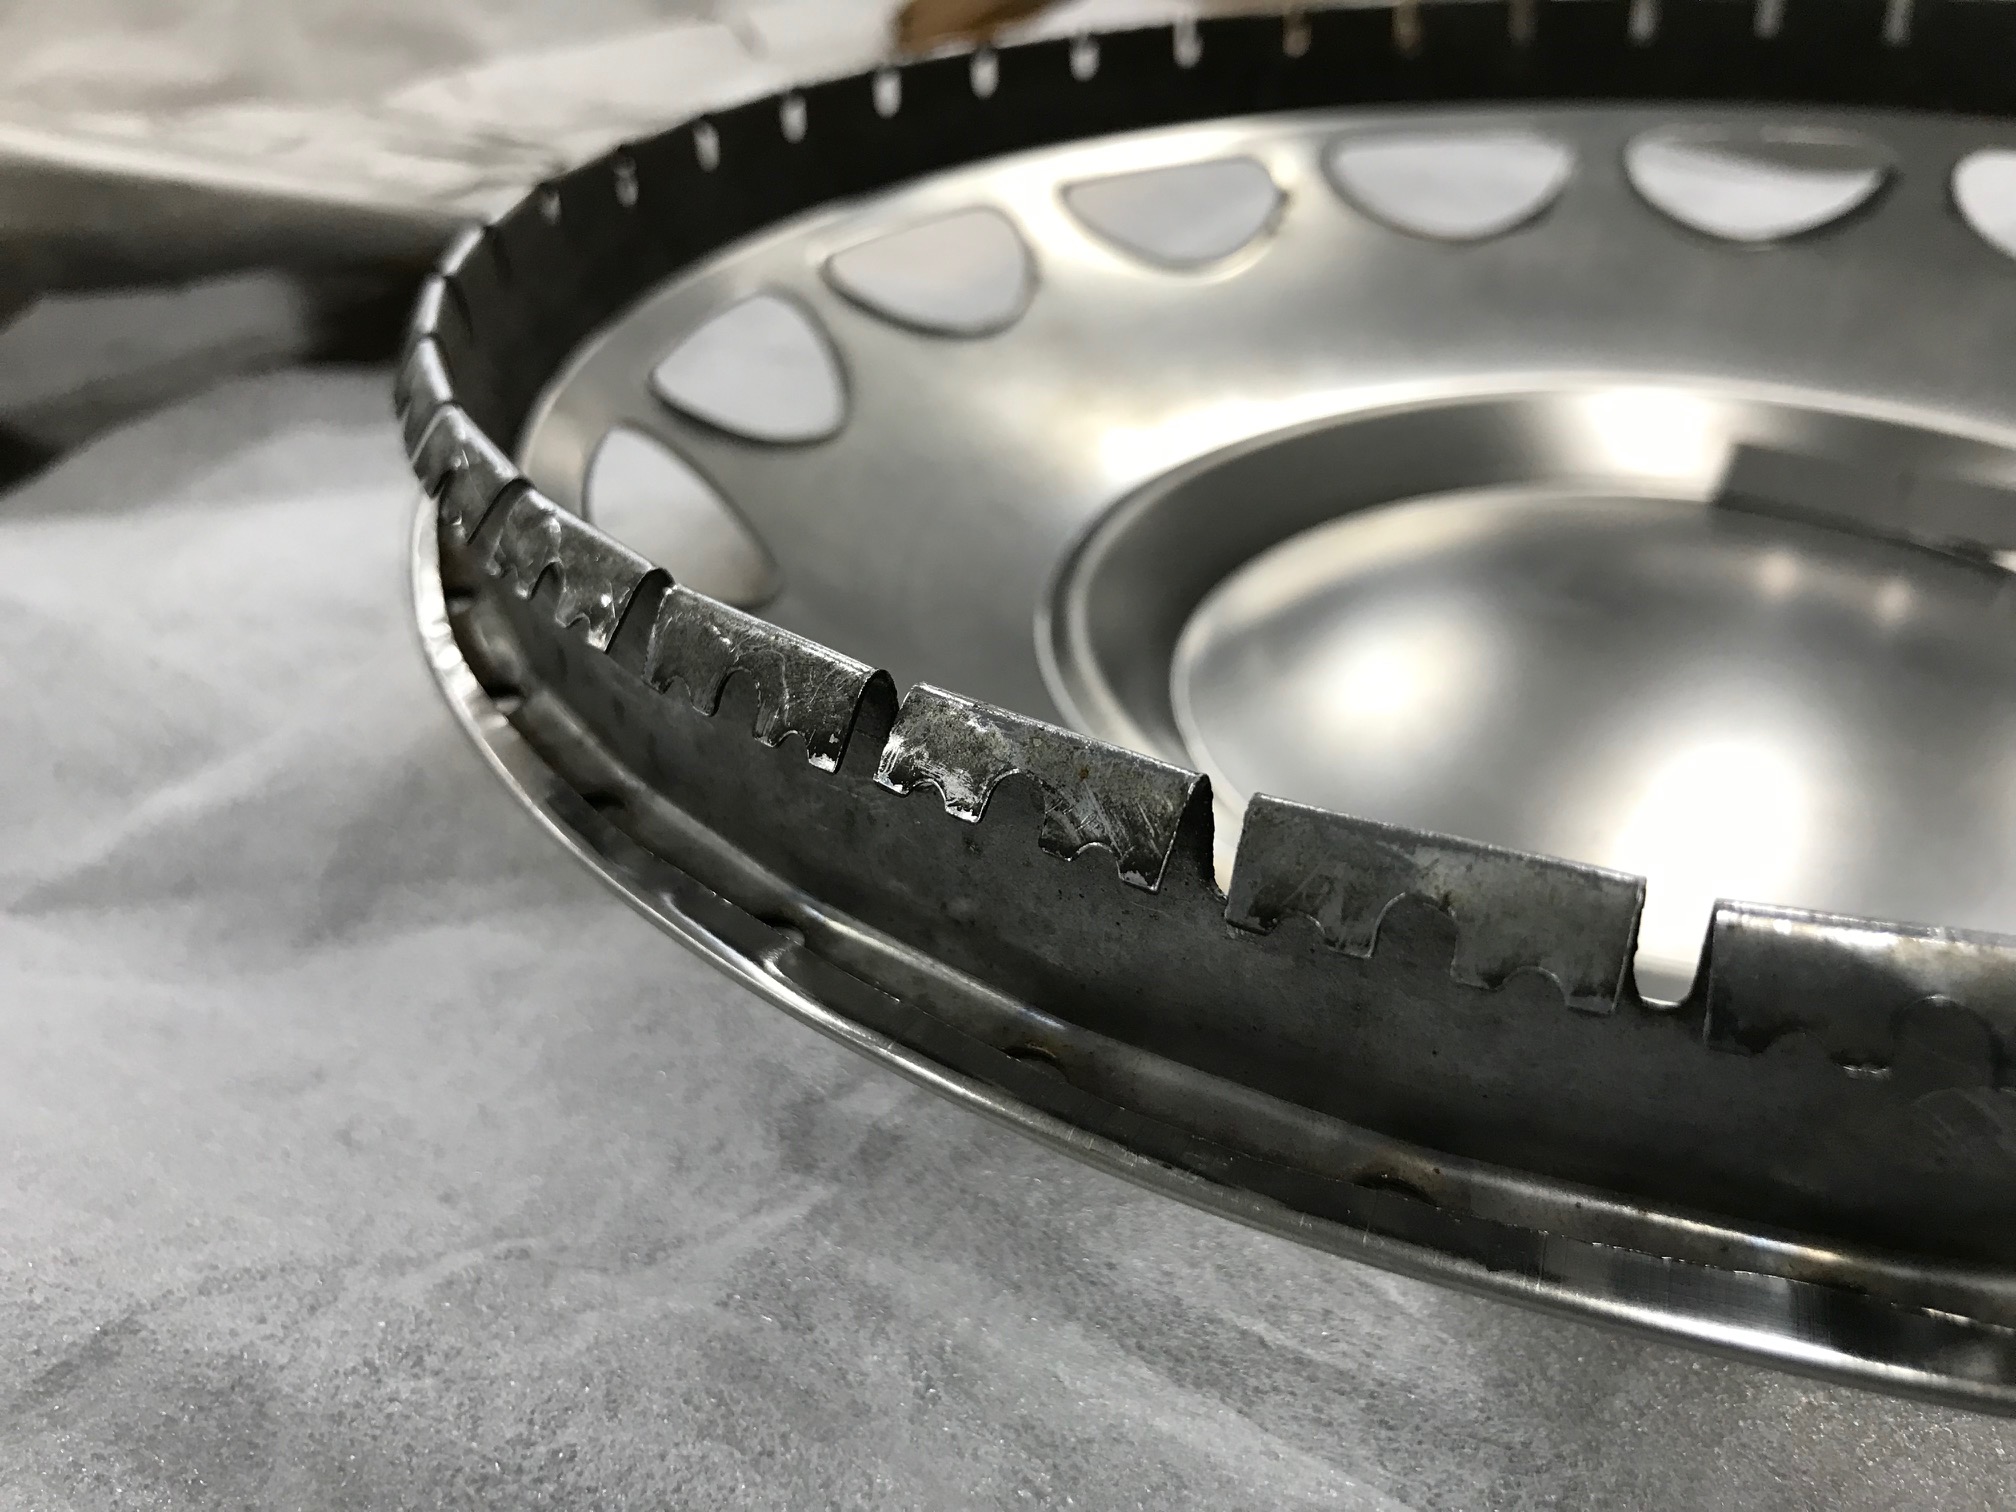
Hubcap update (in blog page 6 and for sale). The retaining ring that hold the hubcap to the wheel, up to now needed manufactured. But, now a fellow Silvia owner with these reproduction hubcaps has found a solution. A retaining ring from a Datsun 240z (Fairlady Z) hubcap fits.
(ブログのページ6での販売のための)ホイールキャップ更新。今、製造に必要なまでに、ホイールにホイールキャップを保持する保持リング。しかし、今、これらの再生ホイールキャップを持つ仲間シルビアの所有者は解決策を発見しました。ダットサン 240z(フェアレディZ)ハブキャップの止め輪がフィットします。
More parts chrome plated and yellow zinc.
より多くの部品クロムメッキと黄色い亜鉛。

Here are all the parts for the hand brake refurbished.
ここで改装ハンドブレーキのためのすべての部品があります。

Interior light. Polished clear lens, chromed body and yellow zinc retaining clip. The other part of the interior light body is plastic. This requires a different place to chrome it.
室内灯. ポリシークリアレンズ、クロムメトキシボディと黄色の亜鉛保持クリップ。内部光体の他の部分はプラスチックです。 これはそれをクロムメッキするために別の場所を必要とします。
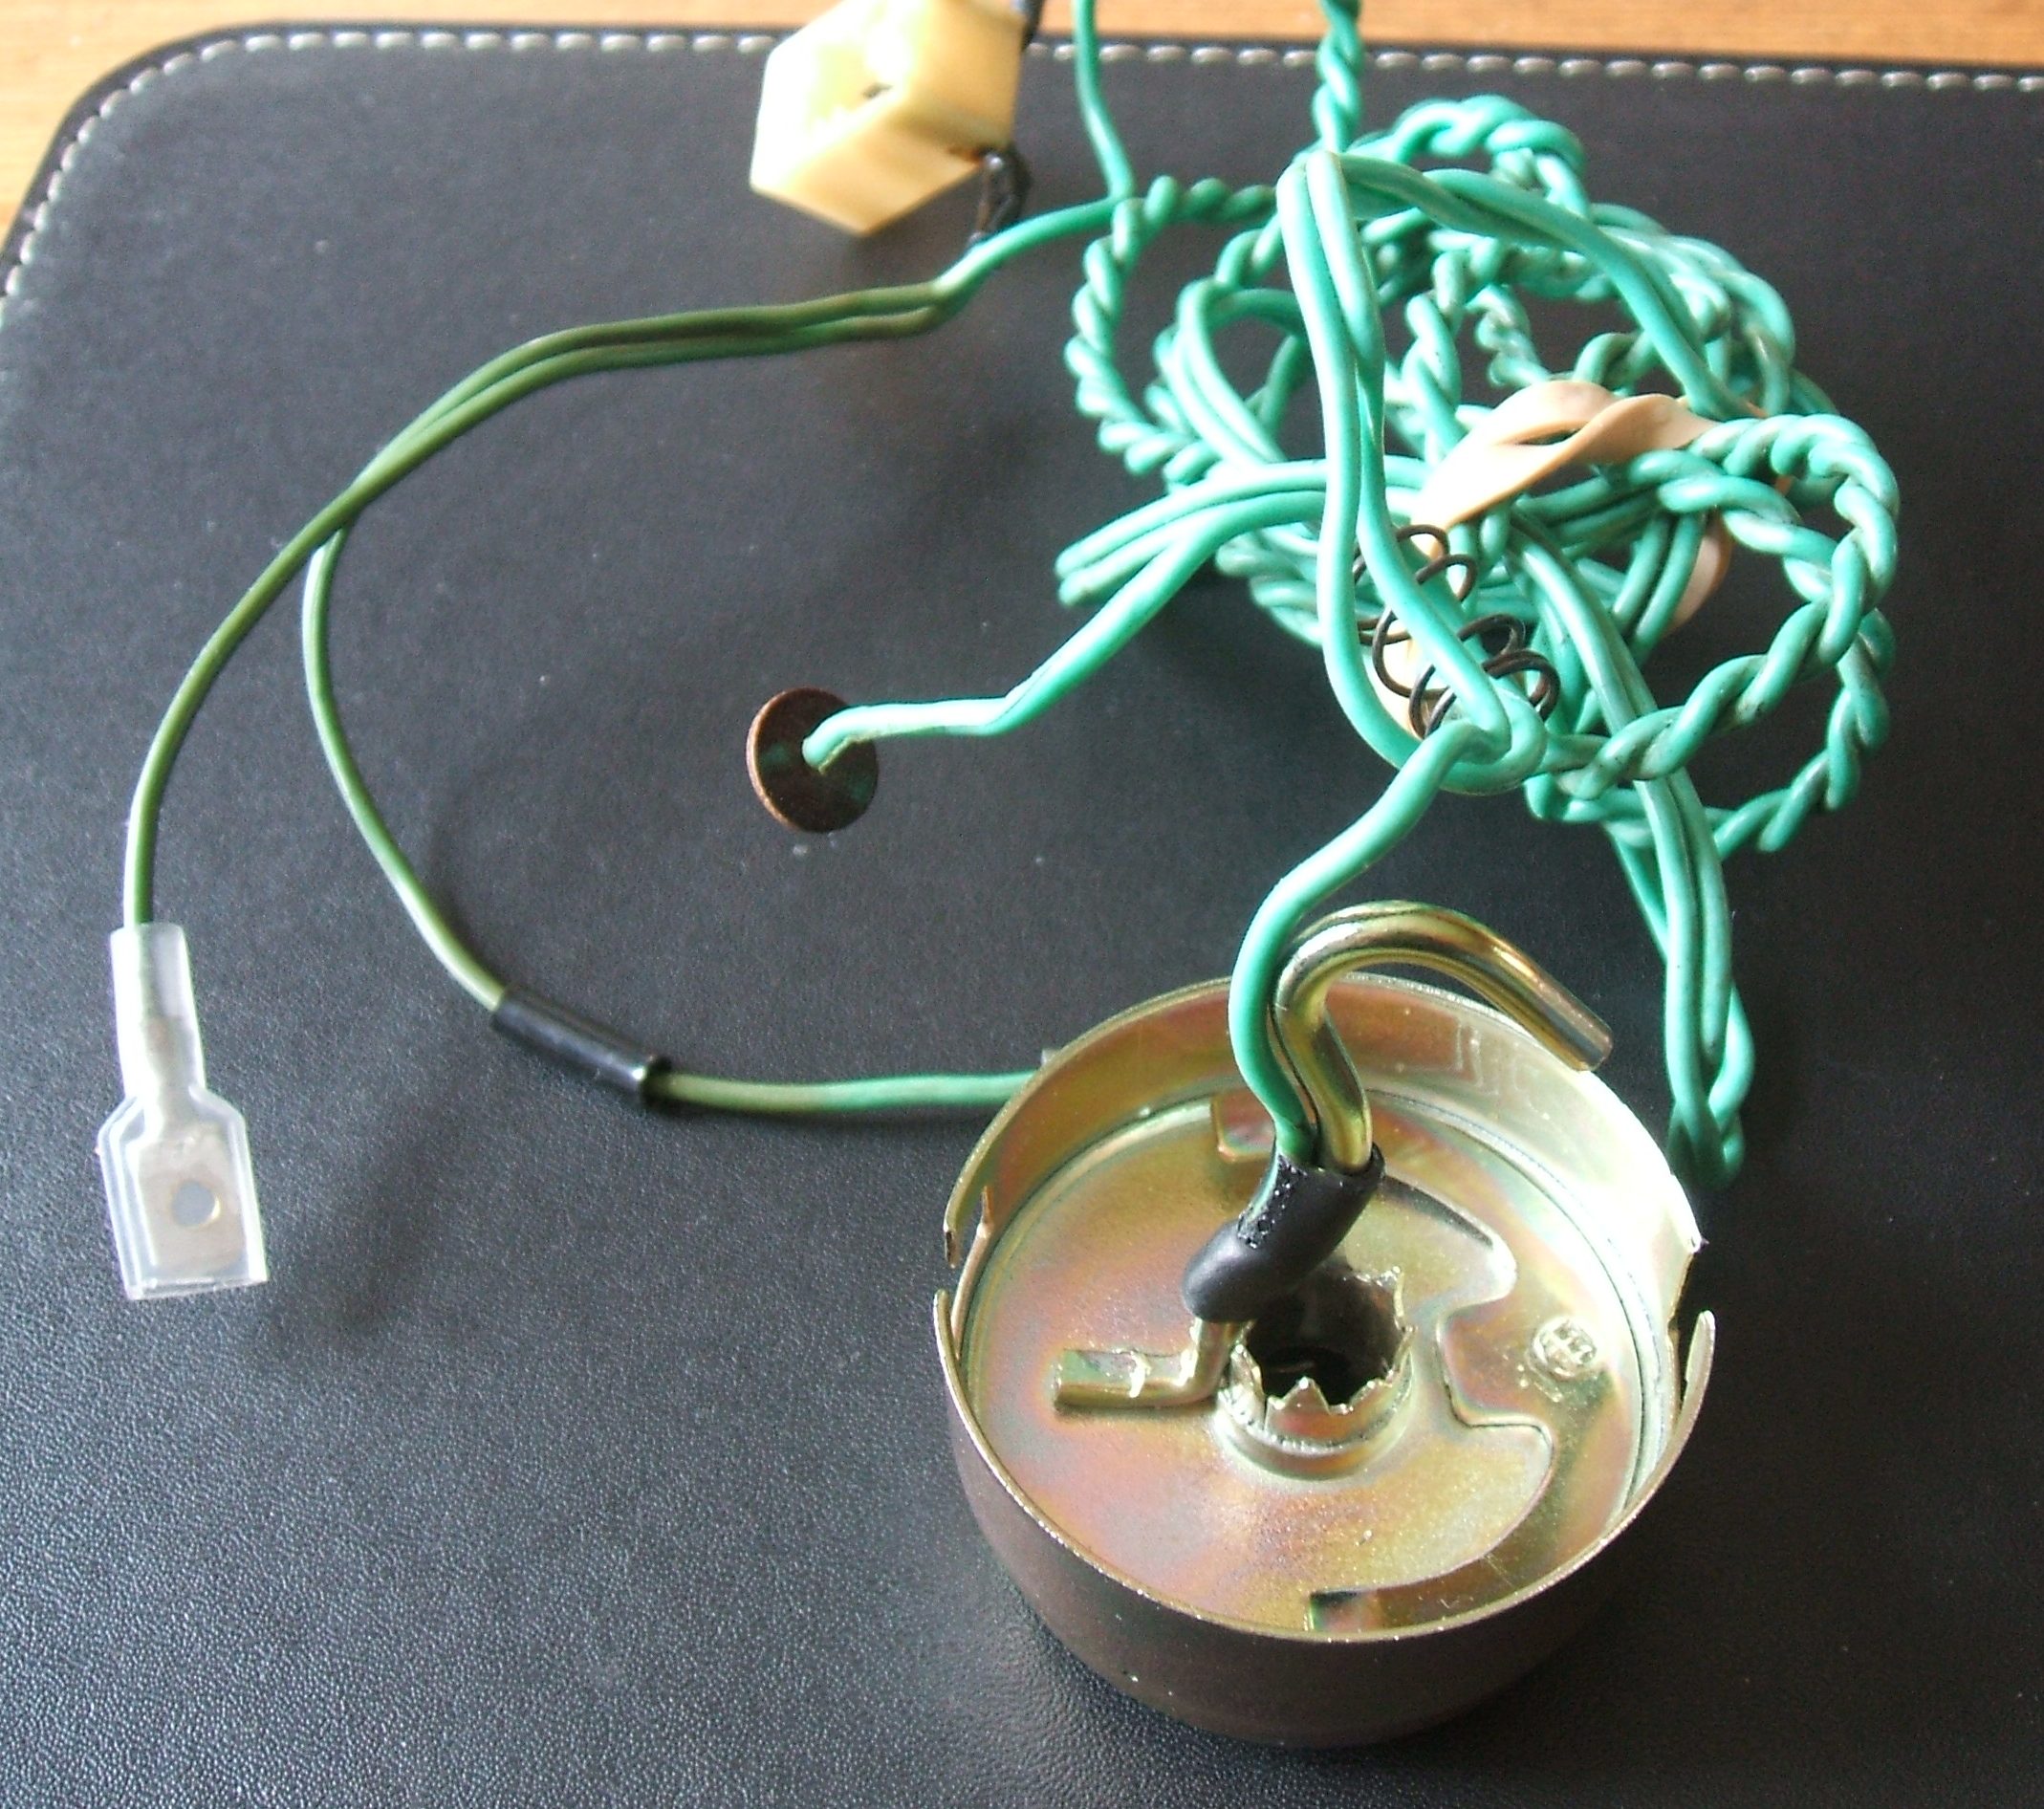
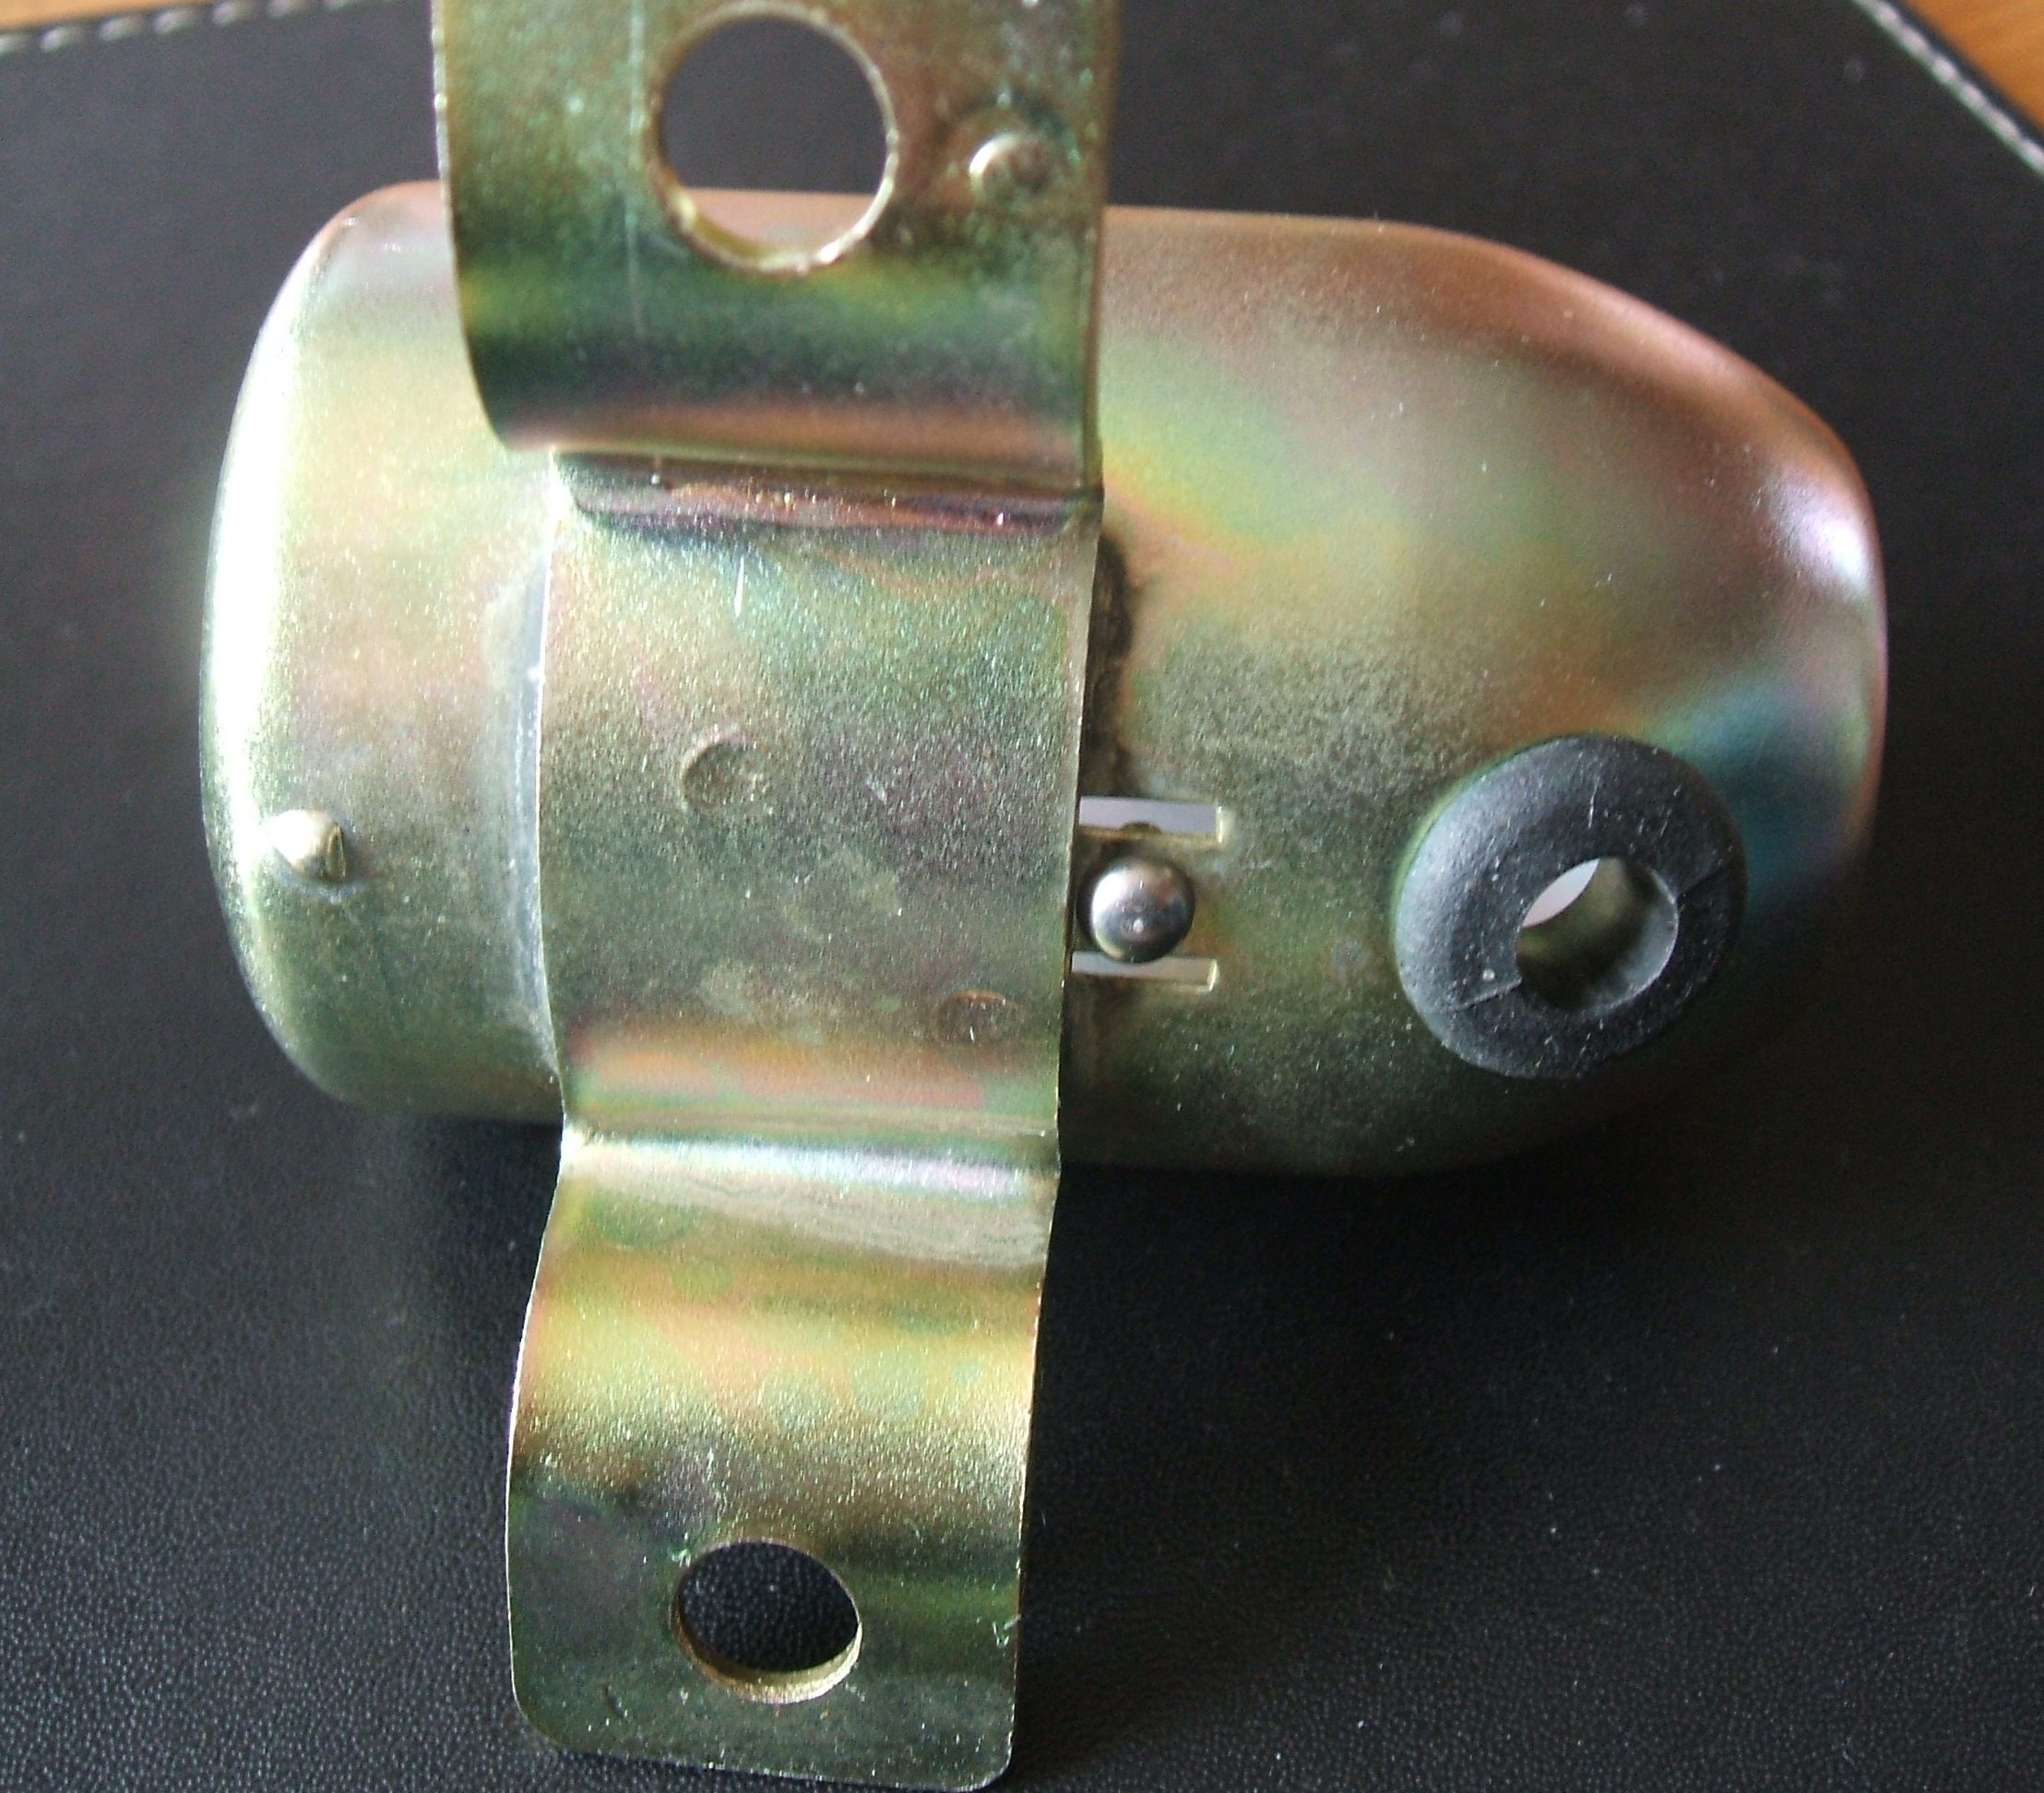
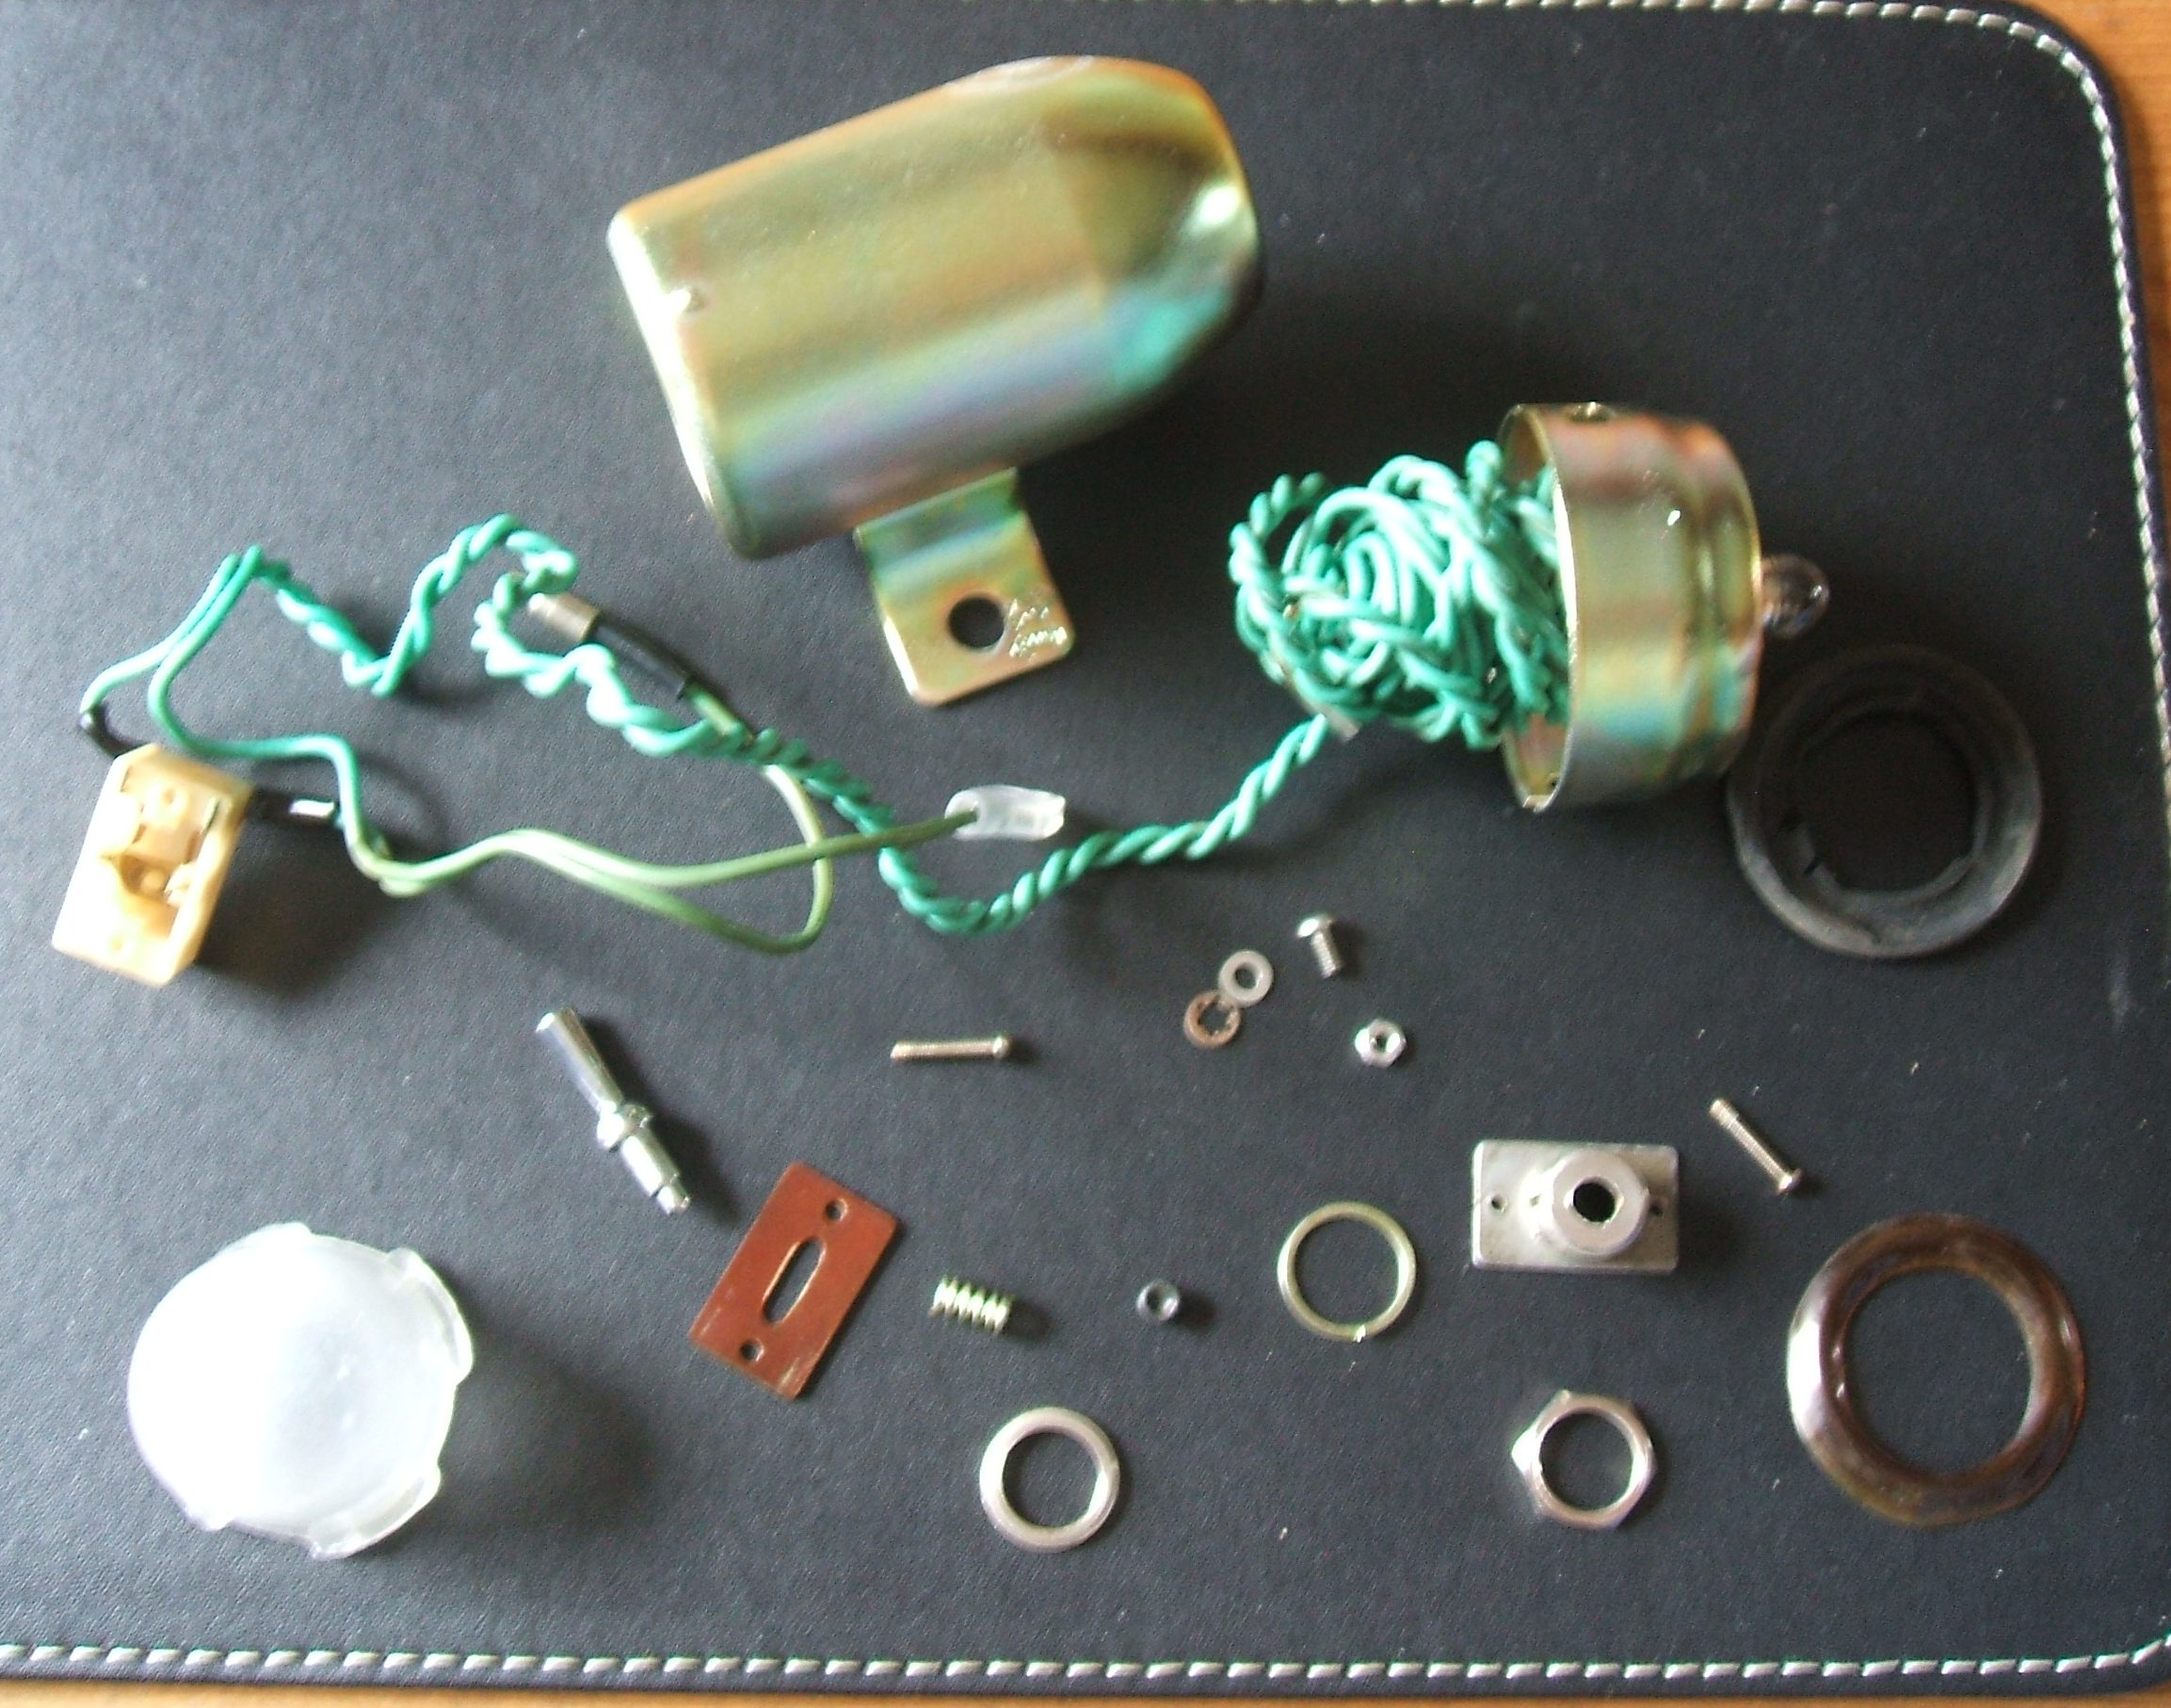
You may have seen the engine bay inspection light taken apart on a previous blog page. Here it is being assembled. Just waiting on new gasket. Again, some of the parts.
前のブログページでエンジンベイの検査ライトが分解されているのを見たことがあるかもしれません。ここでは、組み立てられています。 ただ、新しいガスケットを待っています。繰り返しますが、一部の部品。
Earthing the bulb and the body of the lamp. 電球とランプの本体を接地します。
Again, the parts, including chromed switch and a few parts yellow zinc.
繰り返しますが、クロームメッキスイッチといくつかの部分の黄色い亜鉛を含む部品。
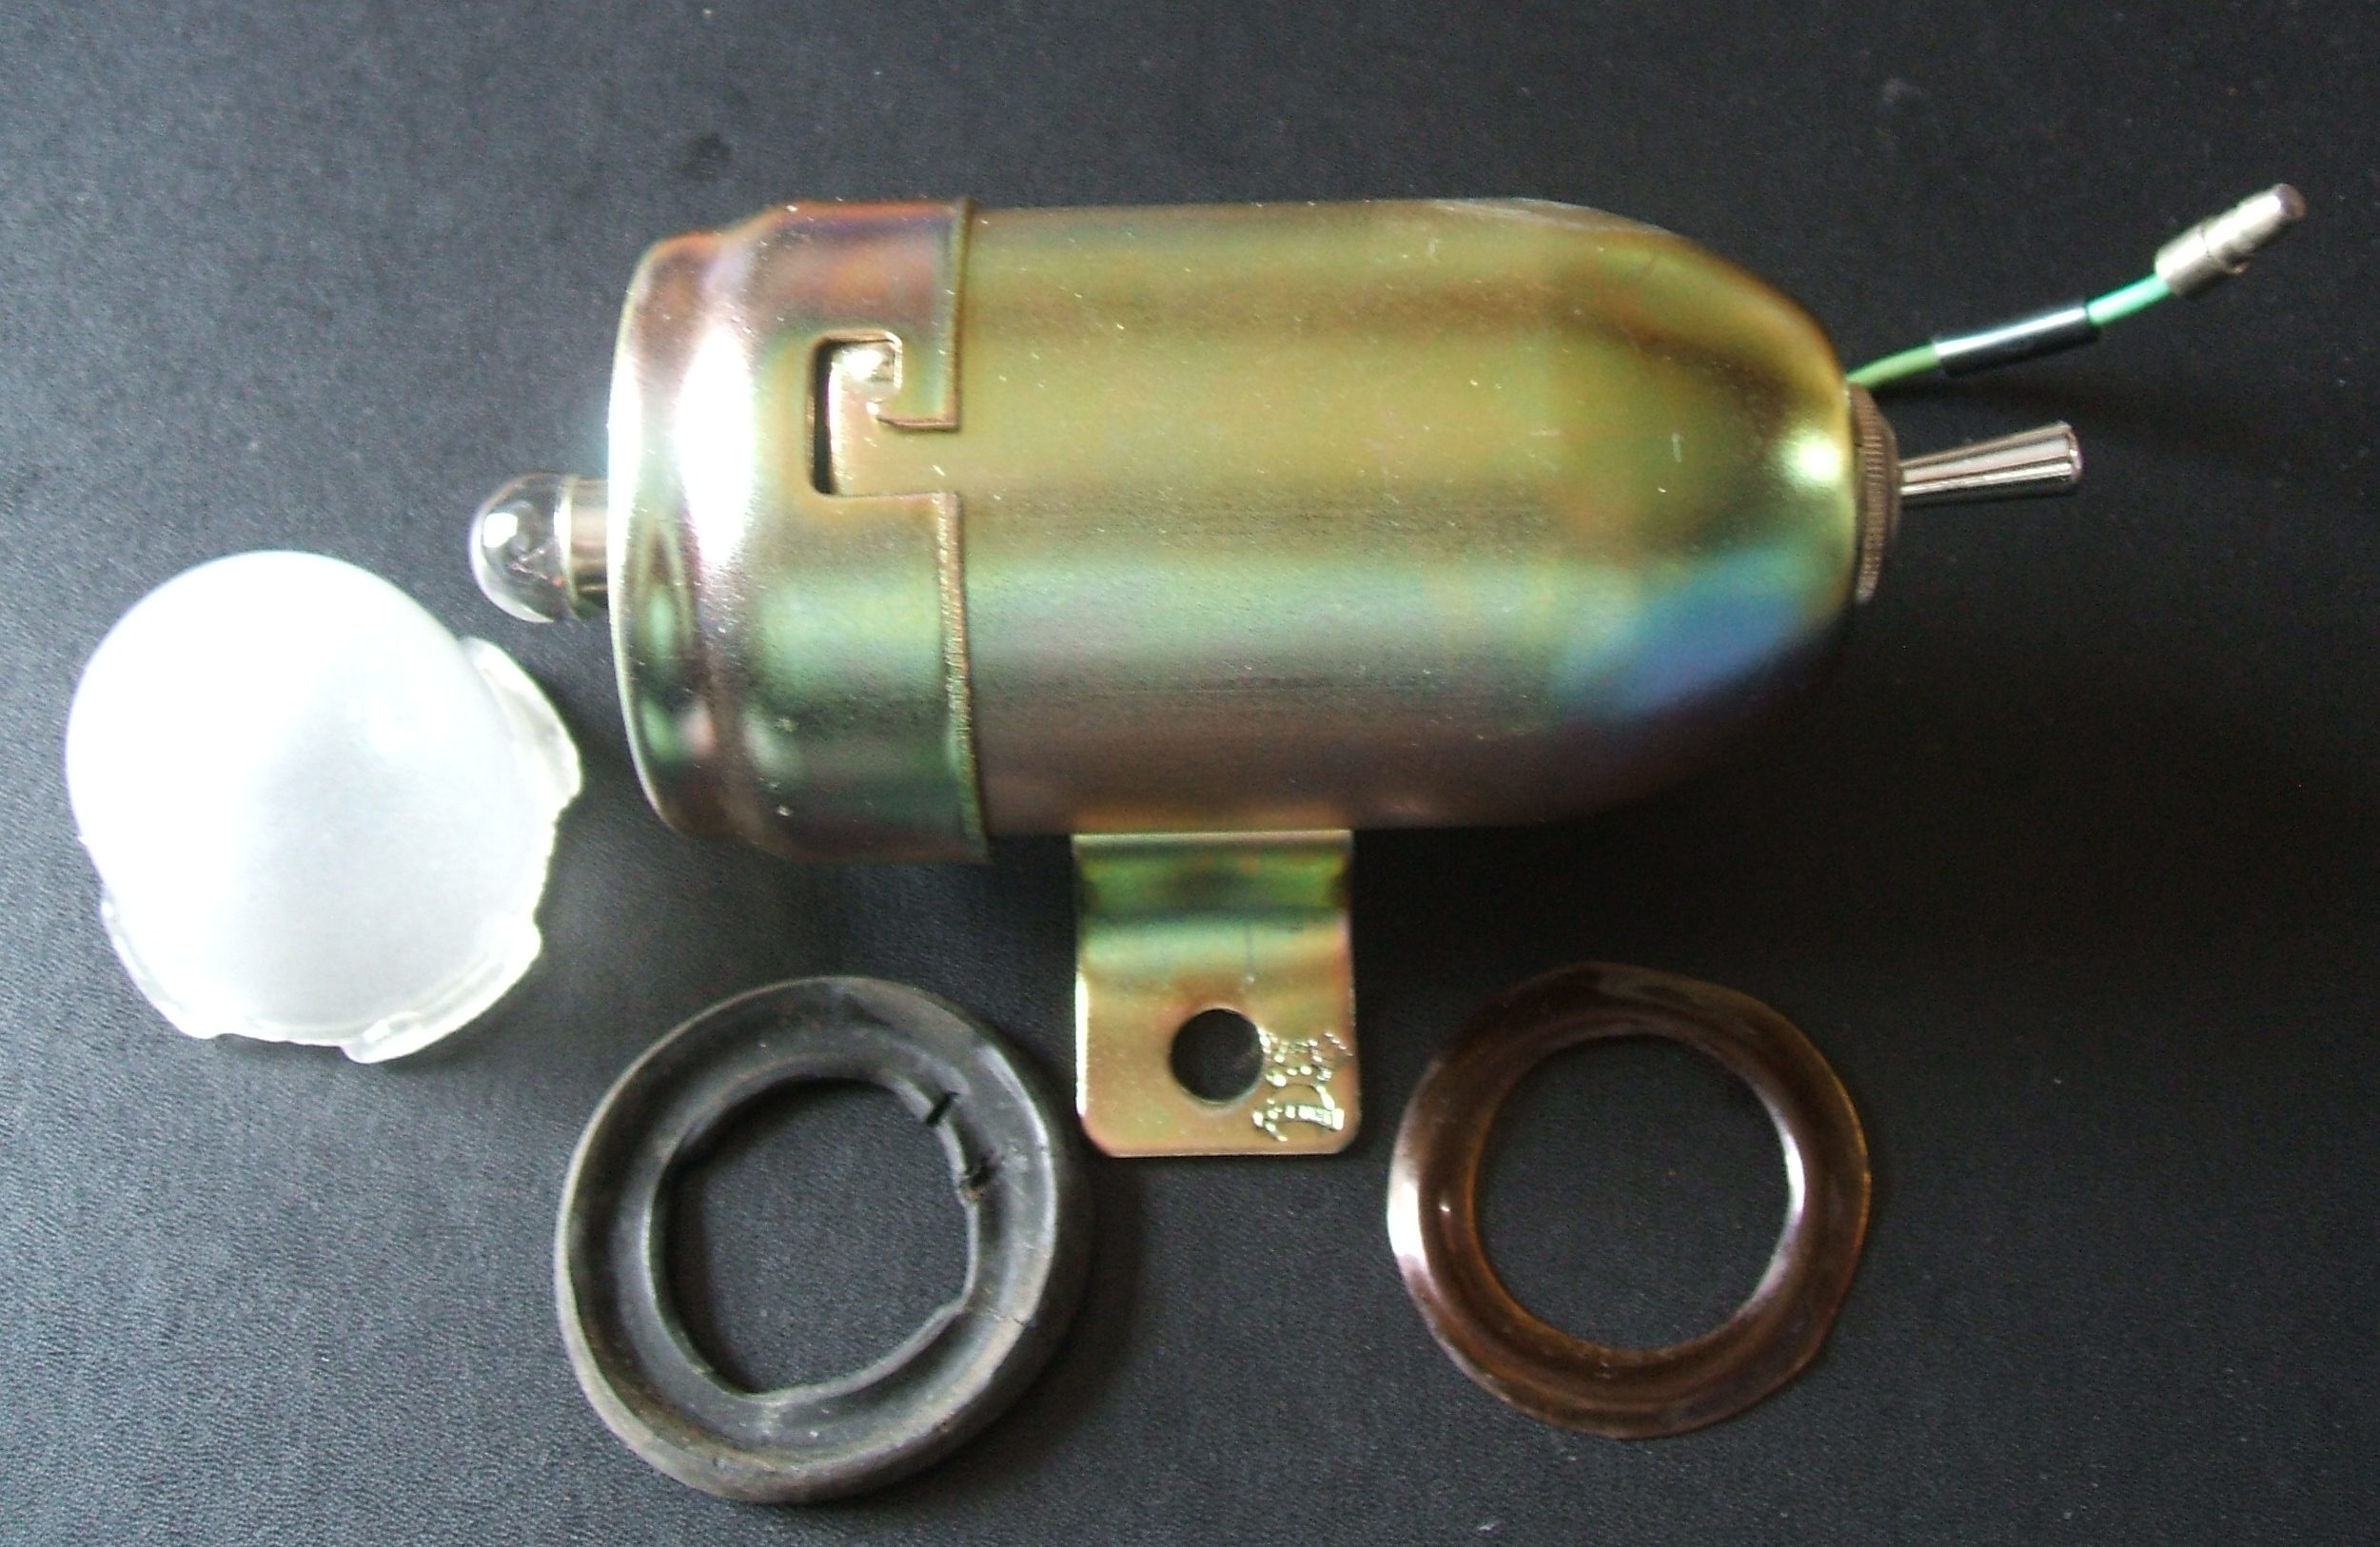
Assembling the switch.スイッチの組み立て。


Finished, apart from gasket. ガスケットを除いて完成。
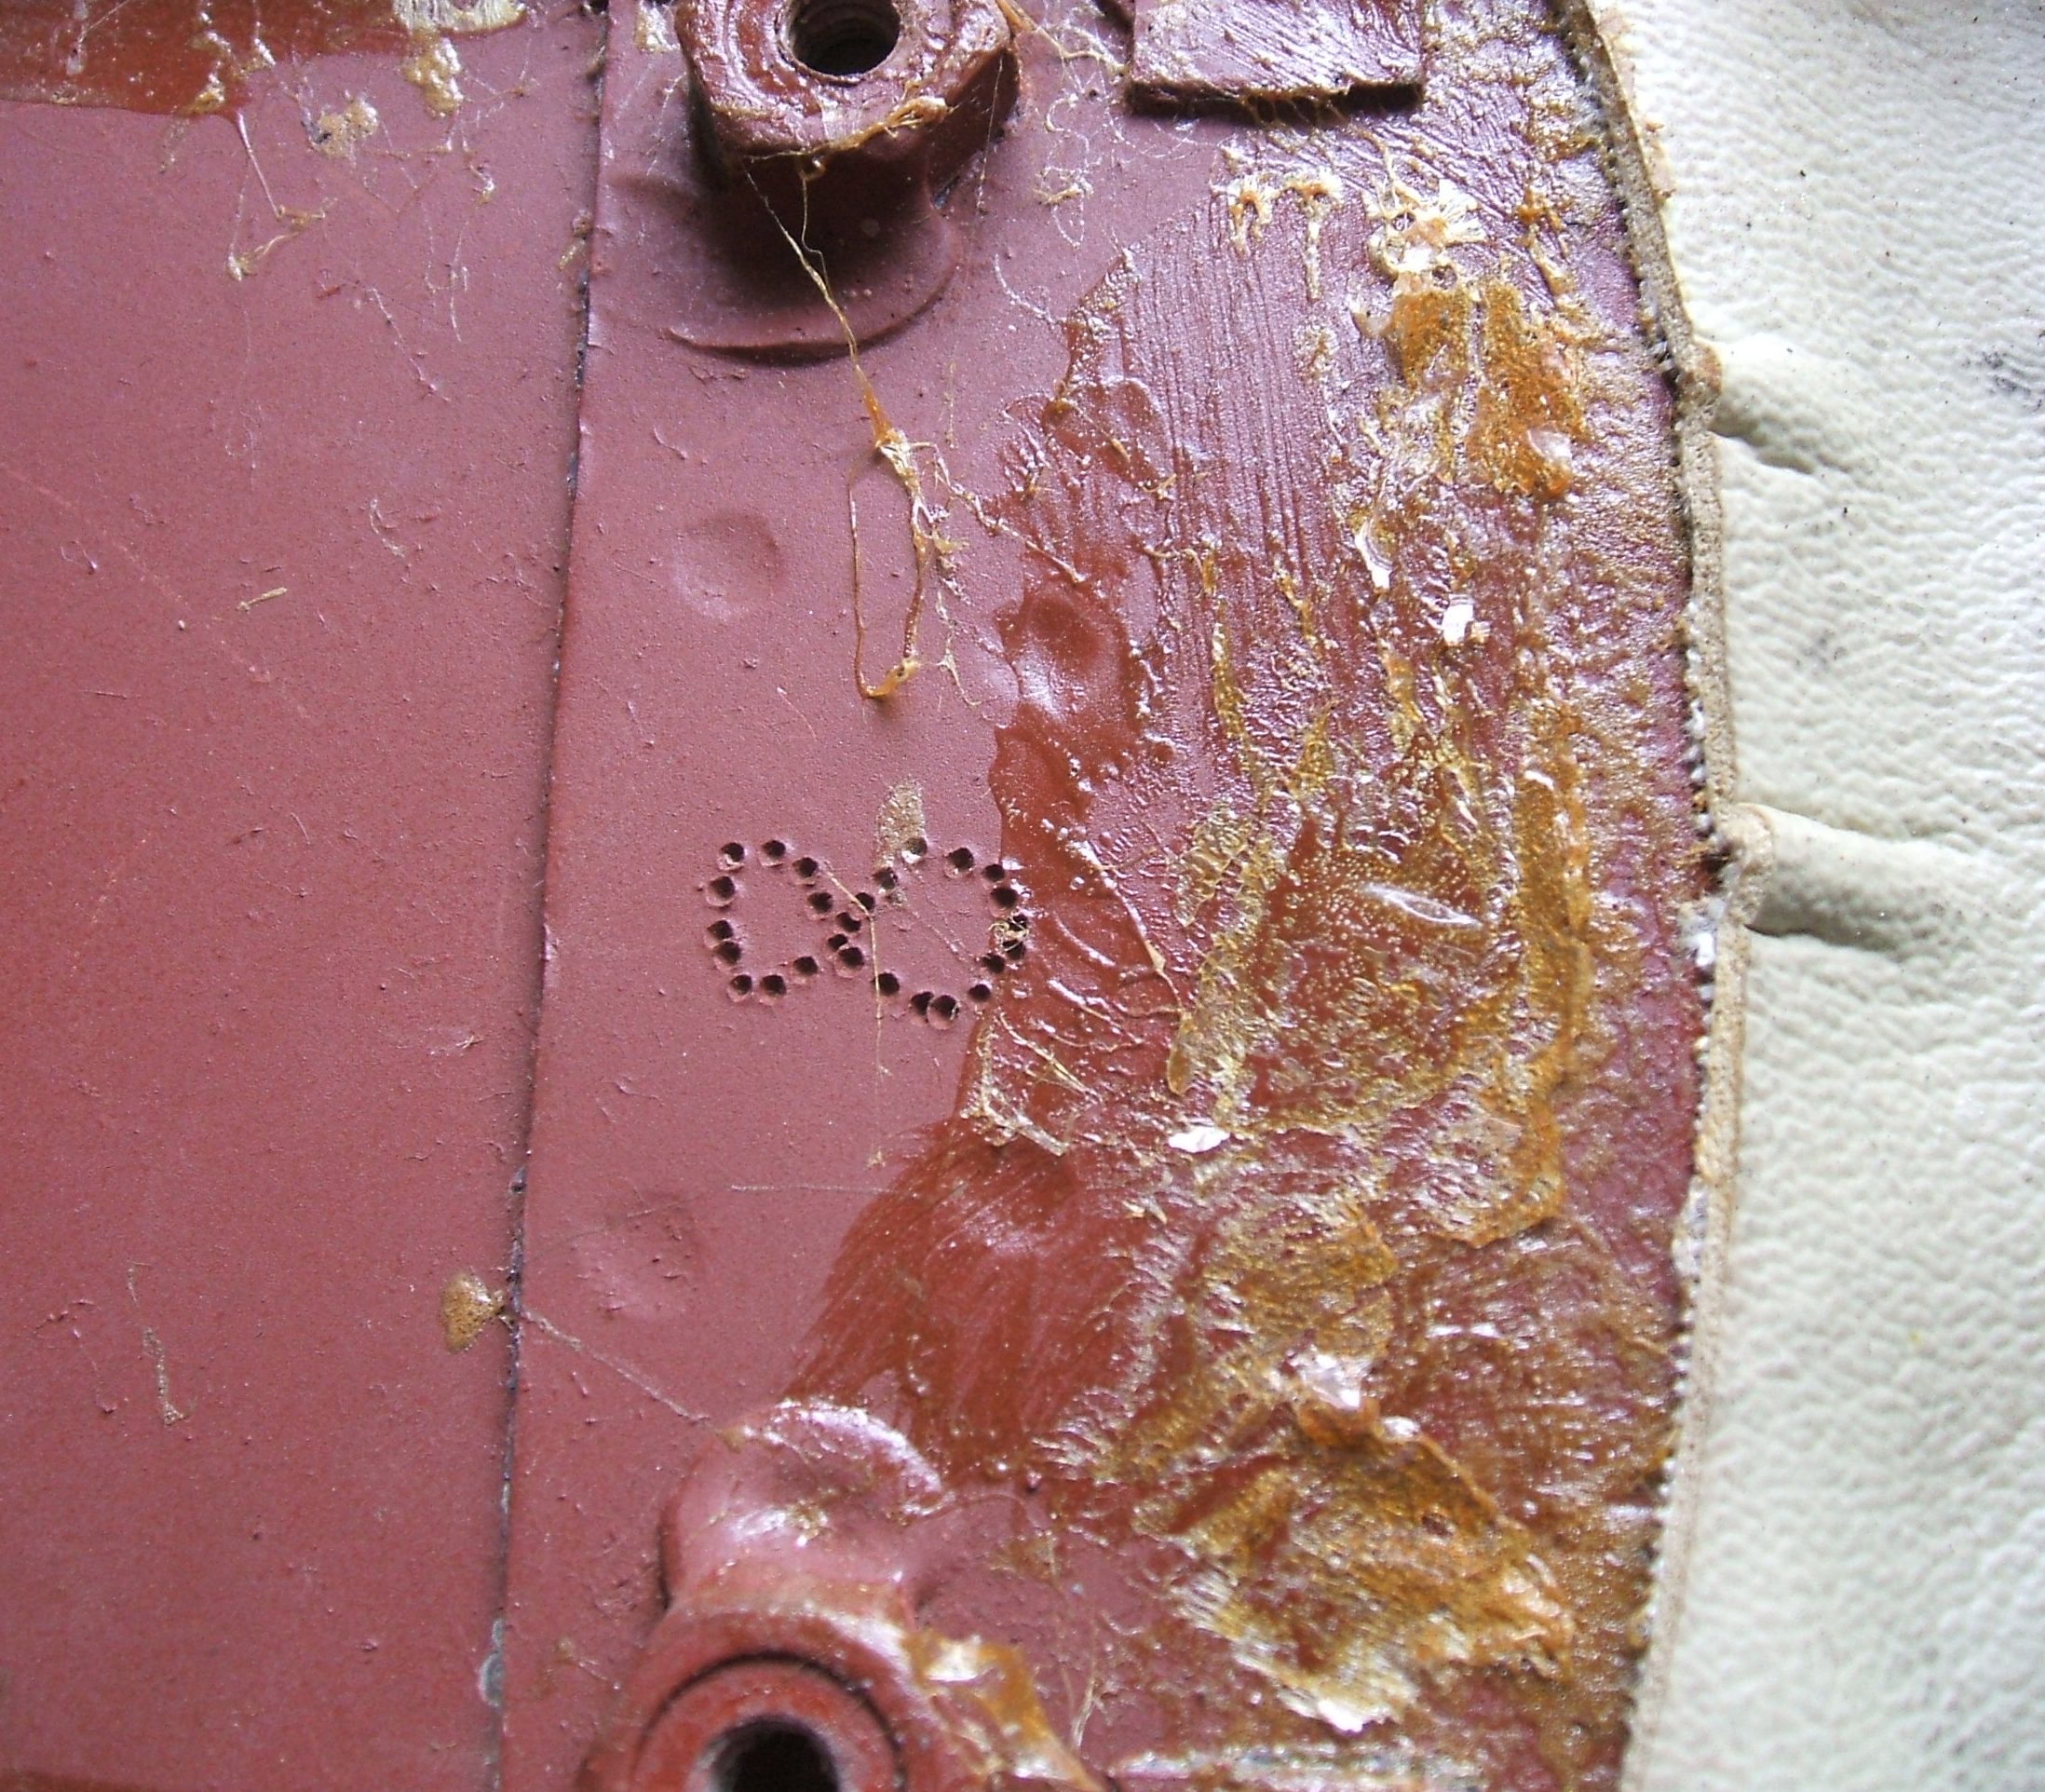
I noticed this odd stamp mark on the centre console lid.
センターコンソールリッド上でこの奇妙なスタンプマークに気づきました.
Recently, these photocopies of the Silvia service manual have been selling on Yahoo Japan. I have brought one. They cost about $18 USD. Now, that is a nice little mark up!?!
最近、シルビアサービスマニュアルのこれらのコピーはヤフオクで販売されています!日本。私は持ってきました。彼らはおよそ$ 18ドルの費用がかかります。 さて、それは素敵な小さなマークアップです!?!
At that price, I will photocopy mine for $50USD??!!
その価格で、私は$ 50USDのために地雷を複写します?? !!
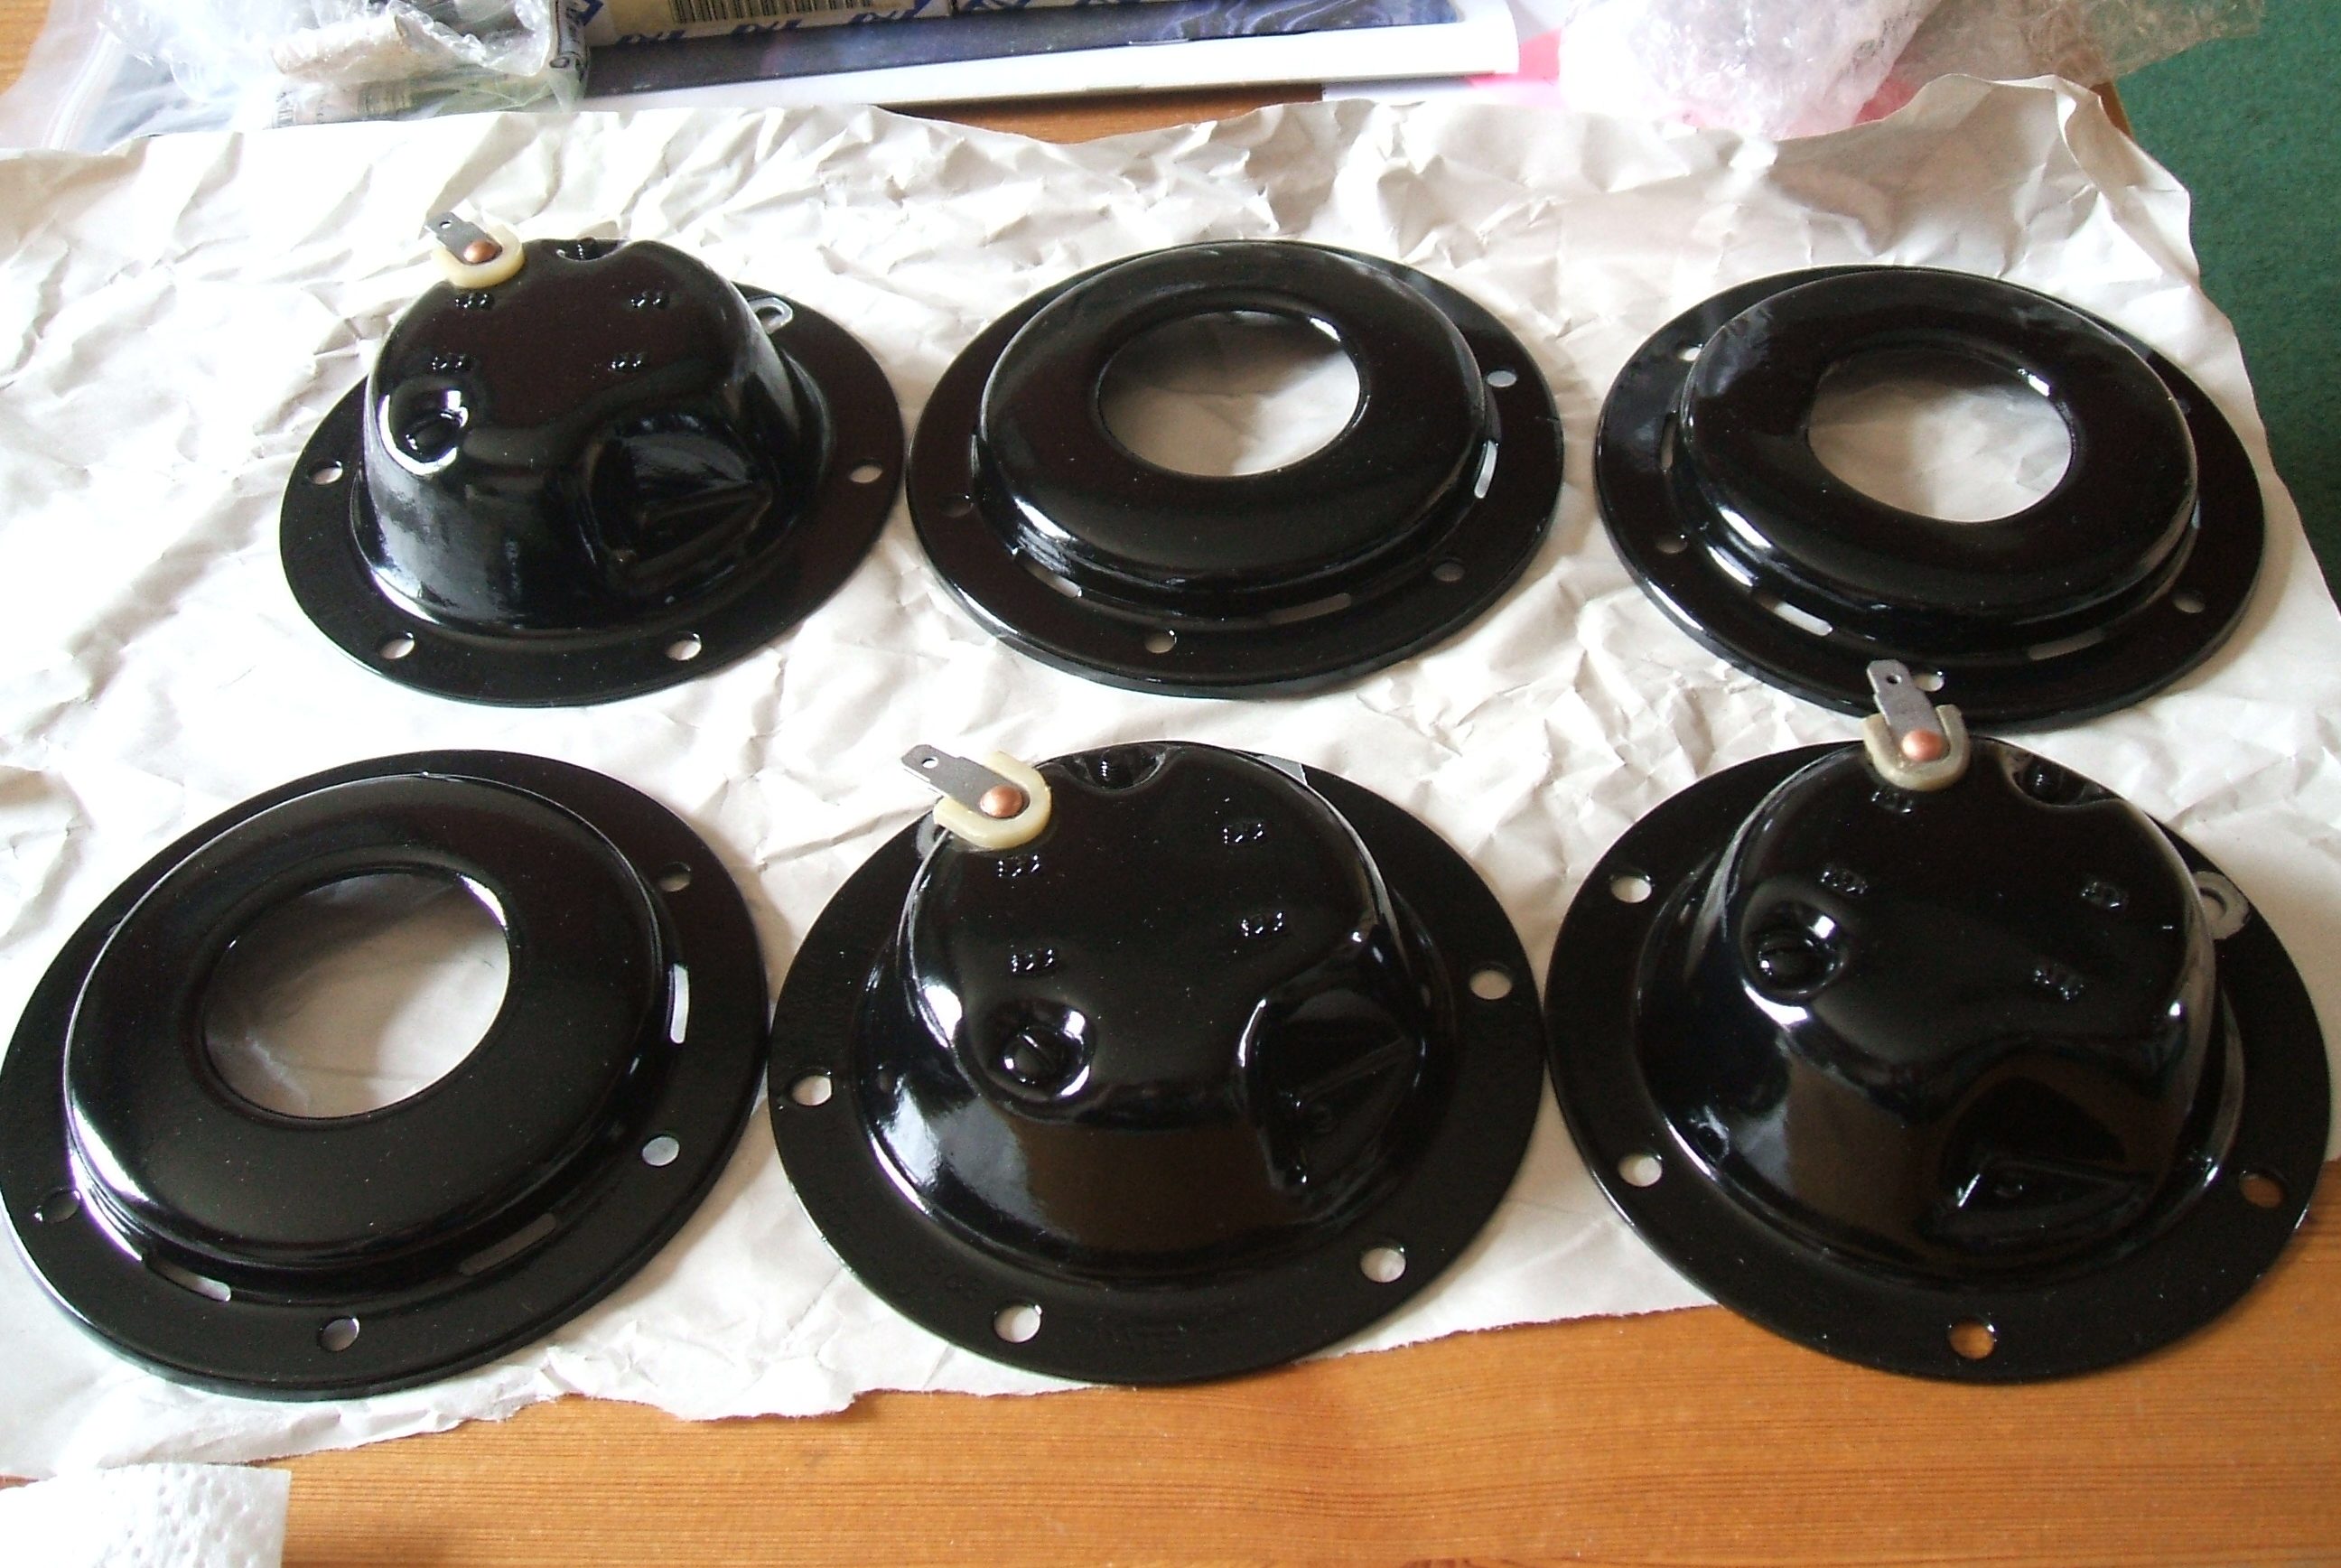
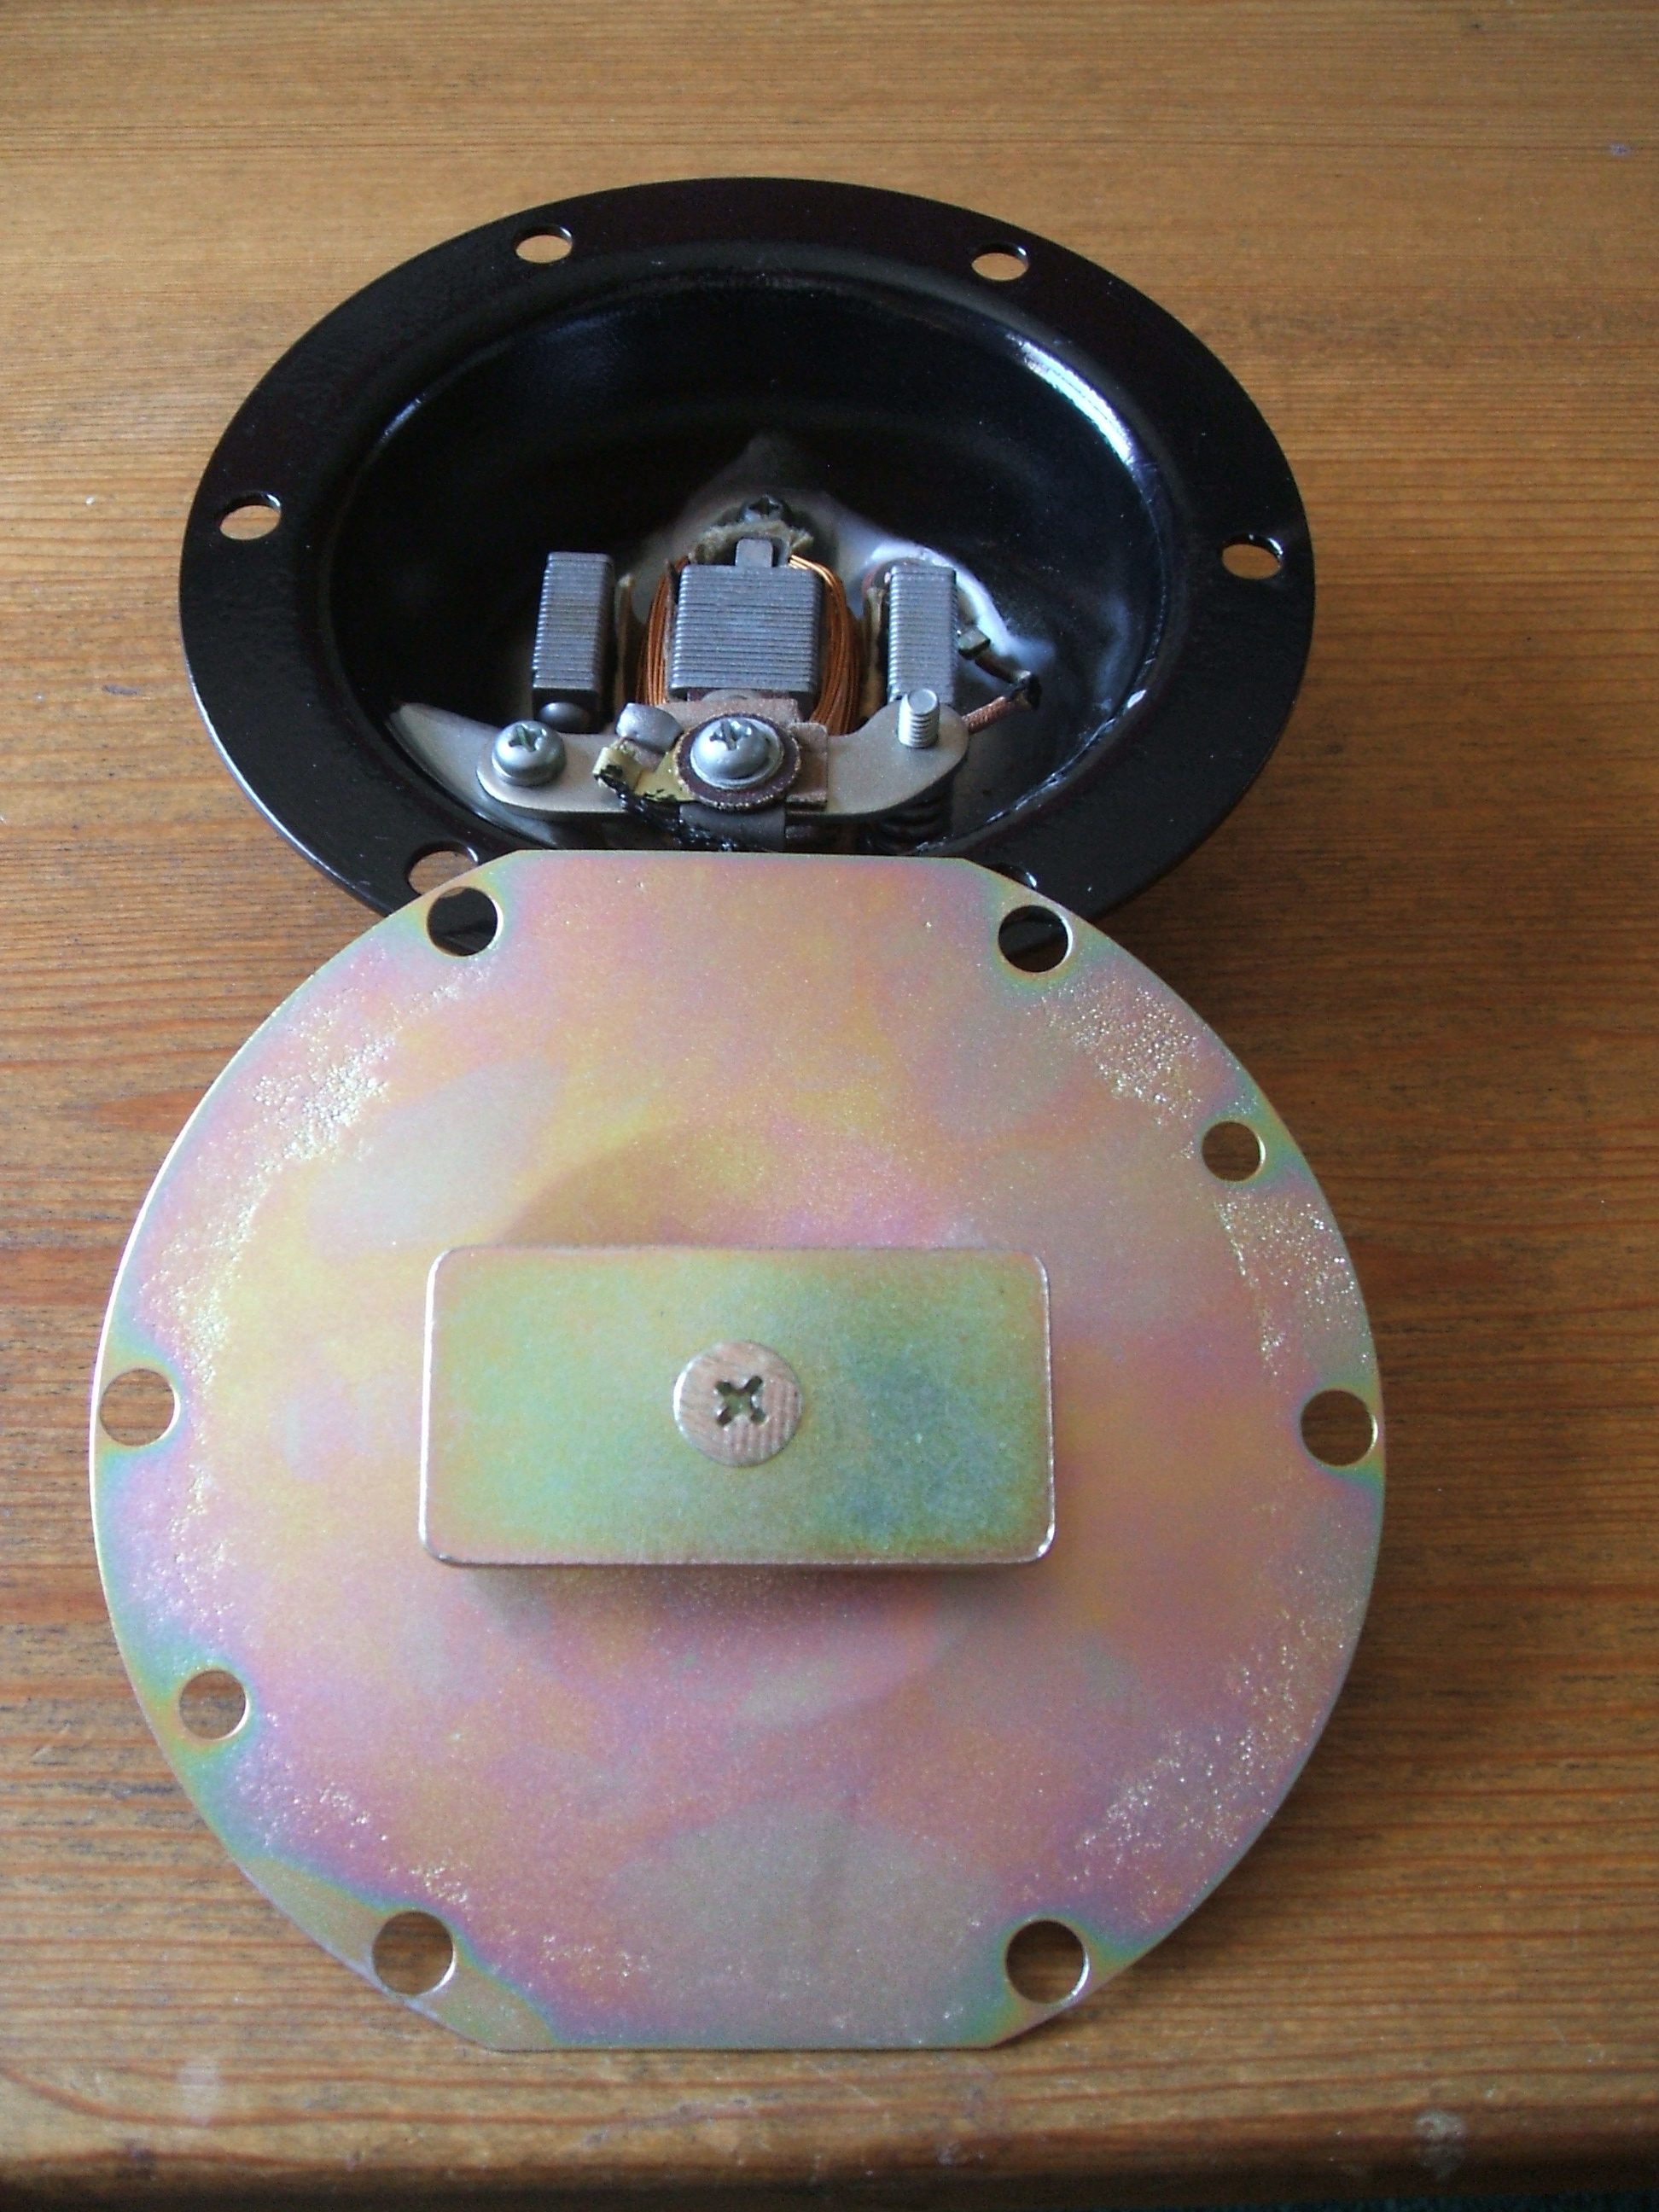
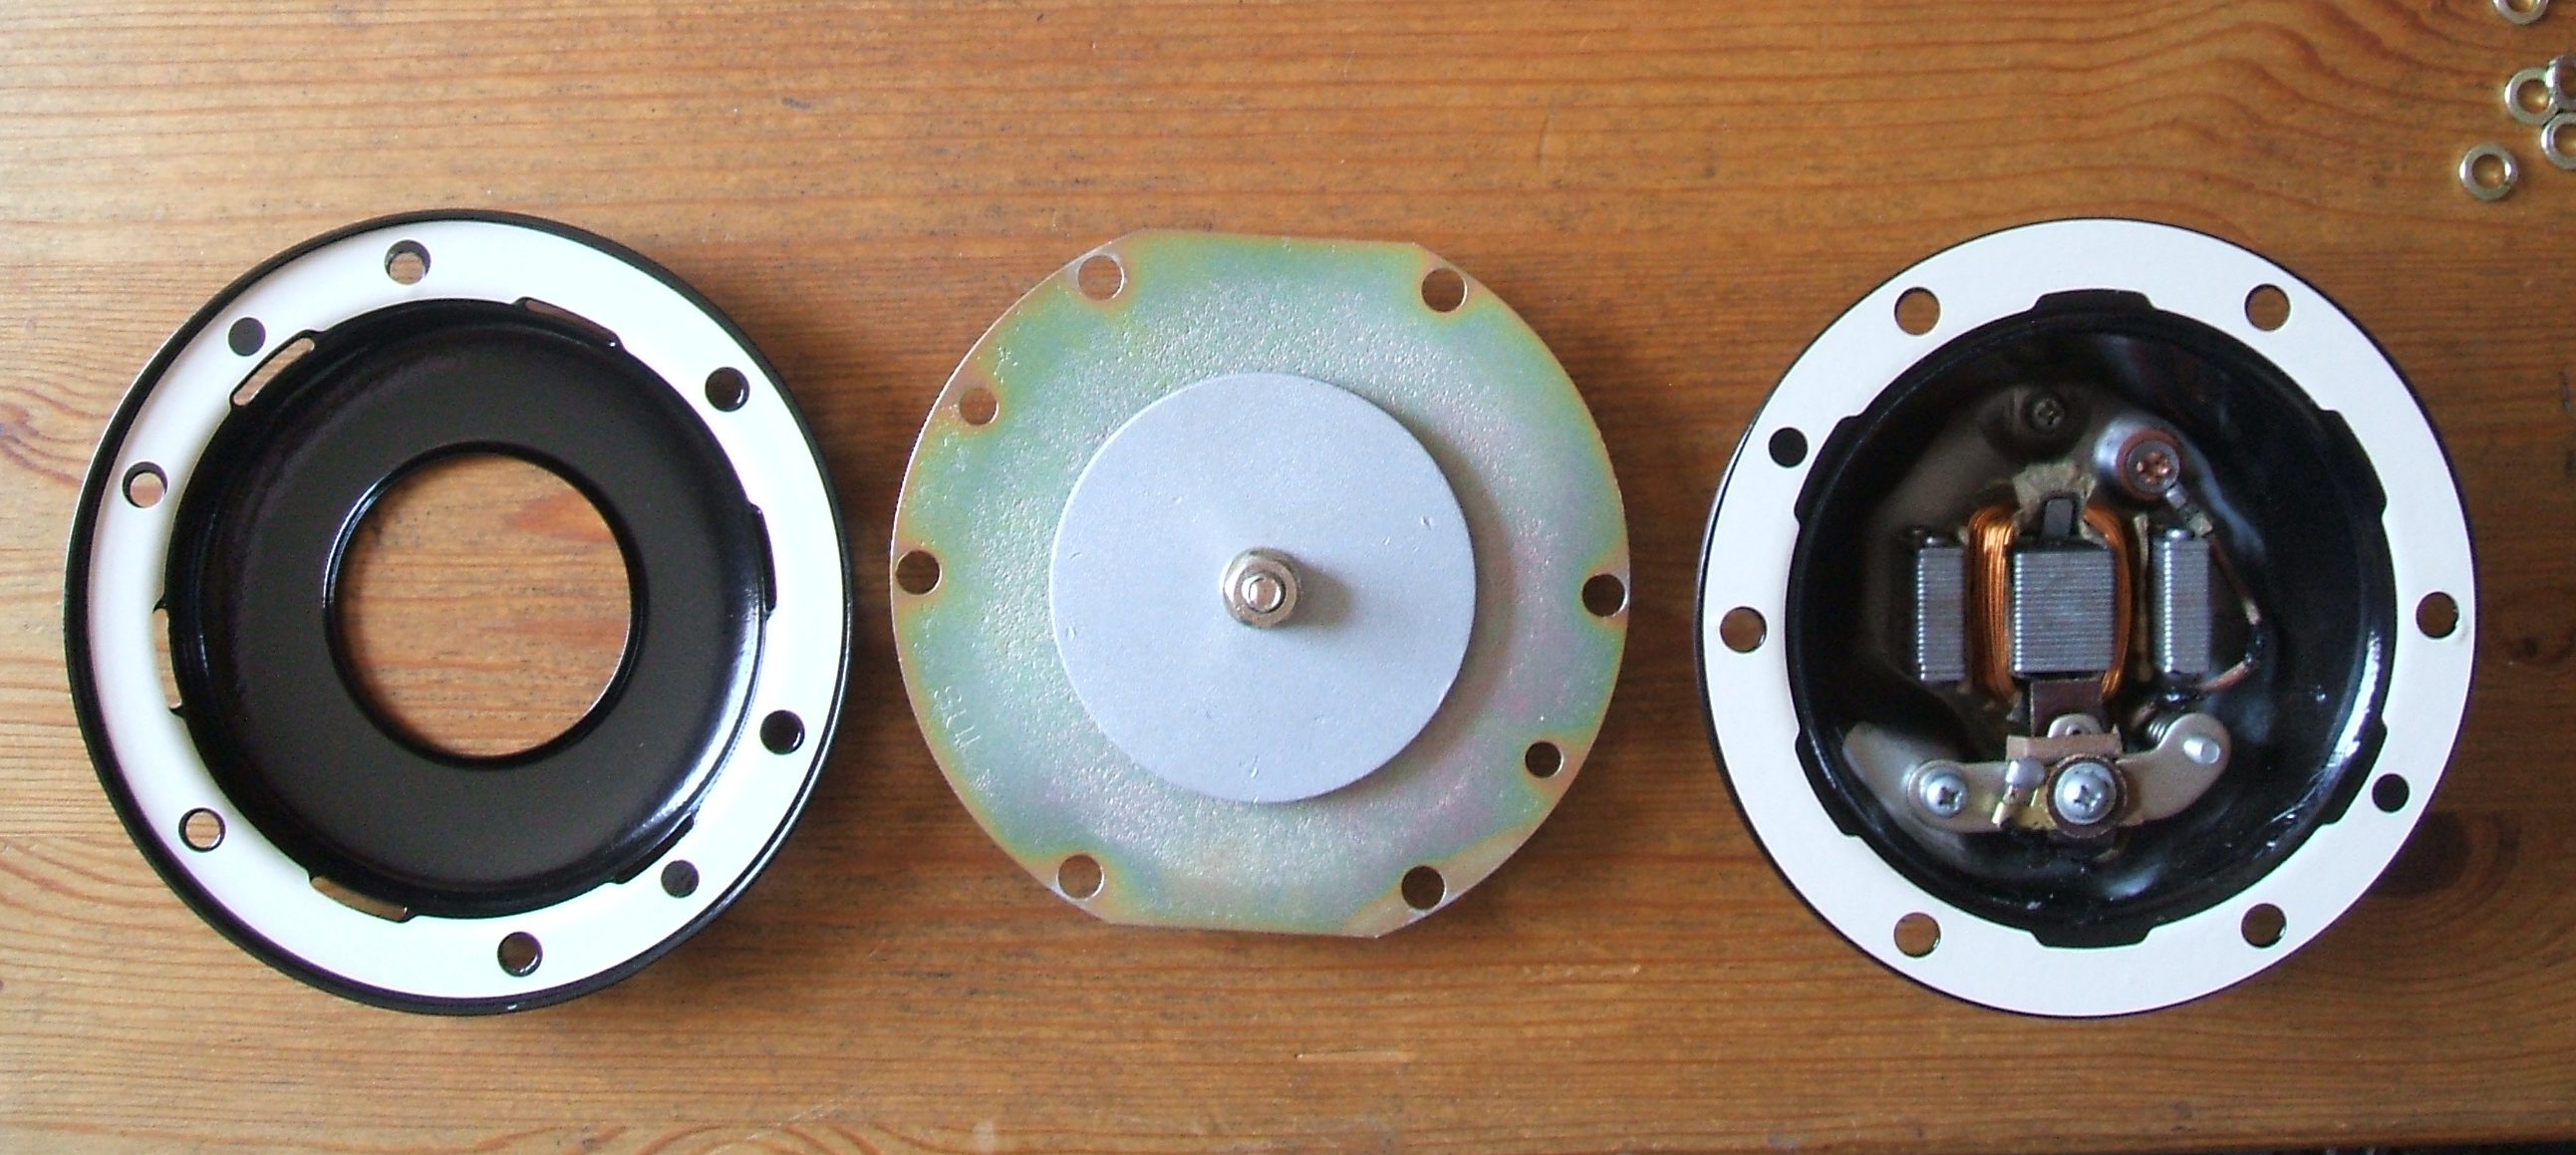
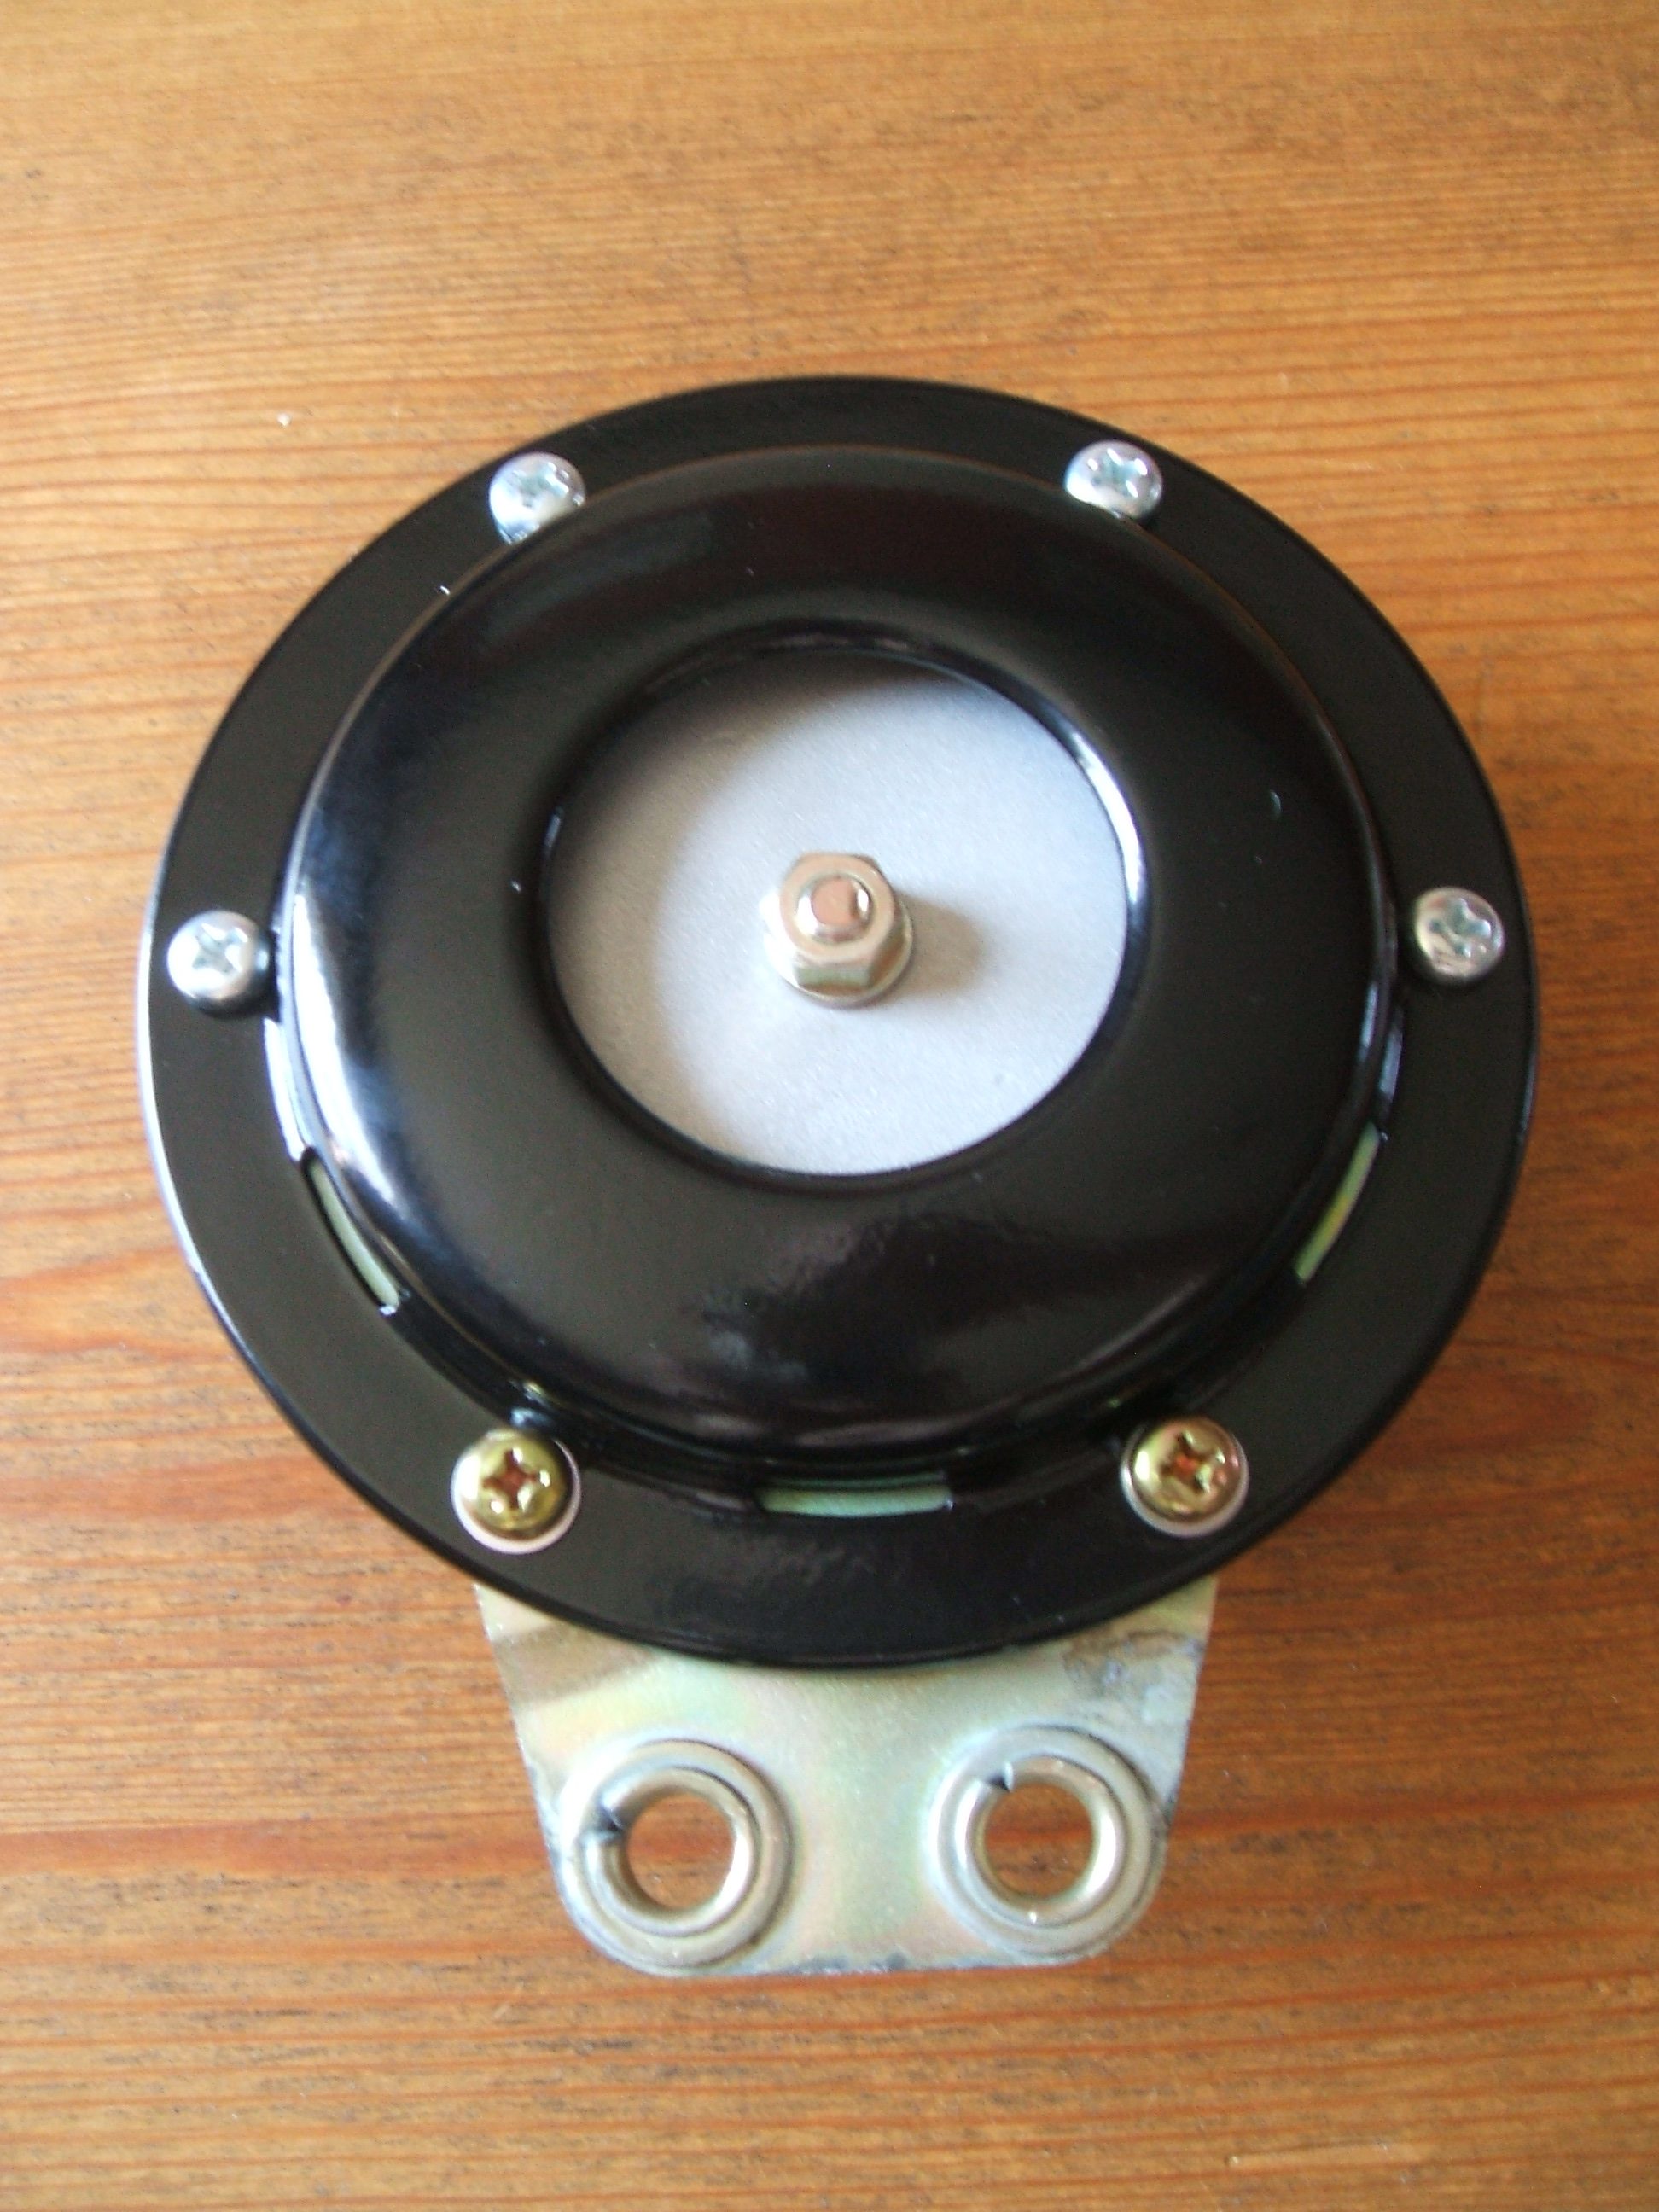
Back on blog page 5, I had a couple of pictures of the horns cleaned. Here they are powder coated, plated, and getting assembled. Yes, I know I only need two horns, I decided to do the spare at the same time.
戻るブログの5ページ、私は掃除ホルンの写真のカップルを持っていました。ここで彼らは、粉末、コーティングされたメッキ、および組み立てられてきています。はい、私は2本のホーンしか必要としないことを知っているので、スペアを同時に行うことにしました。
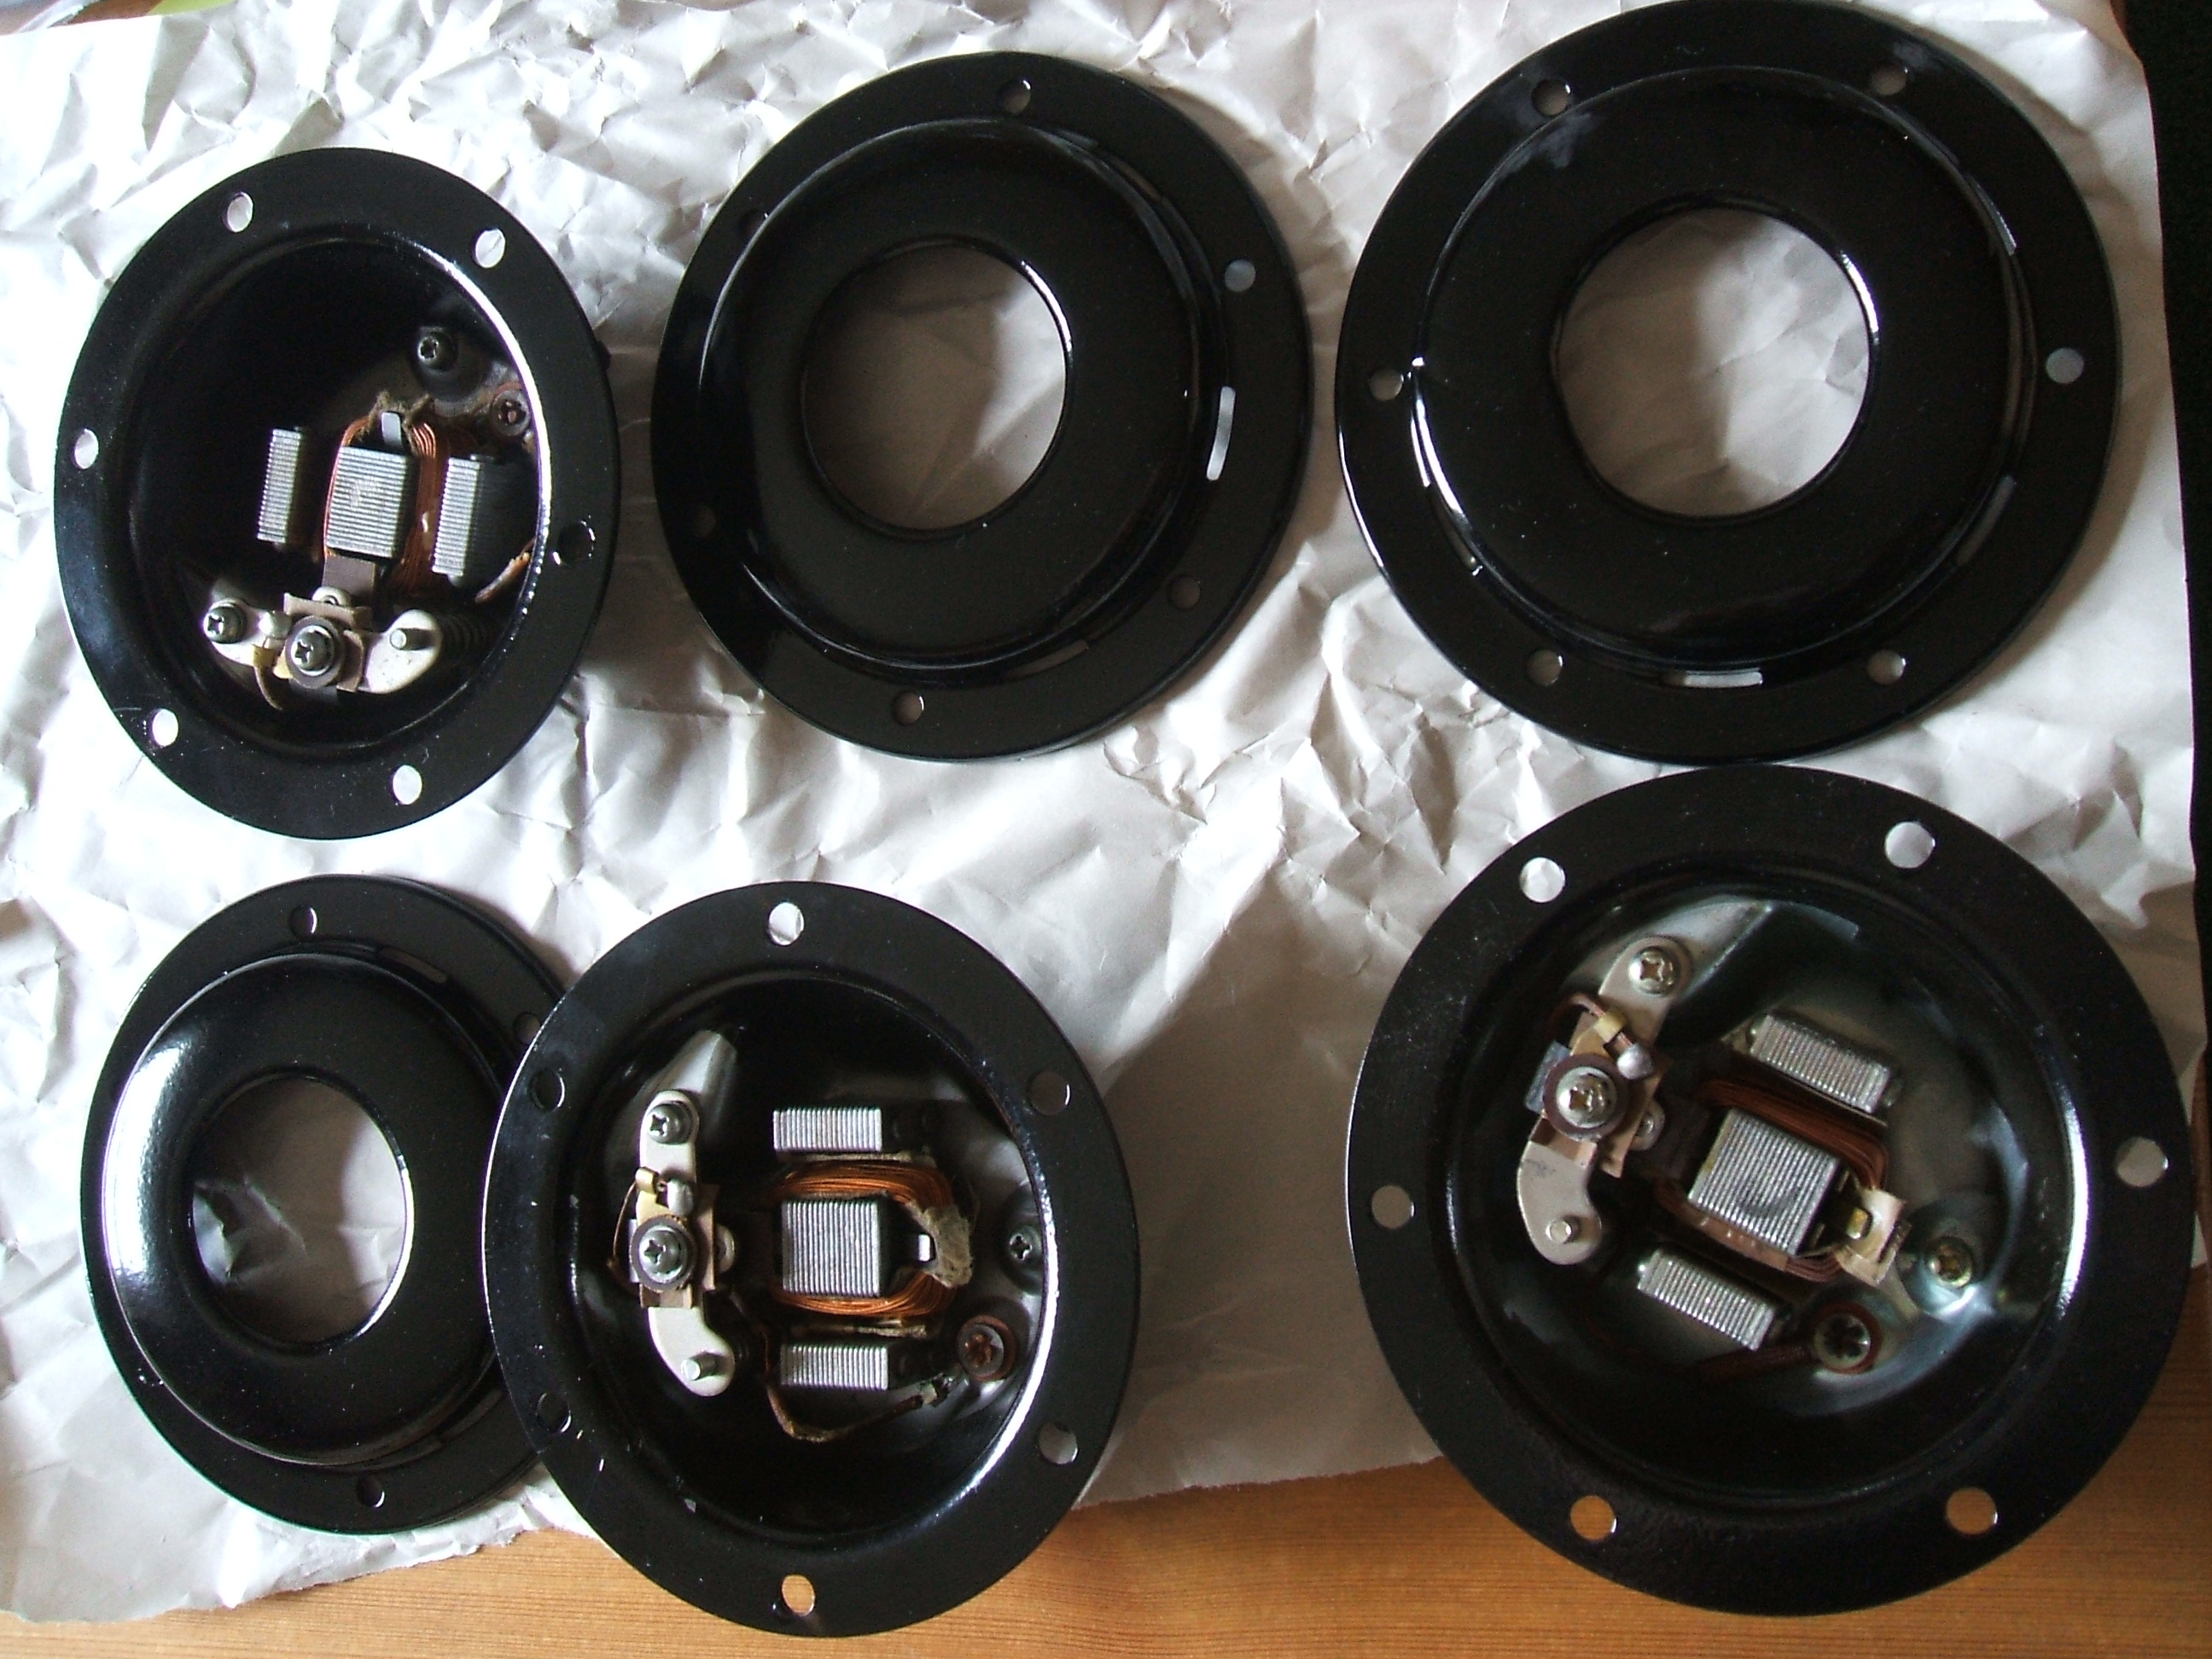
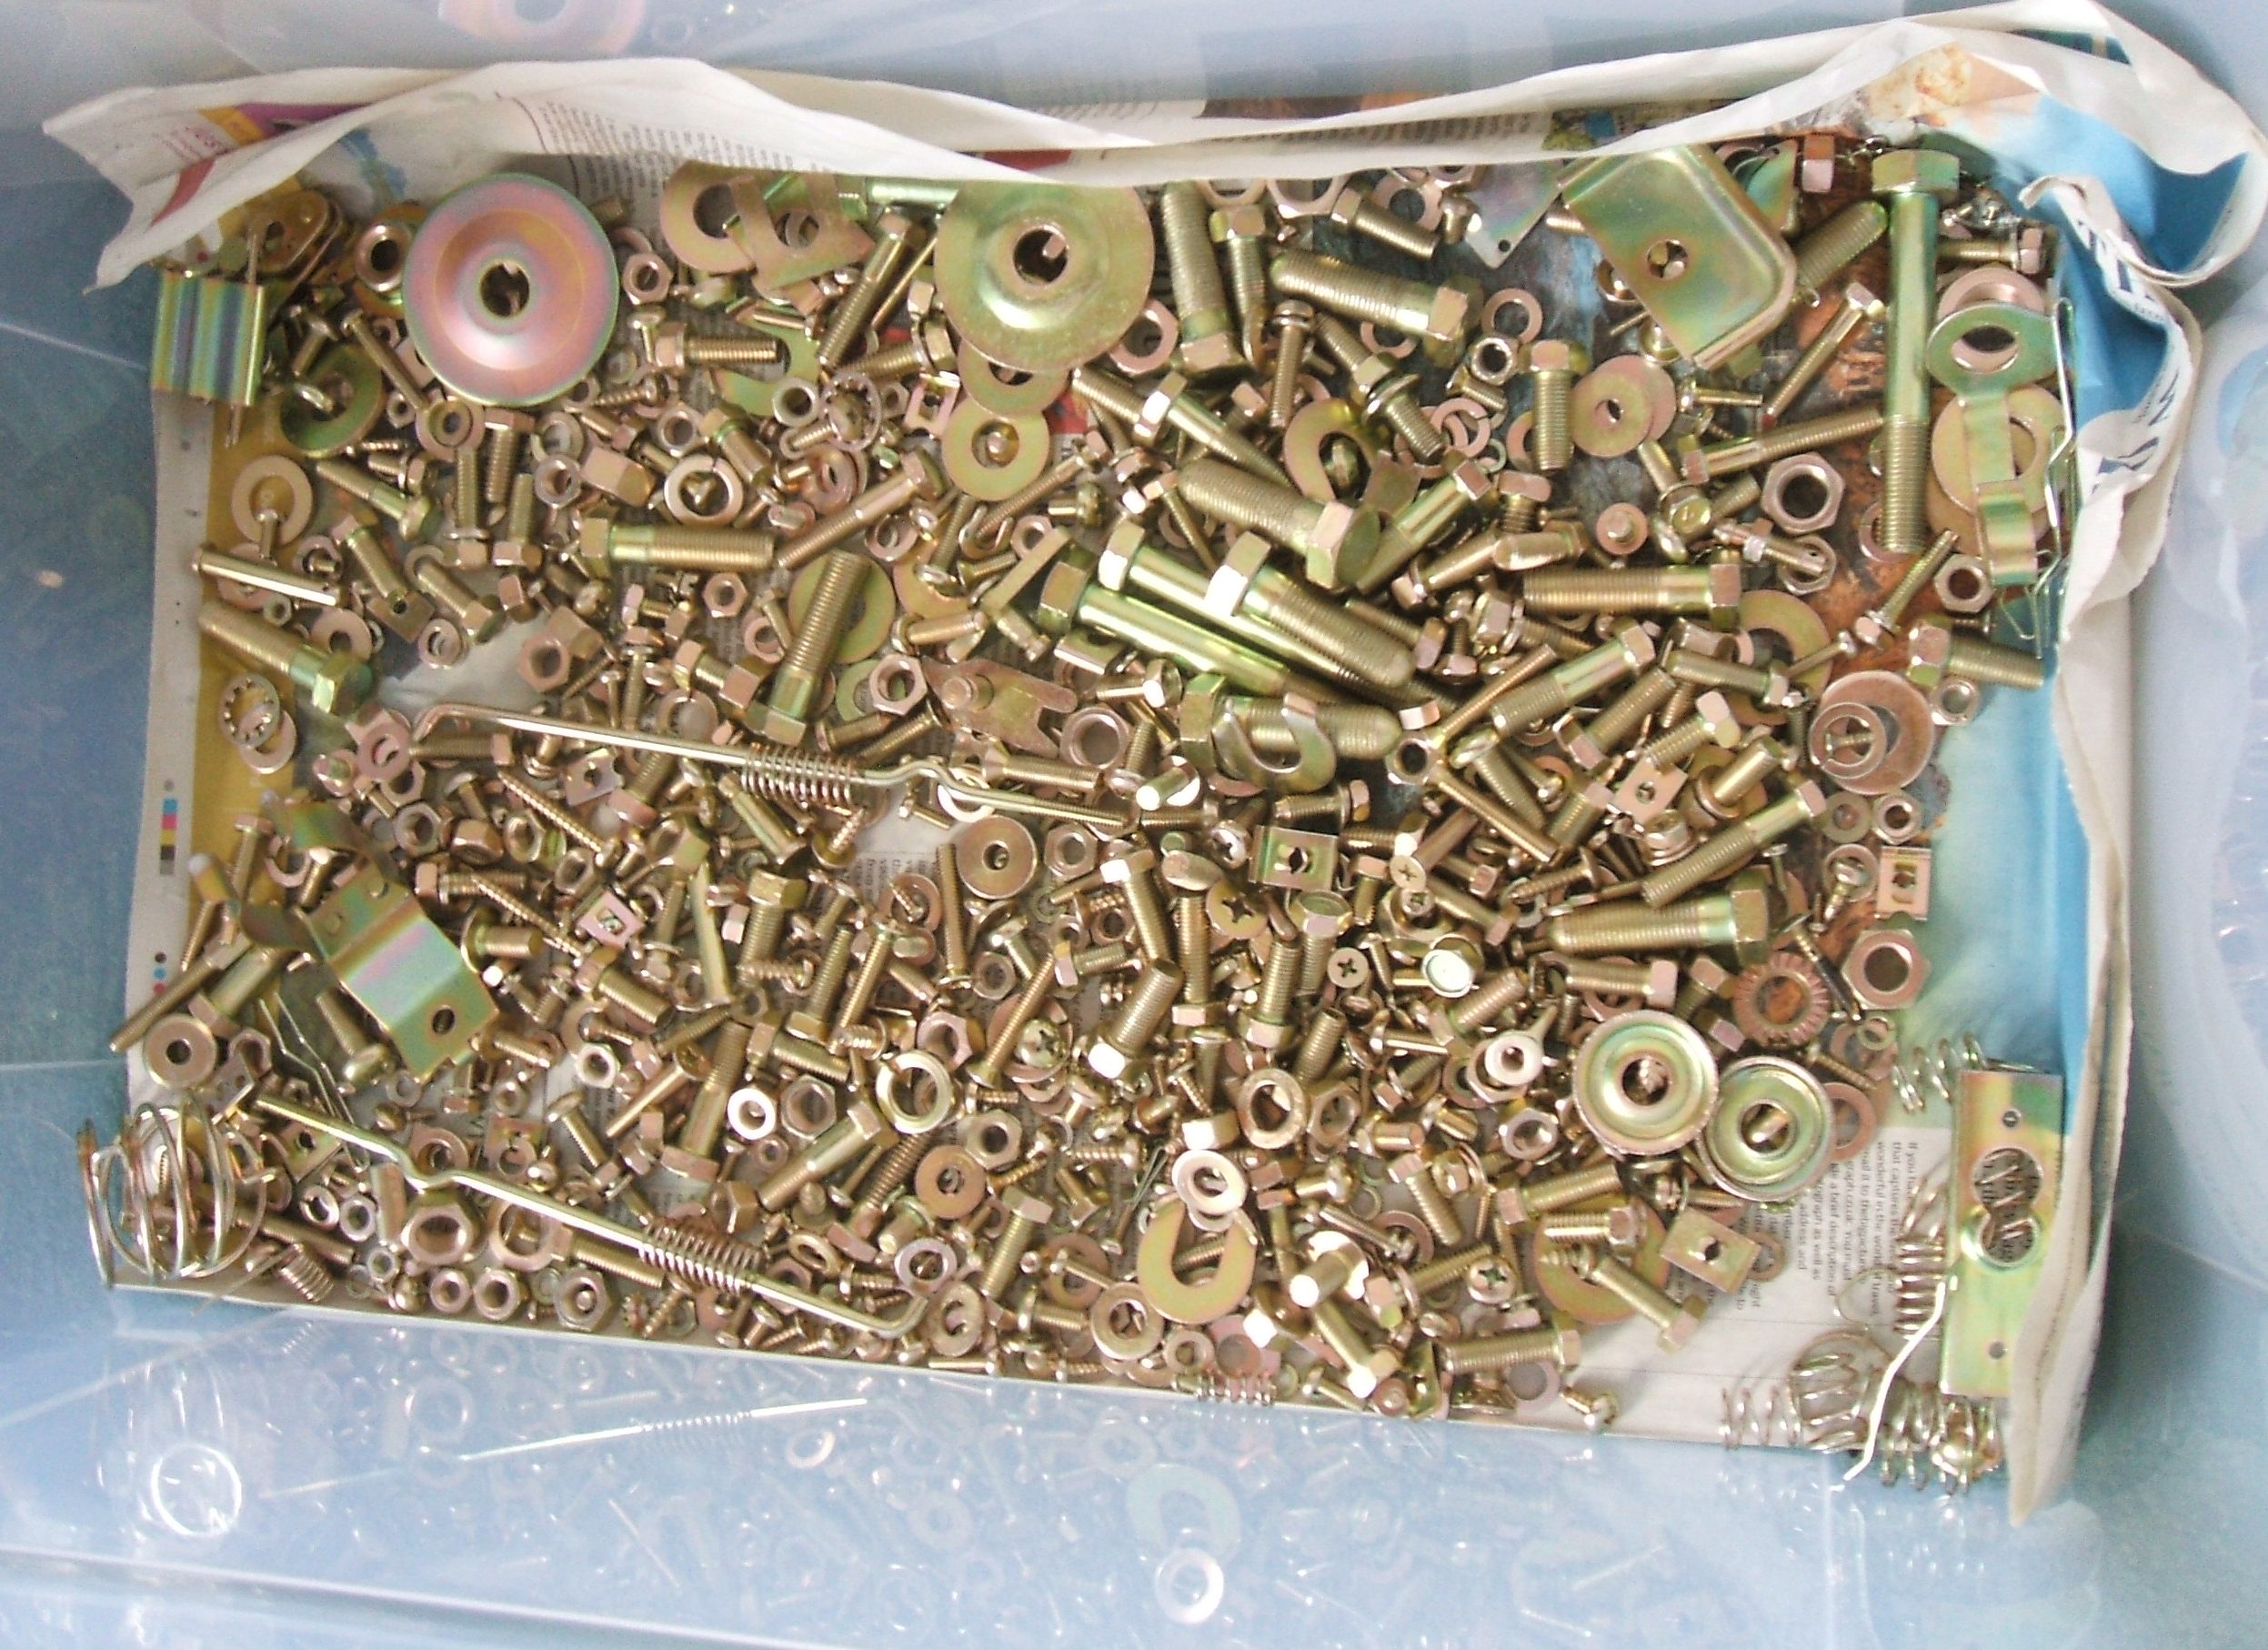
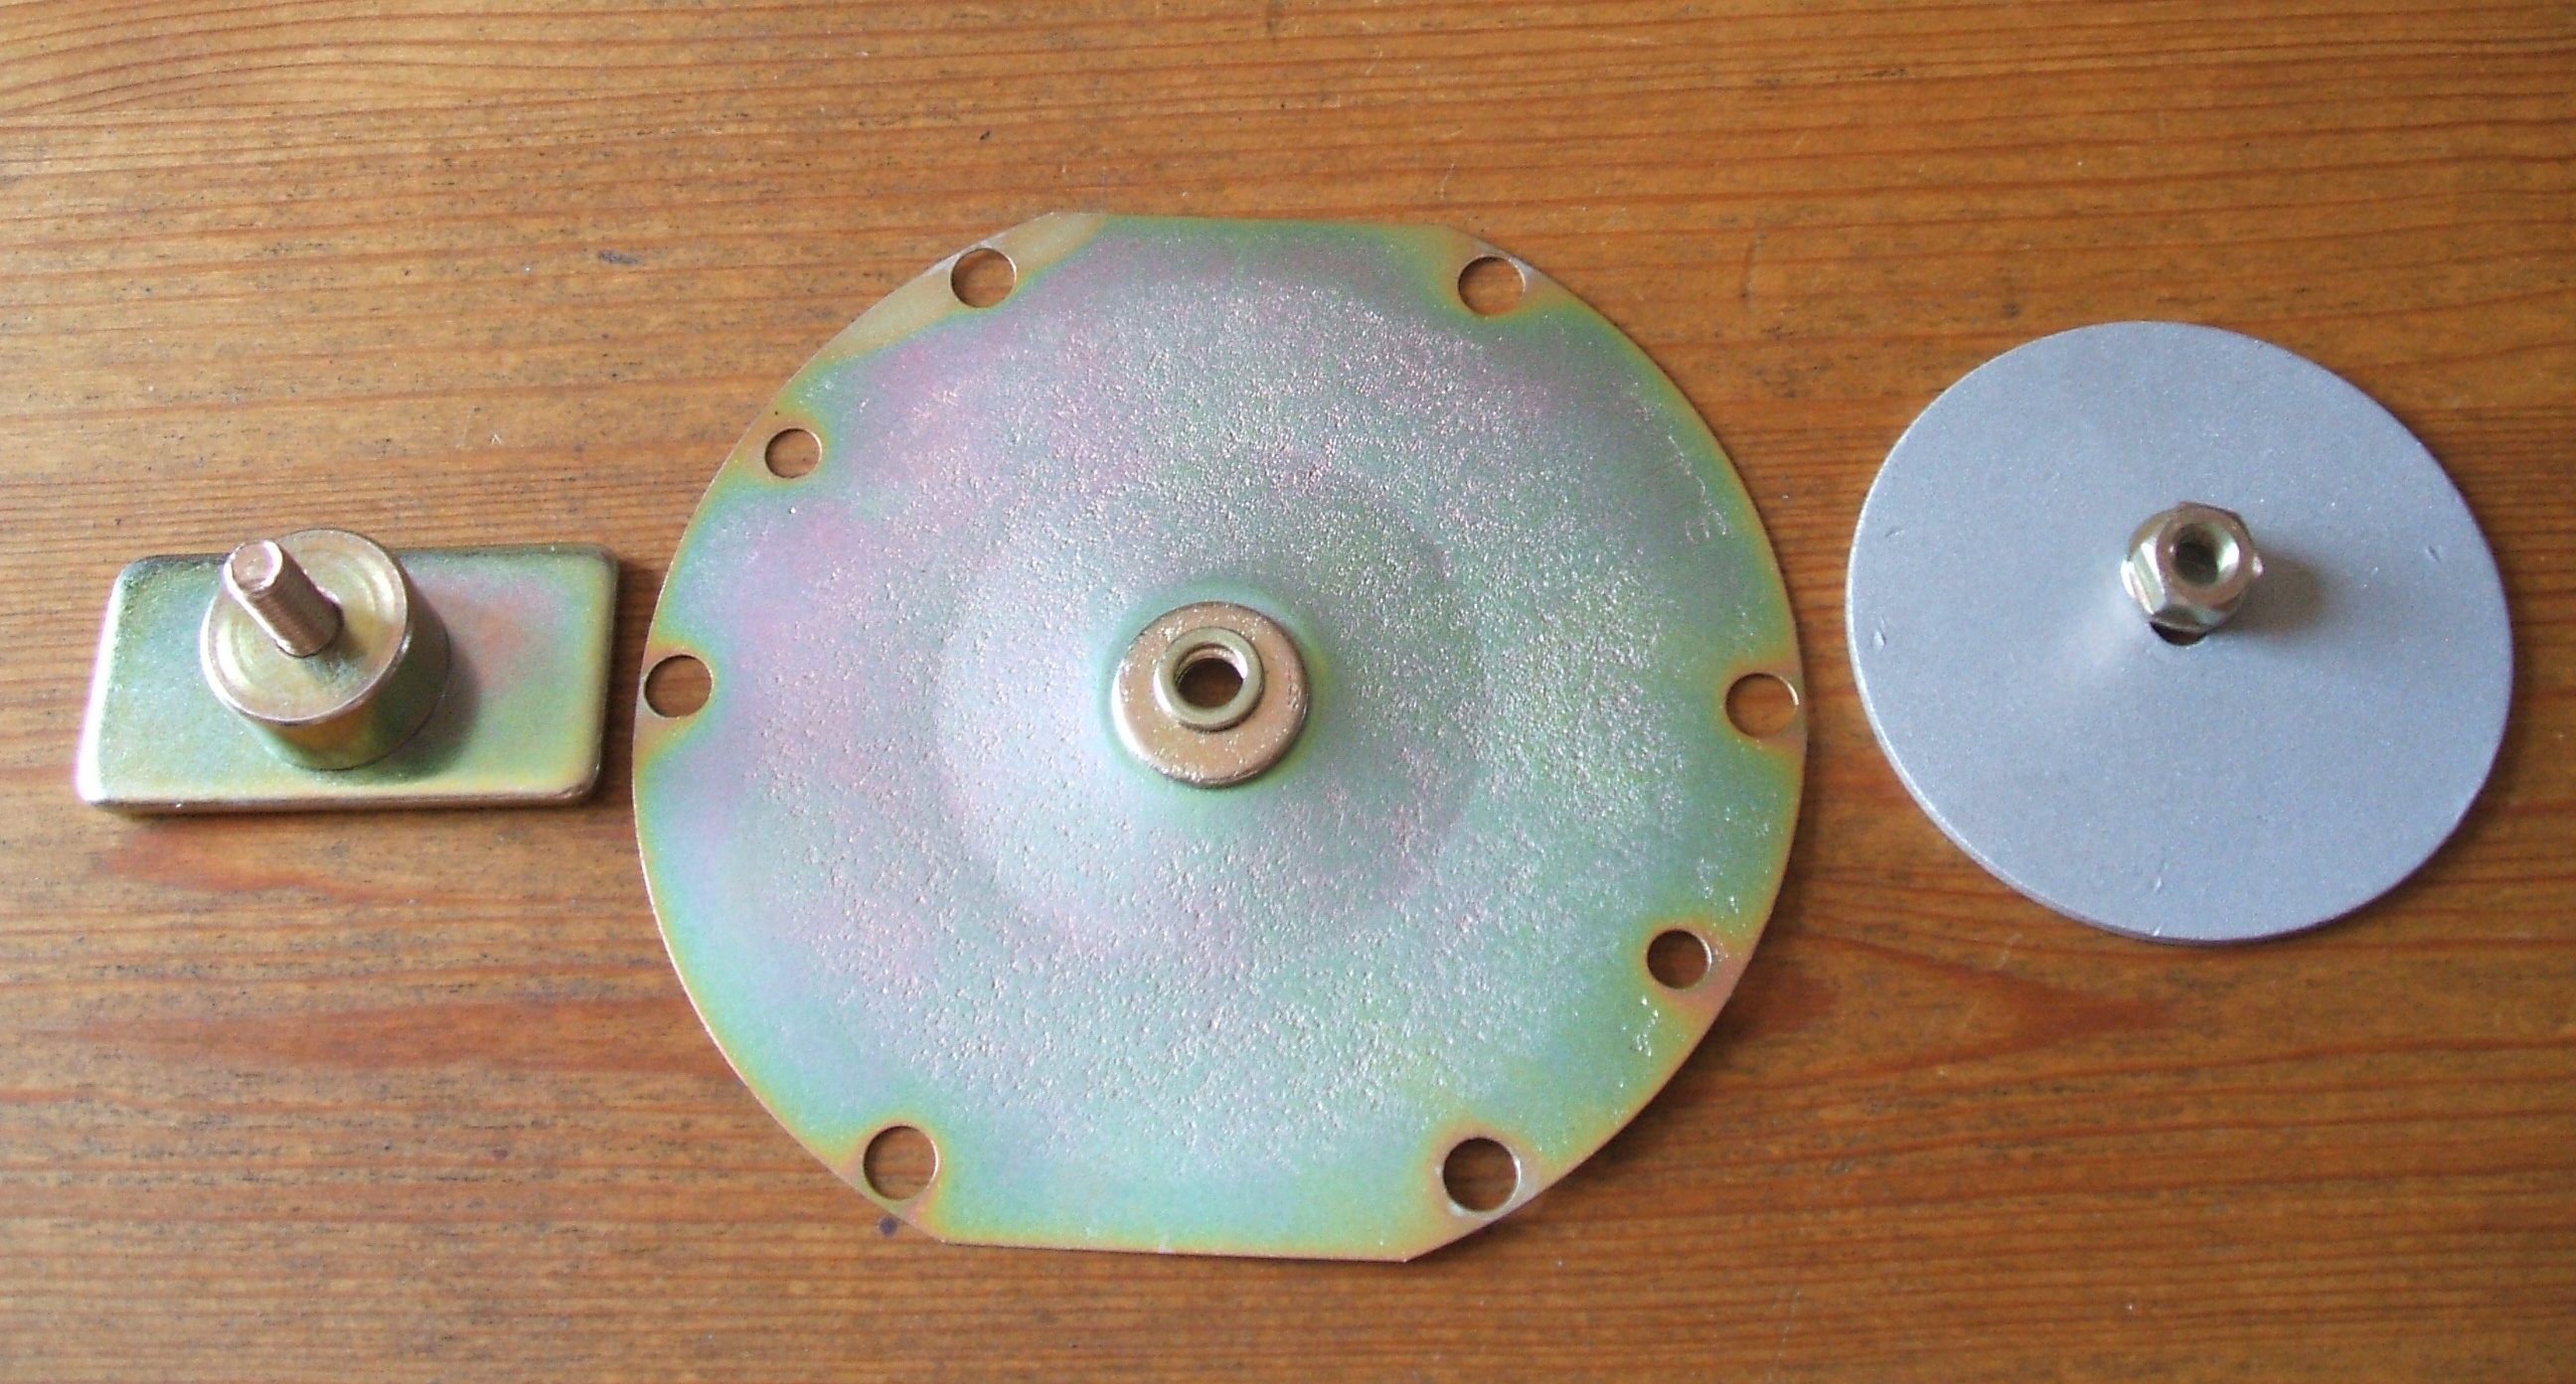
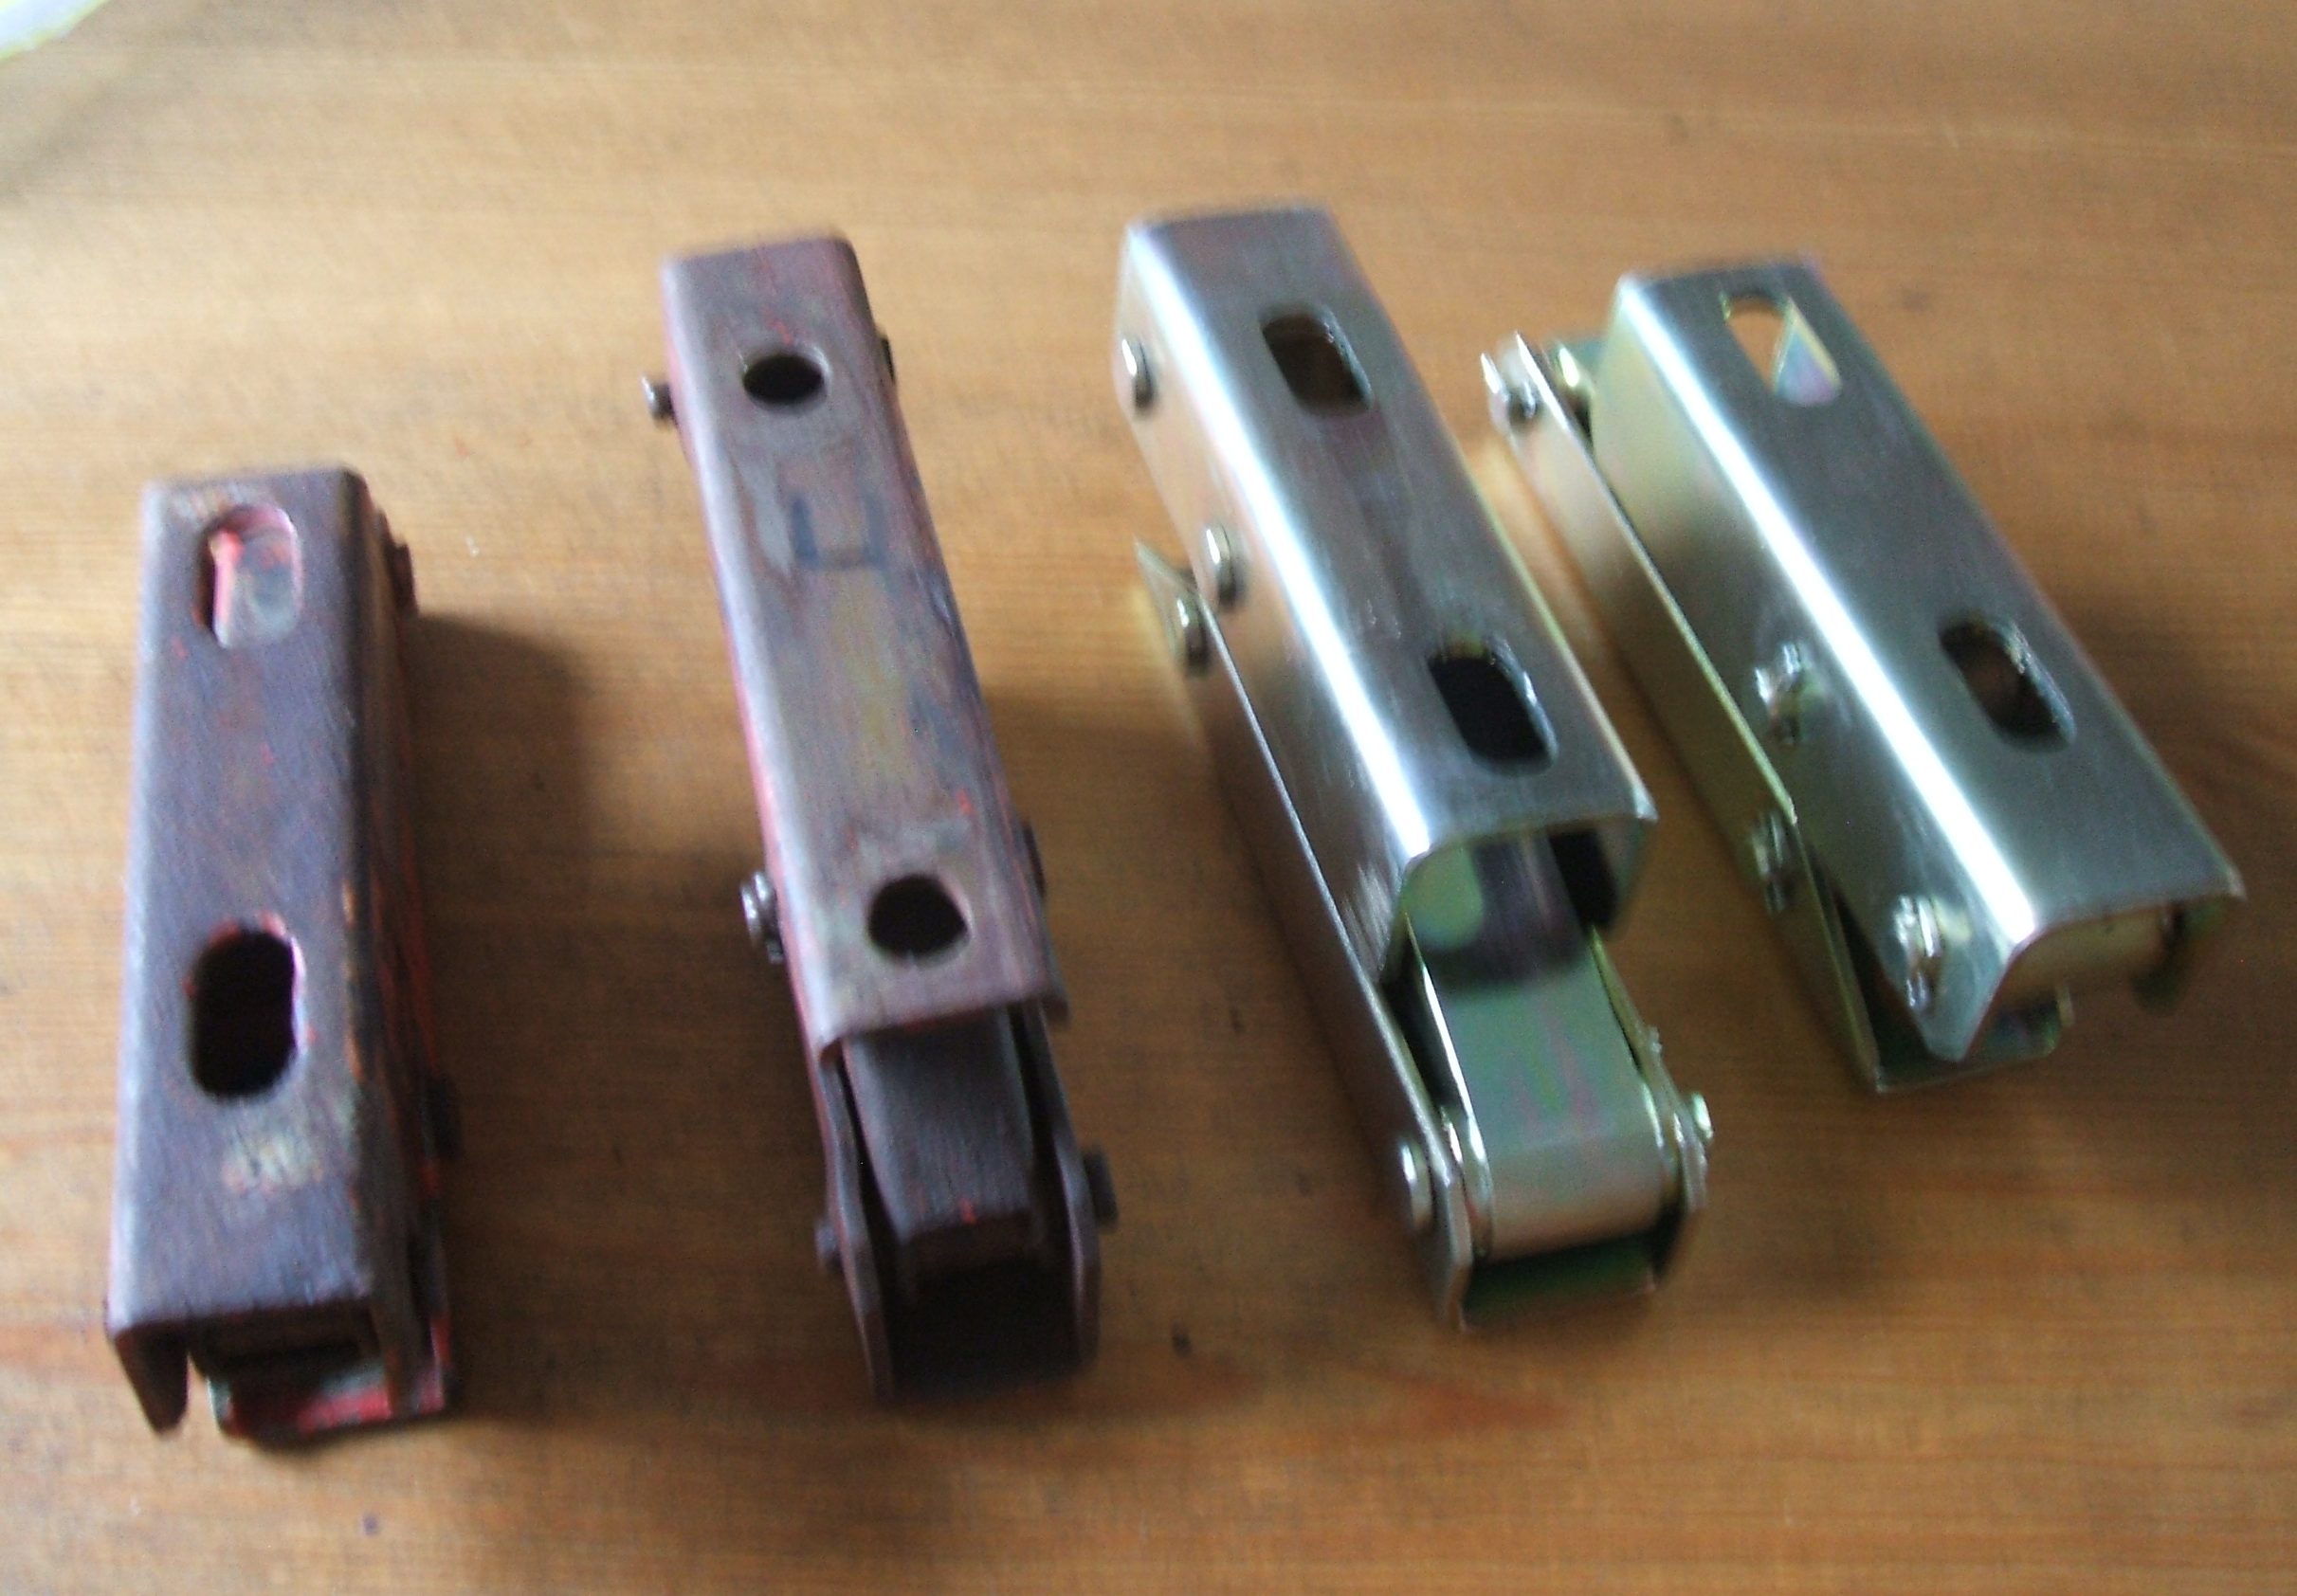
Parts for assembly came from a kit. 組み立て用の部品はキットに含まれています。

Newly made Silvia bonnet hinges. As you see, mine are rusty. The pivot pins are worn.
新しく作られたシルビアボンネットヒンジ。 ご覧のとおり、鉱山が錆びています。 ピボットピンが磨耗しています。
Thanks Adam. おかげでアダム。
Kazuo Kimura at the Nissan 80th Anniversary Heritage Car Parade in Yokohama.
横浜の日産80thアニバーサリーヘリテージ・カー・パレードで木村一男氏.
Translated from web link below;
Shiro Nakamura (Left), Managing Executive Officer and Chief Creative Officer, is the owner of the 1965 first-generation “Silvia” with a beautifully finished Shinagawa 5 single number. The right is Mr. Kazuo Kimura, Nissan OB who was in charge of exterior design of the first Silvia, invited as a guest. In my personal opinion, the first Silvia is the most beautiful car of all Nissan cars, but Kimura said that it took only half a year from the start of the project to the completion of the prototype to be exhibited at the Tokyo Motor Show.
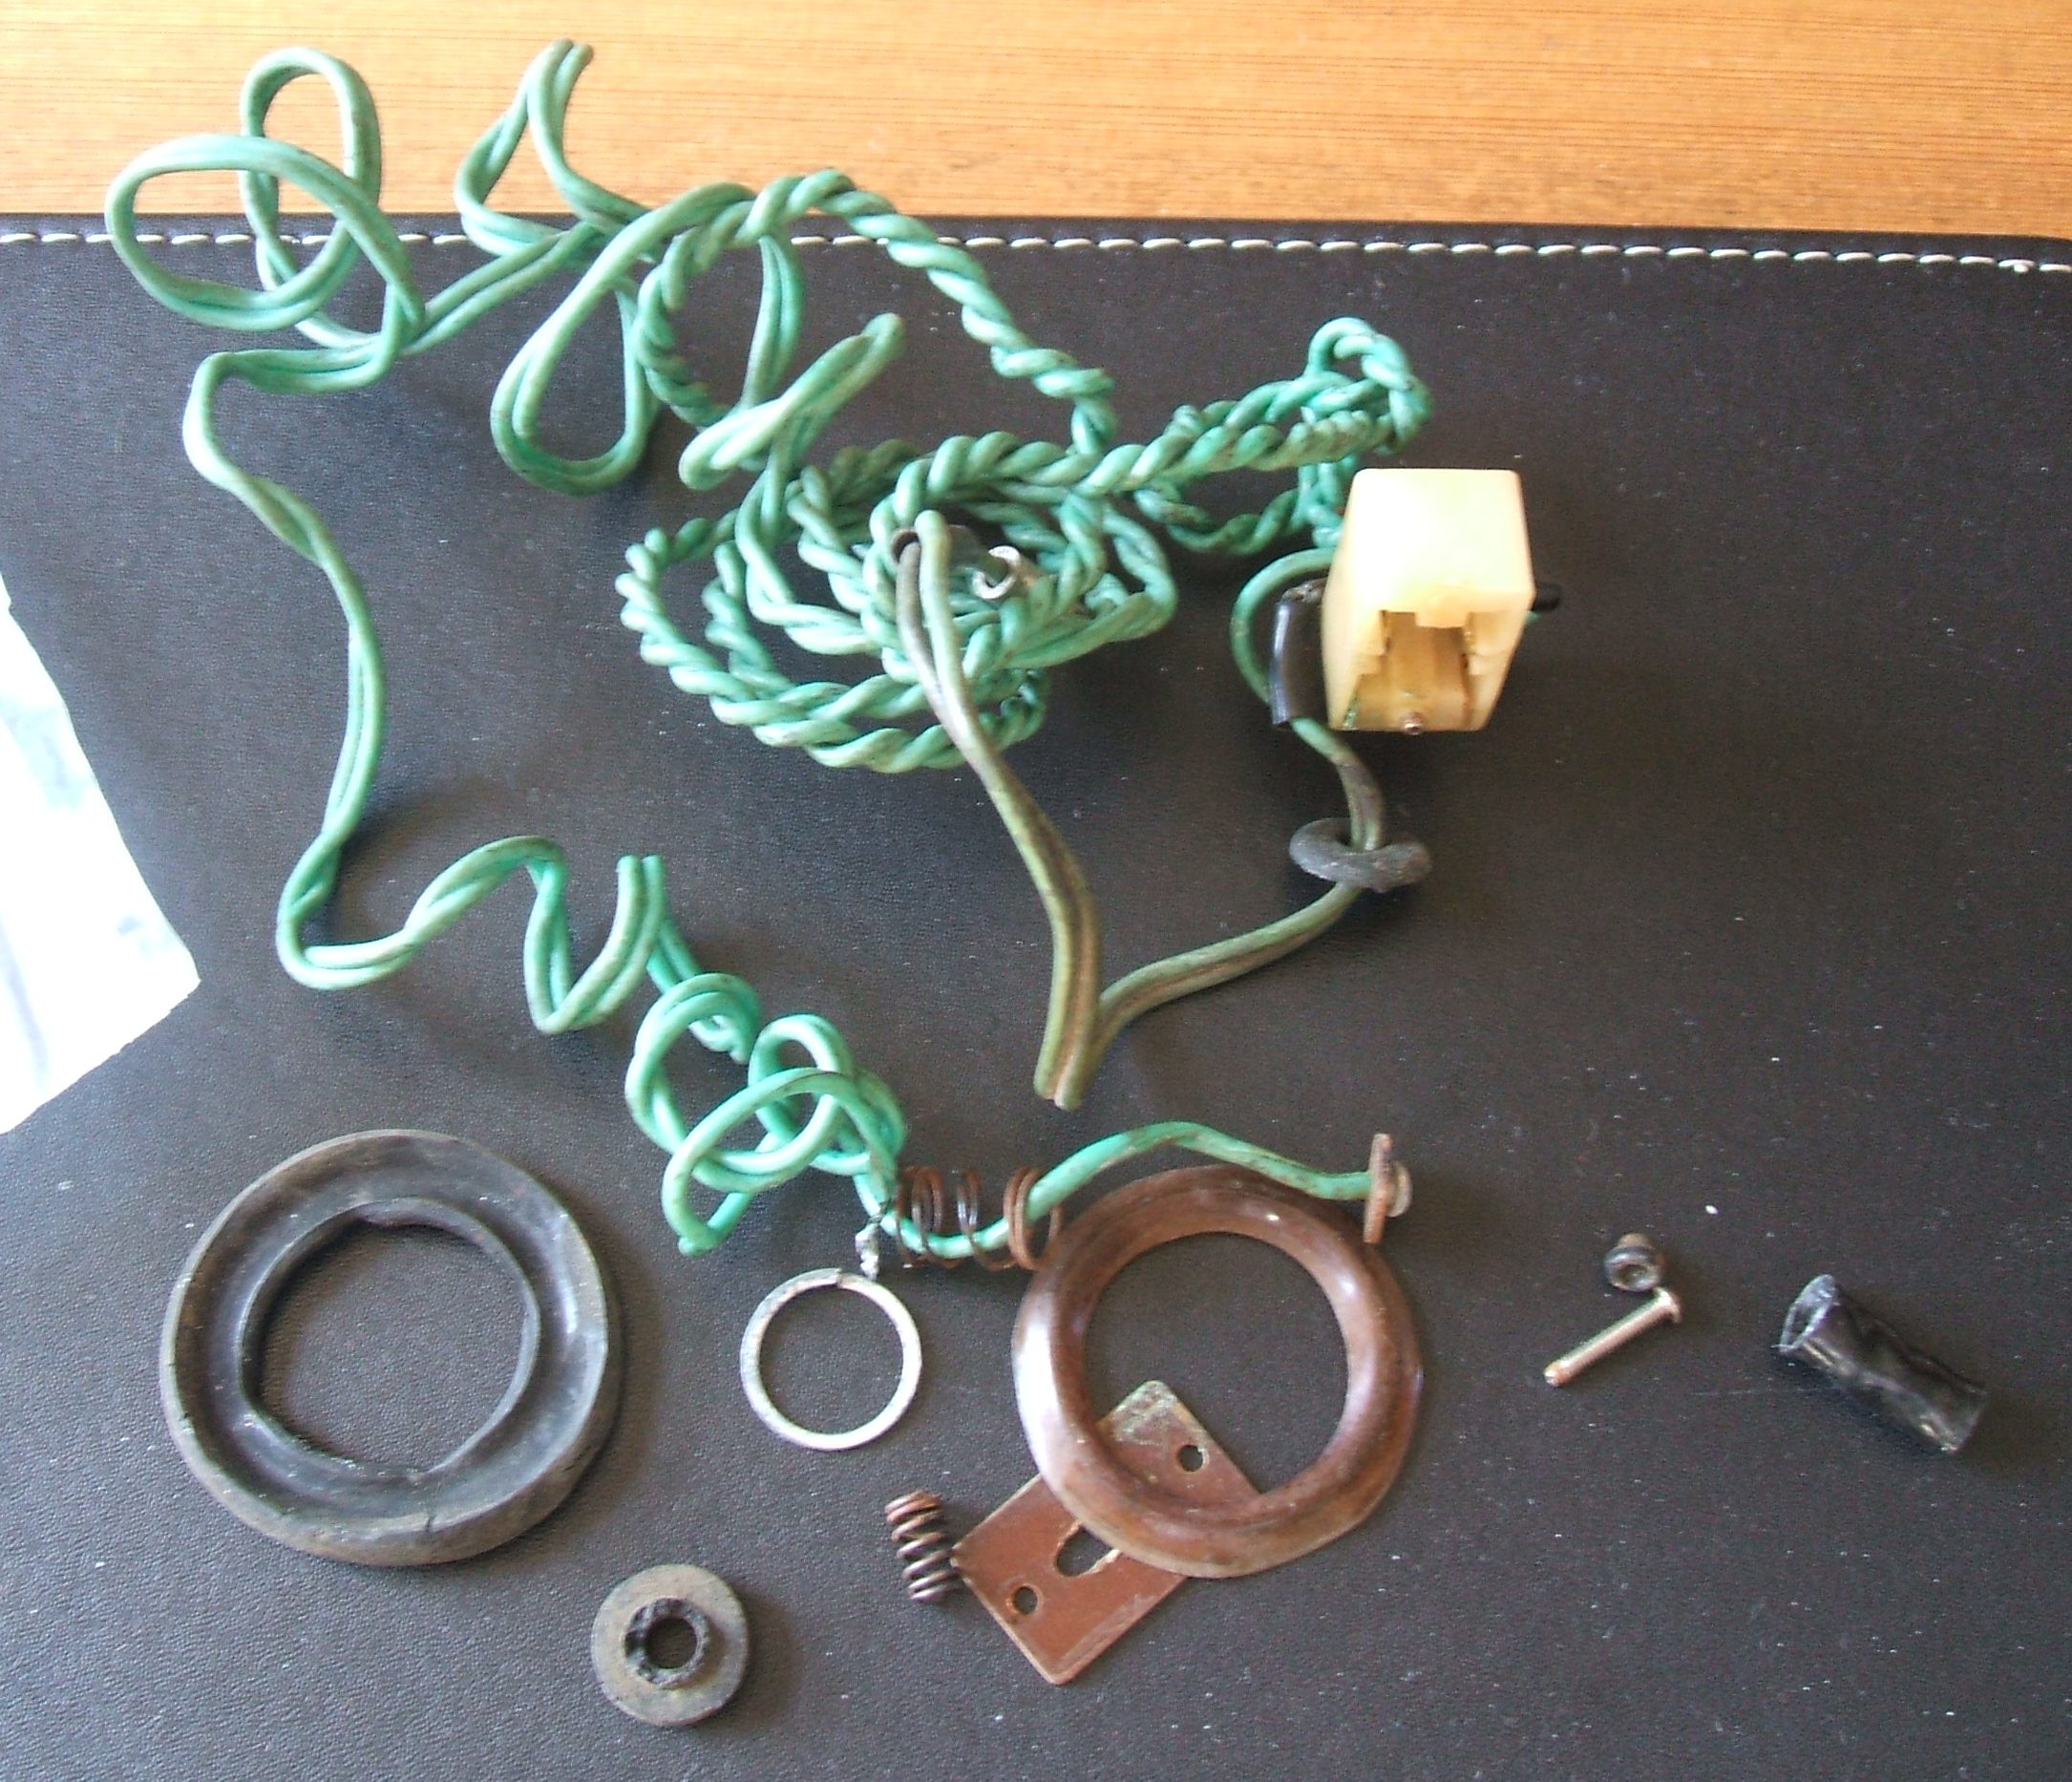
Let us look at the indicator unit. The indicator on my Silvia requires restoration. On looking, the indicator unit is similar to the Bluebird 411. These were made by the company Niles, who supplied Nissan.
インディケーターユニットを見てみましょう。私のシルビアのインジケーターは修復が必要です。探しに、インジケータユニットは、ブルーバード411と同様です。これらは日産に供給した会社ナイルズによって作られました。

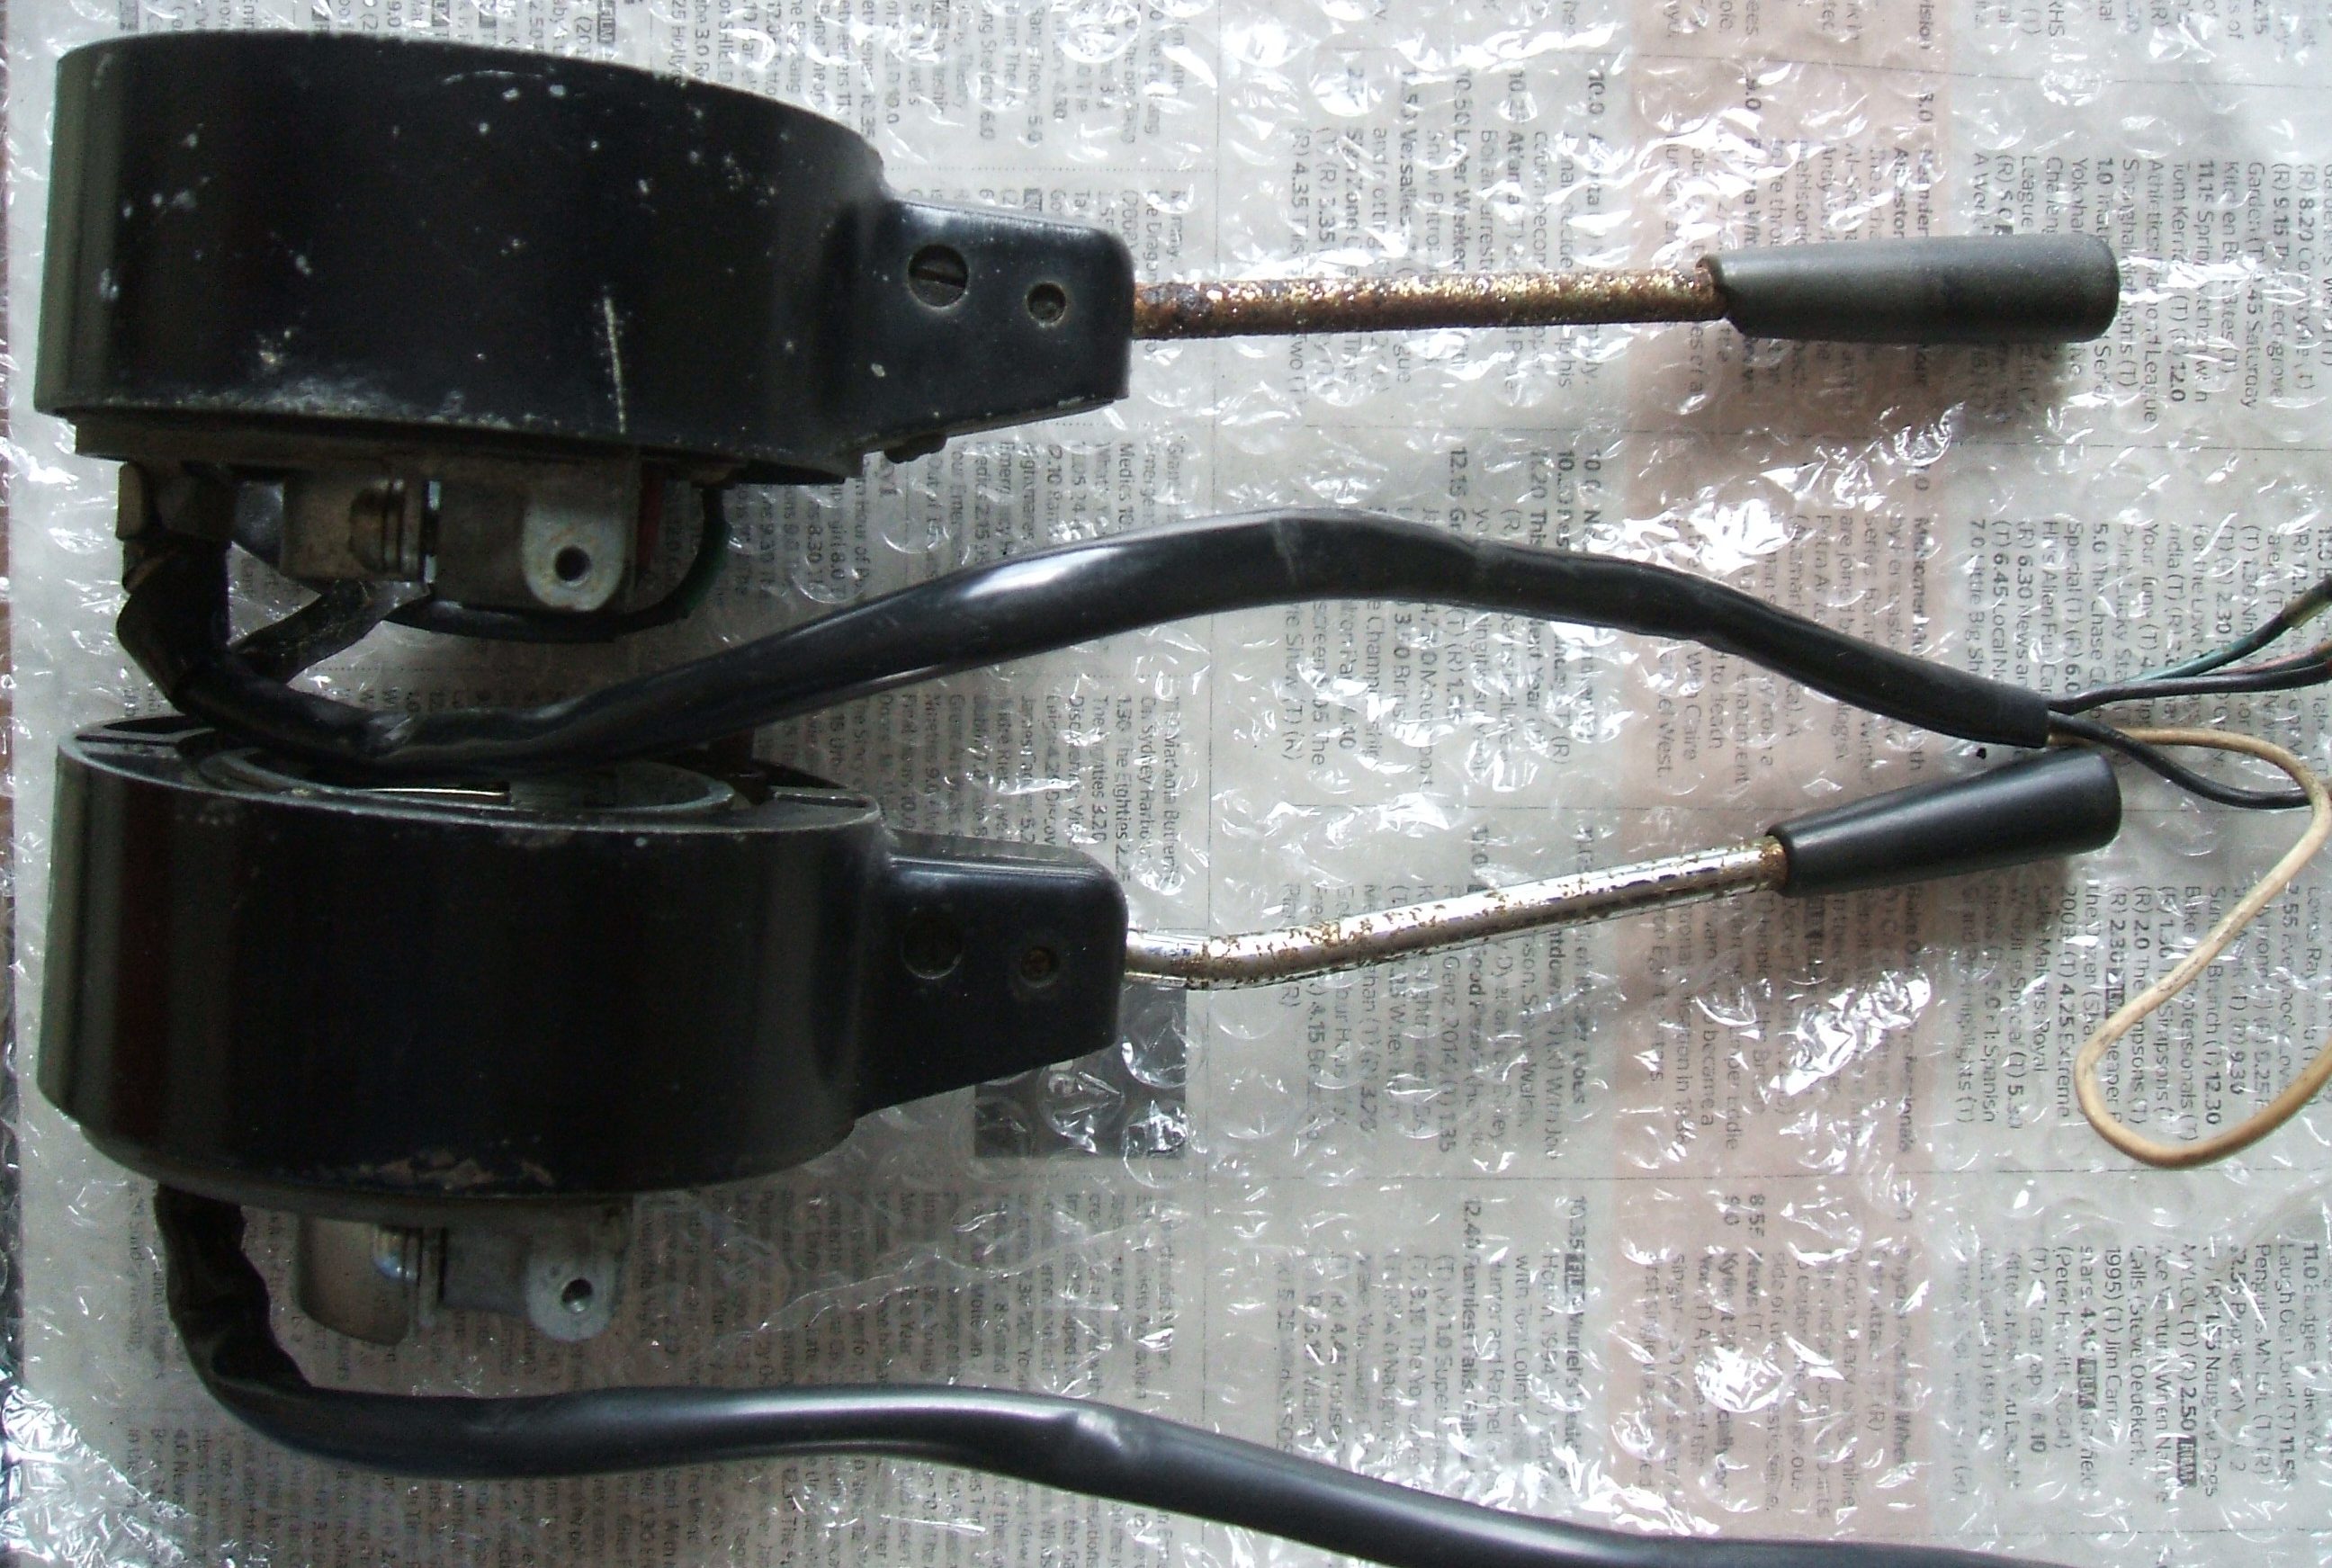
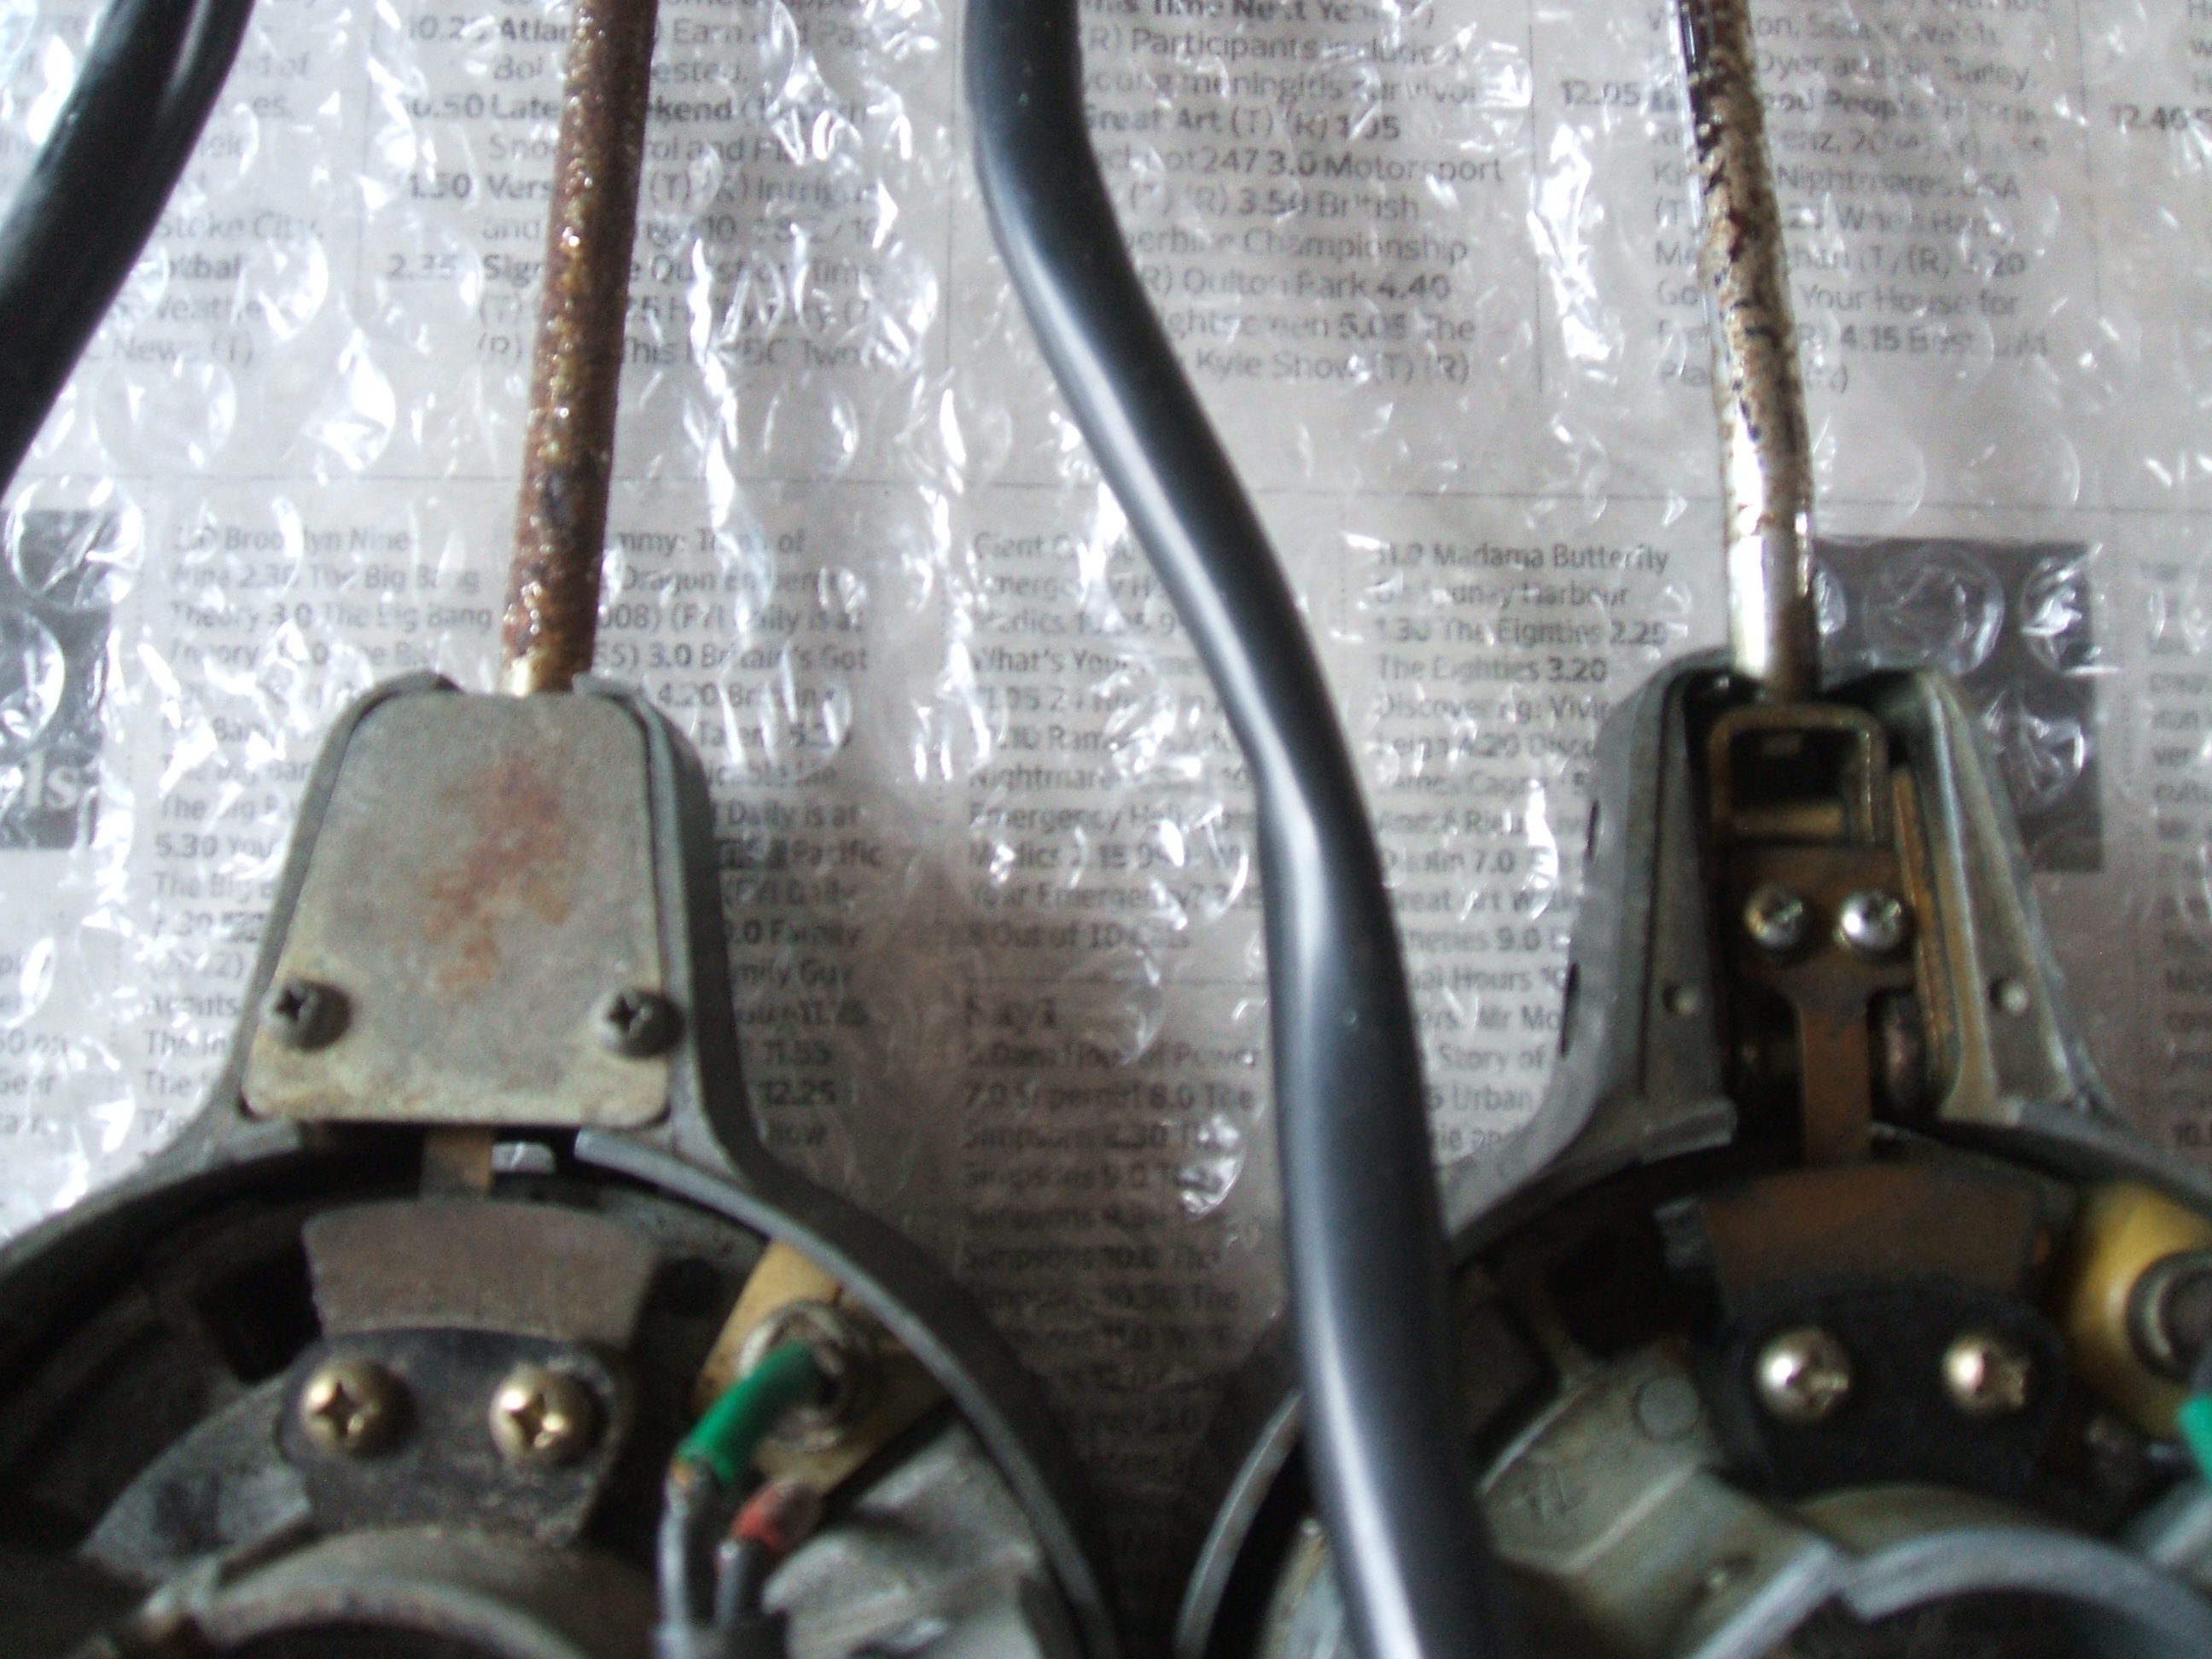
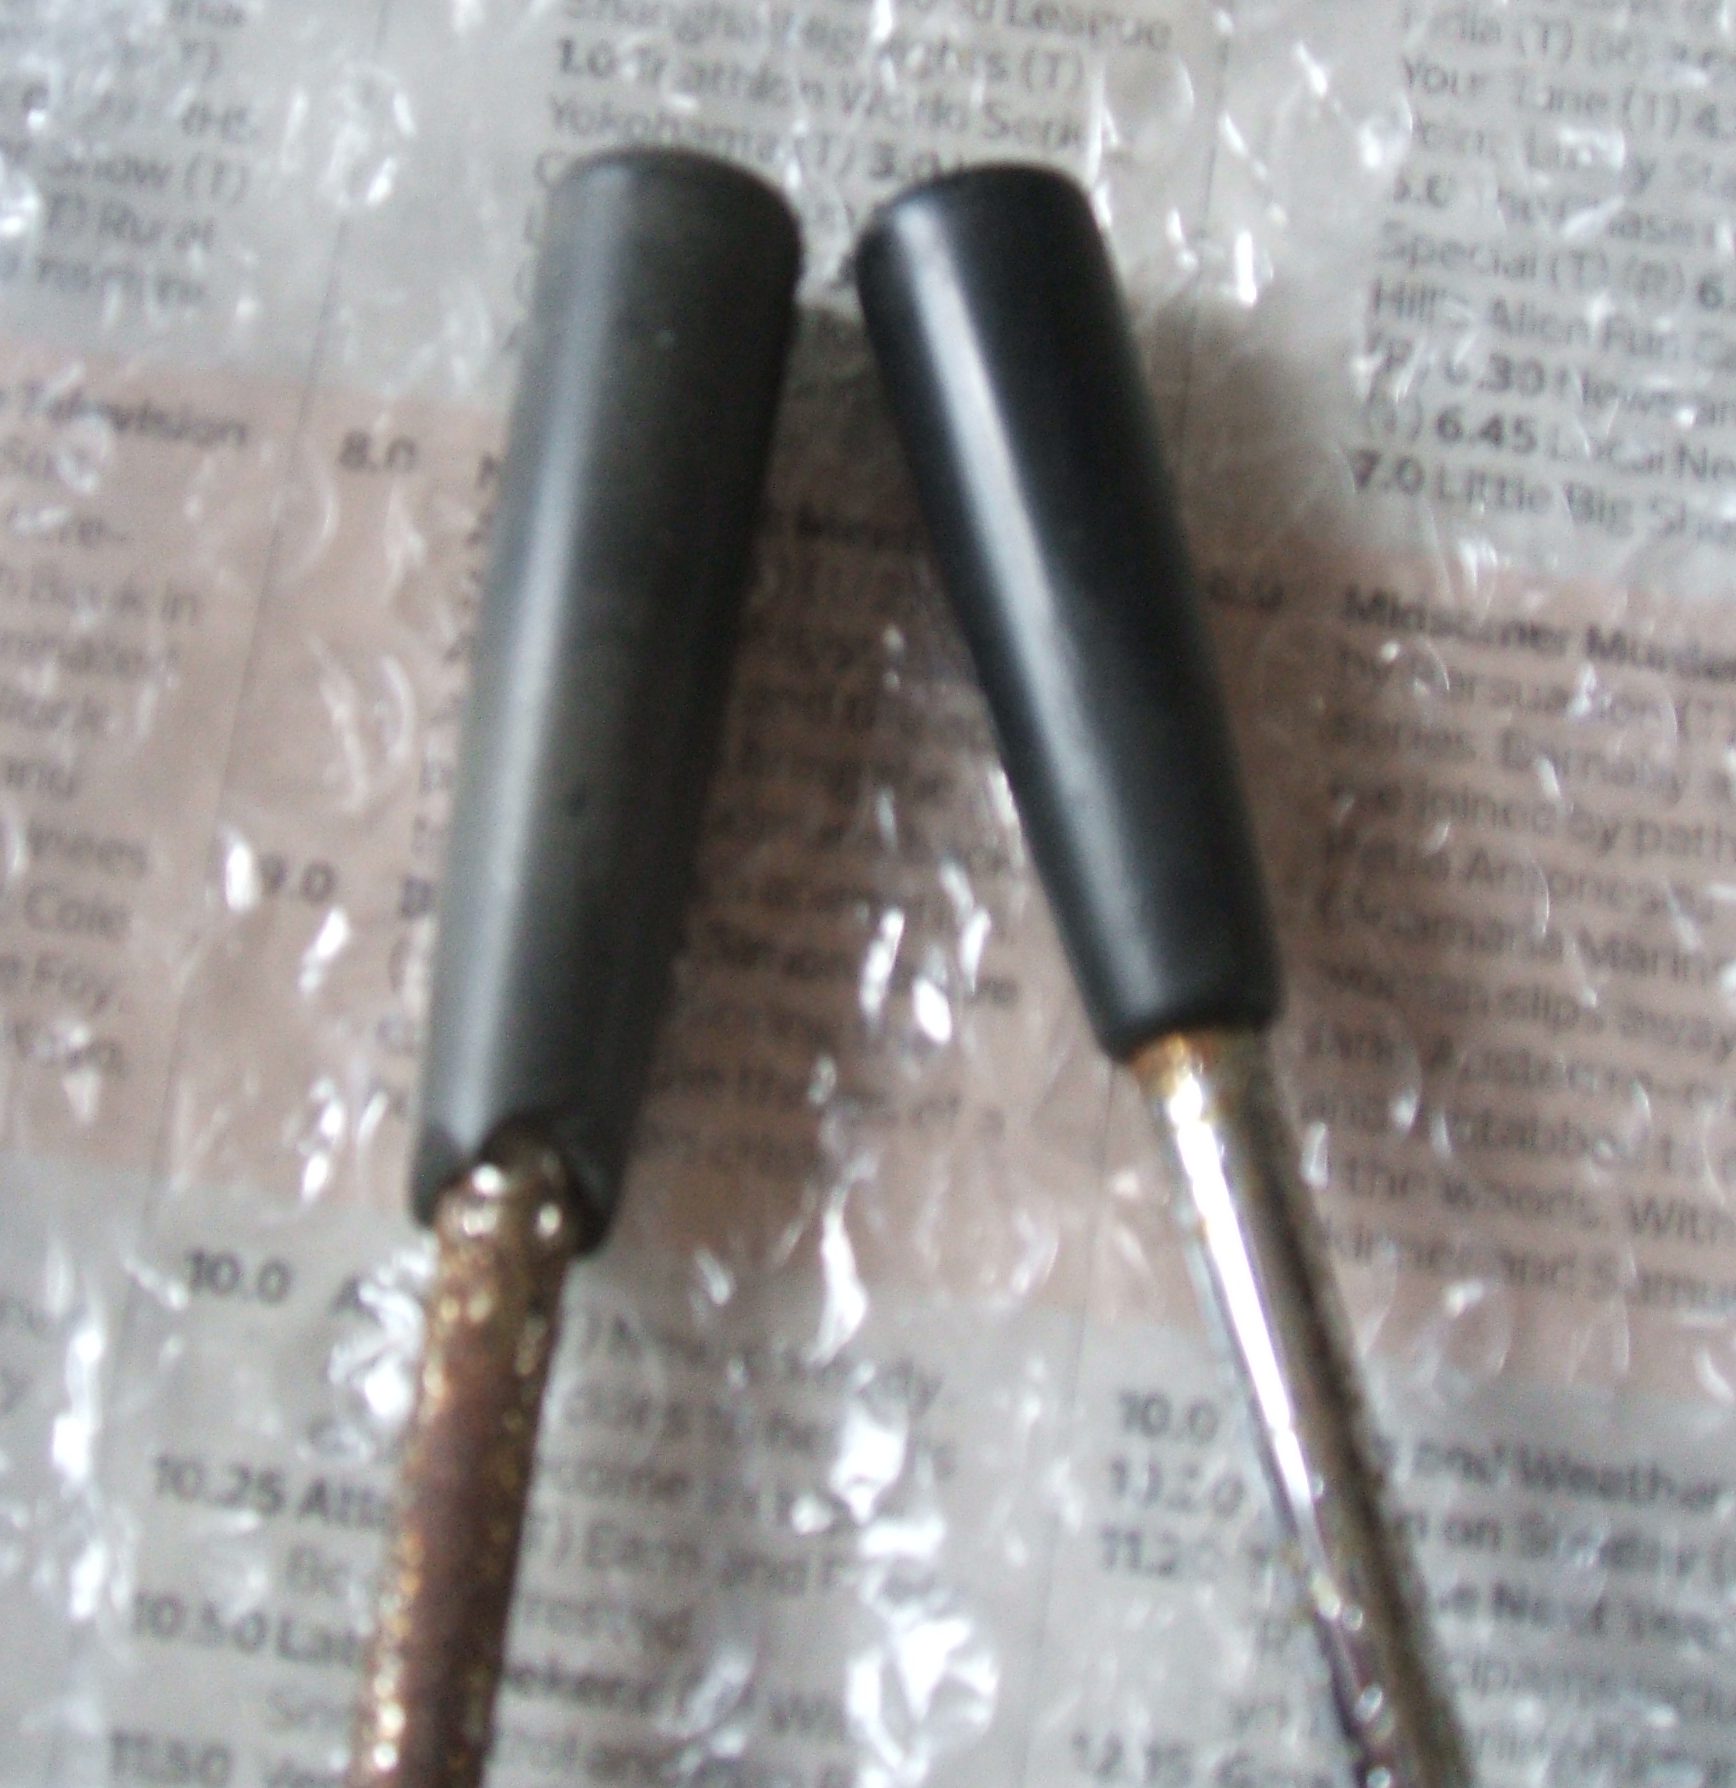
They are the same, except for; Small plate under stalk, Silvia stalk straight, Bluebird 411 angled, knobs on end of stalk different. Wiring is the same.
以下を除いて同じです。茎の下の小さなプレート, シルビアはストレート、ブルーバード411は、角度を付け茎, 茎の端のノブが異なります。配線は同じです。
