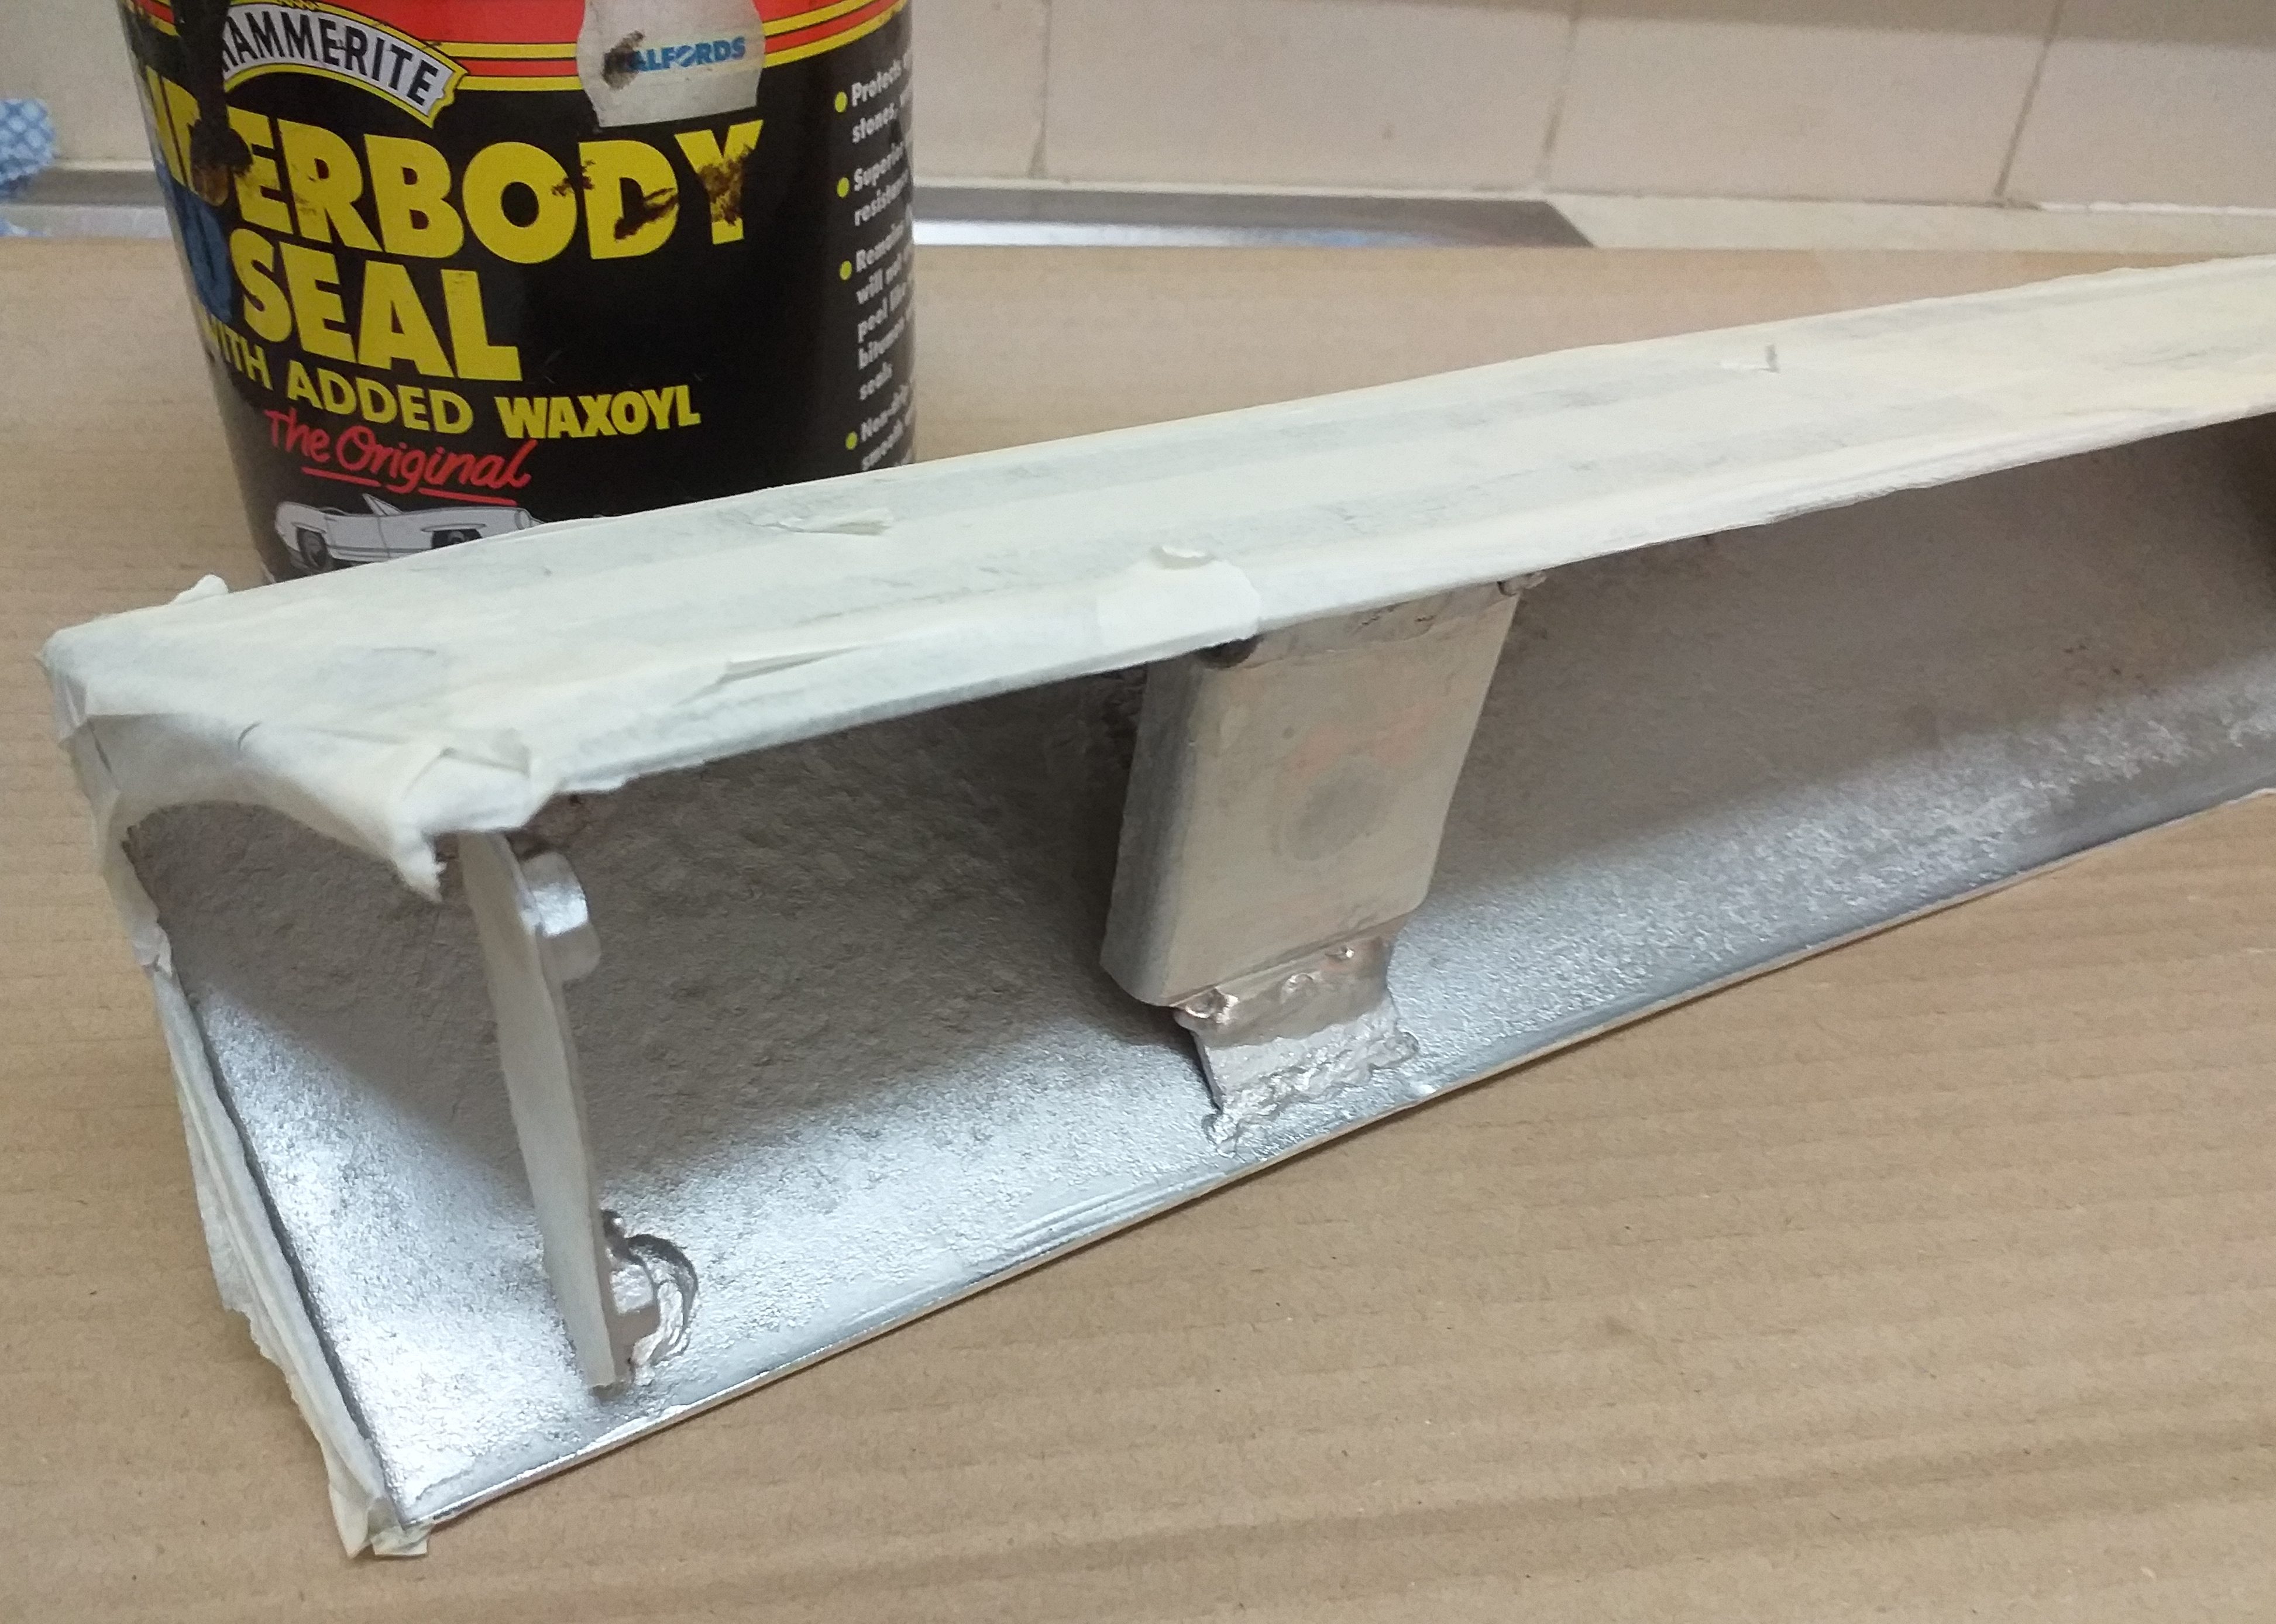
When rust appears on new chromed bumper, the rust most likely comes from behind. I did not want this. So, I masked the outside and painted underseal on the inside.
新品のクロームバンパーにサビが出る場合は、後ろからサビが発生している可能性が高いです。私はこれを望んでいませんでした。 ということで、外側をマスキングして、内側にアンダーシールを塗りました。

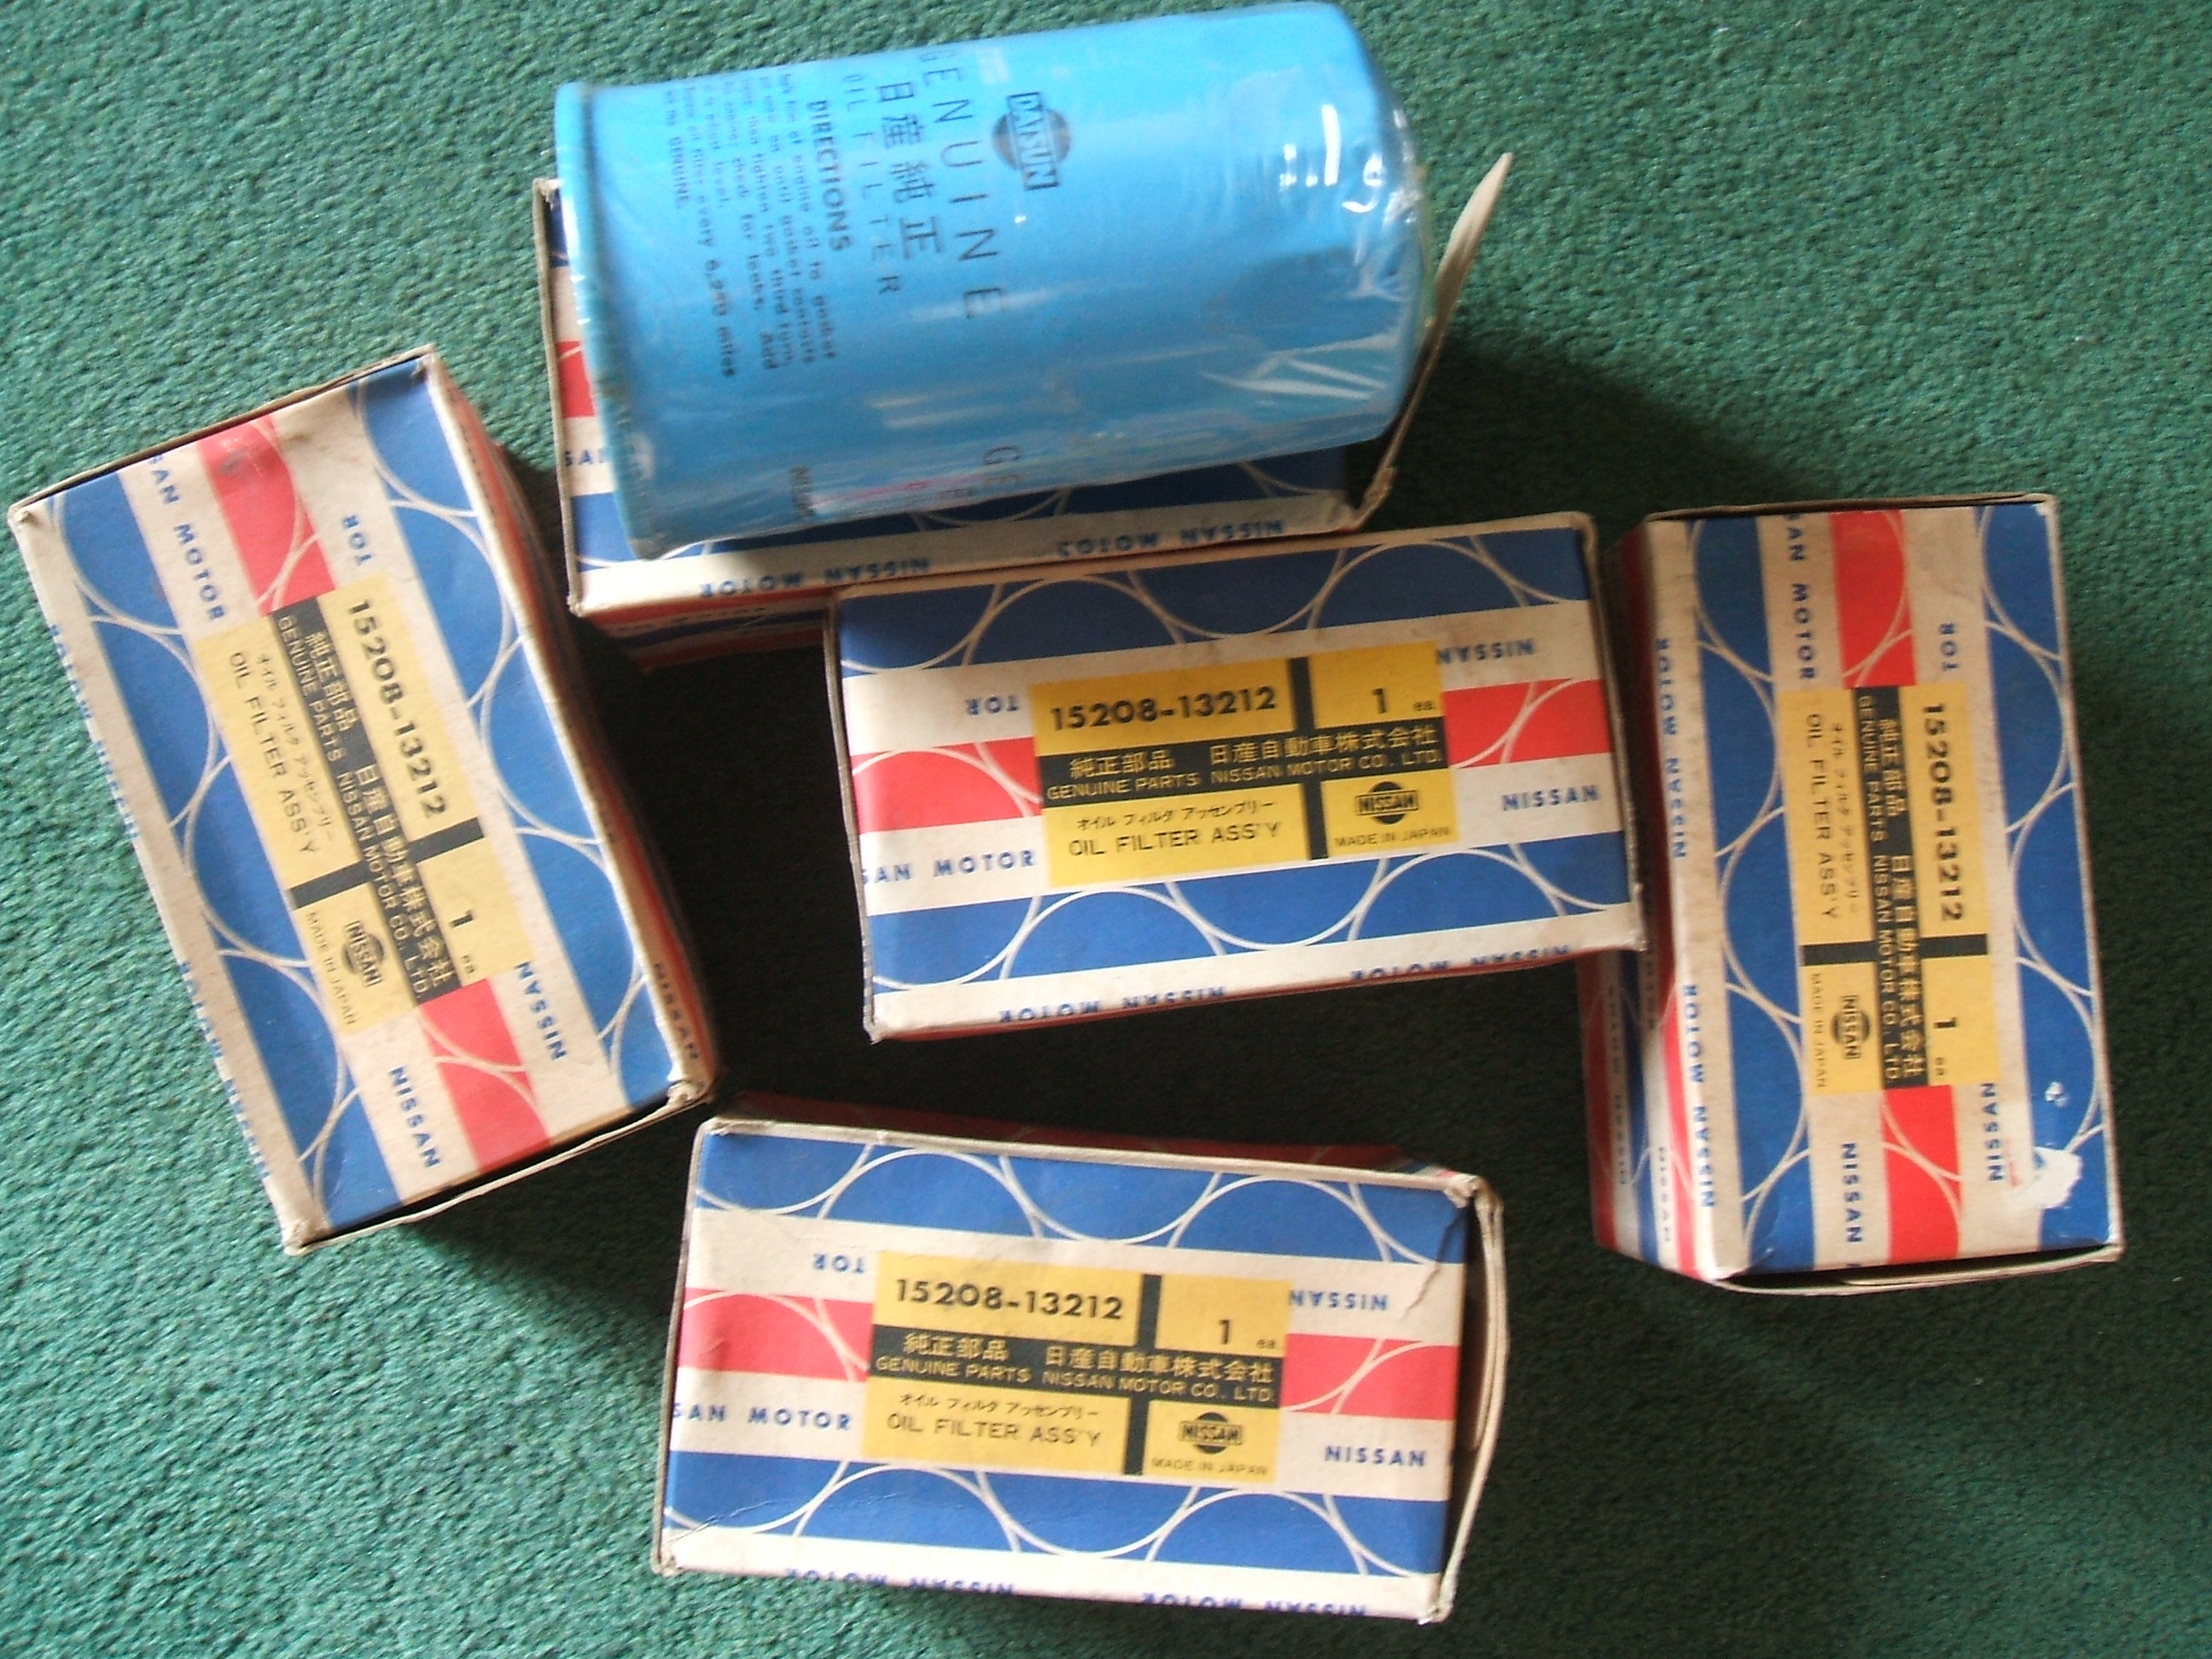
In the latest parcel from Japan is these new oil filters.
日本からの最新の小包には、新しいオイルフィルターがあります。

Another job I have been doing is looking at my wiring loom. It is in very bad condition. I have been going along the loom working out what the connectors are. As you see, the instrument bulb holders are very rusty. Nearly all need replaced. The two or three that were good were removed for plating.
私が行ってきた別の仕事は、配線織機を見ることです。 非常に悪い状態です。 私は、コネクタが何であるかを理解するために織機に沿って進んでいます. ご覧のとおり、器具の電球ホルダーは非常に錆びています。 ほとんどすべて交換が必要です。 良かった2~3枚はメッキ用に外しました。

This one I will keep (above). これは私が保持します(その上).

Even the plastic block connectors are turning to dust.
プラスチック製のブロック コネクタでさえ、ほこりに変わりつつあります

I notice little parts of string used at wiring junctions.
配線の接合部で使用されているストリングの小さな部分に気付きます。

This above is dashboard wiring. It is good compared to engine bay loom. It has a lot of cut wires. I will have both looms remade. This is why I am marking the old looms up.
上はダッシュボードの配線です。 エンジンベイ織機に比べて良いです。 ワイヤー切れが多いです。 両方の織機を作り直します。 これが、私が古い織機に印を付けている理由です。
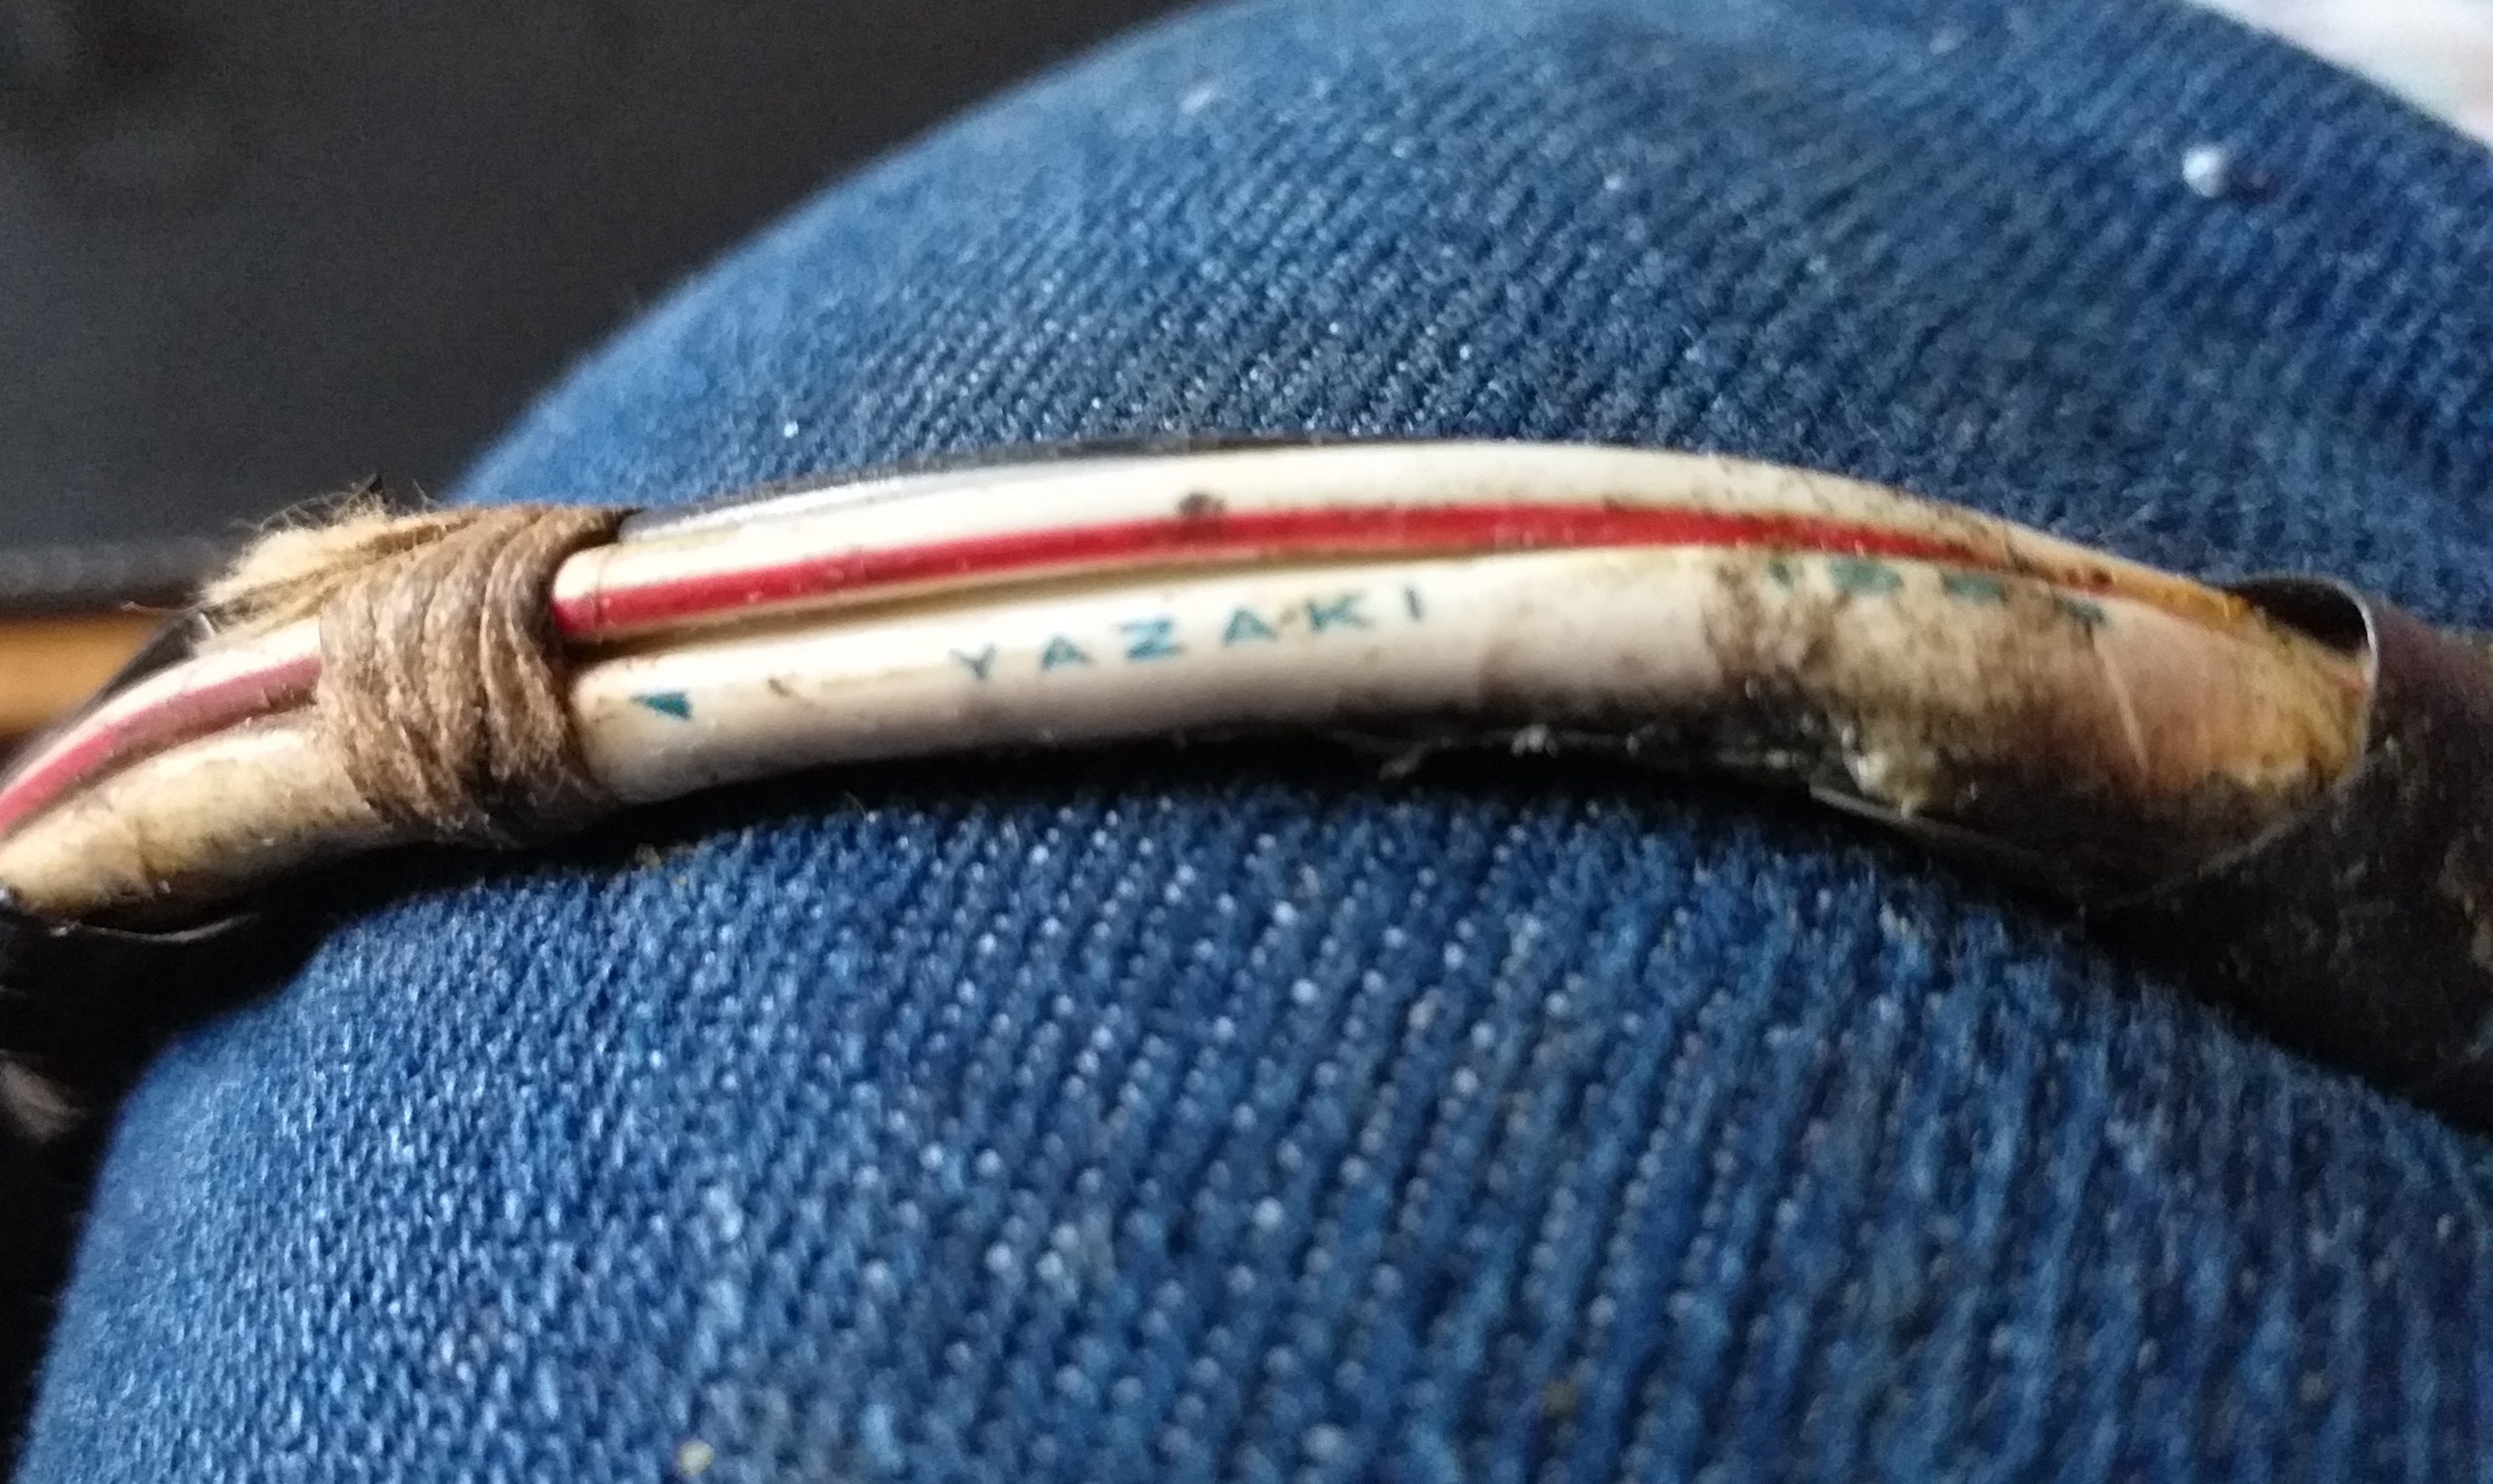
Further work uncovers another example of small amounts of string to tie the wires together (left and right in image).
さらなる研究により、ワイヤーを結び付けるための少量の紐の別の例が明らかになりました (画像の左右)。

And shows Yazaki as supplying some or all the wiring, or making the loom? Yazaki is usually found on the likes of spark plug wires. So, nice to see in the CSP311 wiring loom.
また、矢崎が配線の一部または全部を供給したり、織機を作ったりしていることを示していますか? 矢崎は通常、スパークプラグのワイヤーなどに見られます。 ですから、CSP311 配線織機で見られるのはうれしいことです。

A steering box refurbish kit purchased.
購入したステアリングボックス再生キット。

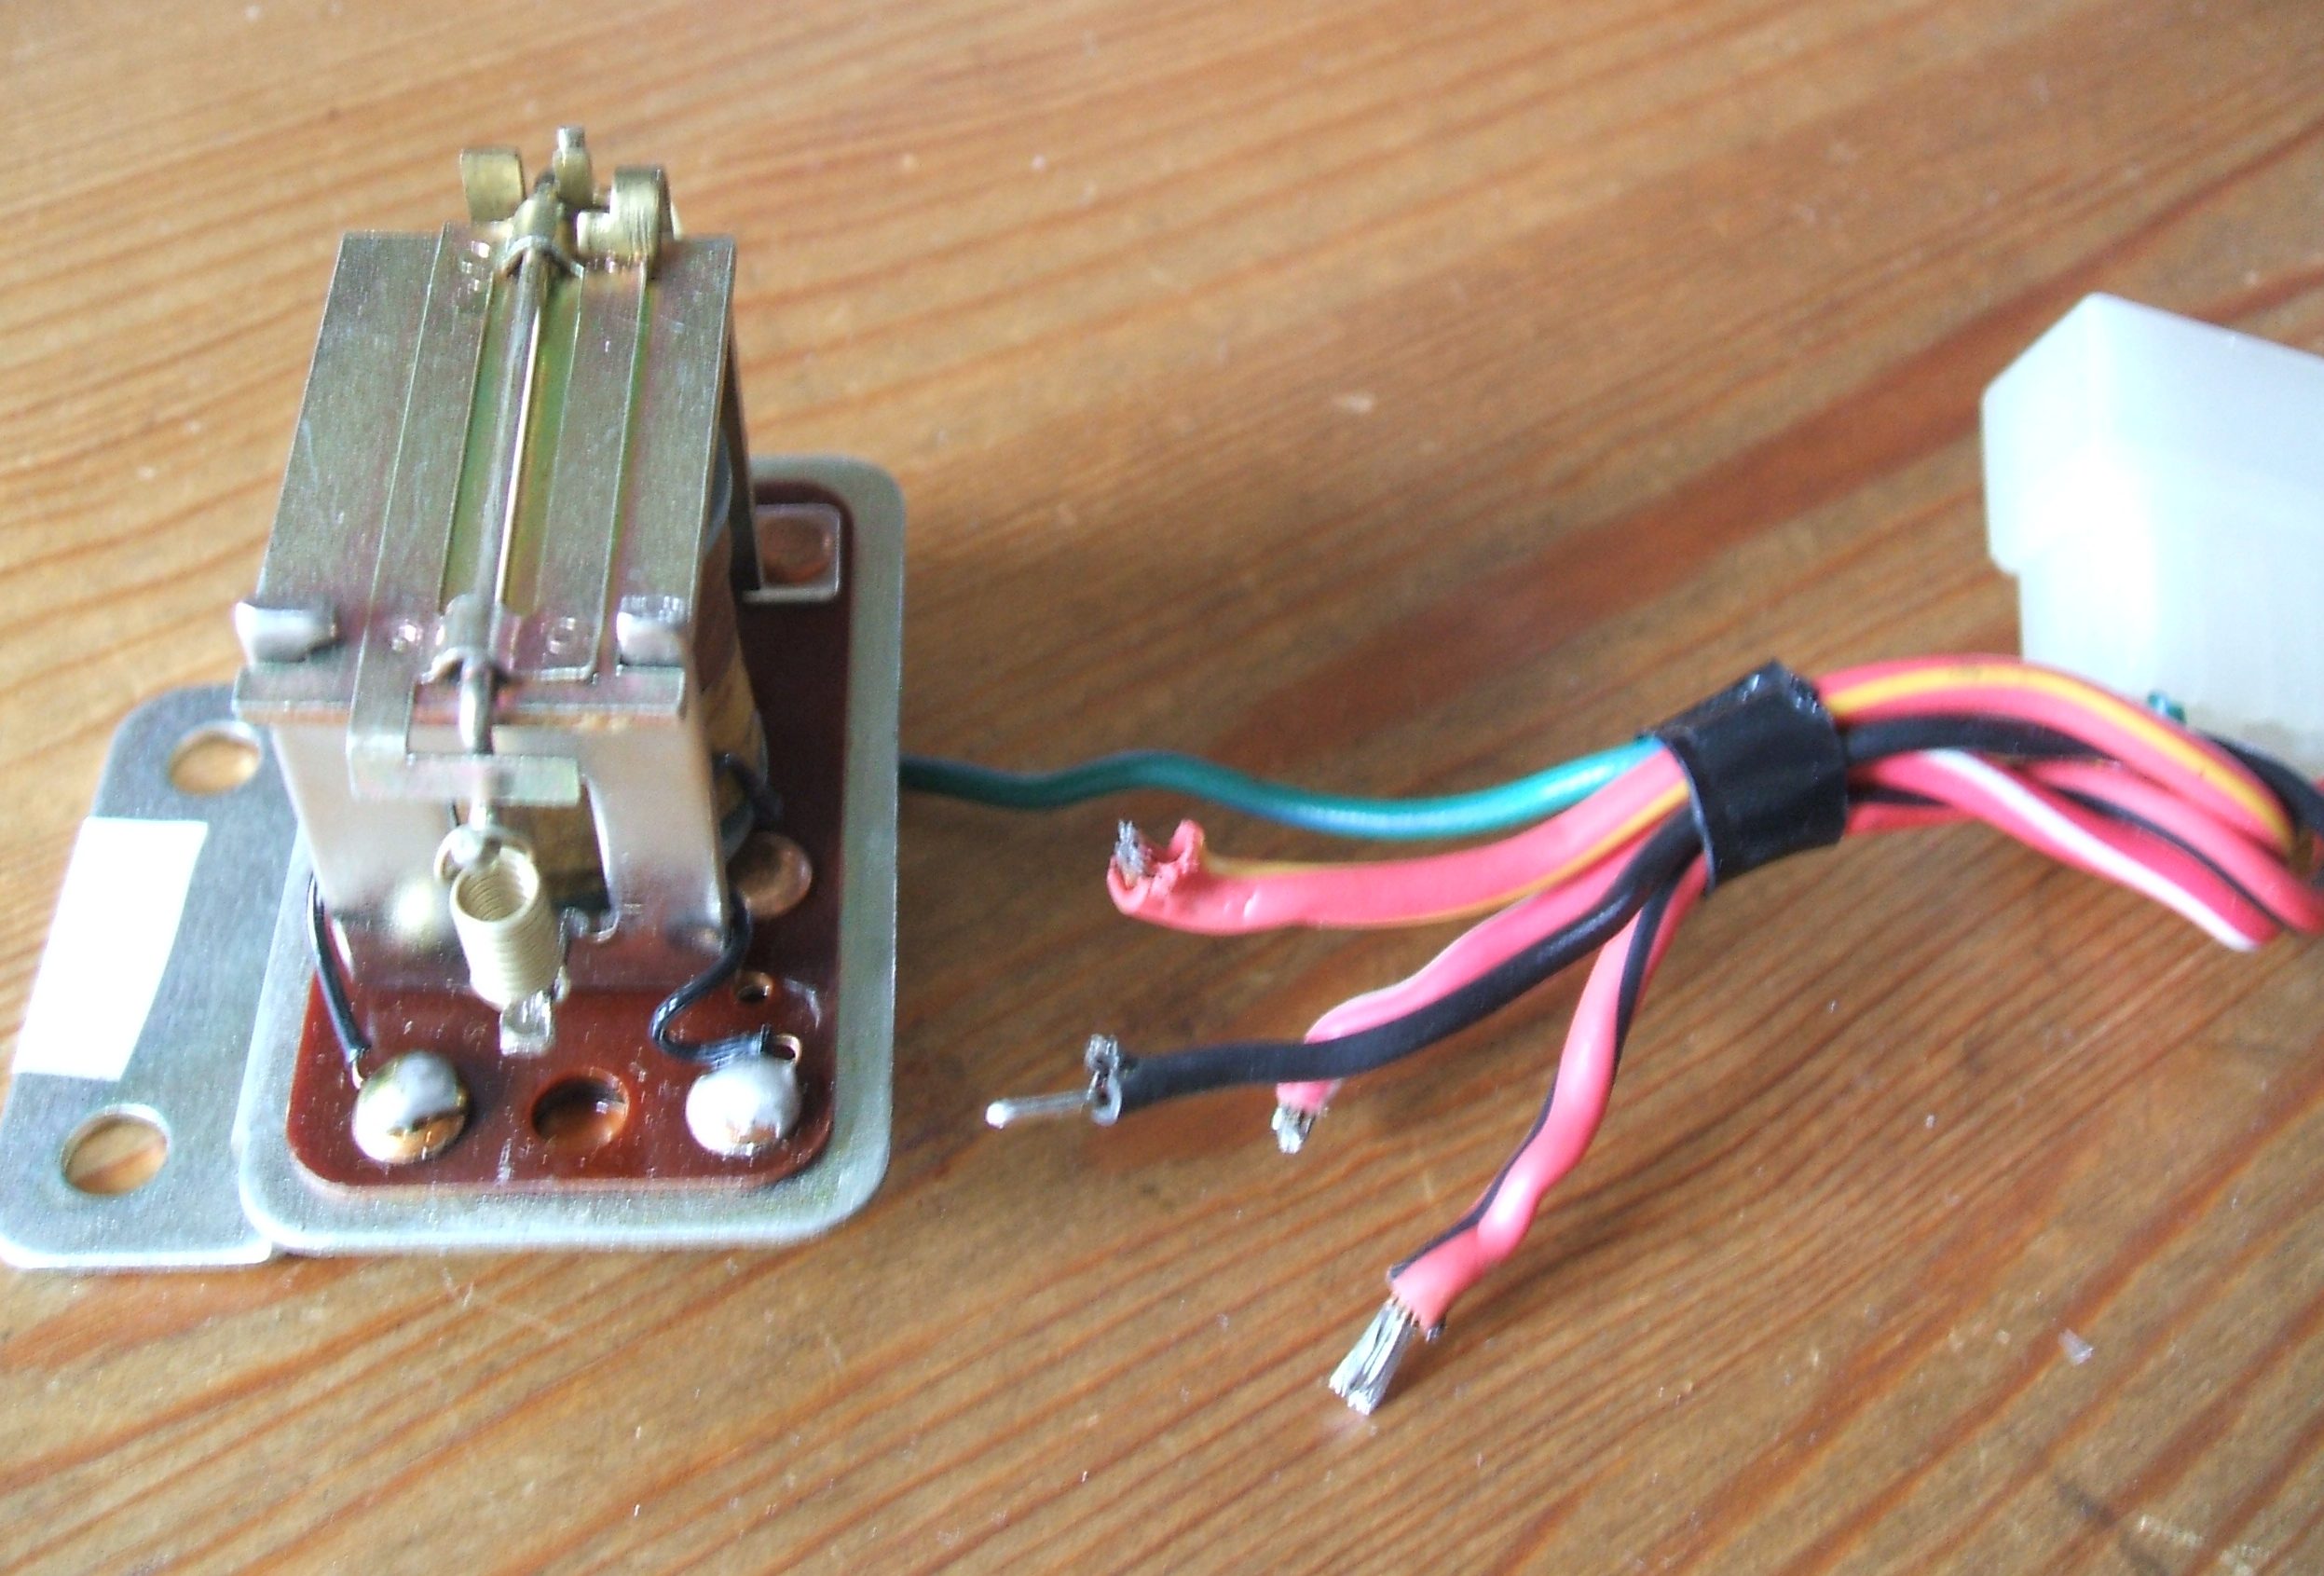
Nissan, during this period in the 1960’s to 1970’s had all the electrical power for the headlamps going through the switch. And all the wiring. This over time would lead to voltage drop which means less power to headlamp and brightness. Since I am making a new wiring loom I would like to incorporate modern relays that work better and only have a small amount of power going to the switch. So, I started with a relay for the fog lamps. I do not the modern relays to show, so I have hidden them inside period Nissan ones. Here is the fog lamp relay with modern Bosch relay fitted.
日産は、1960 年代から 1970 年代にかけて、ヘッドランプ用のすべての電力をスイッチに供給していました。 そしてすべての配線。 これは時間の経過とともに電圧降下につながり、ヘッドランプと明るさへの電力が低下することを意味します。 私は新しい配線織機を作っているので、よりよく機能し、スイッチに少量の電力しか供給されない最新のリレーを組み込みたいと考えています. というわけで、フォグランプのリレーから始めました。 私は現代のリレーを見せていないので、時代の日産のものの中に隠しています. これは、最新のボッシュ リレーが取り付けられたフォグ ランプ リレーです。


There, all the period relay components removed and new one fitted. No one would know!
そこに、すべての時代のリレーコンポーネントが取り外され、新しいものが取り付けられました。 誰も知らないでしょう!
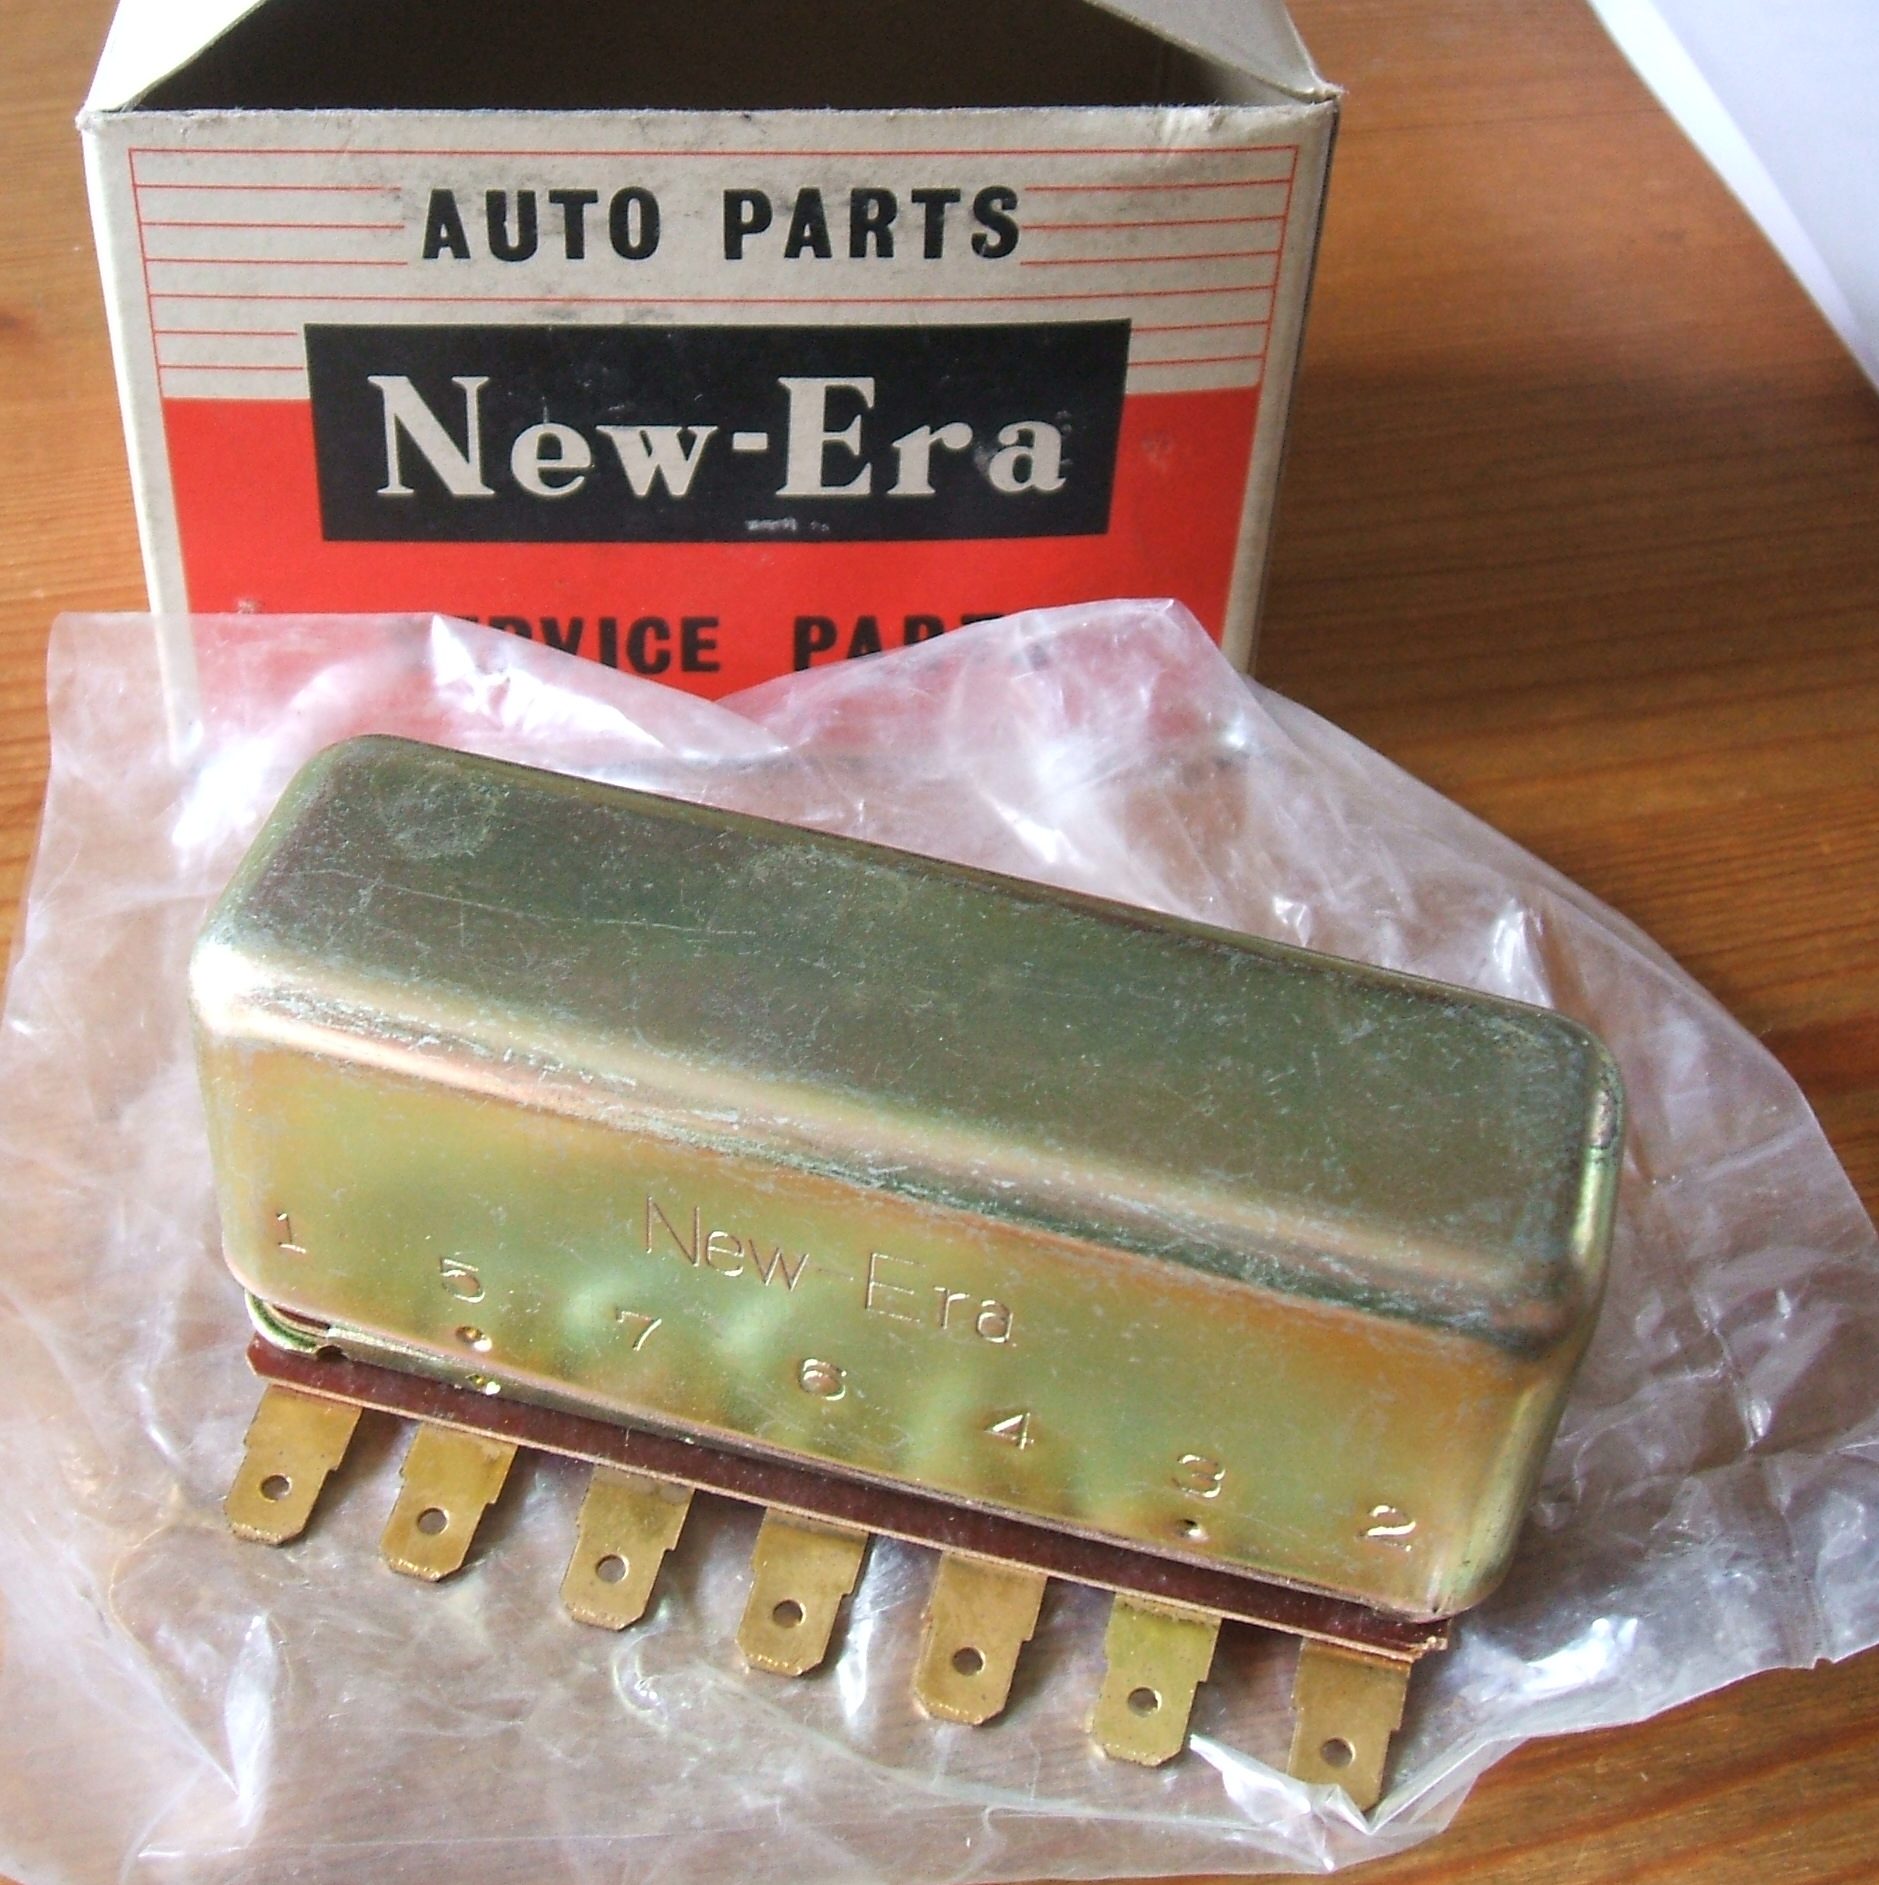
Following on from the fog lamp relay I built above, time to look at the headlamp relay. The Bosch relays I would like to use do not fit in the correct Nissan relay, as the metal box is too narrow and not deep enough. Luckily, New Era made a replacement headlamp relay back in the day, where the Bosch one fits in, just.
I plan to use nearly all the existing parts of the New Era relay. So, unless you opened up the relay, you would never know. 1 Bosch relay for headlamp low beam, and another for high beam. This does mean more than one period metal relay is needed as a donor, compared to the standard 1 relay doing both headlamp operations.
上で作成したフォグランプリレーに続いて、ヘッドランプリレーを見てみましょう。私が使用したいボッシュのリレーは、金属製のボックスが狭すぎて深さが足りないため、正しい日産リレーには適合しません。 幸いなことに、New Era は交換用のヘッドランプ リレーを当時製造しており、そこに Bosch のものがちょうど適合しました。
New Eraリレーの既存パーツをほぼ全て使用する予定です。 したがって、リレーを開けてみないとわかりません。 ヘッドランプのロービーム用に 1 つのボッシュ リレー、ハイビーム用にもう 1 つ。 これは、両方のヘッドランプ動作を行う標準の 1 つのリレーと比較して、ドナーとして複数の周期金属リレーが必要であることを意味します。
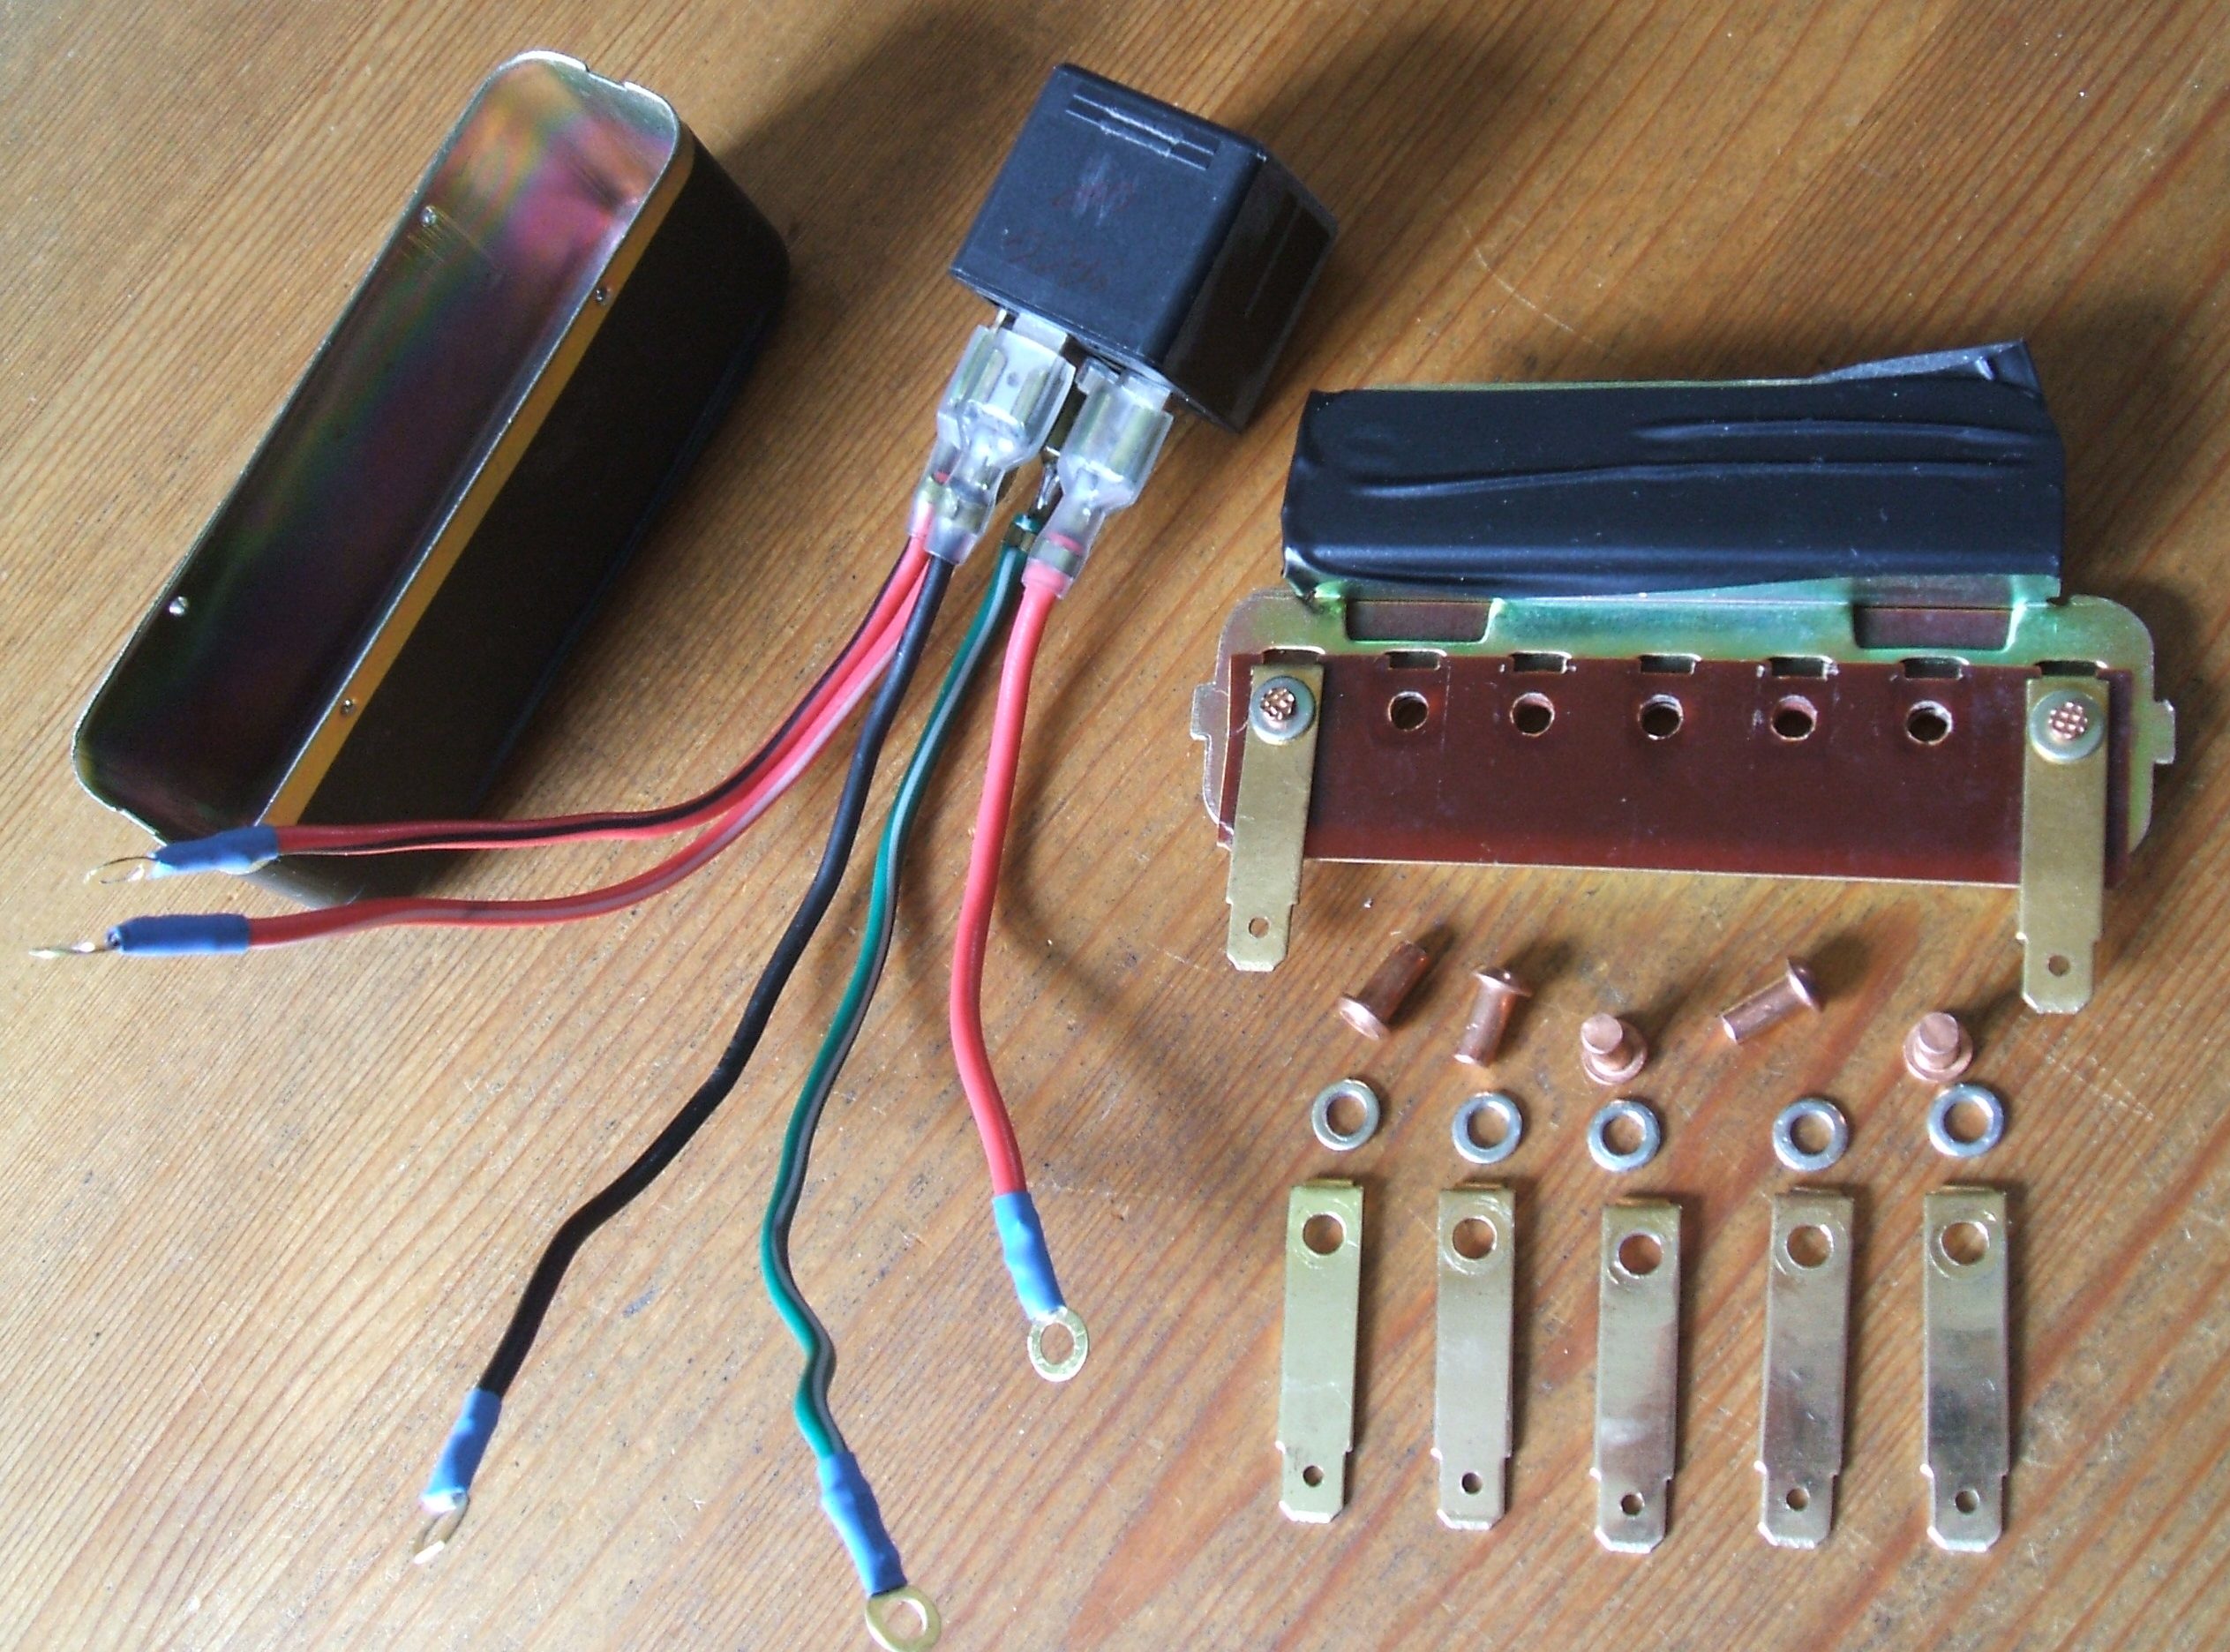
New, New Era relay 新しい、新しい時代のリレー。;
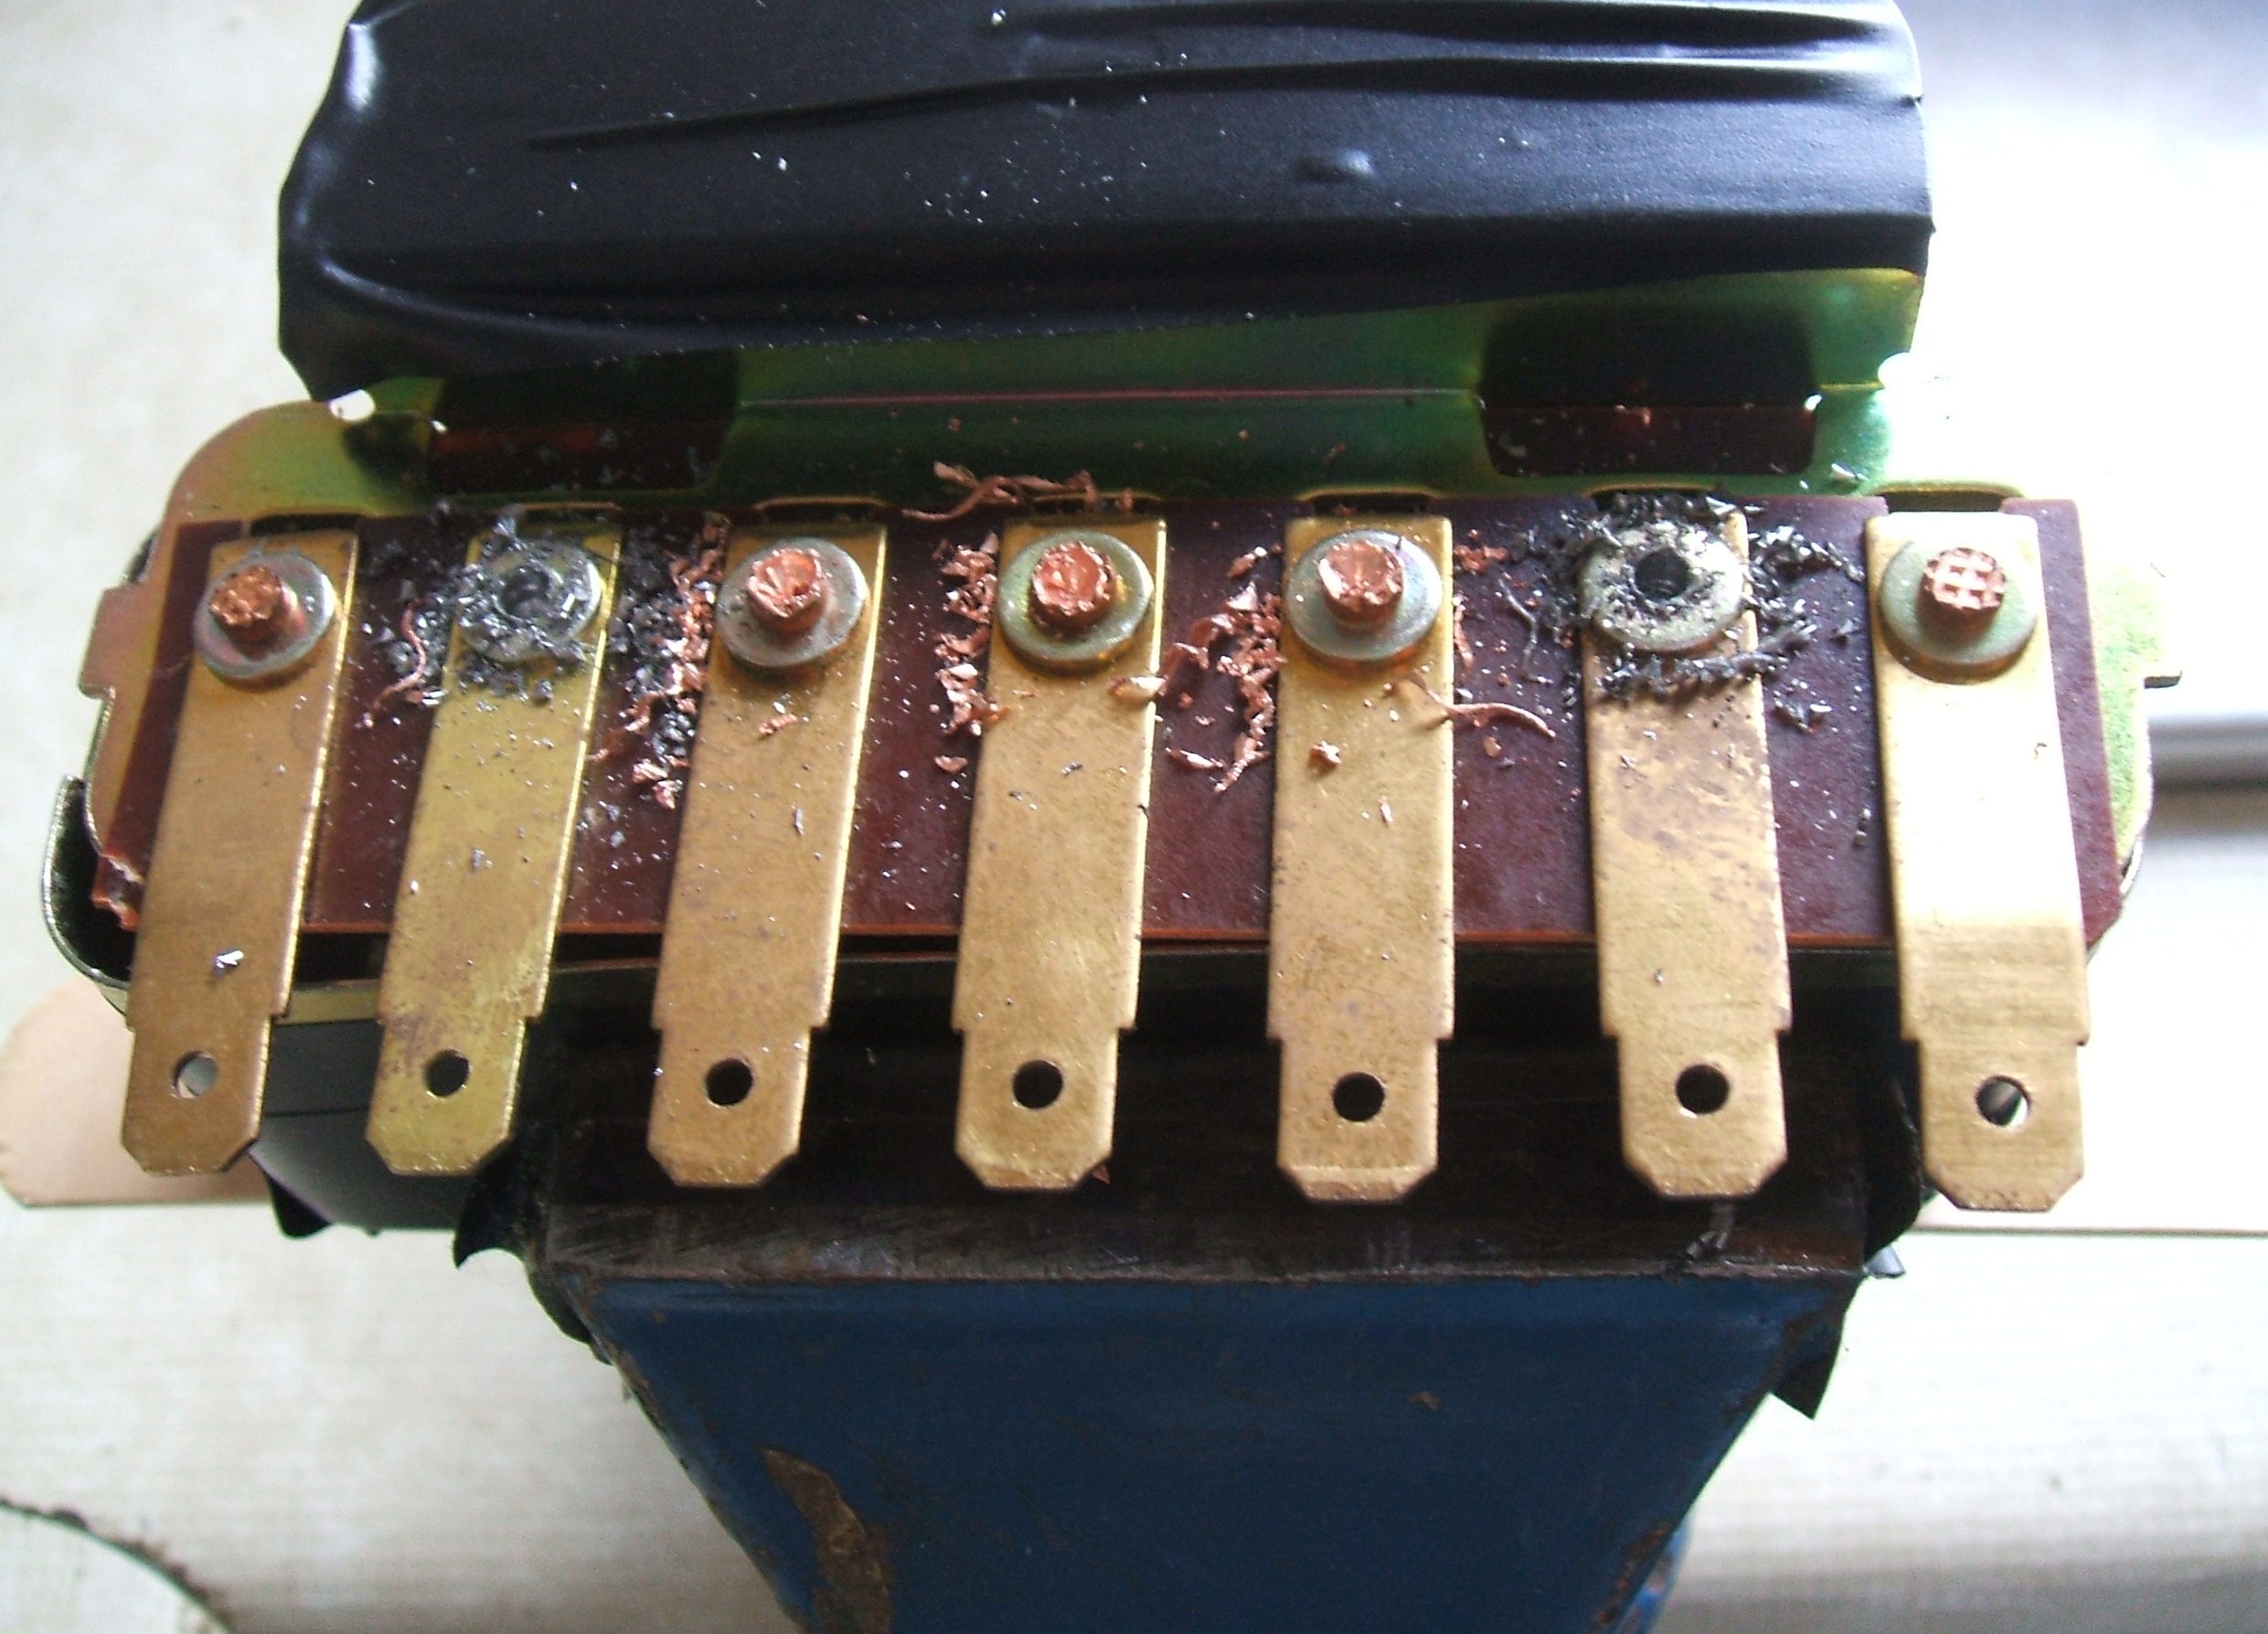
Copper rivets drilled out 銅製リベットは外されました;
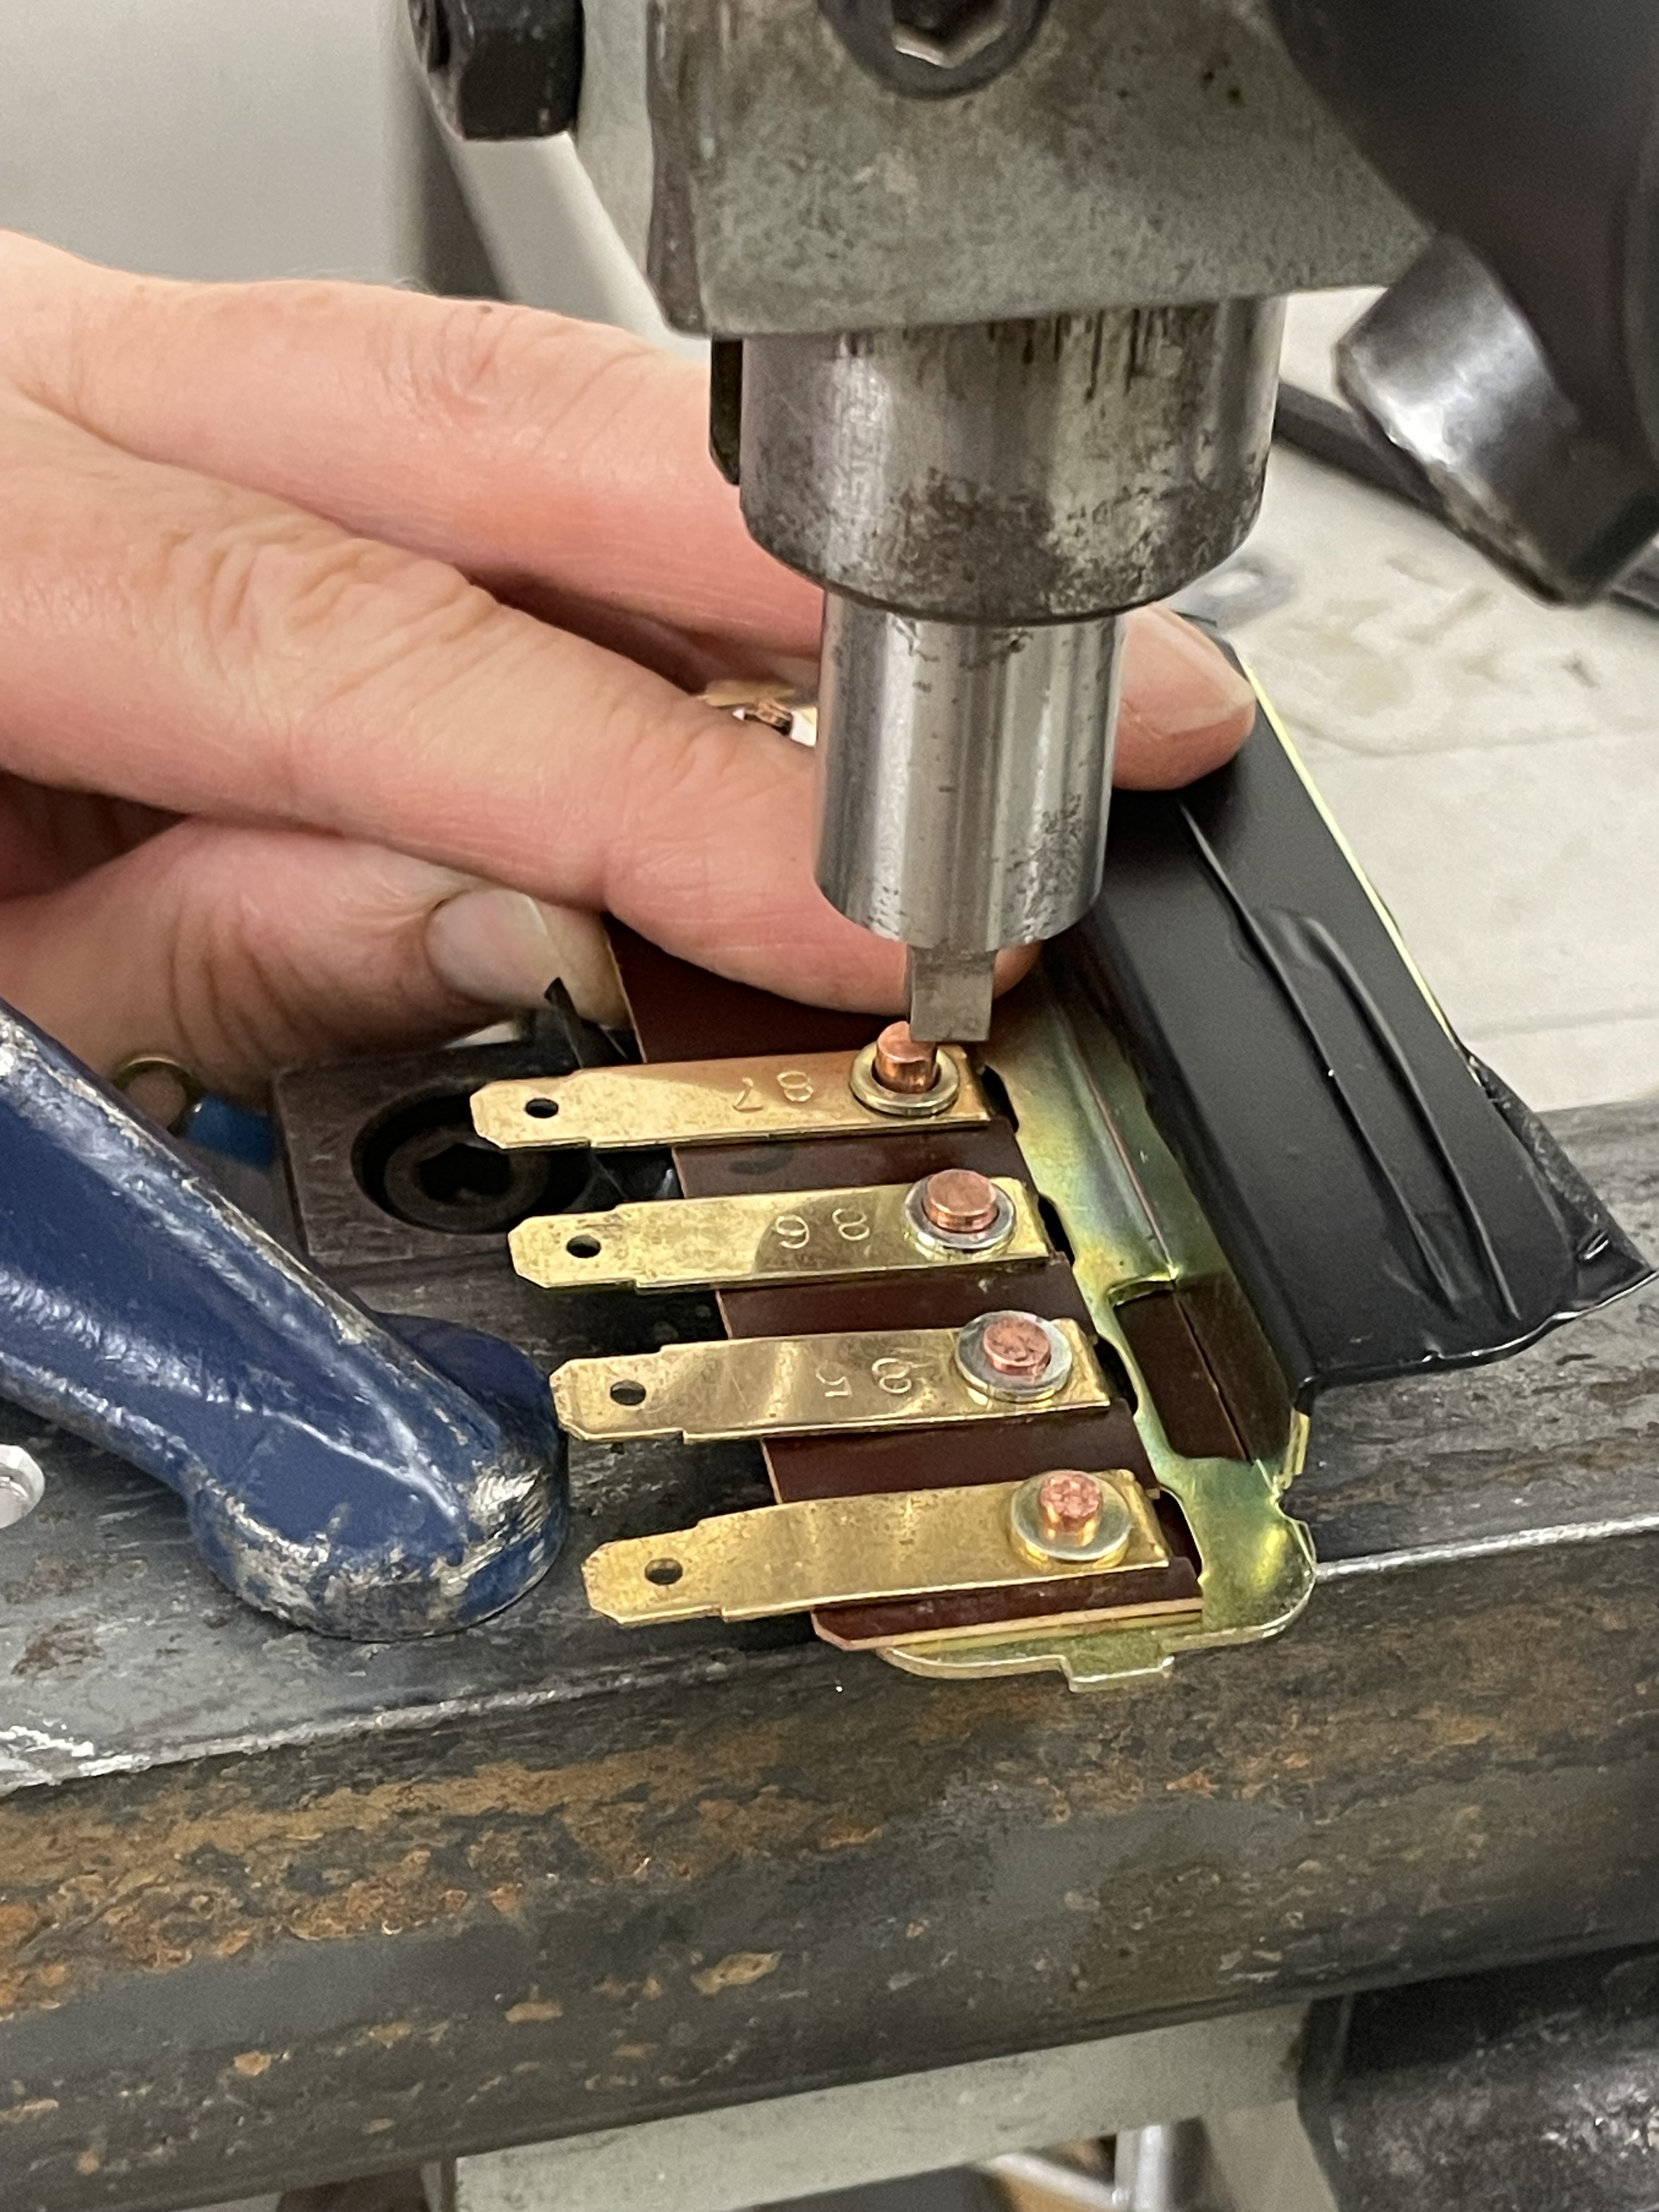
All parts ready for assembly (next photo). I am using copper rivets like the original assembly had. I used my small fly press to press the rivets until tight (last photo).
すべての部品を組み立てる準備ができています(次の写真)。 オリジナルのアセンブリと同様に銅製リベットを使用しています。 小型のフライプレスを使用して、リベットをしっかりと締めるまで押しました(最後の写真)。
Latest find, 2 sets of New Old Stock R series engine spark plugs.
最新の発見、新旧ストック R シリーズ エンジン スパーク プラグ 2 セット。

A used Nissan oil or brake fluid can. I will use this as a container for spare oil to live in the boot of the Silvia.
使用済みの日産オイルまたはブレーキ液の缶。 シルビアのトランクに予備オイルを入れる容器として使用します。

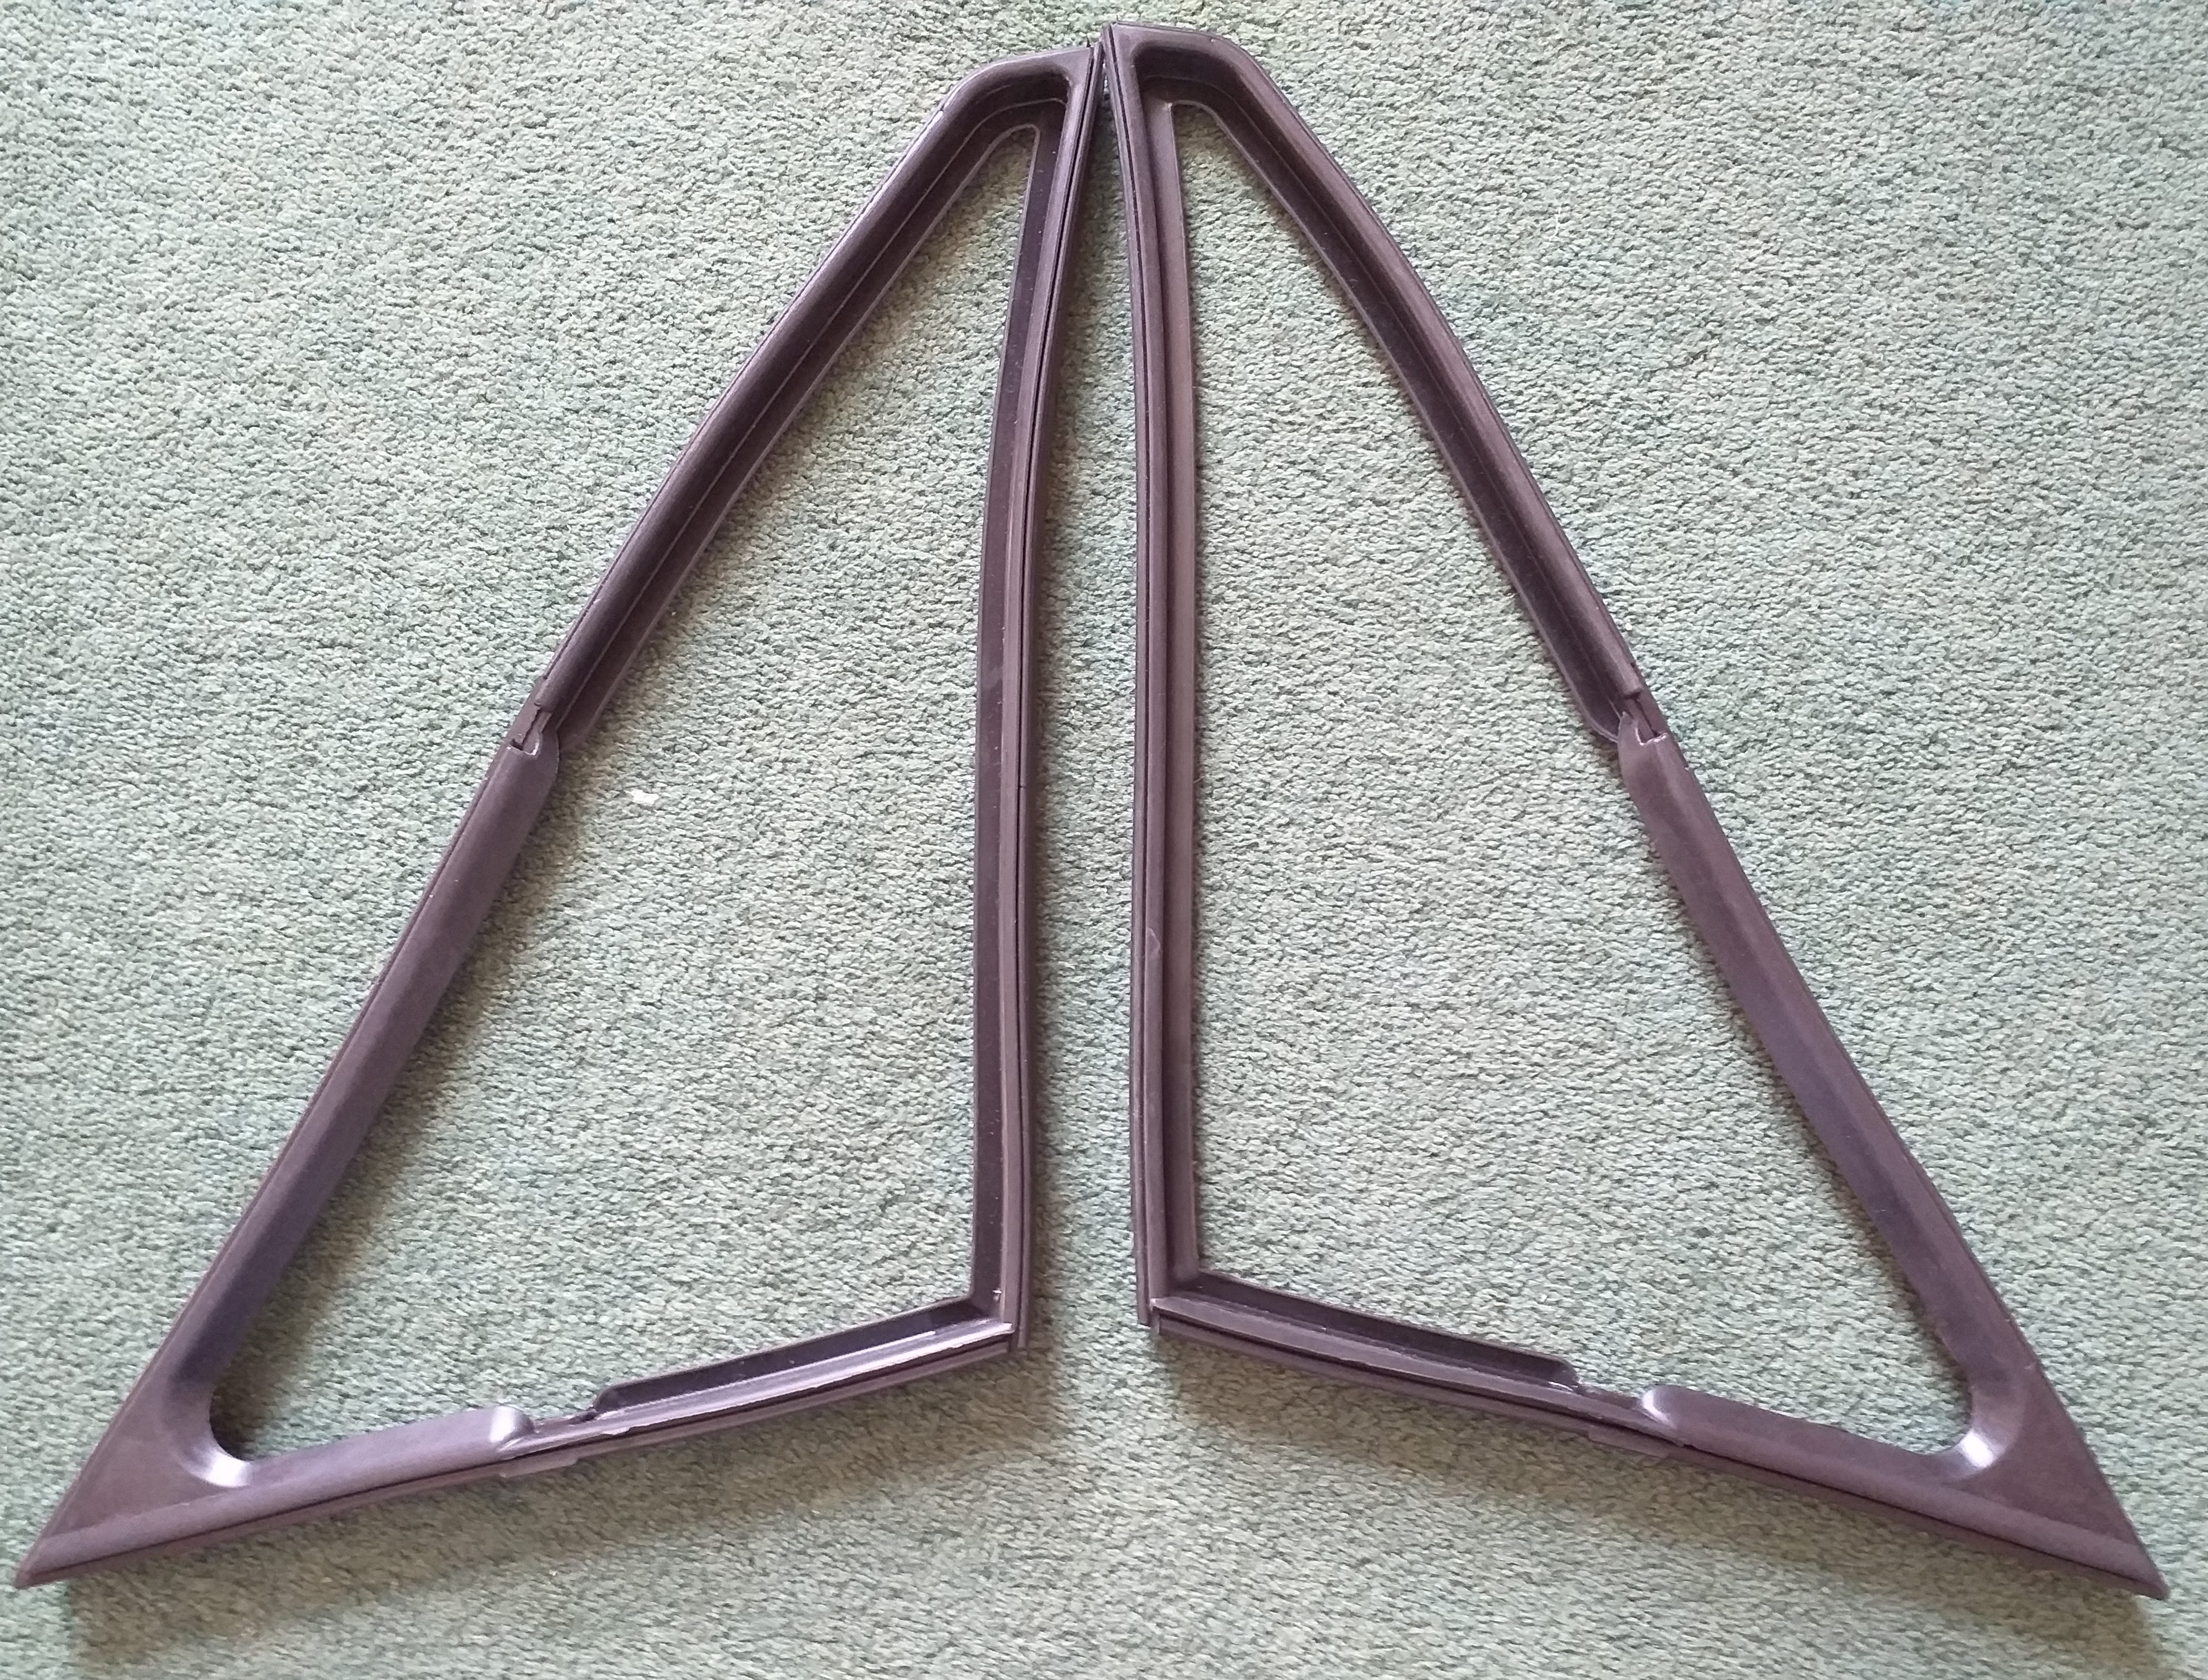
I have many Silvia repair/make jobs that I am doing in various states of completion. Another is the side window frames. This is started as in a small way the old rubber seals helped make some reproduction seals (see photo). When the glass was removed, I have slowly been cleaning the frames up. They are covered in old rubber and sealer. Also, I have been hopefully making them fit the glass/seals better, by removing some of the welds and sharp edges.
私はシルビアの修理/製作の仕事を数多く抱えており、さまざまな完成状態で行っています。 もう一つは側面の窓枠です。 これは、古いゴム製シールがいくつかの複製シールを作るのにささやかな方法で役立ったことから始まりました(写真を参照)。 ガラスを外した後、枠を少しずつ掃除していきます。 古いゴムとシーラーで覆われています。 また、溶接部分や鋭利なエッジの一部を取り除くことで、ガラス/シールによりよくフィットするようにしたいと考えています。


I media blasted the internal fixing brackets for rust removal and painting.
内部の固定金具をメディアブラストしてサビ取りと塗装をしました。
Originally, the top and bottom corners of the frame did not fit well. A gap at the 45 degree frame join. This I do not like. I am trying to make a better fit. Originally, the frame cuts were rough, so smoothing them out makes a better fit.
もともとフレームの上下の角がうまくフィットしませんでした。 45 度のフレーム結合部に隙間があります。 これは私は好きではありません。 より良いフィット感を追求しています。 もともとフレームのカットが荒かったので、滑らかにすることでフィット感が良くなります。

Once I have finished, they will be polished up.
終わったら磨き上げていきます。
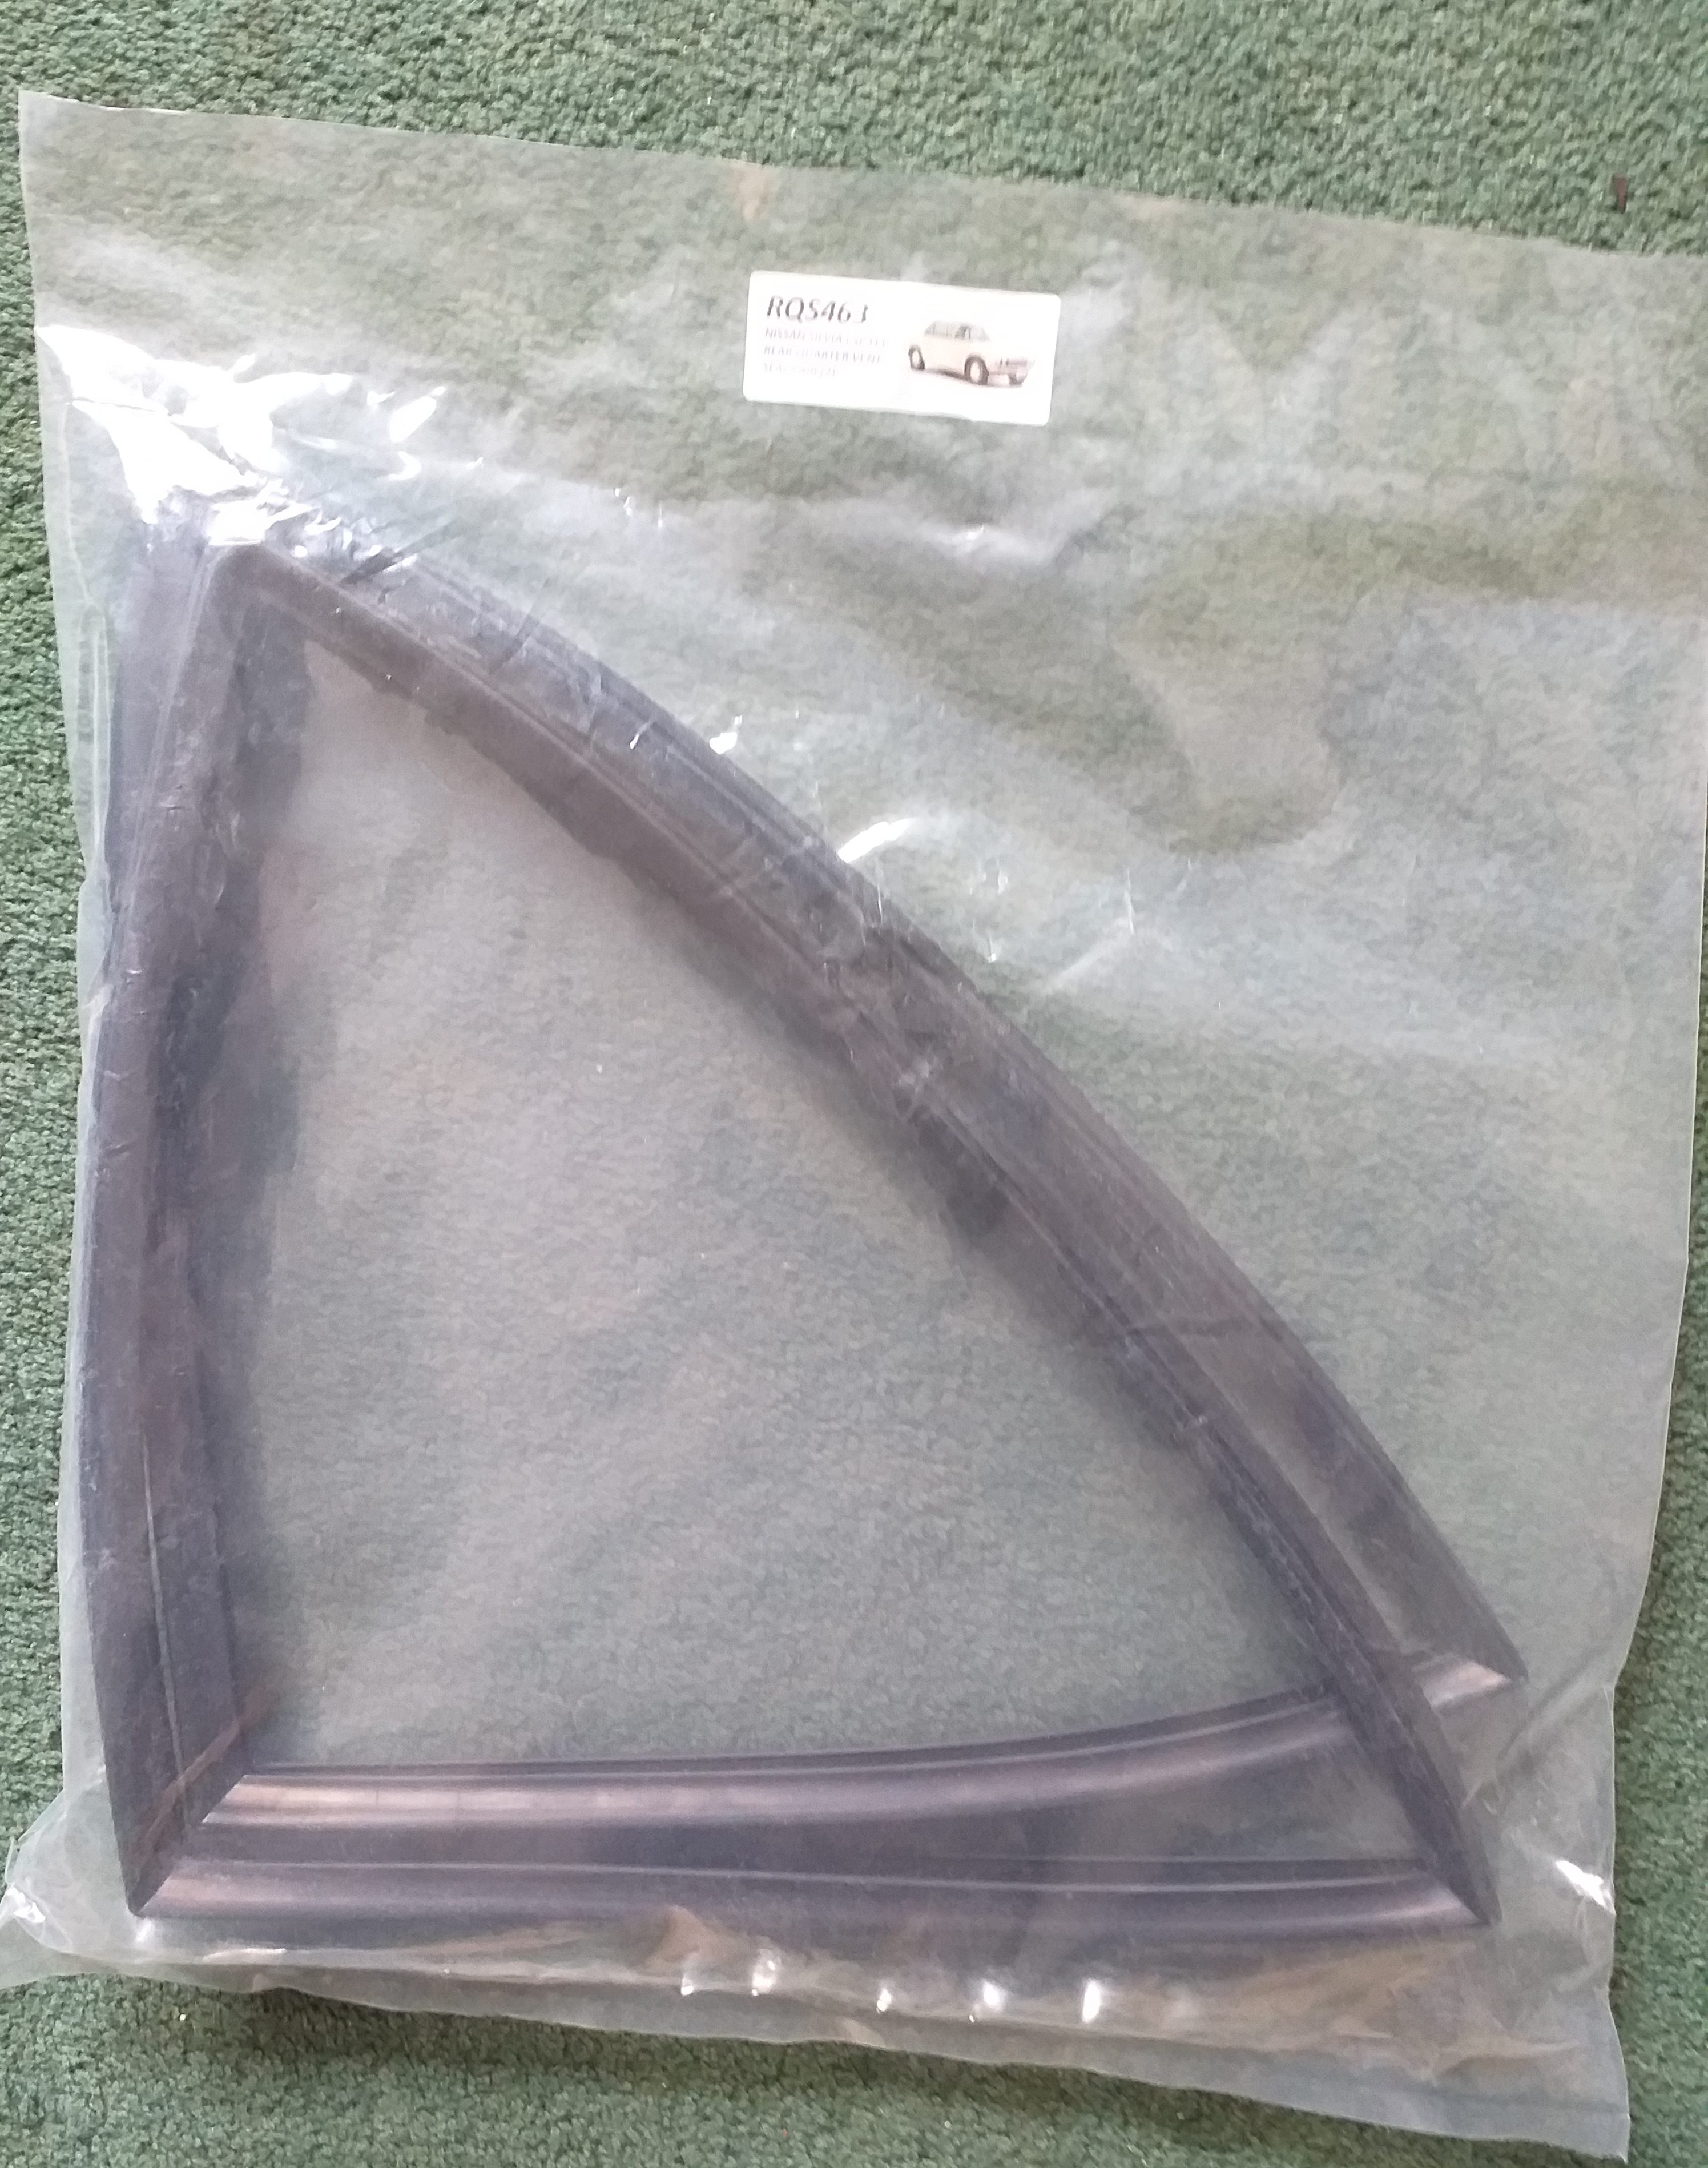
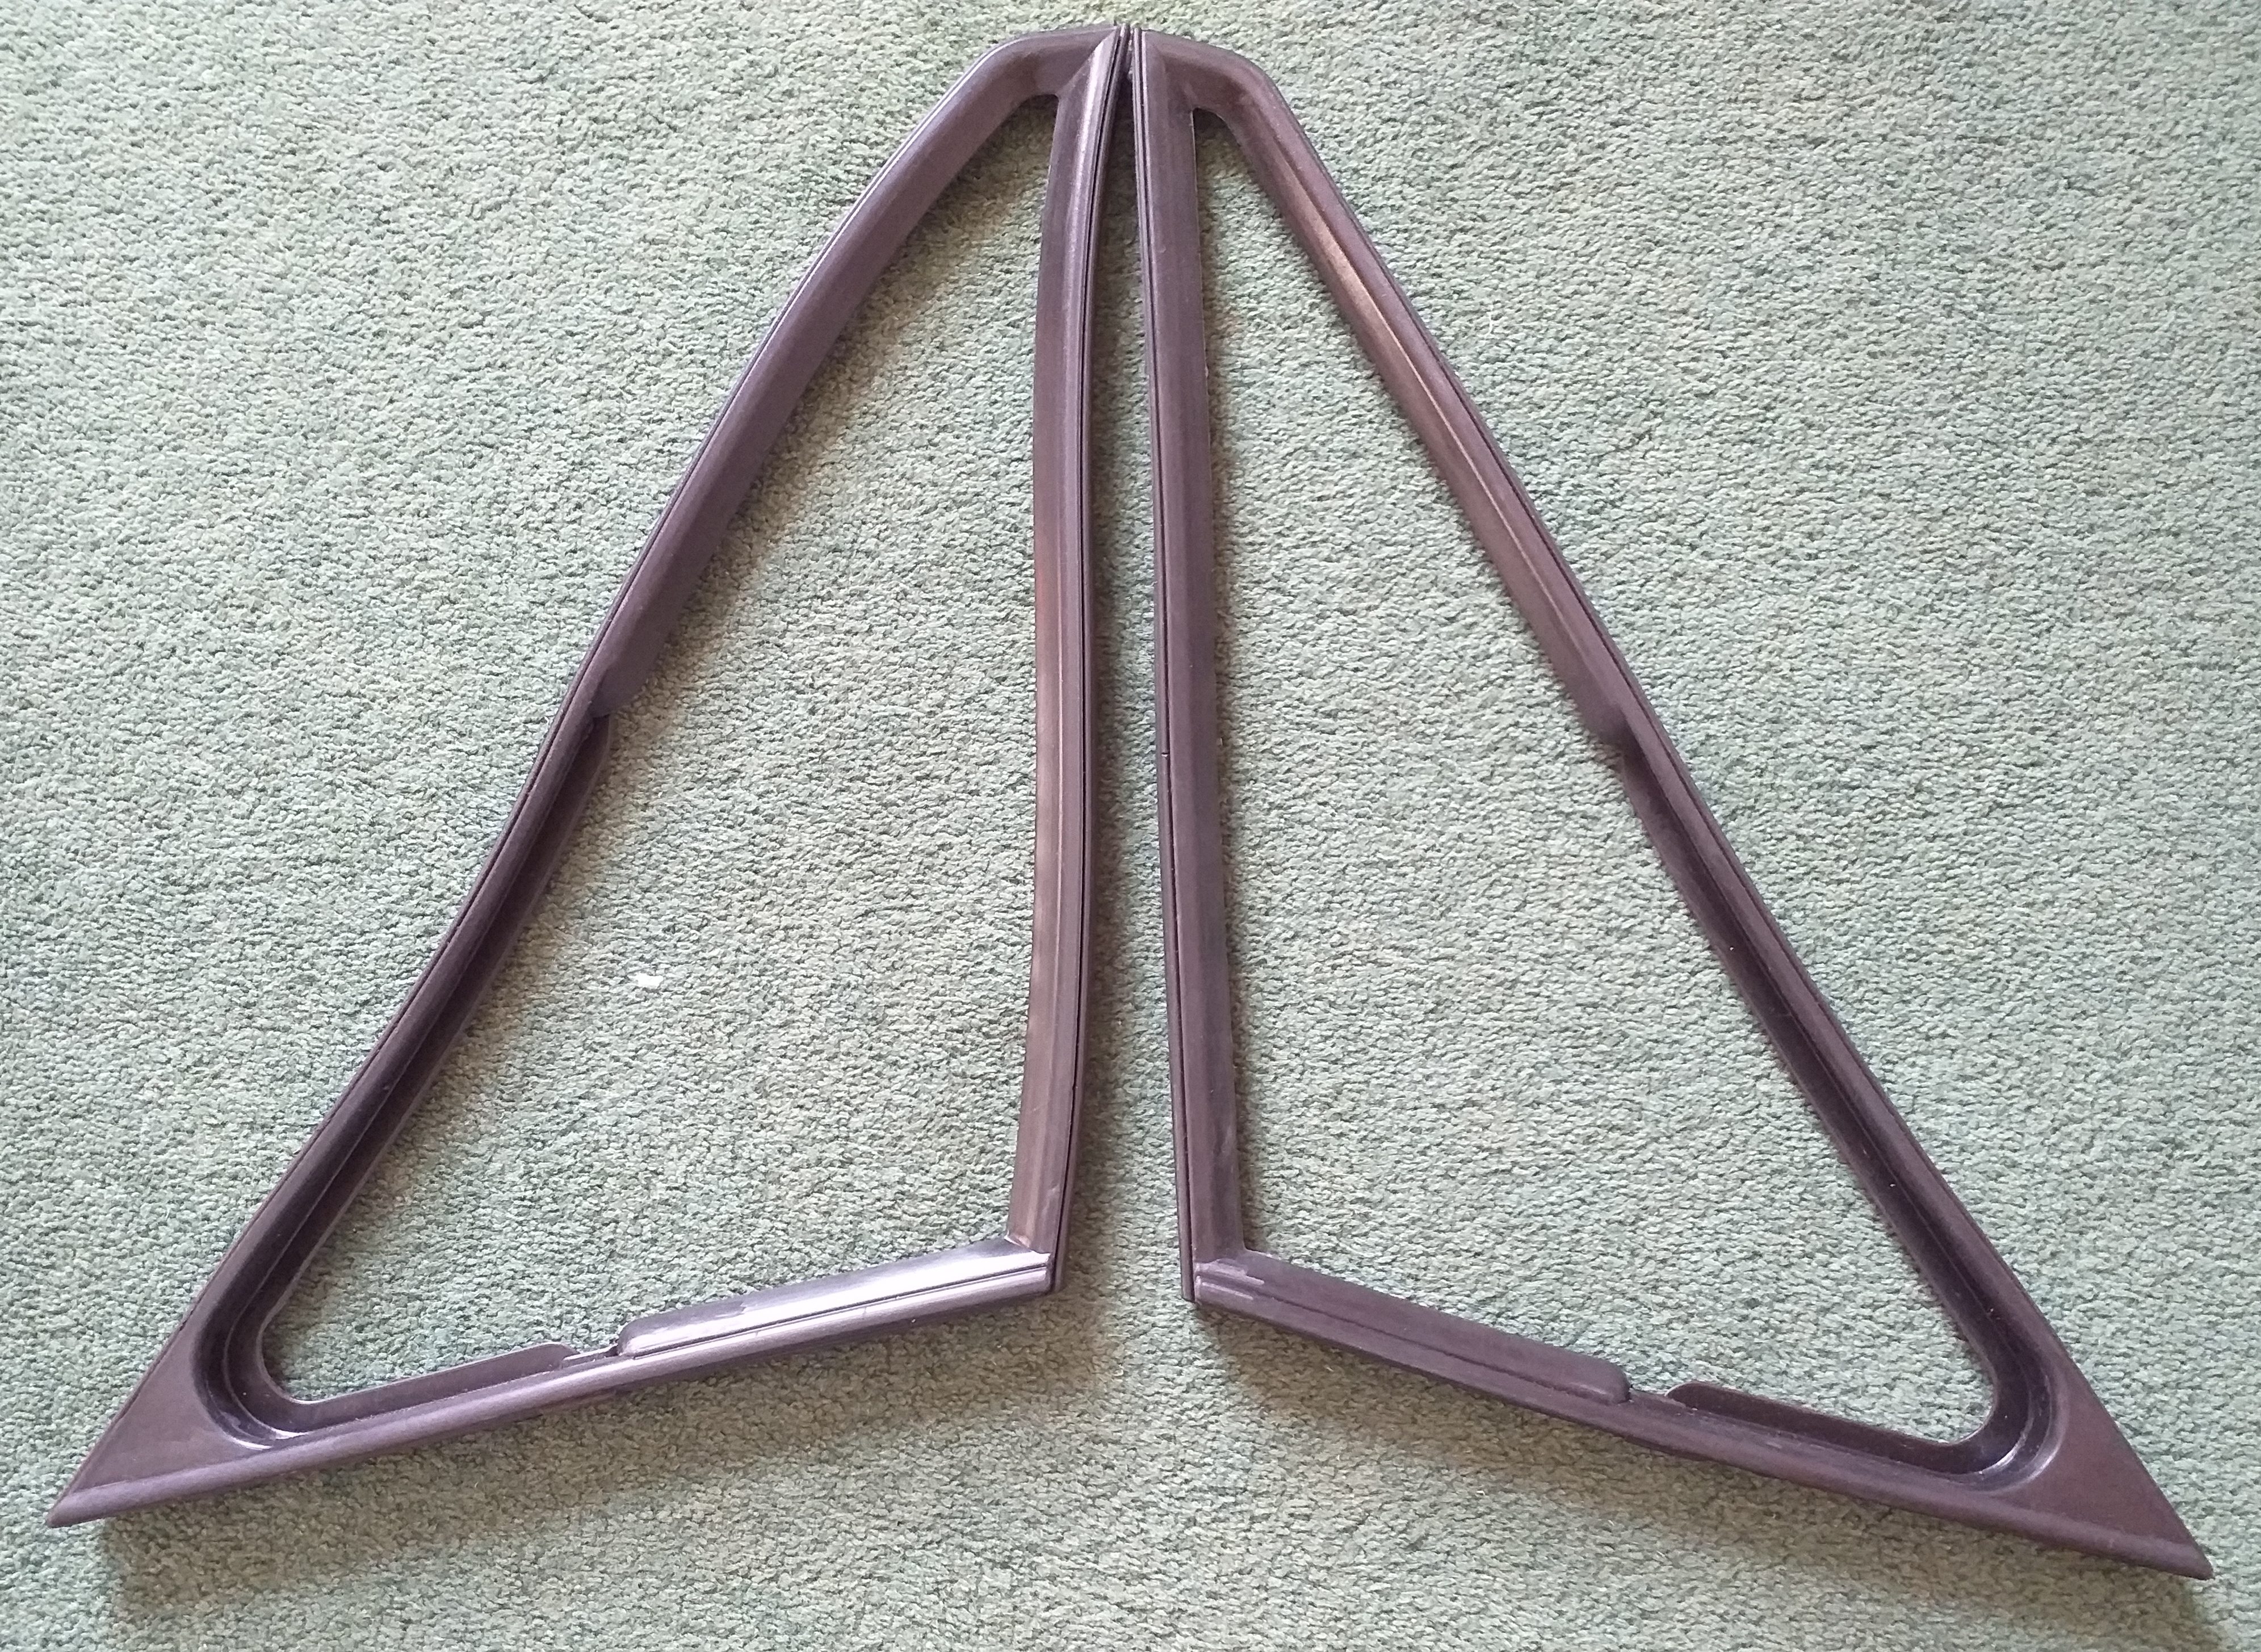
Newly arrived! These are door quarter light rubber seals. New, new production run, very limited numbers. In a small way, I helped in the making if these! Though, these would not have been made without the effort of Duane, take a bow!
新しく到着しました! ドアクォーターライトのゴムシールです。 新品、新規生産、非常に数量が限られています。 微力ですが製作に協力させていただきました!ただし、これらはデュアンの努力なしでは作られなかったでしょう。お辞儀をしてください!
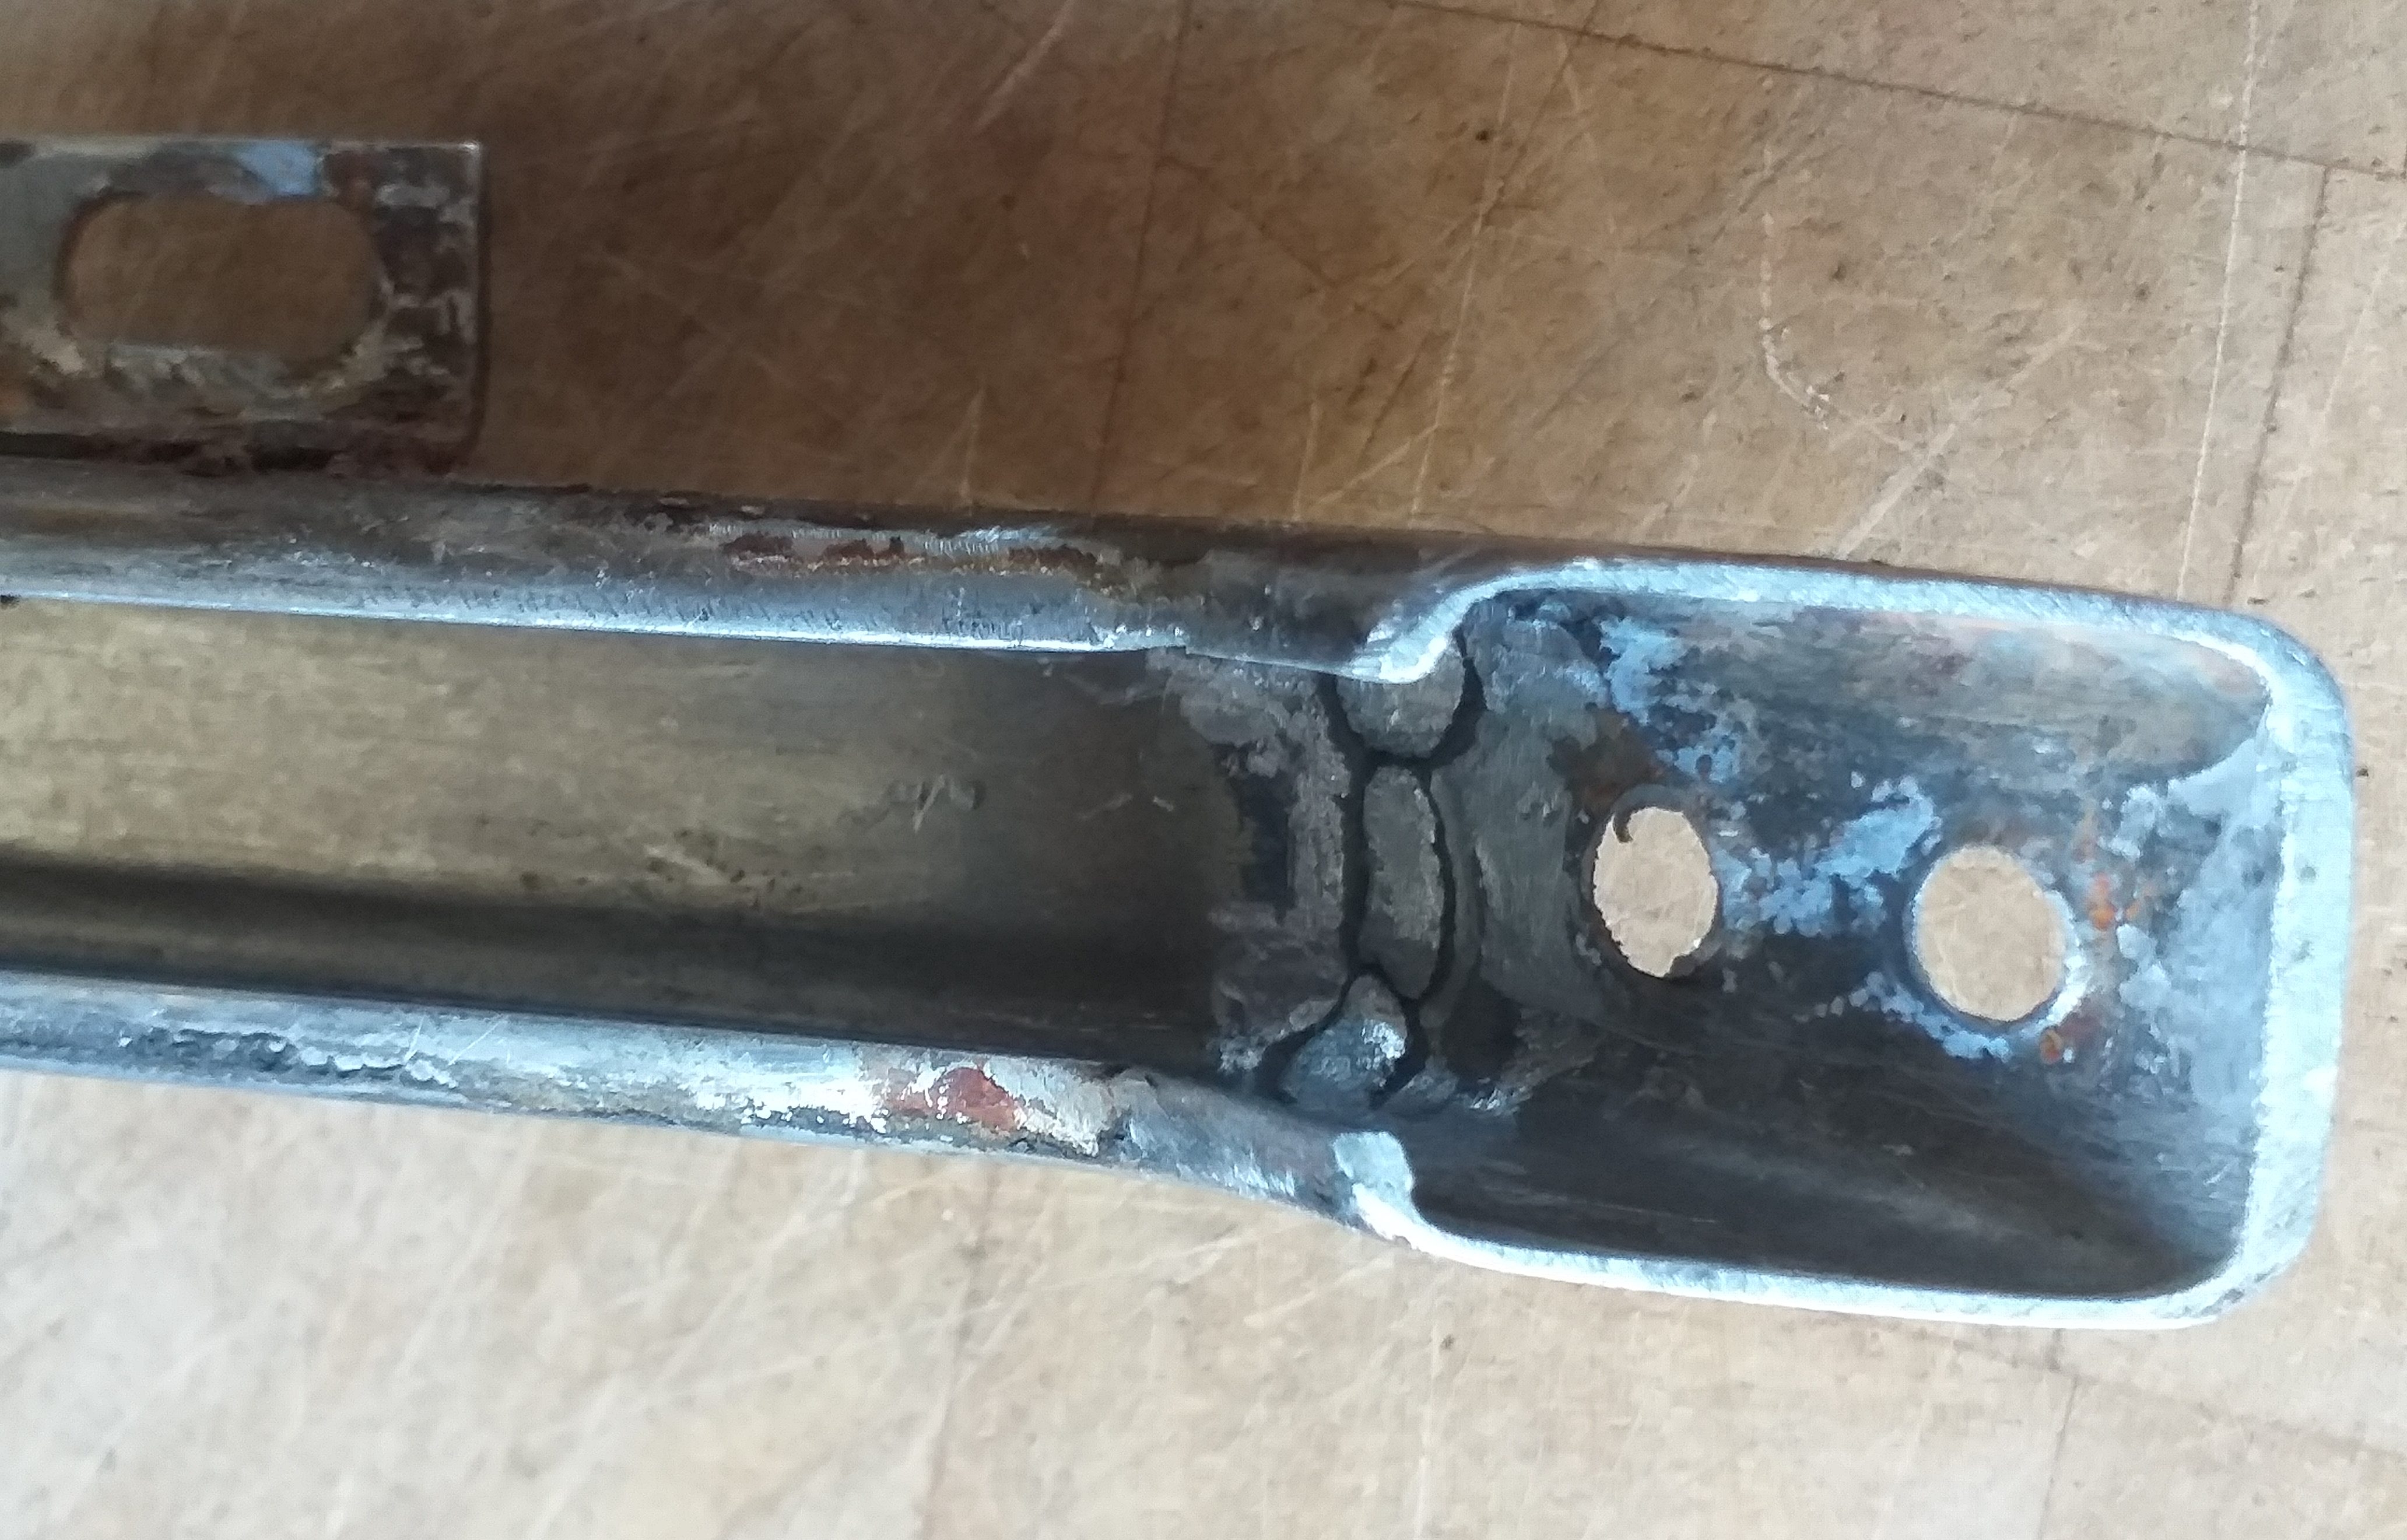
One of my many jobs is to repair/improve parts for the Silvia. The windscreen wiper pivots are no exception. I had them yellow zinc plated a long time ago, but the next job is to improve the fit and operation. As you see from the next few images, there is pitting from rust, and uneven wear. I had about 1mm of free movement side to side.
私の多くの仕事の 1 つは、シルビアの部品の修理/改善です。 フロントガラスのワイパーピボットも例外ではありません。かなり前に黄色亜鉛メッキを施しましたが、次はフィット感と操作性の向上です。次のいくつかの画像からわかるように、錆による穴あきと不均一な摩耗があります。


First, remove the pivot from the arm. As you see the pivot sits in a slot in the arm and is welded in place.
まず、アームからピボットを取り外します。 ご覧のとおり、ピボットはアームのスロットに収まり、所定の位置に溶接されています。


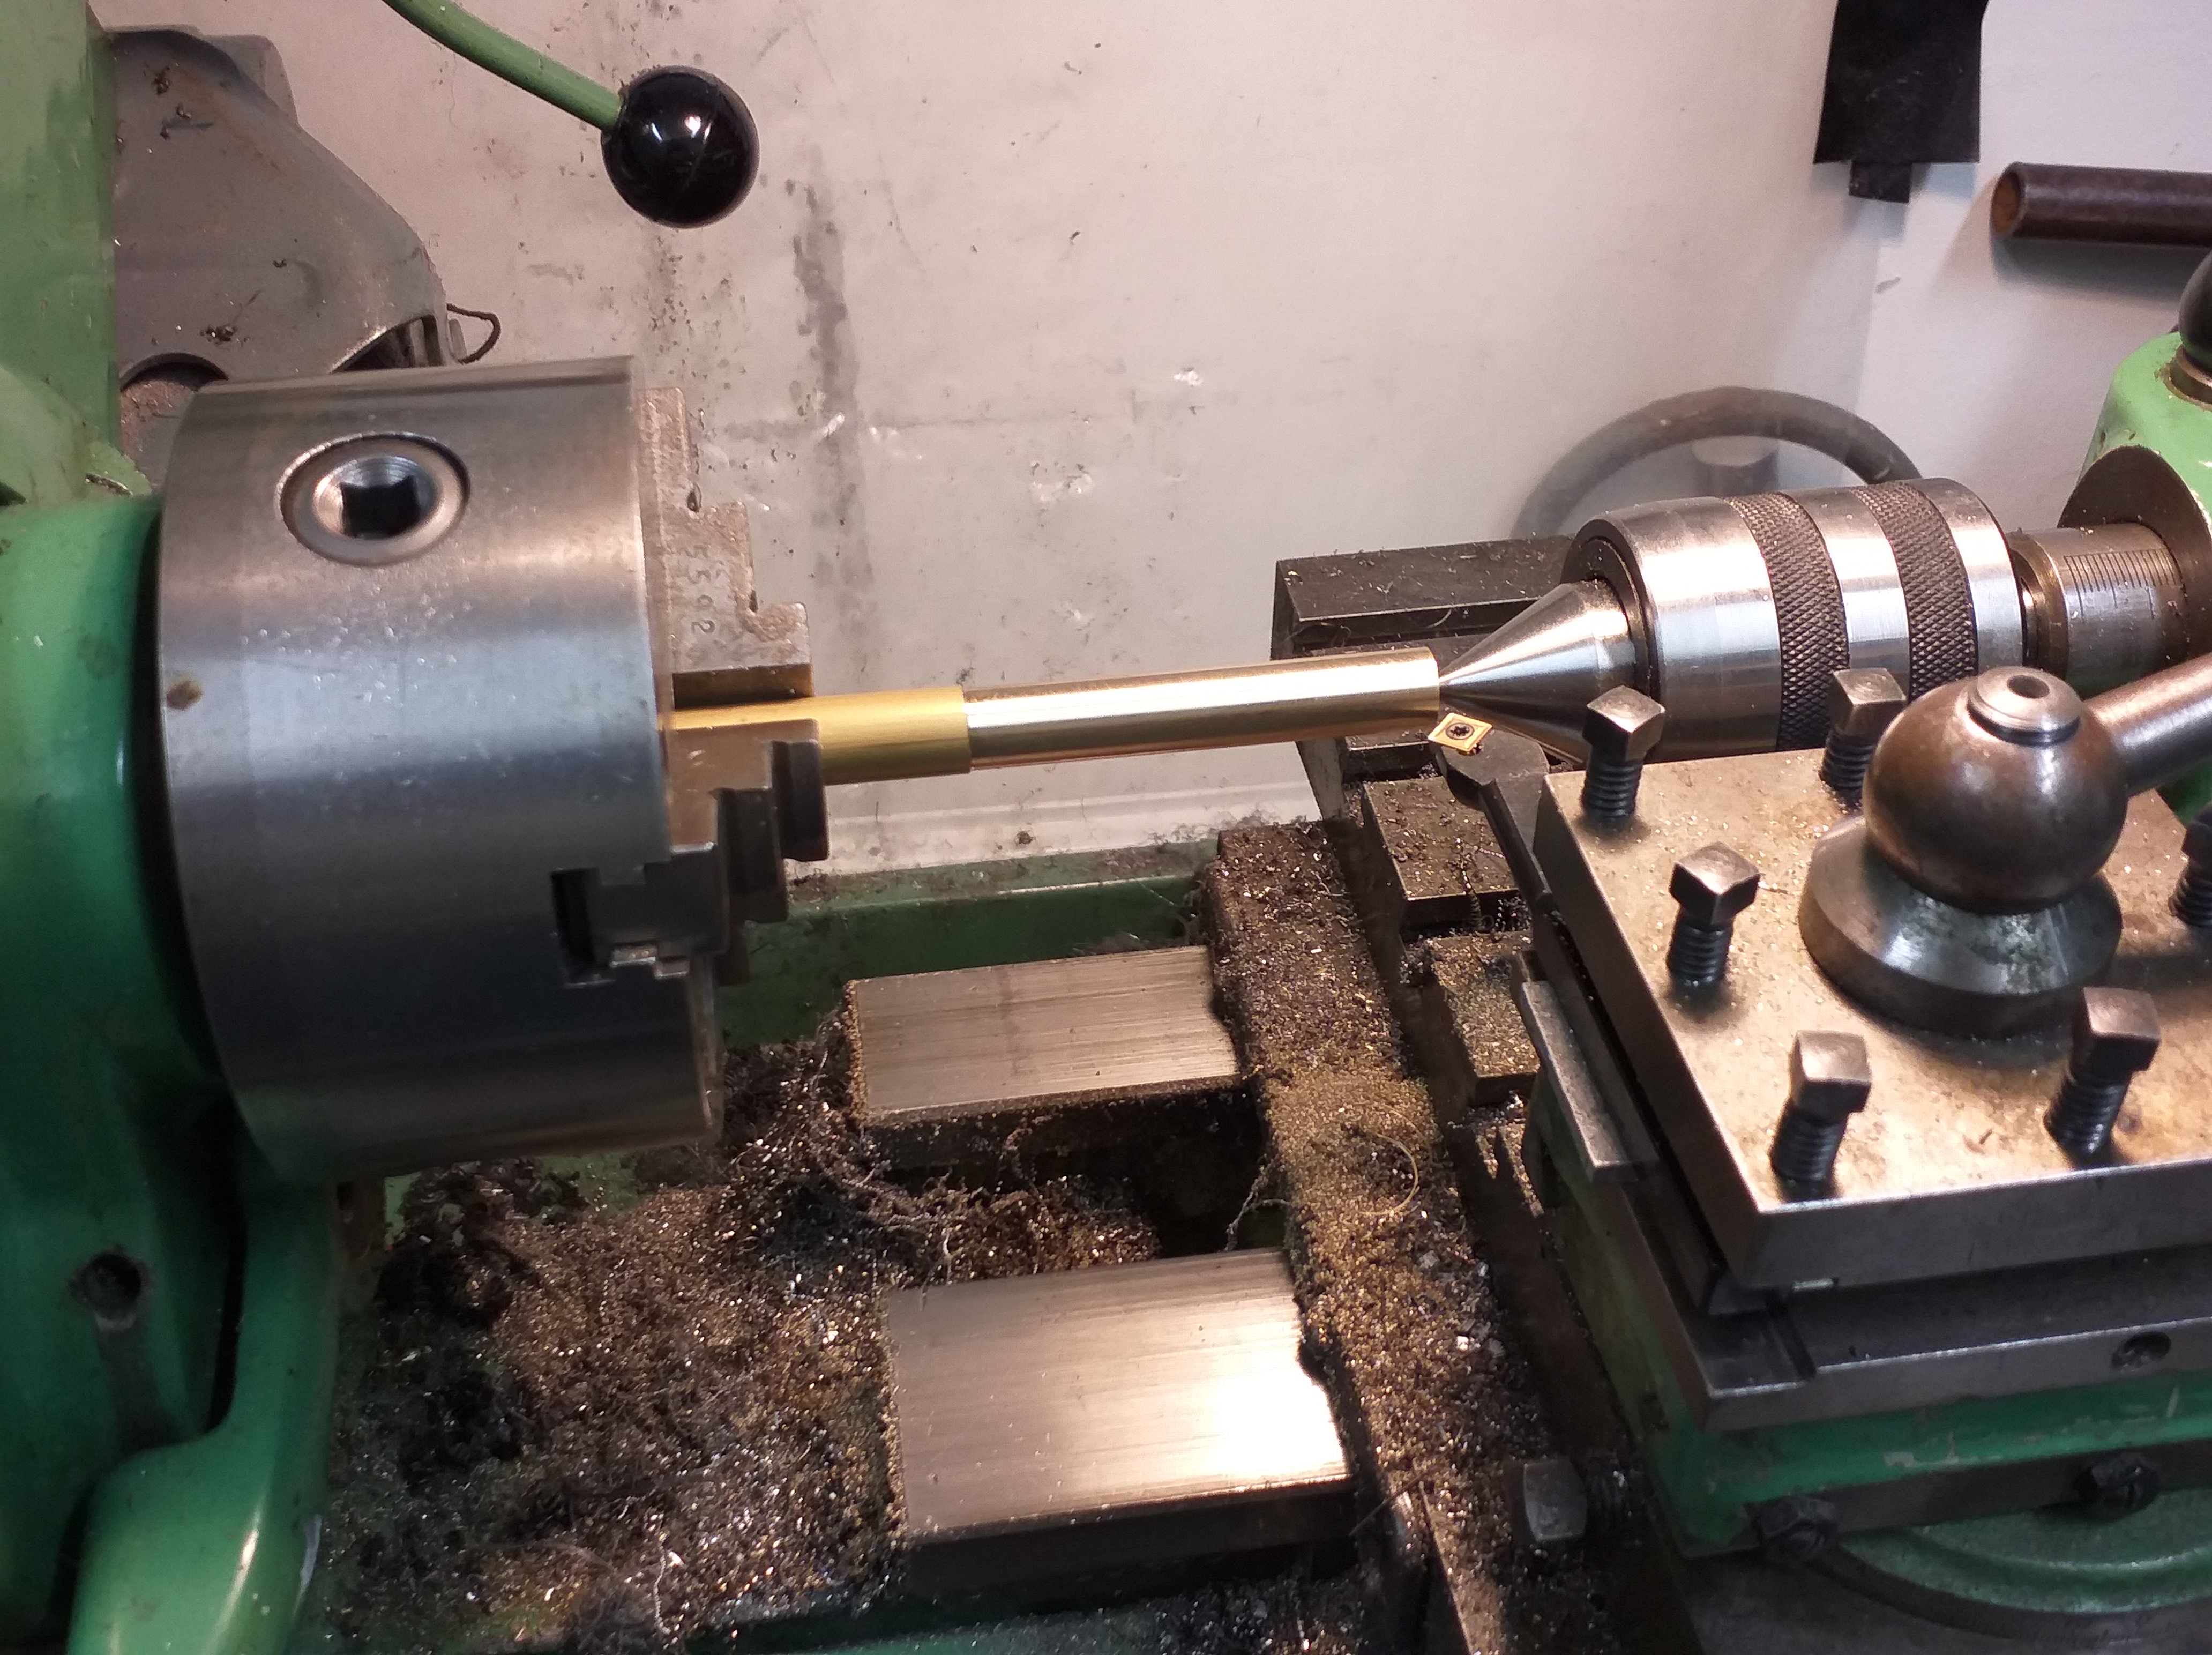
The pivot needed machining to an even diameter.
ピボットは均一な直径に加工する必要がありました。

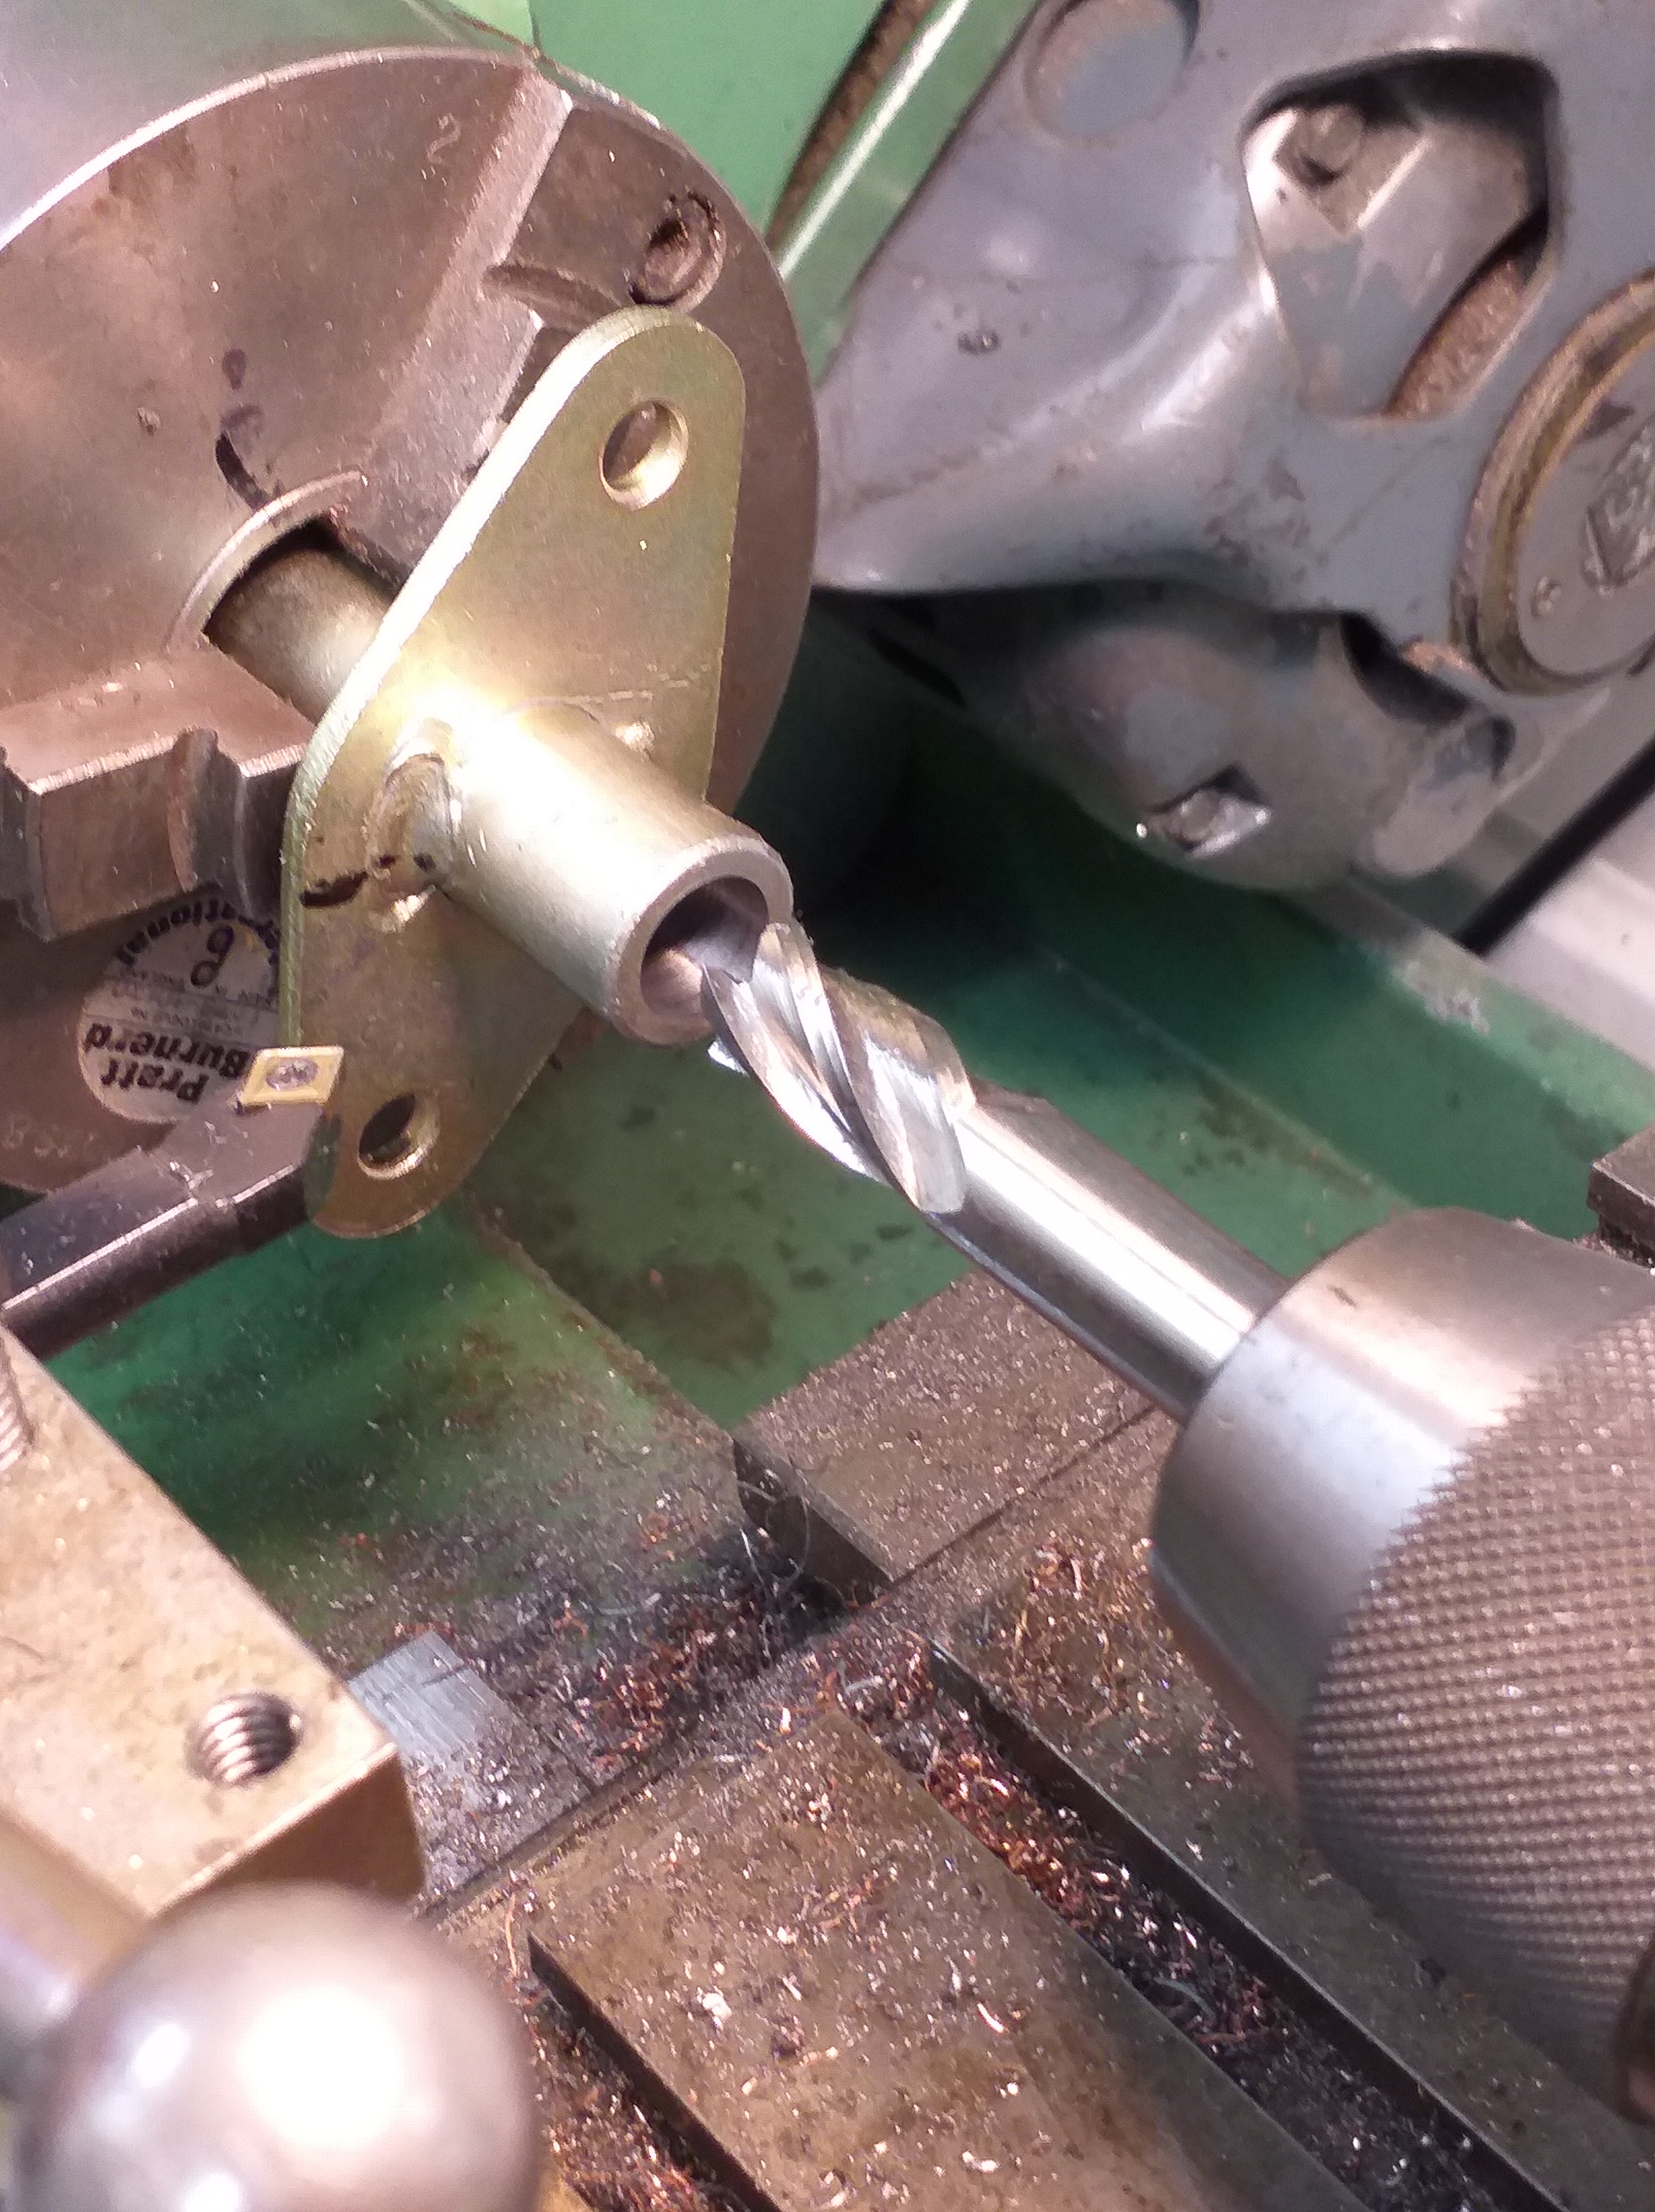
The pivot casing then required boring to a set diameter. As you see to the right in the image, is the remains of the original copper bushing the pivot rotated on.
その後、ピボット ケーシングを設定直径まで穴あけする必要がありました。 画像の右側にあるように、ピボットを回転させた元の銅ブッシュの残骸があります。
Then machine a length of brass to fit inside the pivot casing.
次に、ピボット ケーシングの内側に収まるように真鍮を機械加工します。
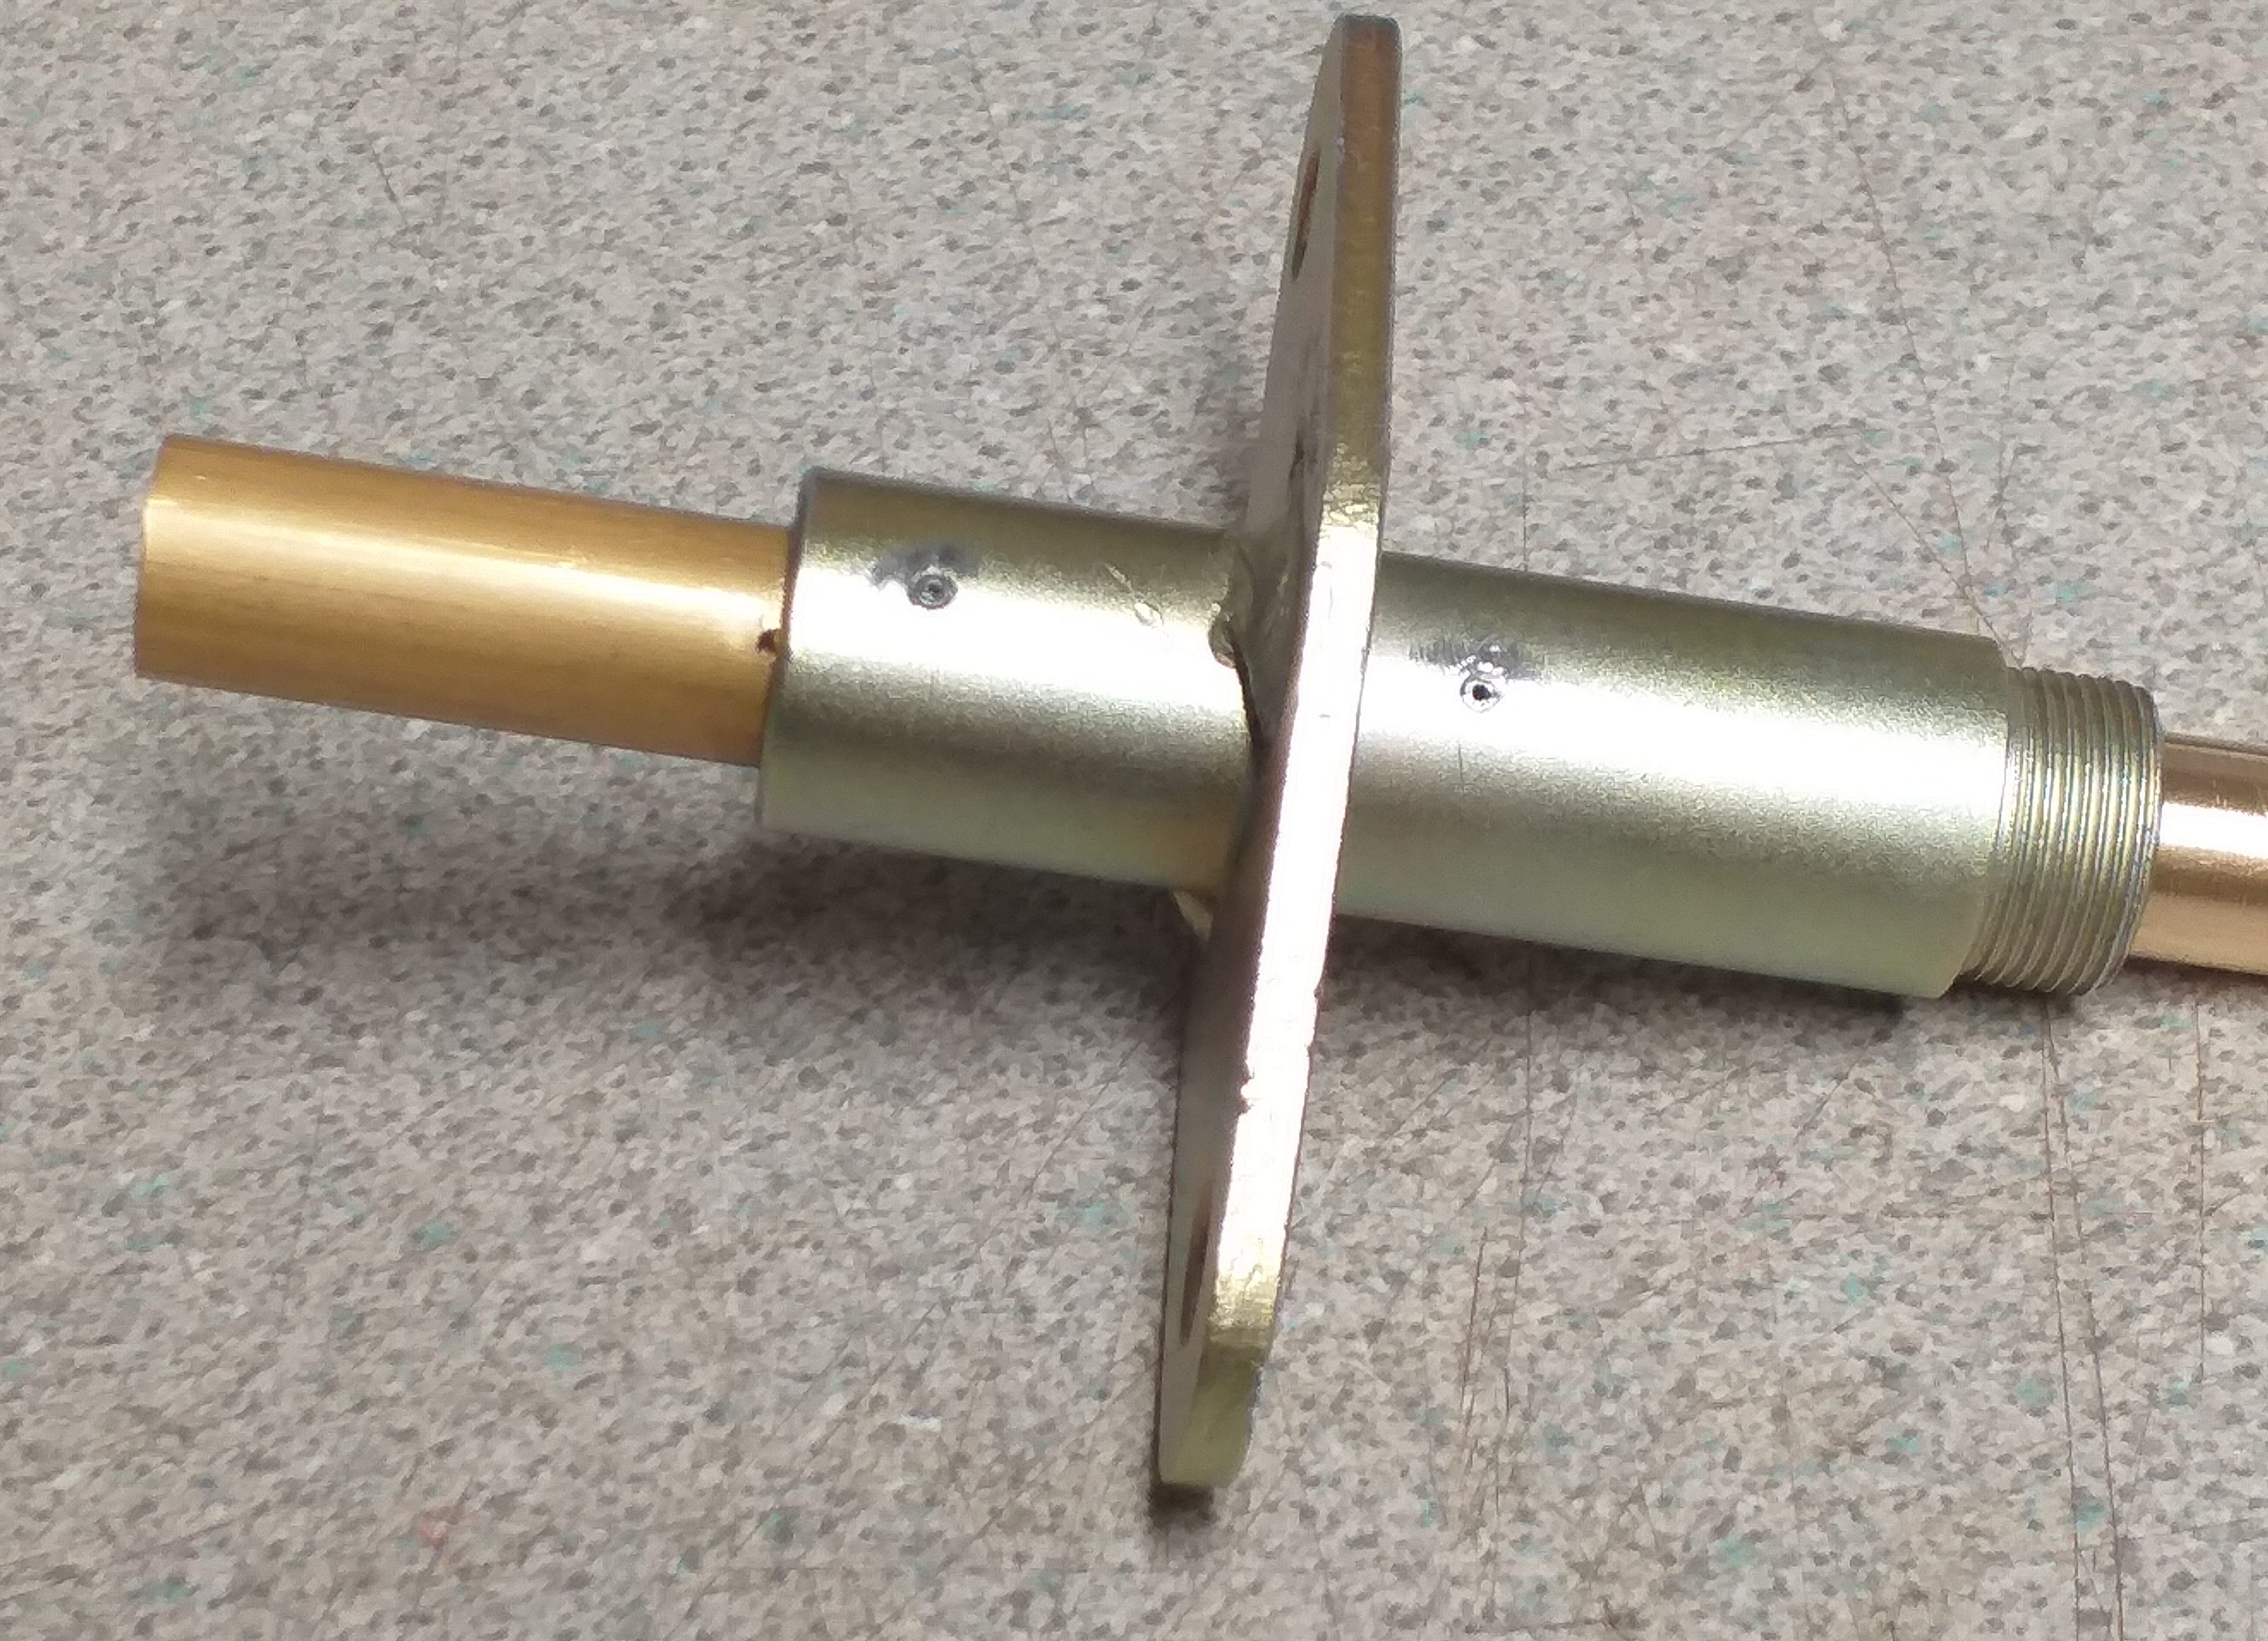
The new brass bushing then needed boring to fit the pivot. I wanted a fit with as little movement as possible. A tolerance fit, but able to move without binding. Also, I am trying adding an o ring top and bottom, to keep the water out, but with the addition of a grease nipple, I can lubricate the pivot.
新しい真鍮のブッシュは、ピボットに取り付けるために穴あけが必要でした。 できるだけ動きの少ないフィット感を求めました。 トレランスフィットですが、締め付けることなく動くことができます。 また、水の浸入を防ぐために上下にOリングを追加しようとしていますが、グリスニップルを追加すると、ピボットを潤滑できます。

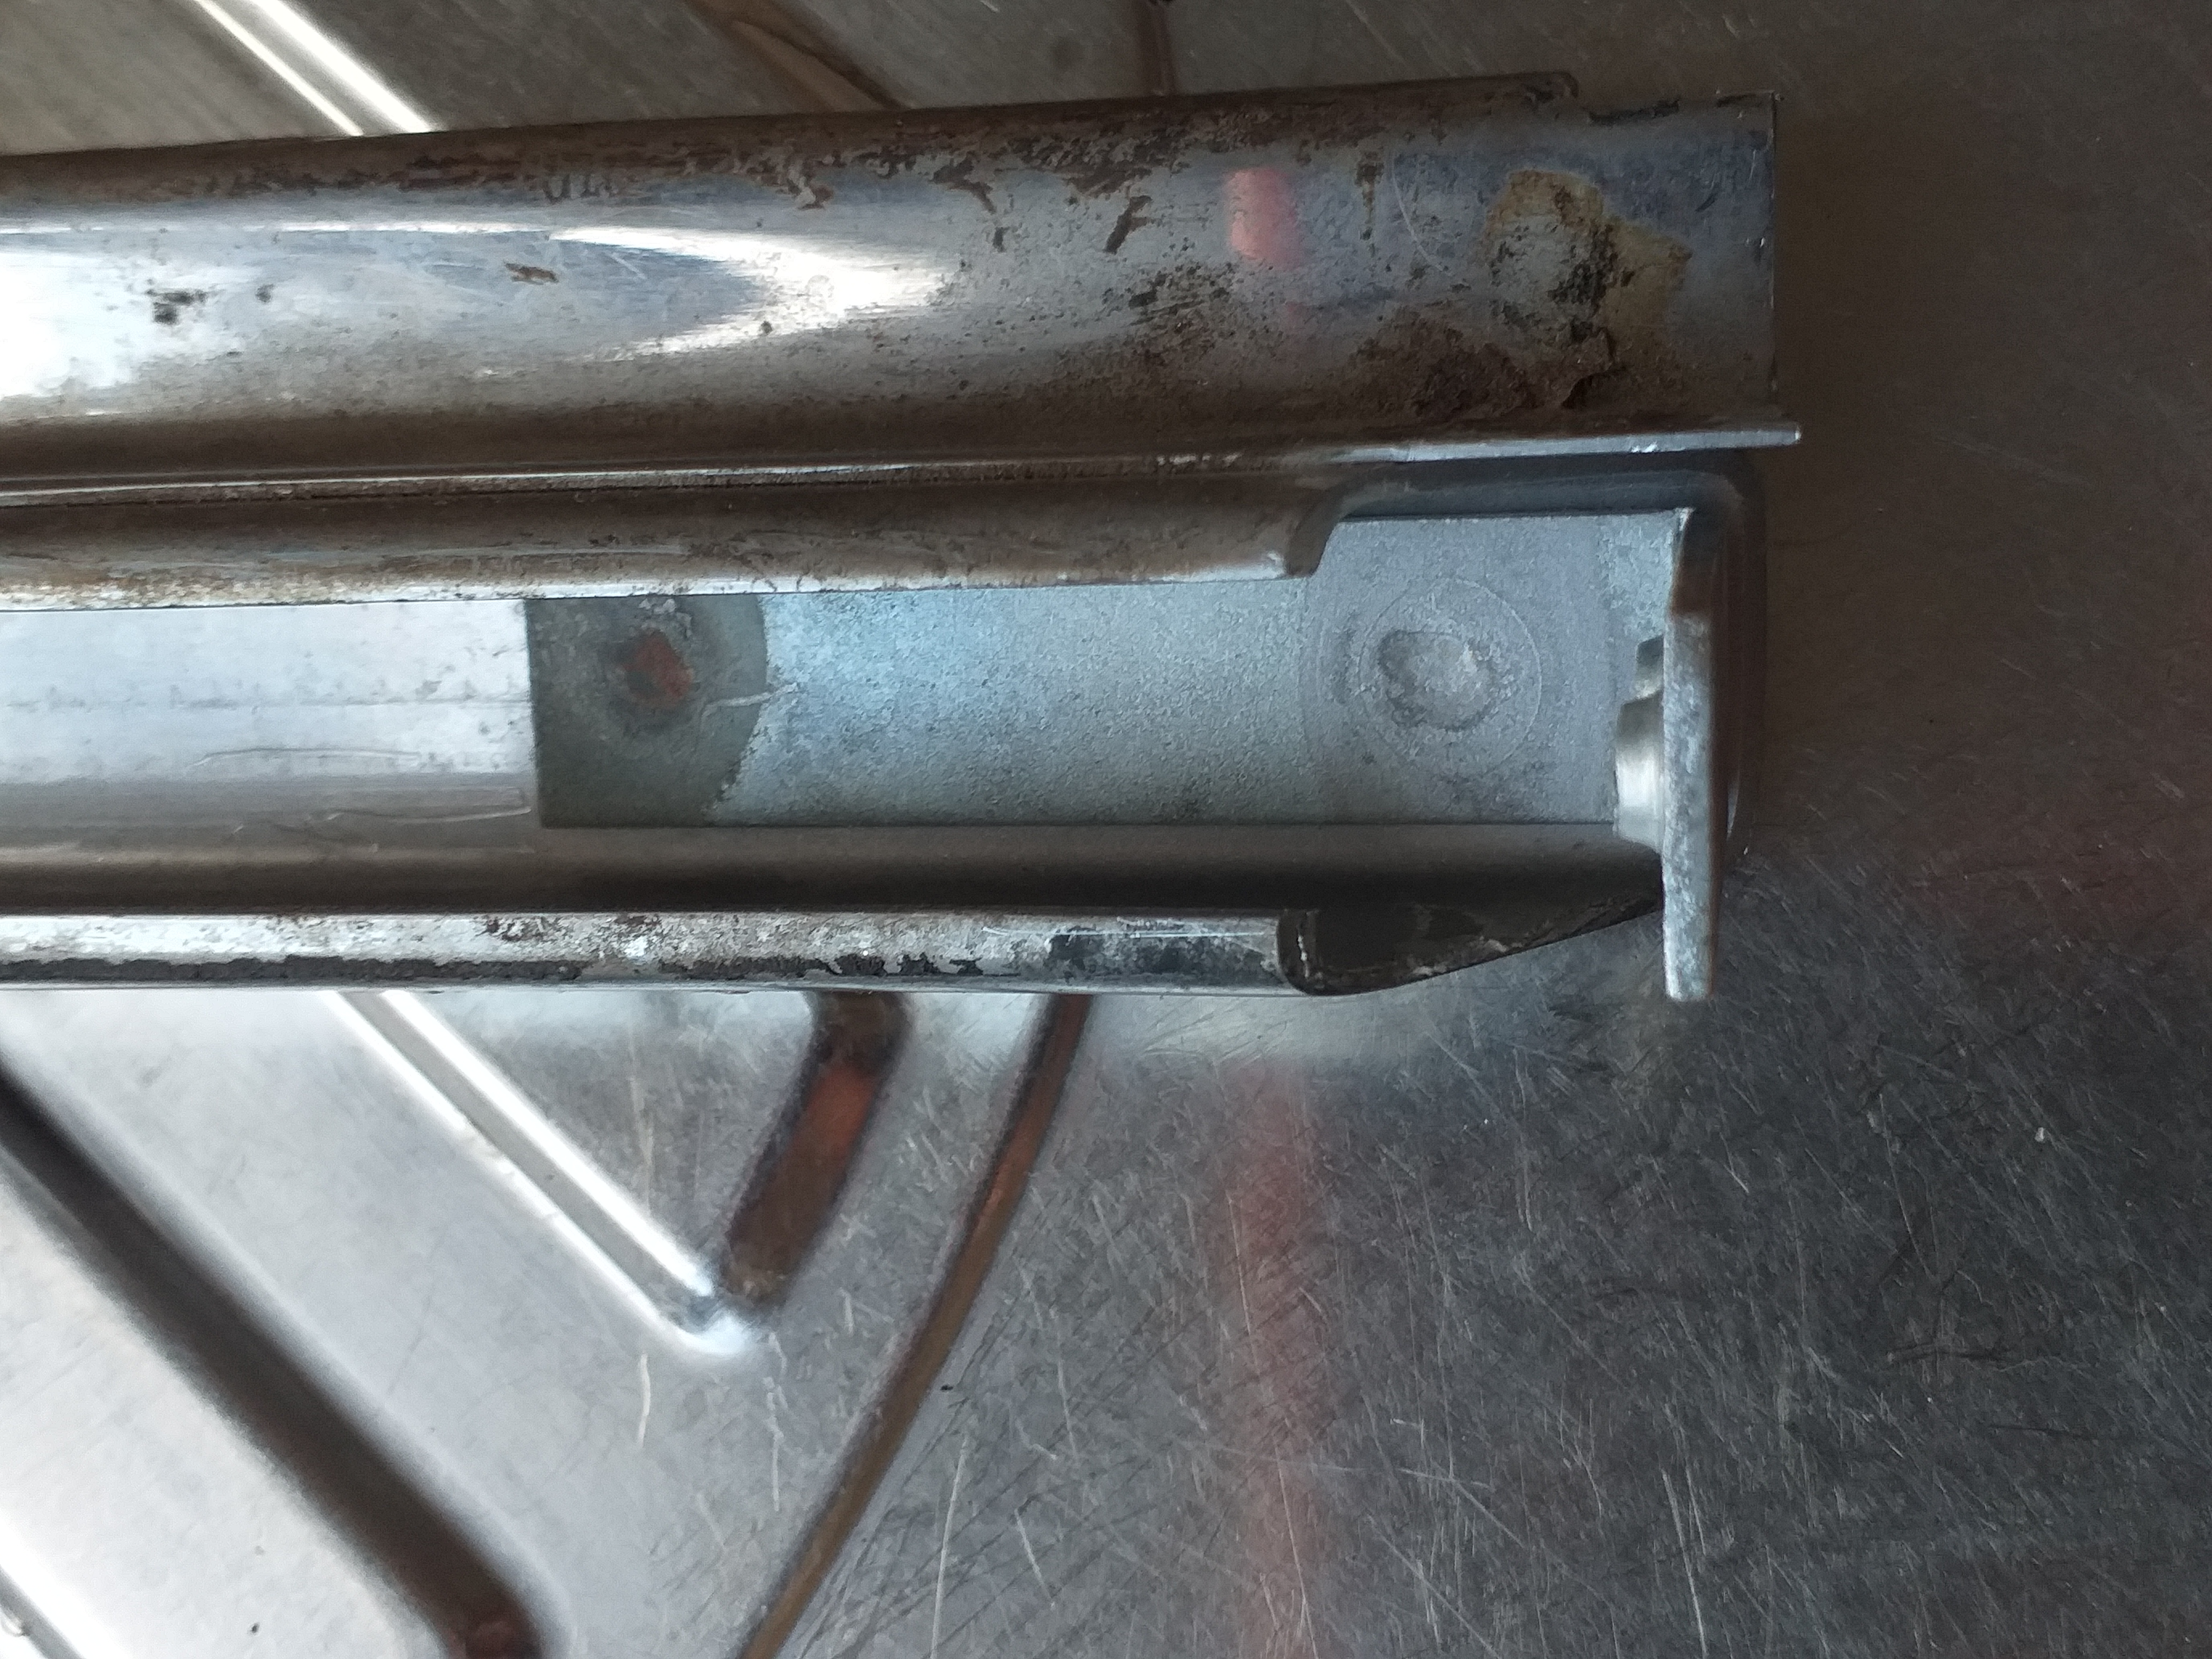
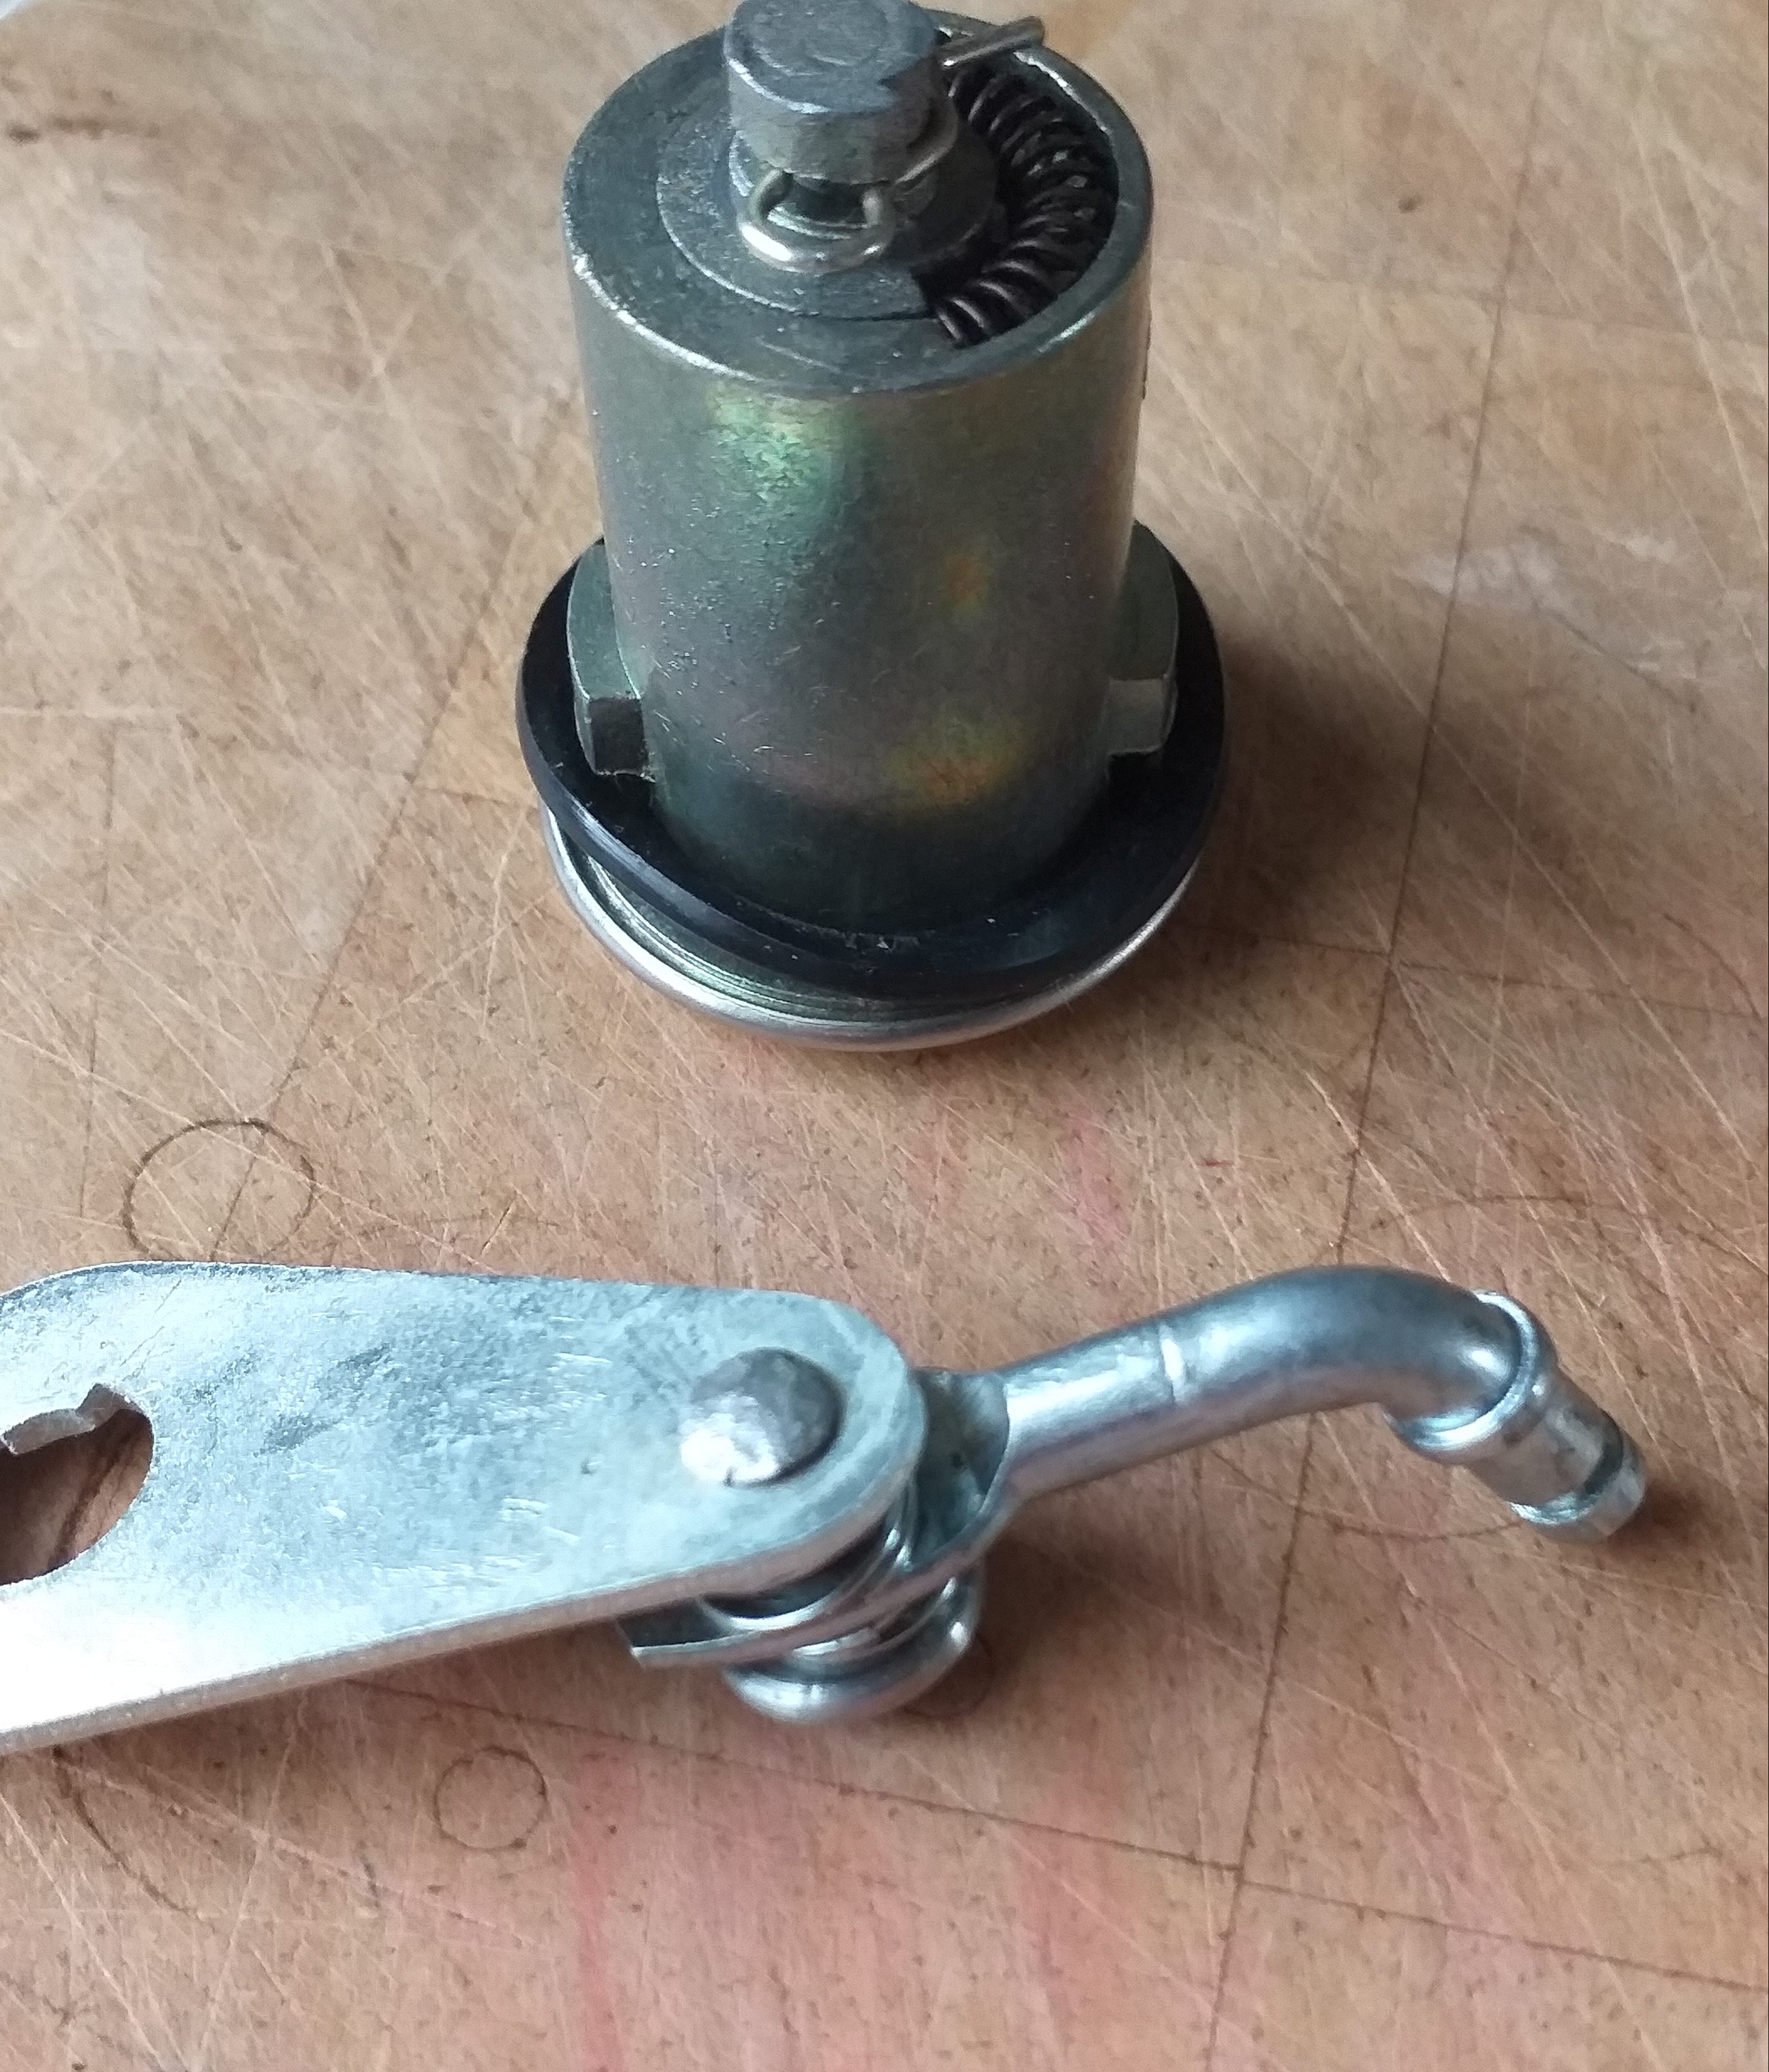
Another small job was modifying the left door lock. I have not been able to find a New Old Stock one, but I have a new, I think, Bluebird 411 one. But the the end lever that attached to the lock is wrong. The Bluebird has the end lever facing exterior of door, while CSP faces inner door, when fitted (see image below).
もう一つの小さな仕事は、左側のドアロックの修正でした。 New Old Stock は見つかりませんでしたが、おそらく新しい ブルーバード 411 を持っています。しかし、ロックに取り付けられているエンドレバーが間違っています。ブルーバードのエンドレバーはドアの外側を向きますが、CSP は取り付け時にドアの内側を向きます (下の画像を参照)。
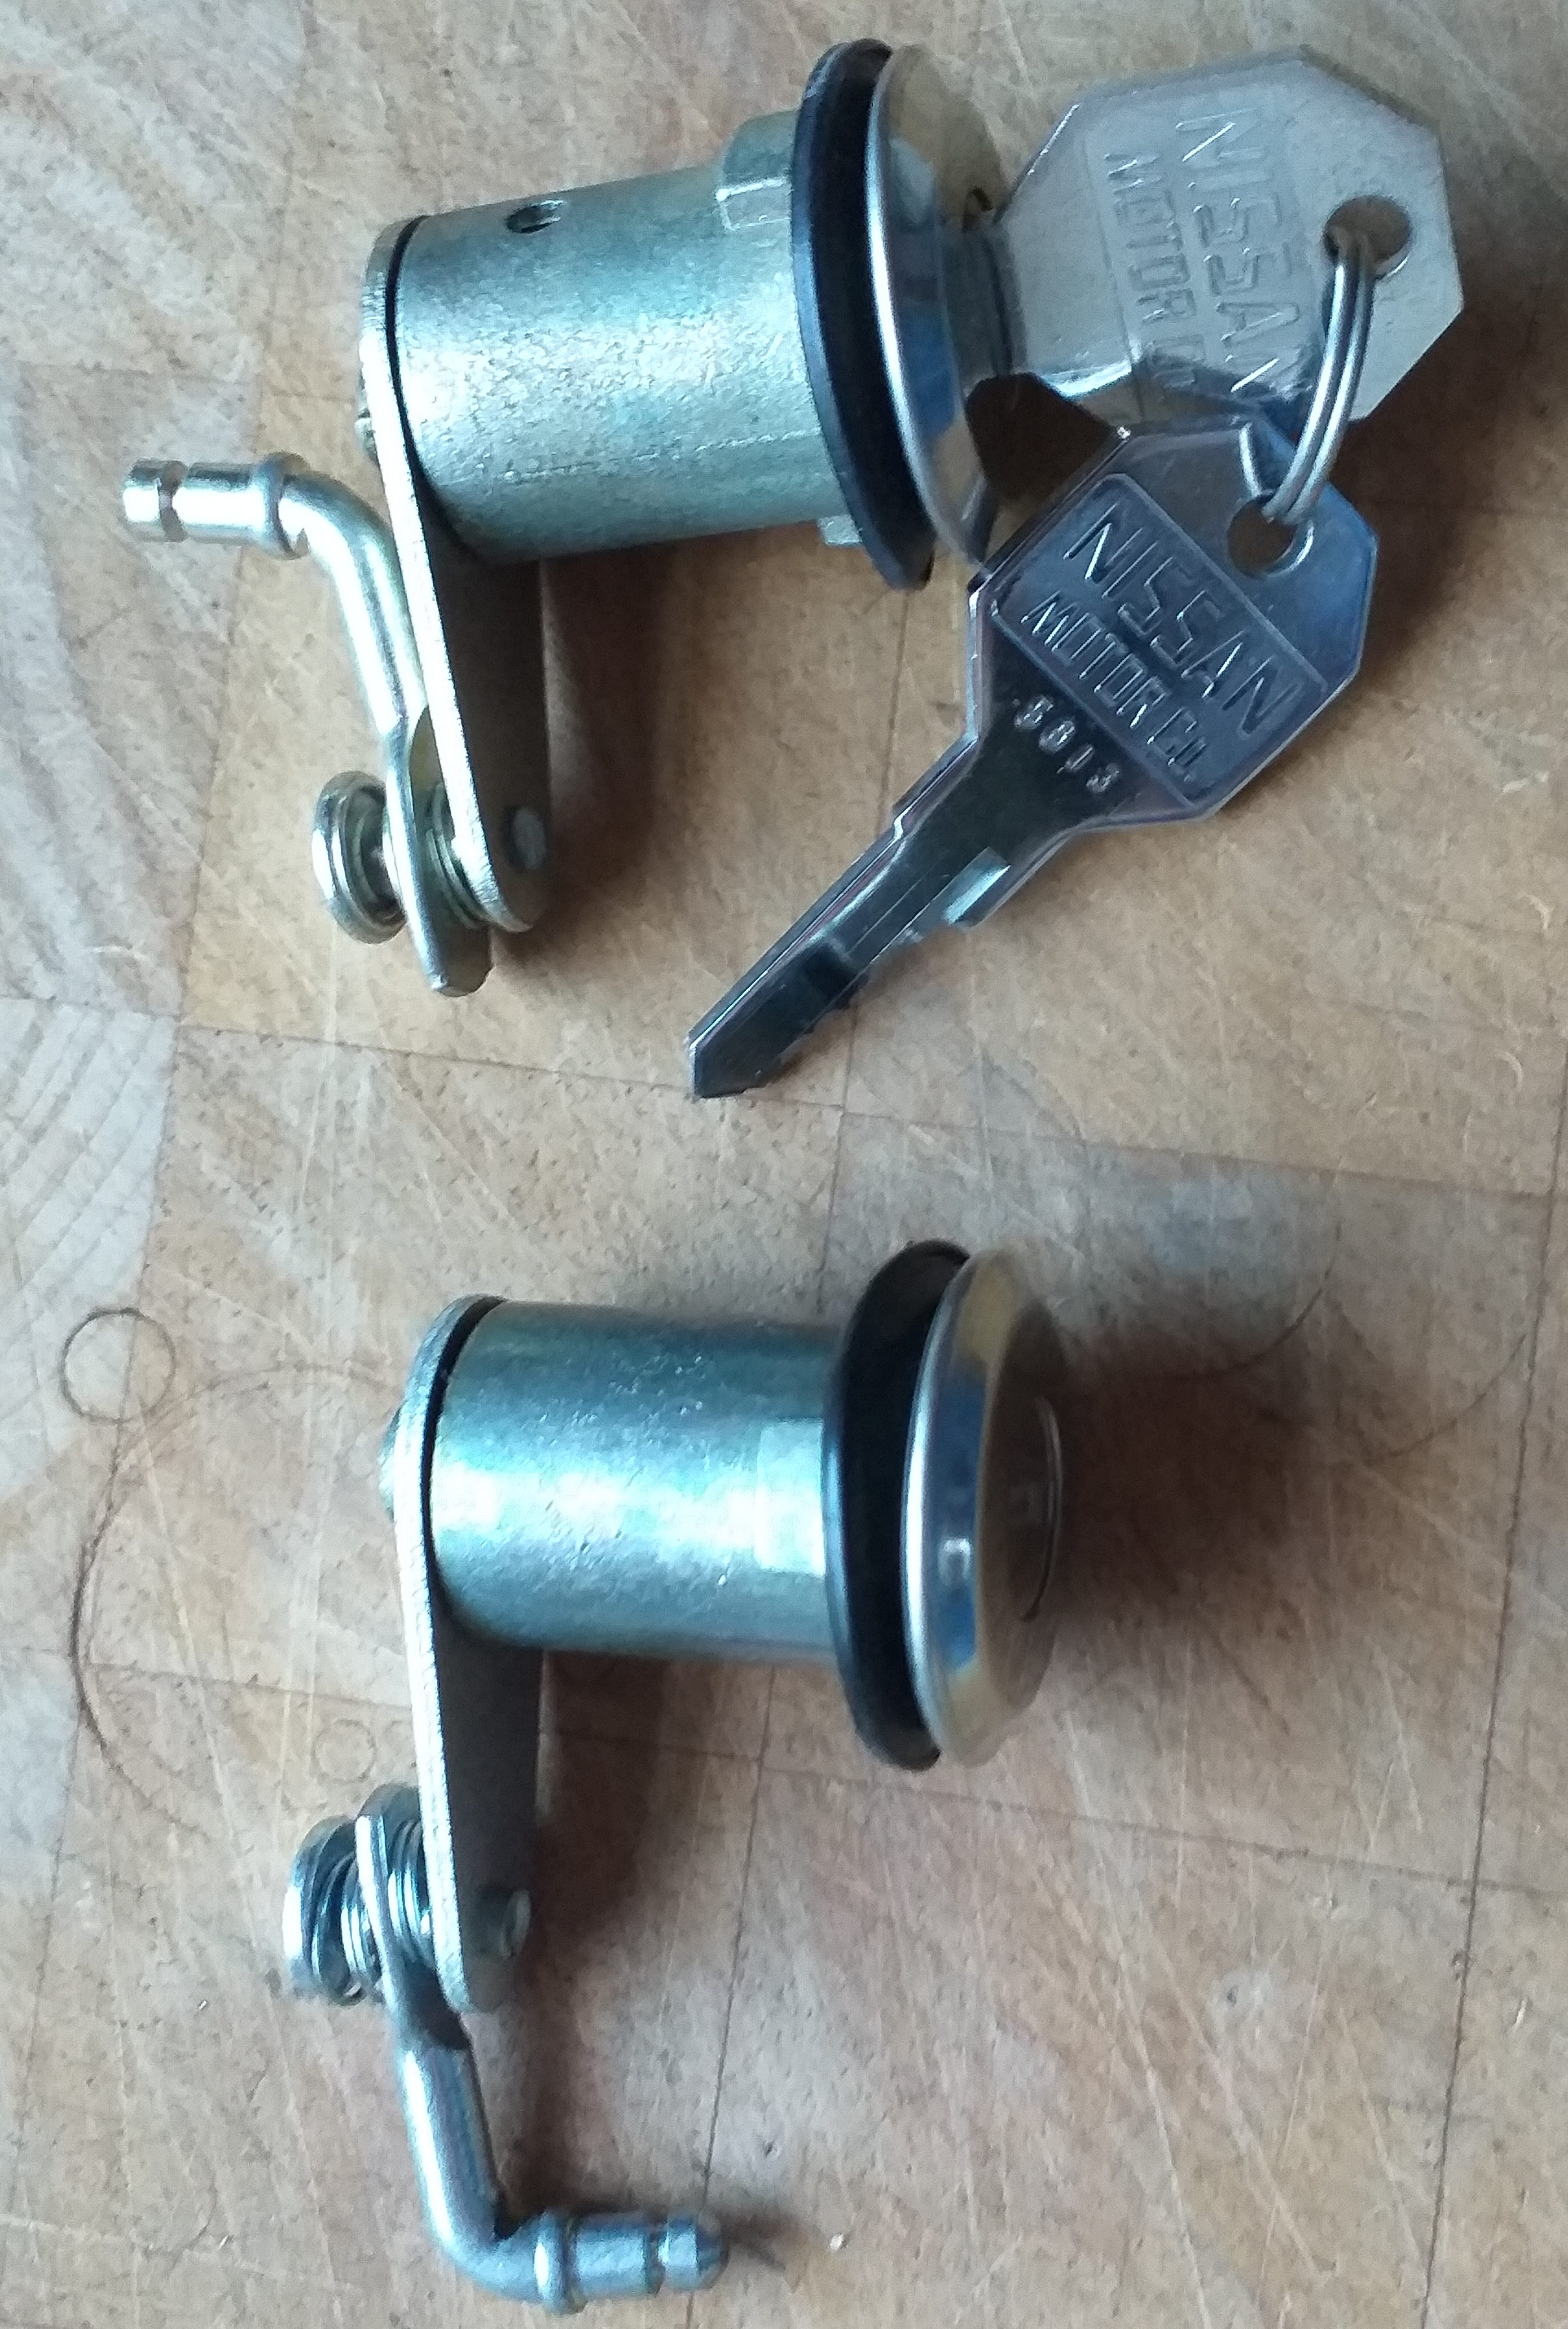
CSPロックトップ、ブルーバード411ボトム
Remove the rivet. リベットを外します。

The angle of the end lever is not correct.
エンドレバーの角度が合っていません。

CSPレバー右、ブルーバード、左。
End lever bent to copy CSP one.
CSPのものをコピーするためにエンドレバーを曲げました。

New rivet made on the lathe.
新品のリベットを旋盤で製作しました。

New rivet peened into position on the door lock pivot arm.
新しいリベットをドアロックピボットアームの所定の位置に打ち付けました。
ピーニングされたアーム固定リベット。機械加工されたリベット。
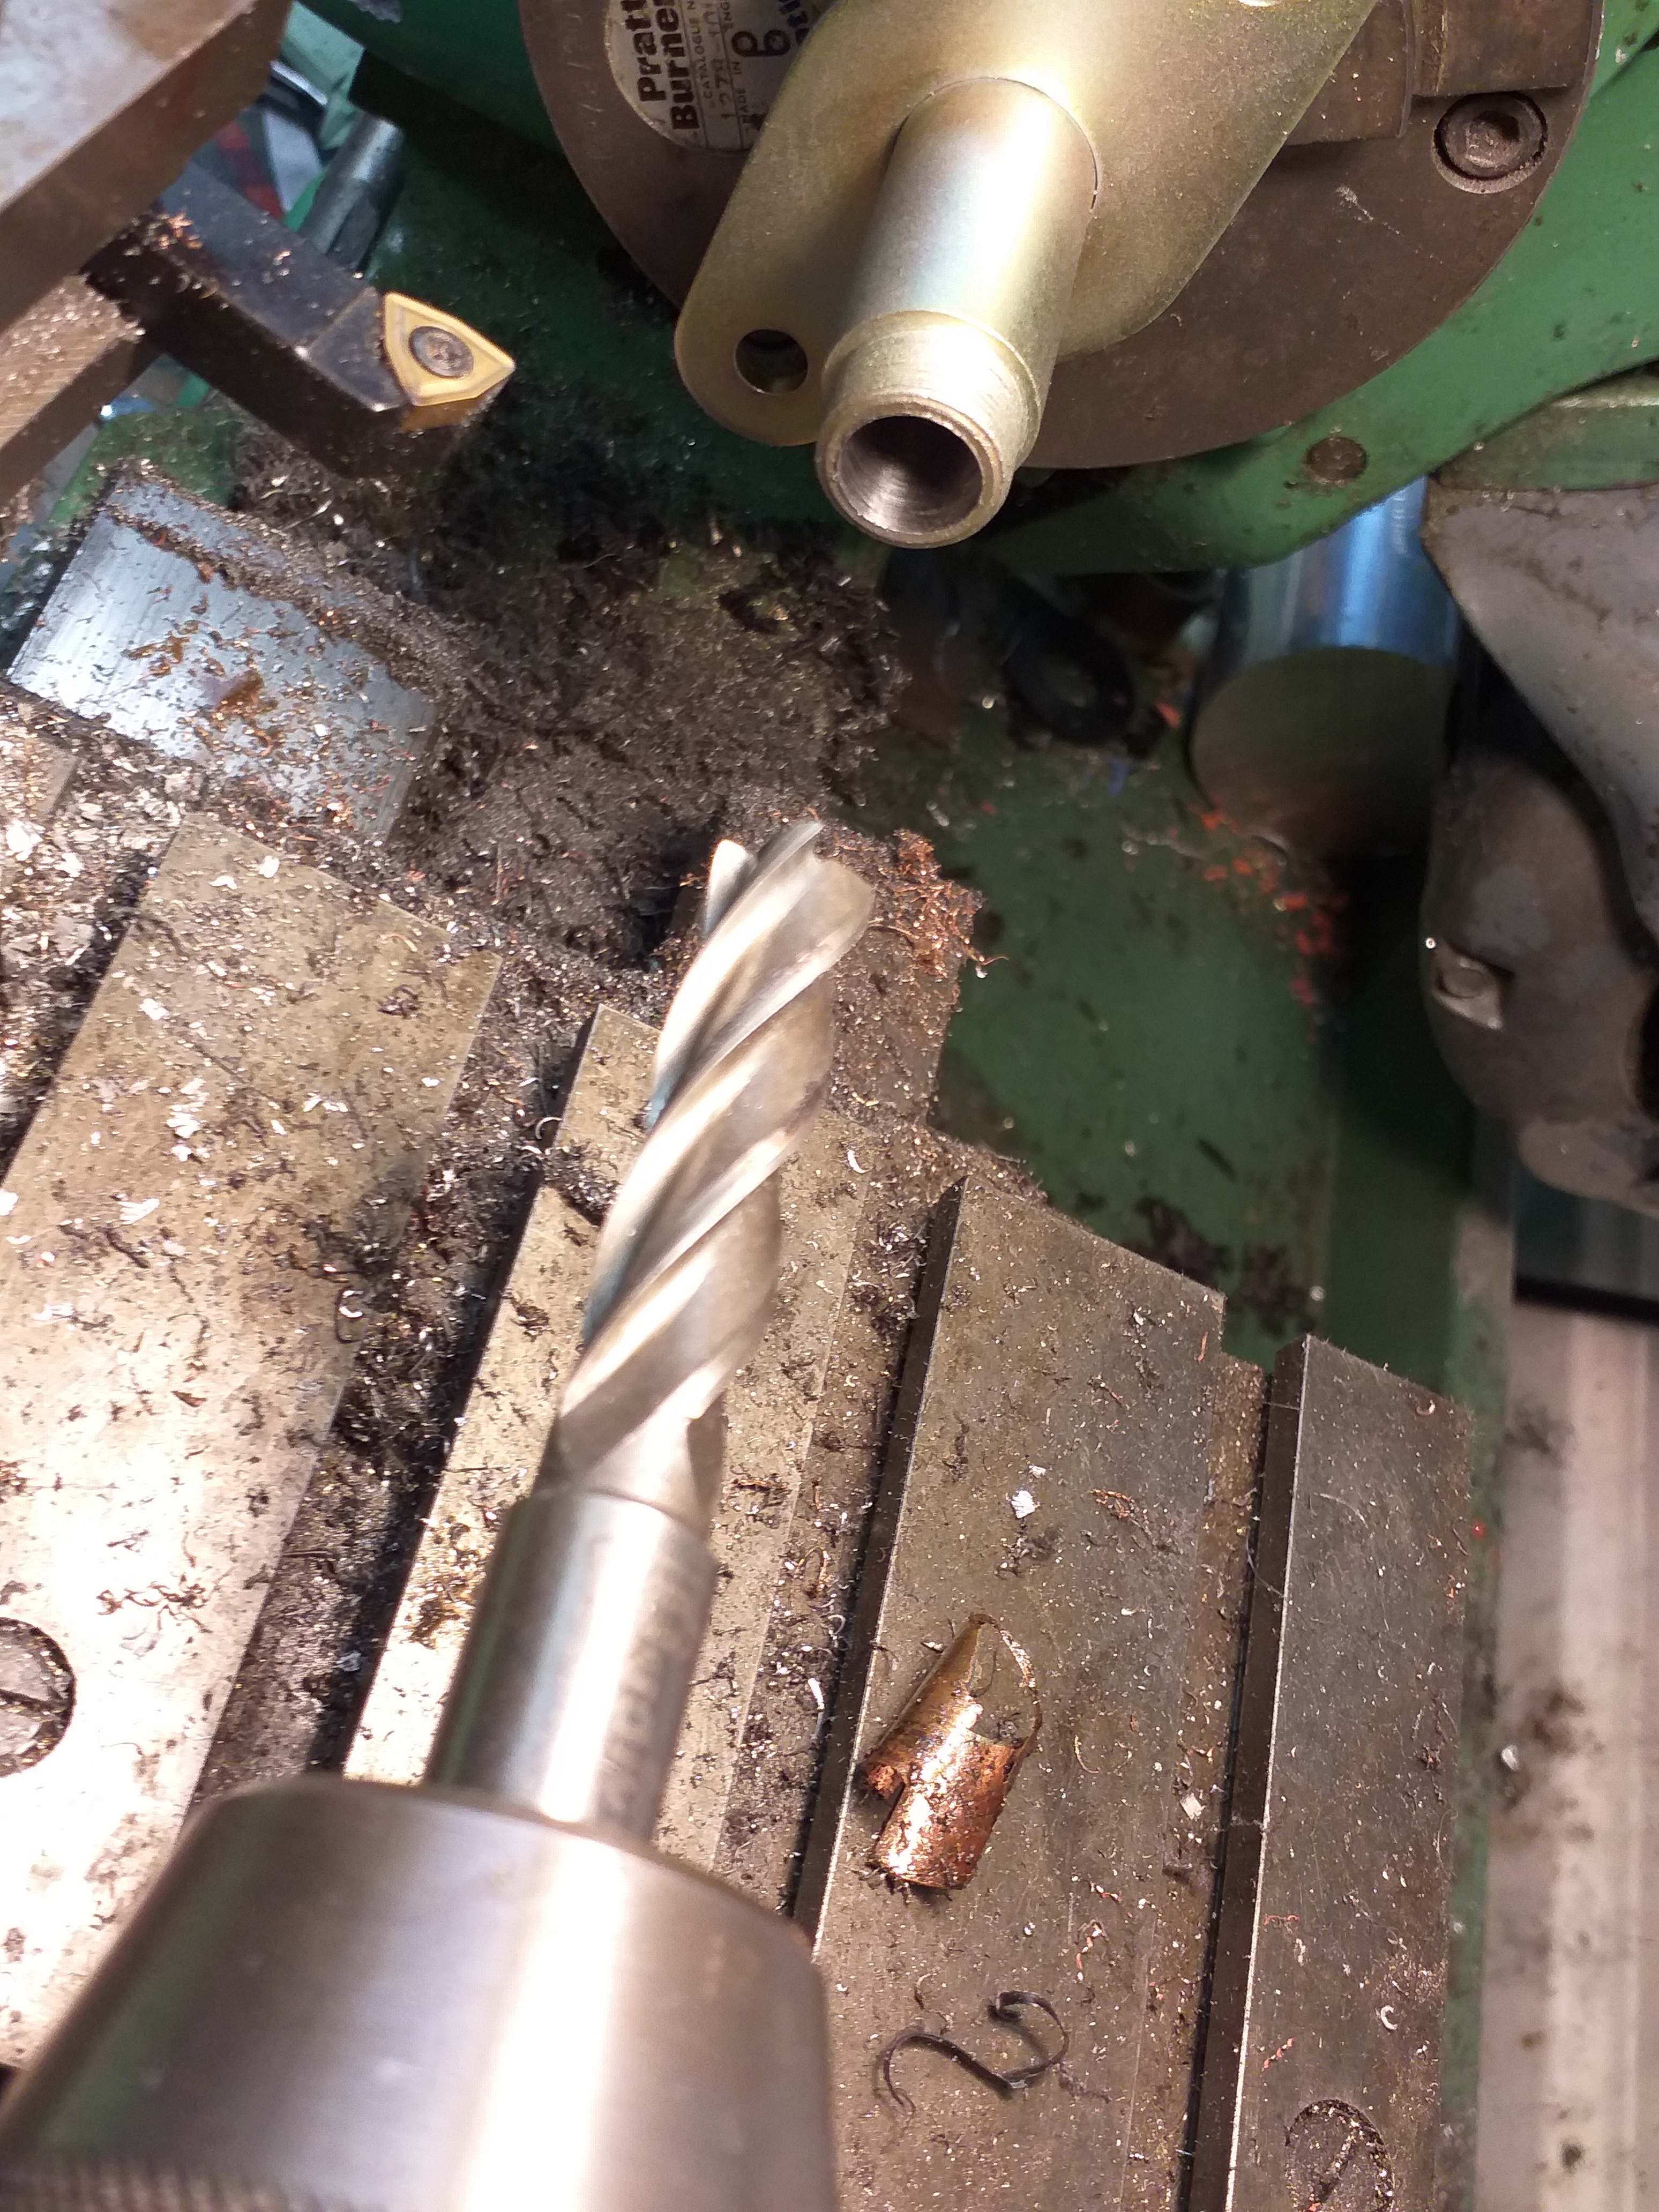
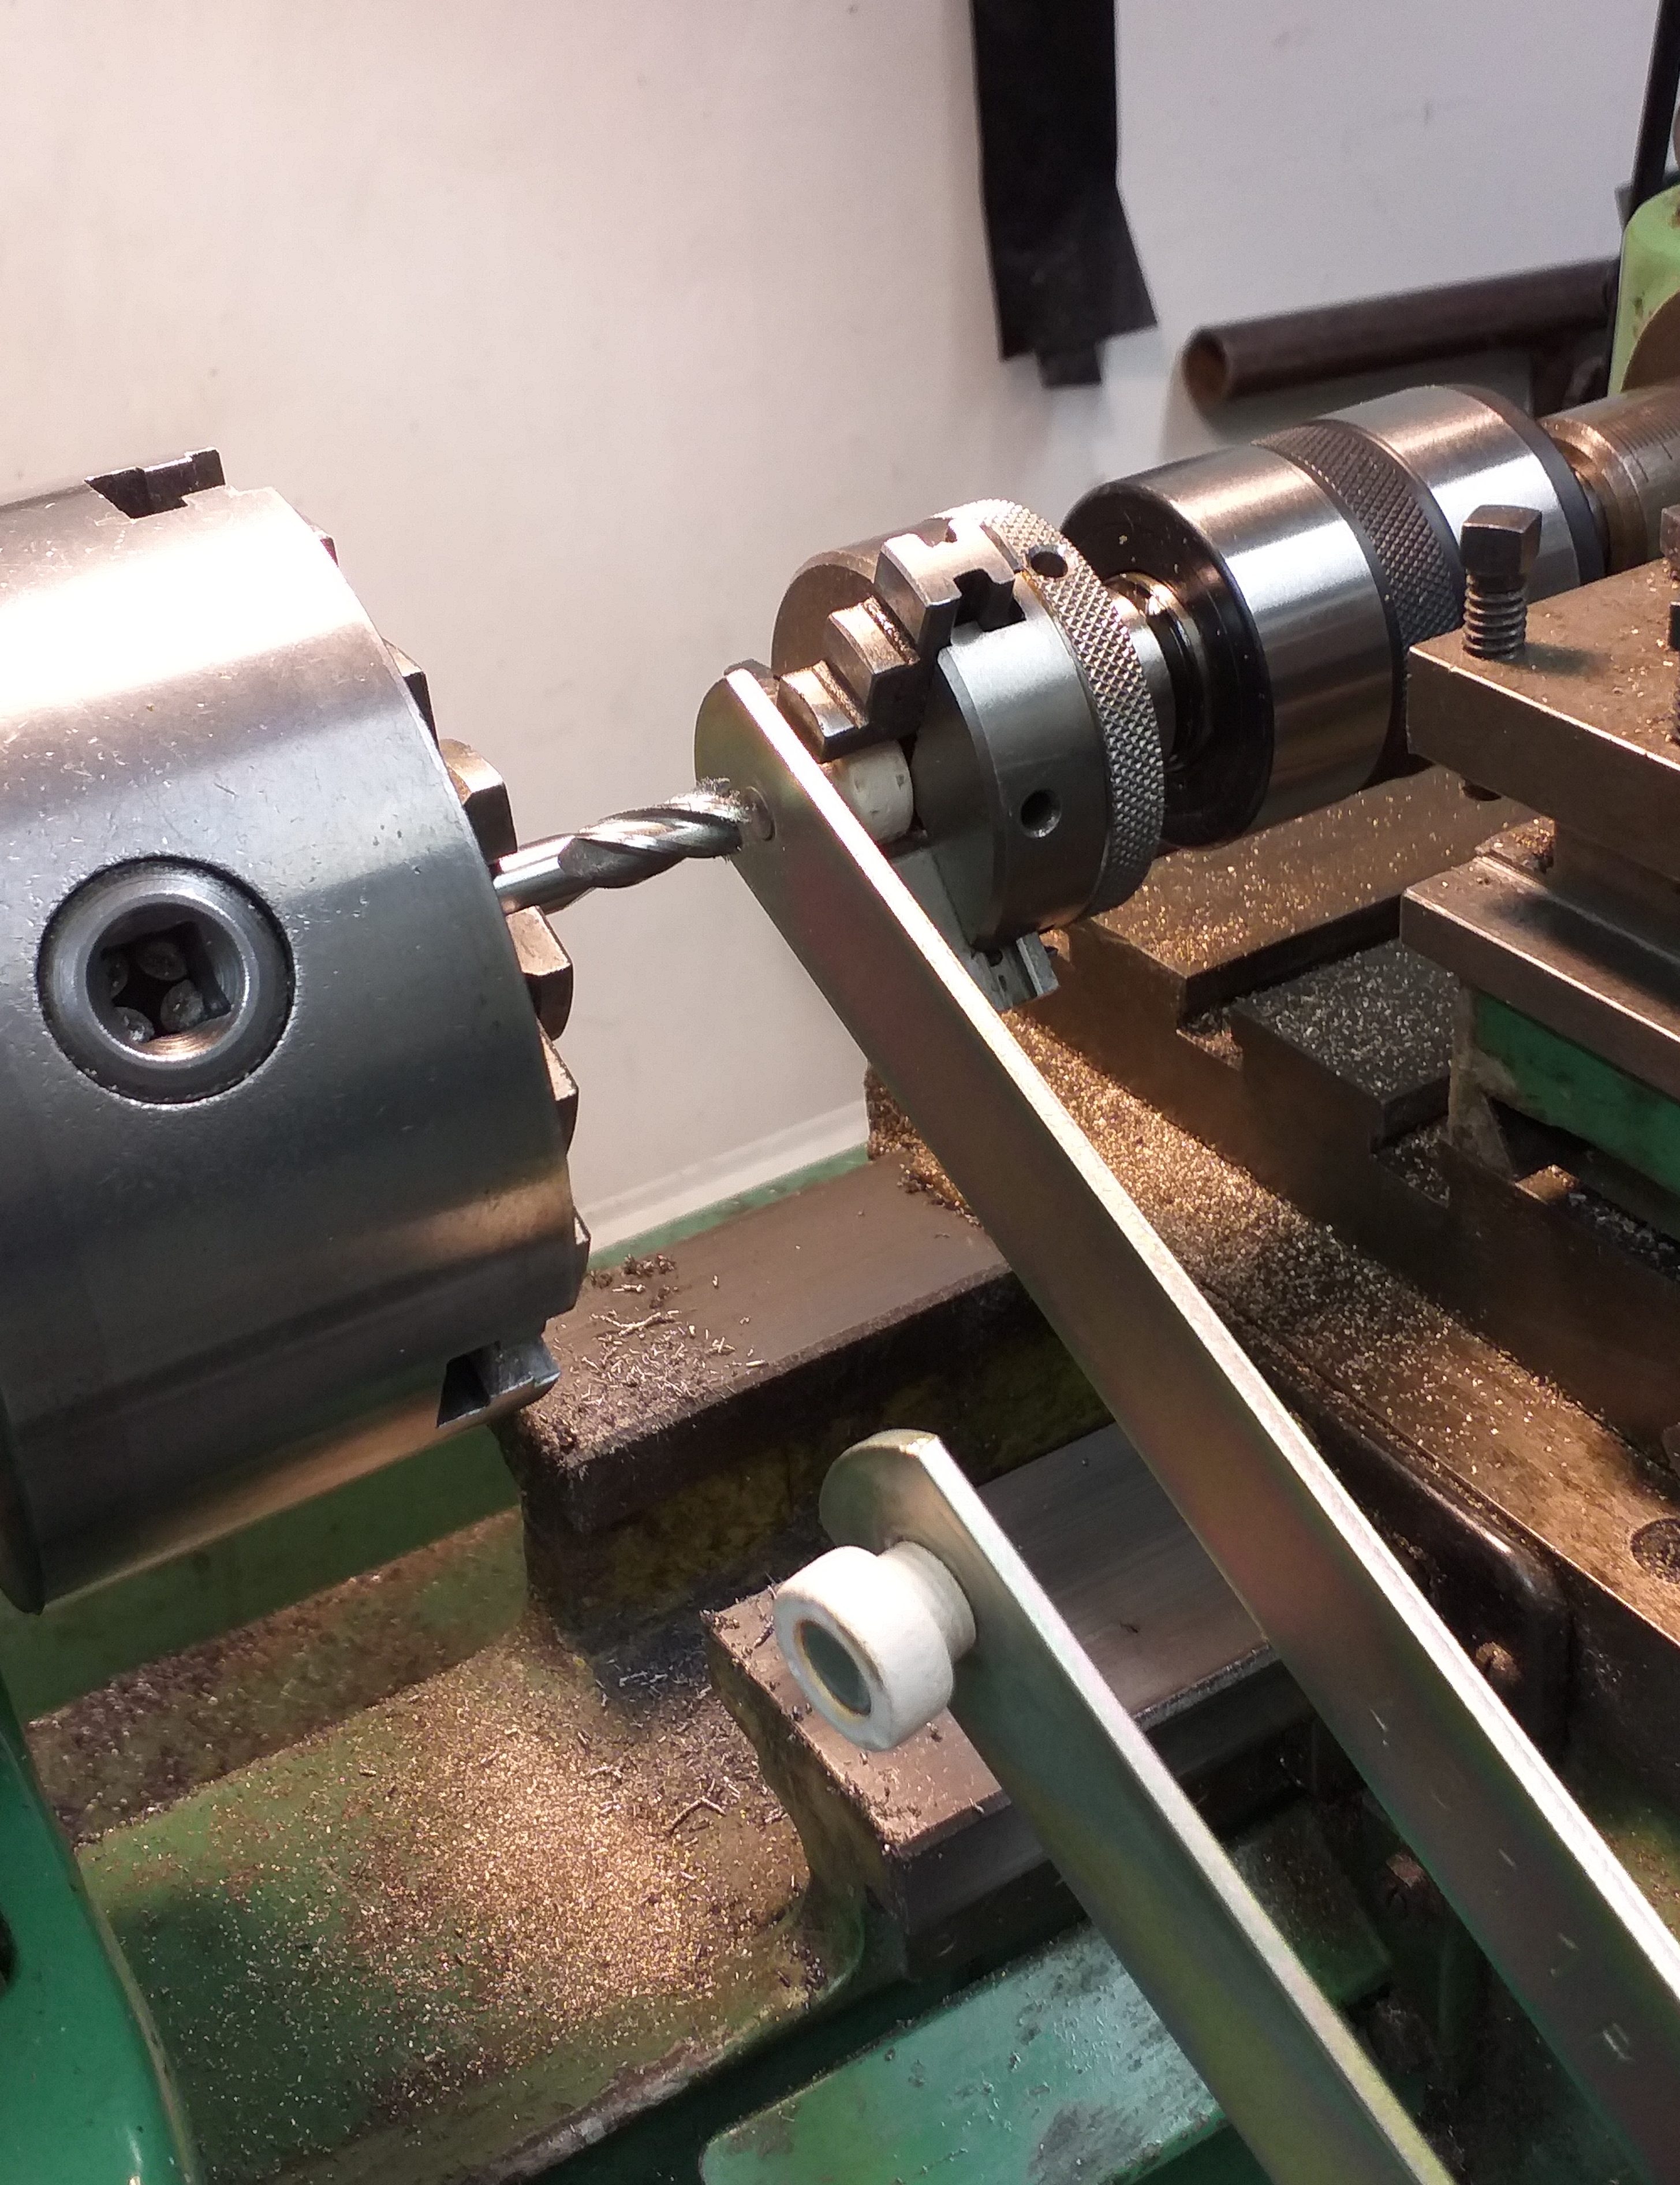
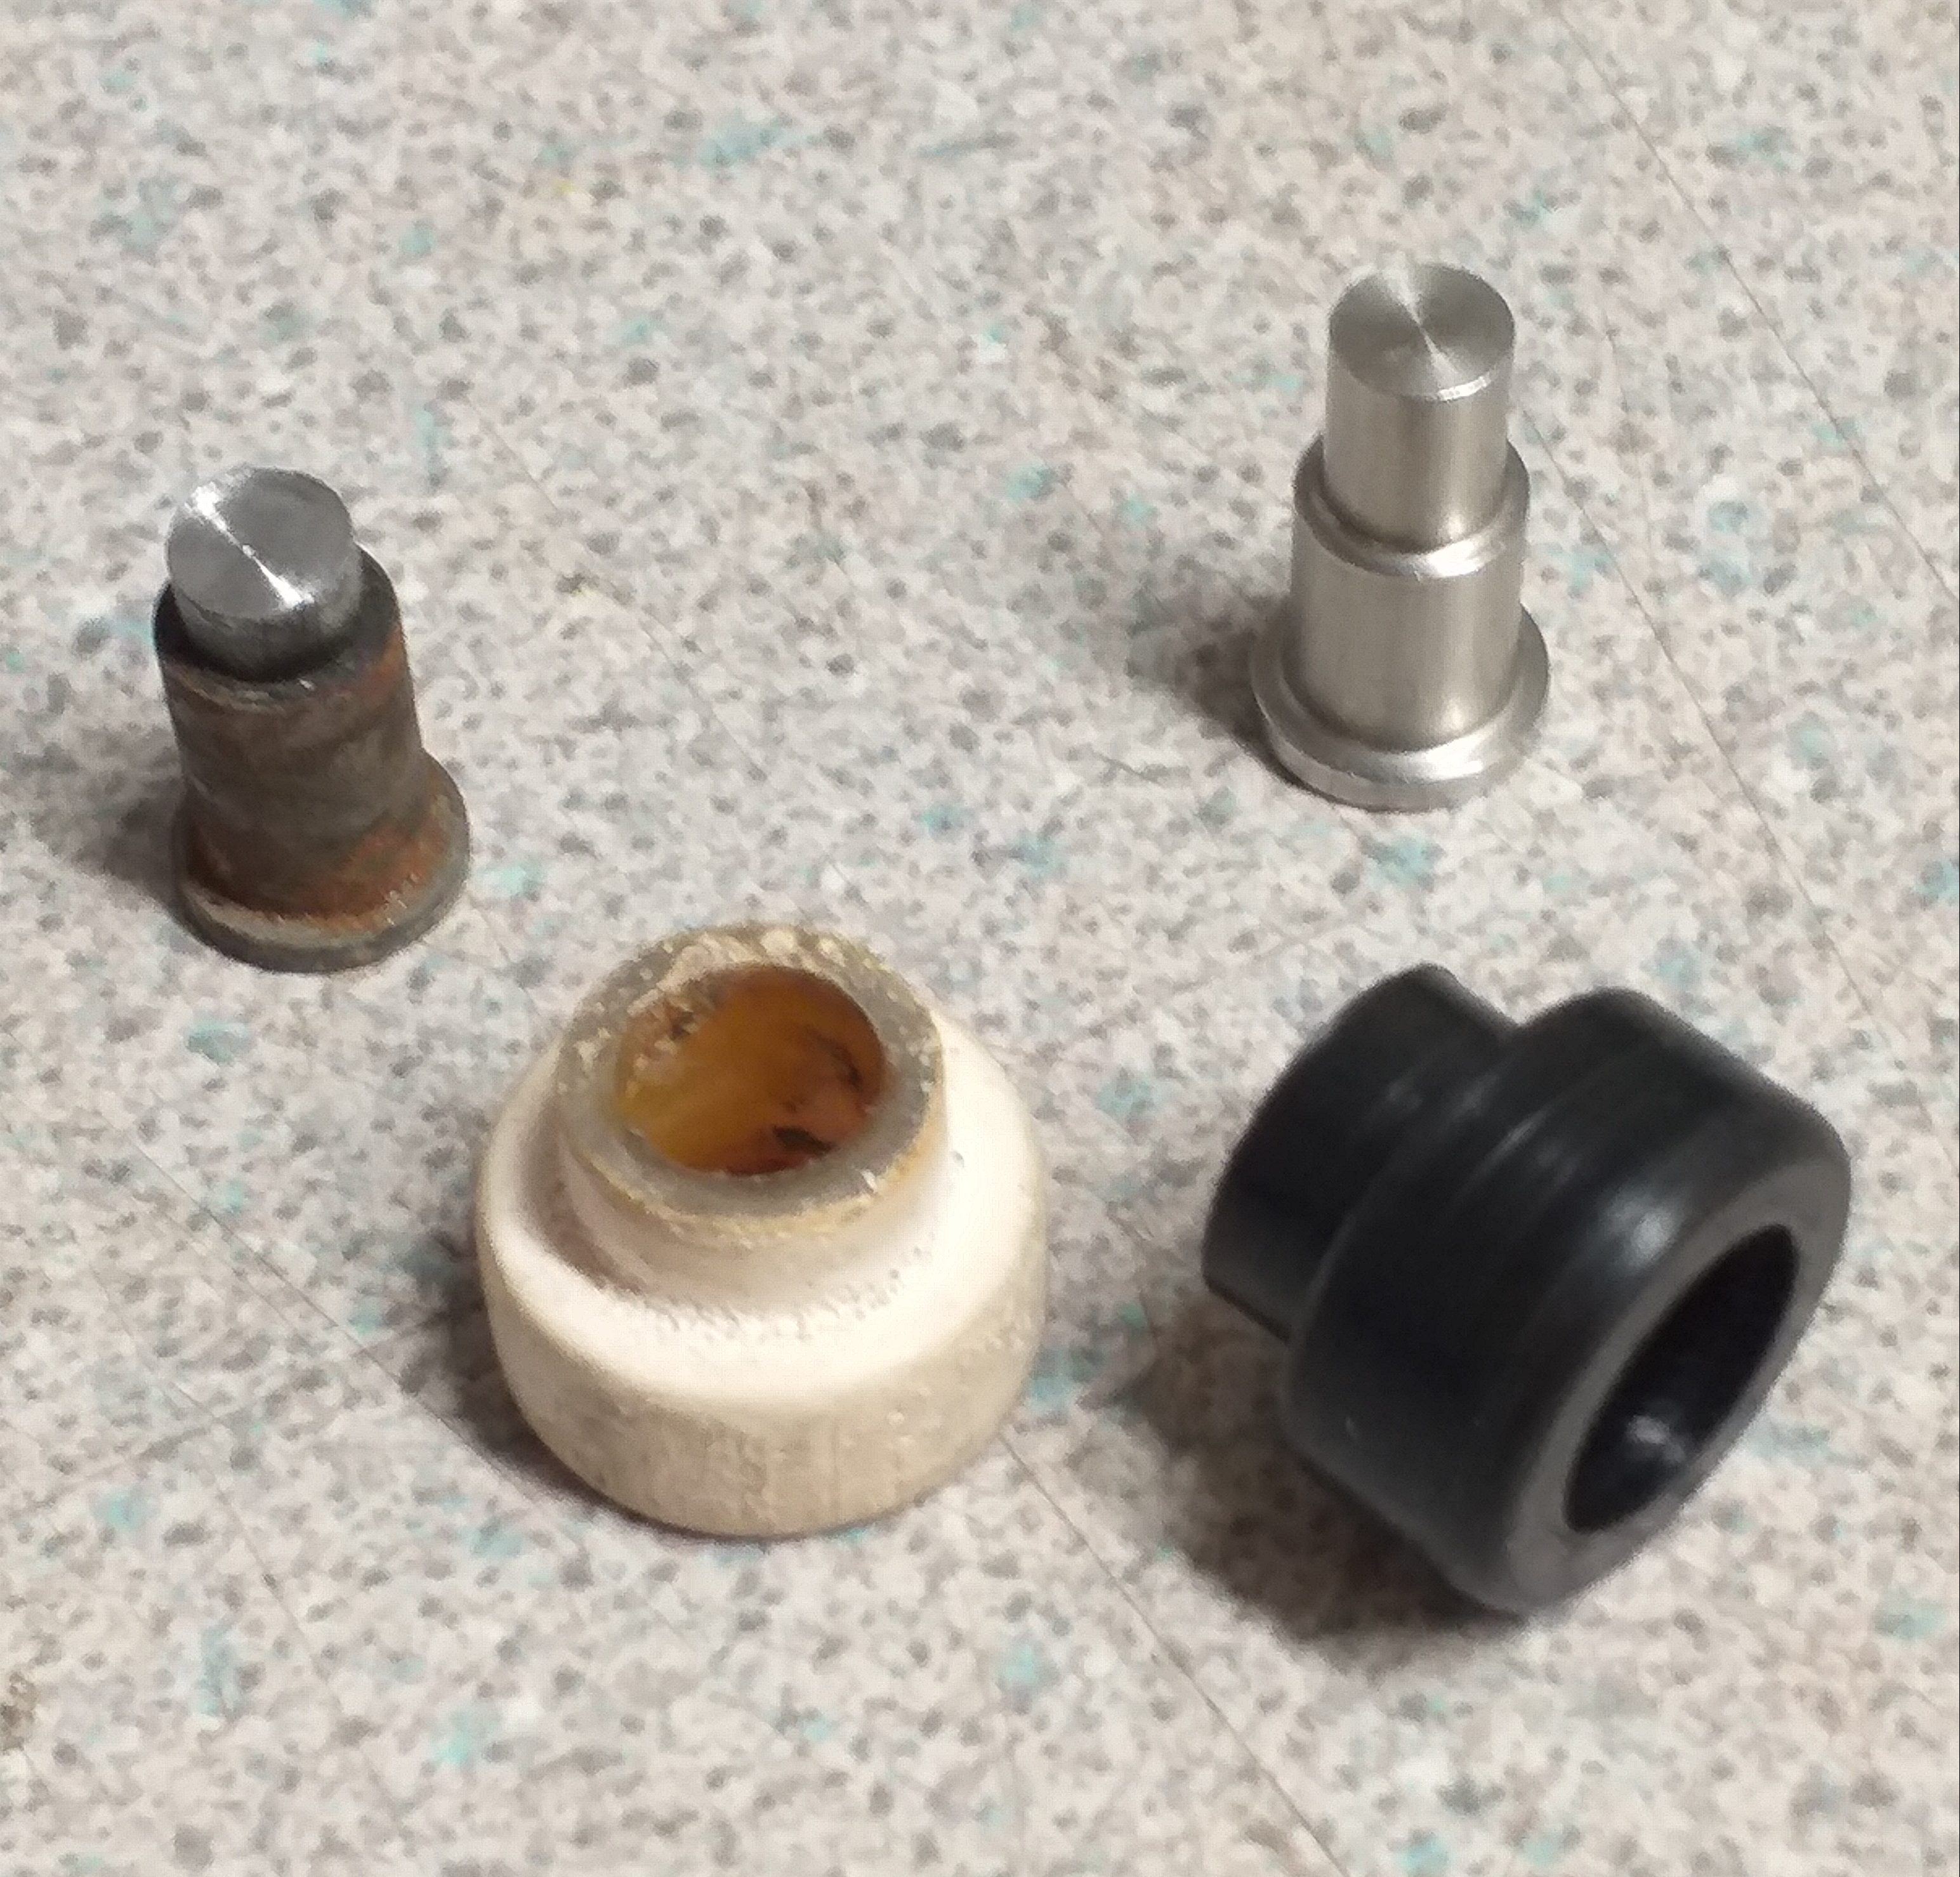
Another small job that I needed to do was repair the small wheels that run in a channel attached to the bottom of the door glass. The wheels of the window winders. The old ones were a little worn and did not move easily, some did not move at all. The wheel turns round a pressed in pivot. The wheel cannot be removed without destroying the pivot. Firstly, I decided to remove the pivots on my lathe. I could have drilled or angle grinded by hand, but I wanted a more controlled way of removing them.
私がやらなければならなかったもう一つの小さな仕事は、ドアガラスの下部に取り付けられた溝の中を動く小さな車輪、つまり窓の巻き上げ機の車輪を修理することでした。古いものは少し摩耗していて、簡単に動かず、中には全く動かないものもありました。ホイールは押し込まれたピボットを中心に回転します。ホイールを取り外すには、ピボットを破壊しなければなりません。まず、旋盤でピボットを取り外すことにしました。手で穴を開けたり、アングルグラインディングしたりすることもできましたが、もっと制御された方法で取り外す必要がありました。
Here is a removed old wheel. You can see the dirt and rust.
こちらは取り外した古いホイールです。汚れやサビが見られます。


A while ago, I came across someone making replacement window winder wheels and pivots for the S30. So, I brought some, knowing the wheel was wrong, but could I use the pivots.
少し前に、S30 用の交換用ウィンドウ ワインダー ホイールとピボットを作っている人に出会いました。ホイールが間違っていることは承知で、いくつか購入しましたが、ピボットは使用できますか。

The pivots are the same diameter, but a little different in depth. I could have used the old wheels, but they required drilling out a little. I was unsure the old plastic would machine well. So, I decided to make some new wheels from nylon.
ピボットの直径は同じですが、深さが少し異なります。古いホイールを使用することもできましたが、少し穴を開ける必要がありました。古いプラスチックがうまく機械加工できるかどうかはわかりませんでした。そこで、ナイロン製の新しいホイールを作ることにしました。
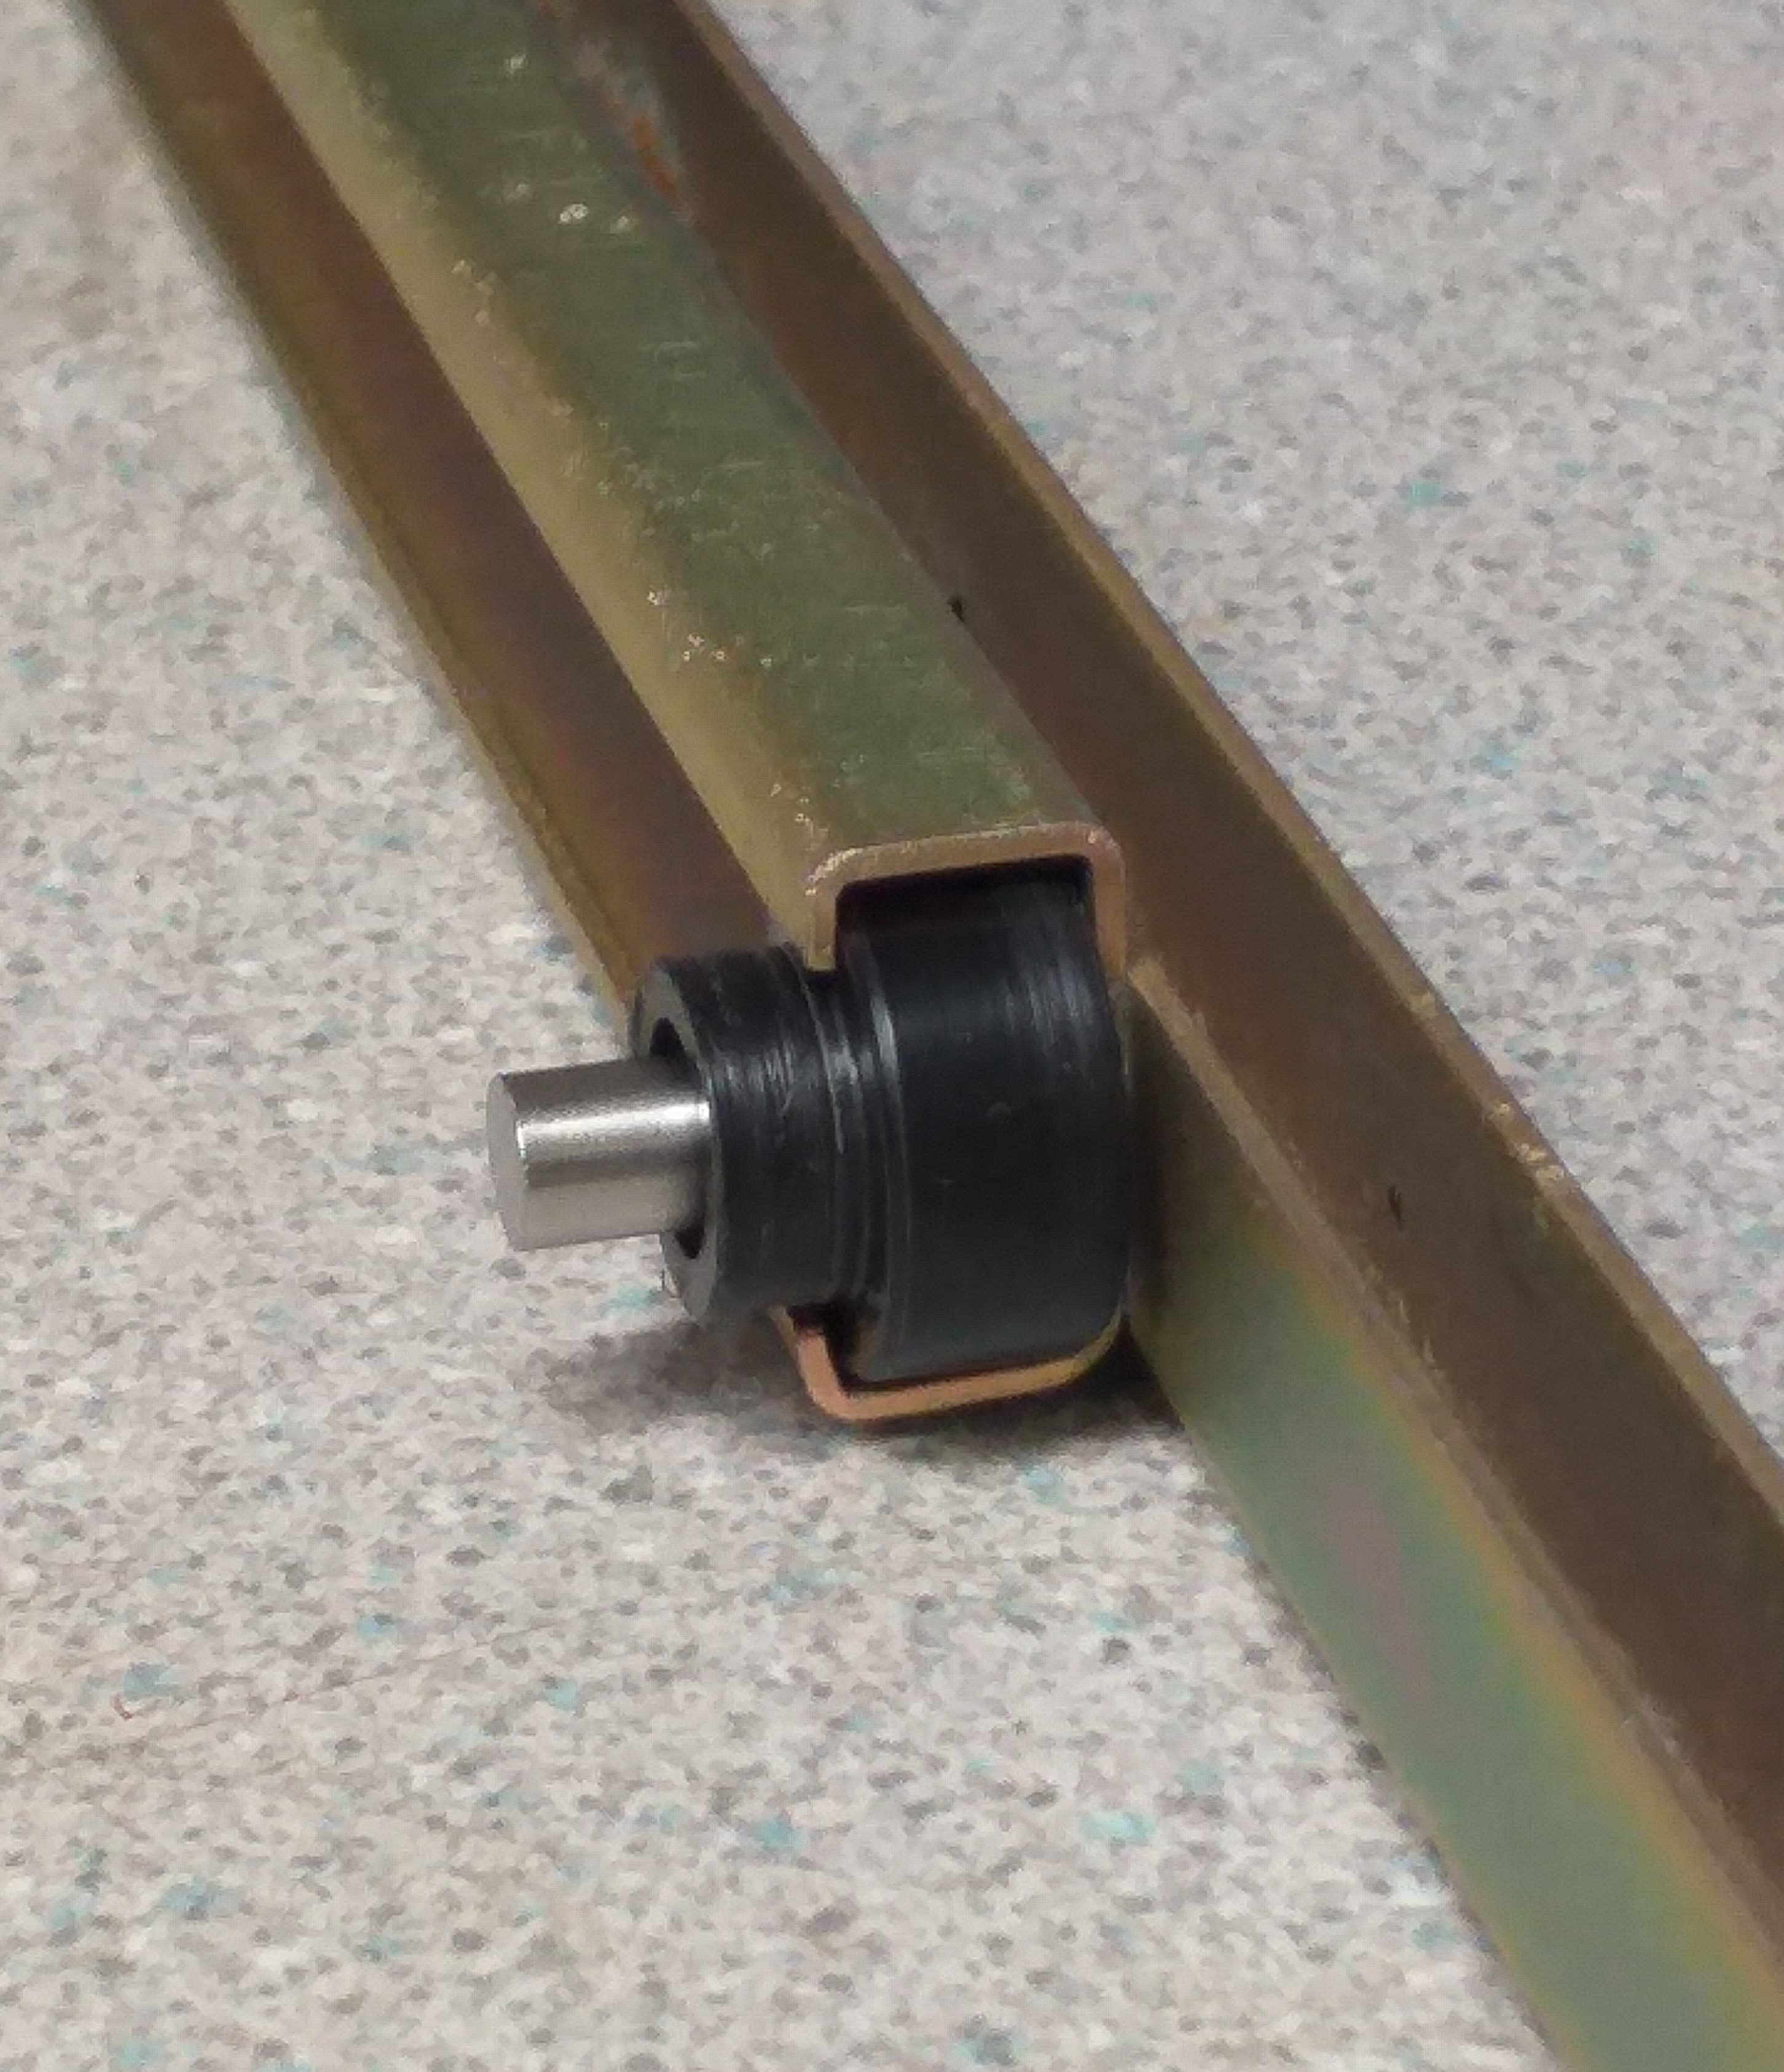
Fitting nicely in the runner that is ixed to the bottom of the window glass.
窓ガラスの下部に固定されたランナーにぴったり収まります。
Lastly, the pivot requires peened over to hold in place. The pivot is stainless steel whilst the old ones were mild steel. The end of the pivot is a little long, and I could have machined the pivot down a little. But, I decided to protect the arm of the window winder with a steel washer, and thus the pivot nearing final peening, stil required to be proud of the protective washer.
最後に、ピボットを所定の位置に保持するために、ピーニングする必要があります。ピボットはステンレス鋼ですが、古いものは軟鋼でした。ピボットの端が少し長いので、ピボットを少し加工してもよかったかもしれません。しかし、私はウィンドウワインダーのアームを鋼のワッシャーで保護することにしたので、最終的なピーニングに近づいているピボットは、保護ワッシャーから突き出ている必要があります。

The finished wheel. 完成したホイール。

