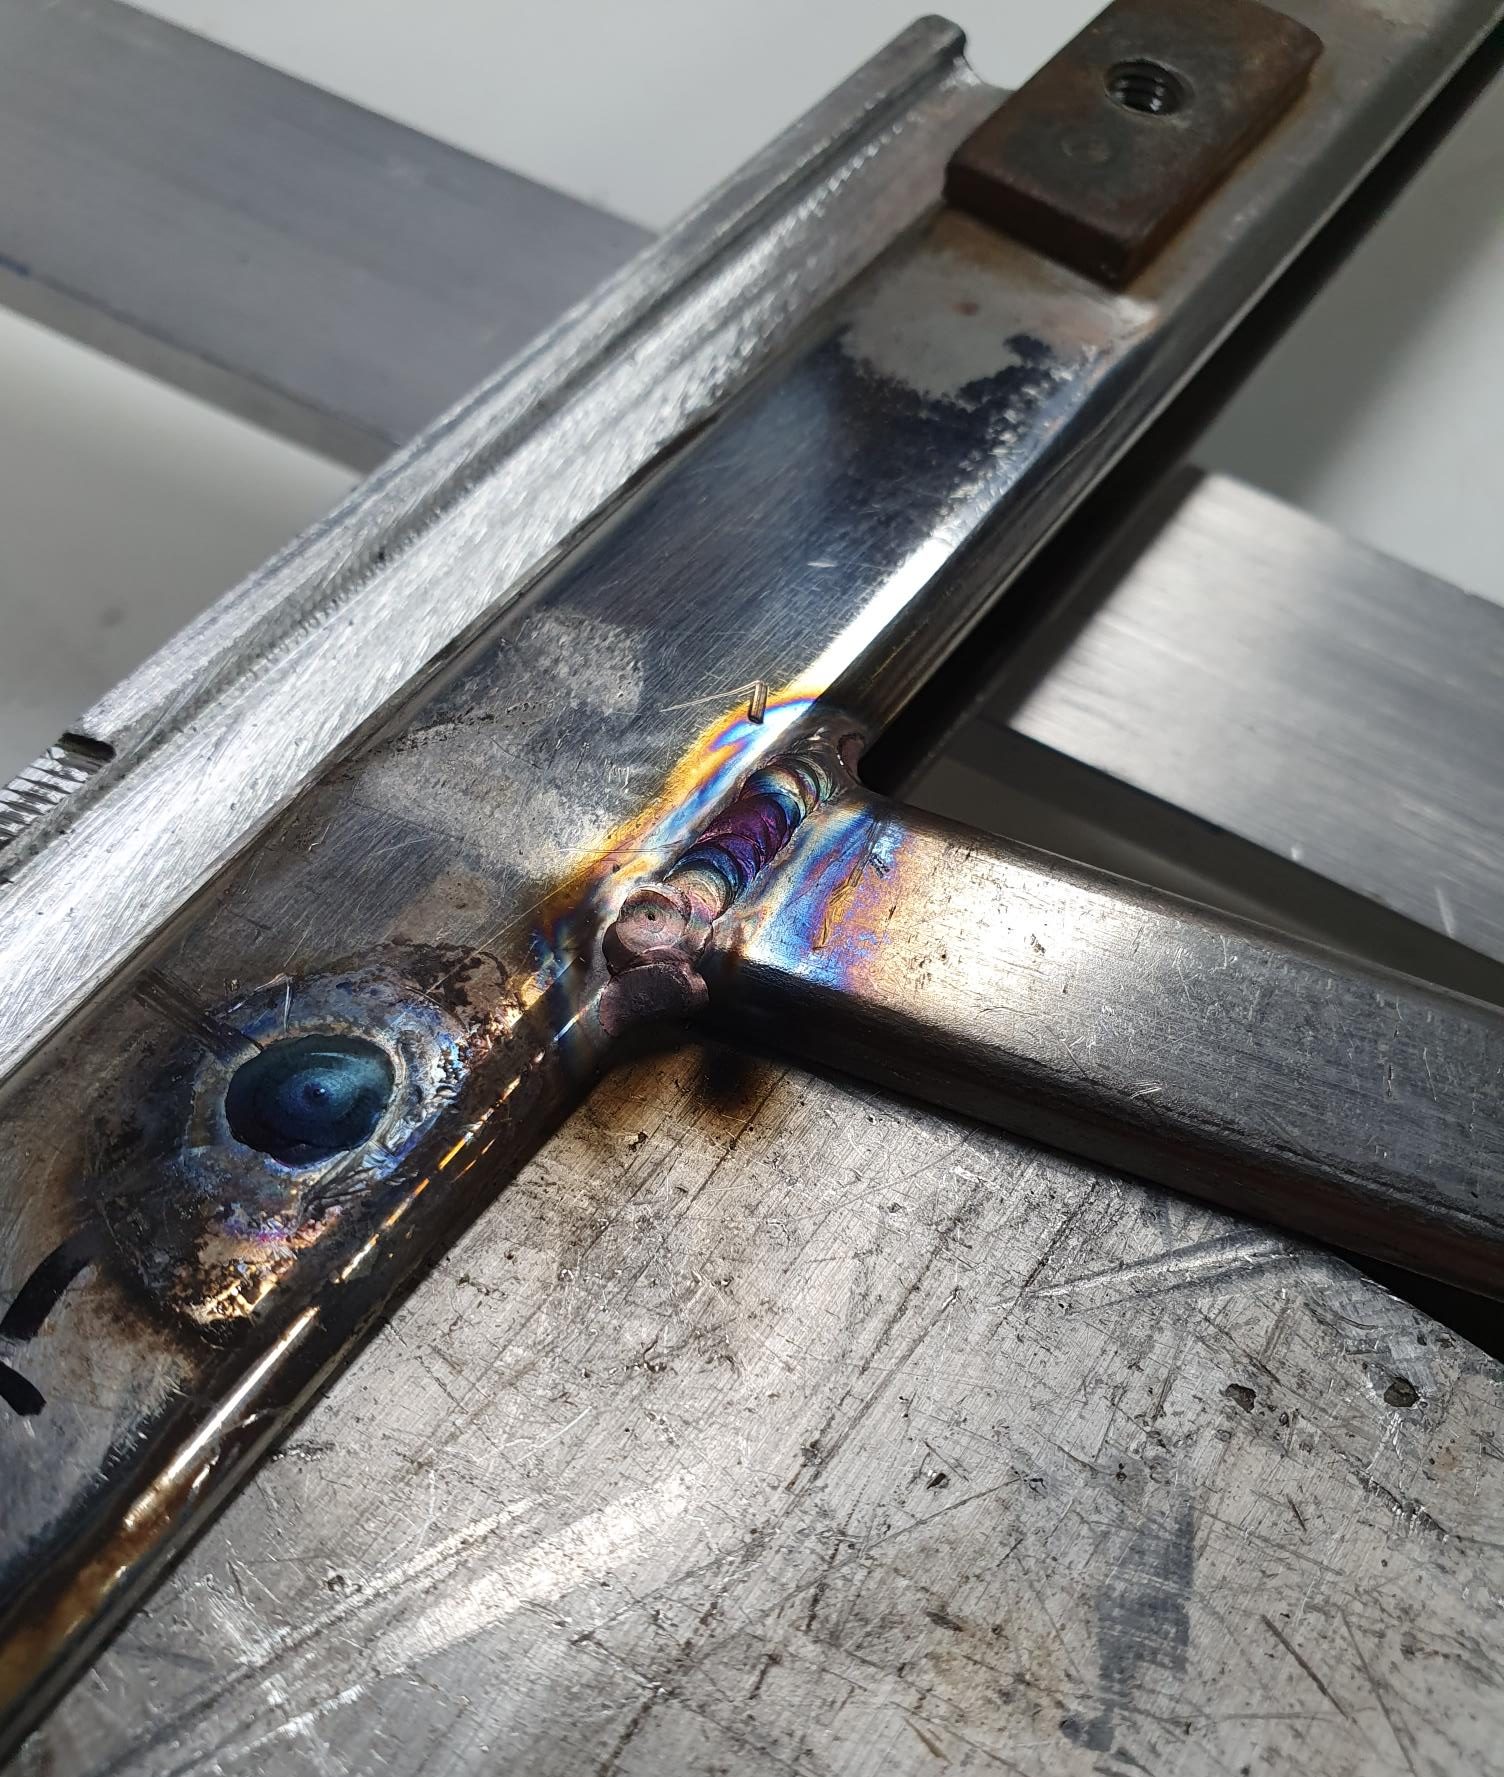
One of the subtle modifications I want to do with my Silvia restoration, is with the door window frame. As from factory the outer length is one piece, with a vertical added to form the front runner for the door glass and the back of the 1/4 window. The vertical length is welded on with brackets in the channel of the frame. This vertical channel is slightly a different cross section, and it would look so much better if the whole door window frame was 1 piece. So, that is what I have had done, the gaps left by the original set-up are now welded up. Picture below shows the door frame braced as the welder was worried about the frame twisting from the weld heat. Also, he used blocks of aluminium to help transfer the heat away.
シルビアのレストアで私が行いたい微妙な変更の 1 つは、ドア ウィンドウ フレームです。工場出荷時は、外側の長さは 1 つのピースで、ドア ガラスのフロント ランナーと 1/4 ウィンドウの背面を形成するために垂直が追加されています。垂直の長さは、フレームのチャネルにブラケットを使用して溶接されています。この垂直チャネルは断面がわずかに異なるため、ドア ウィンドウ フレーム全体が 1 つのピースであれば見栄えがはるかに良くなります。そのため、私はそれを実行し、元のセットアップによって残された隙間を溶接しました。下の写真は、溶接工が溶接の熱でフレームがねじれることを心配したため、ドア フレームが補強された状態を示しています。また、熱を逃がすためにアルミ ブロックを使用しました。
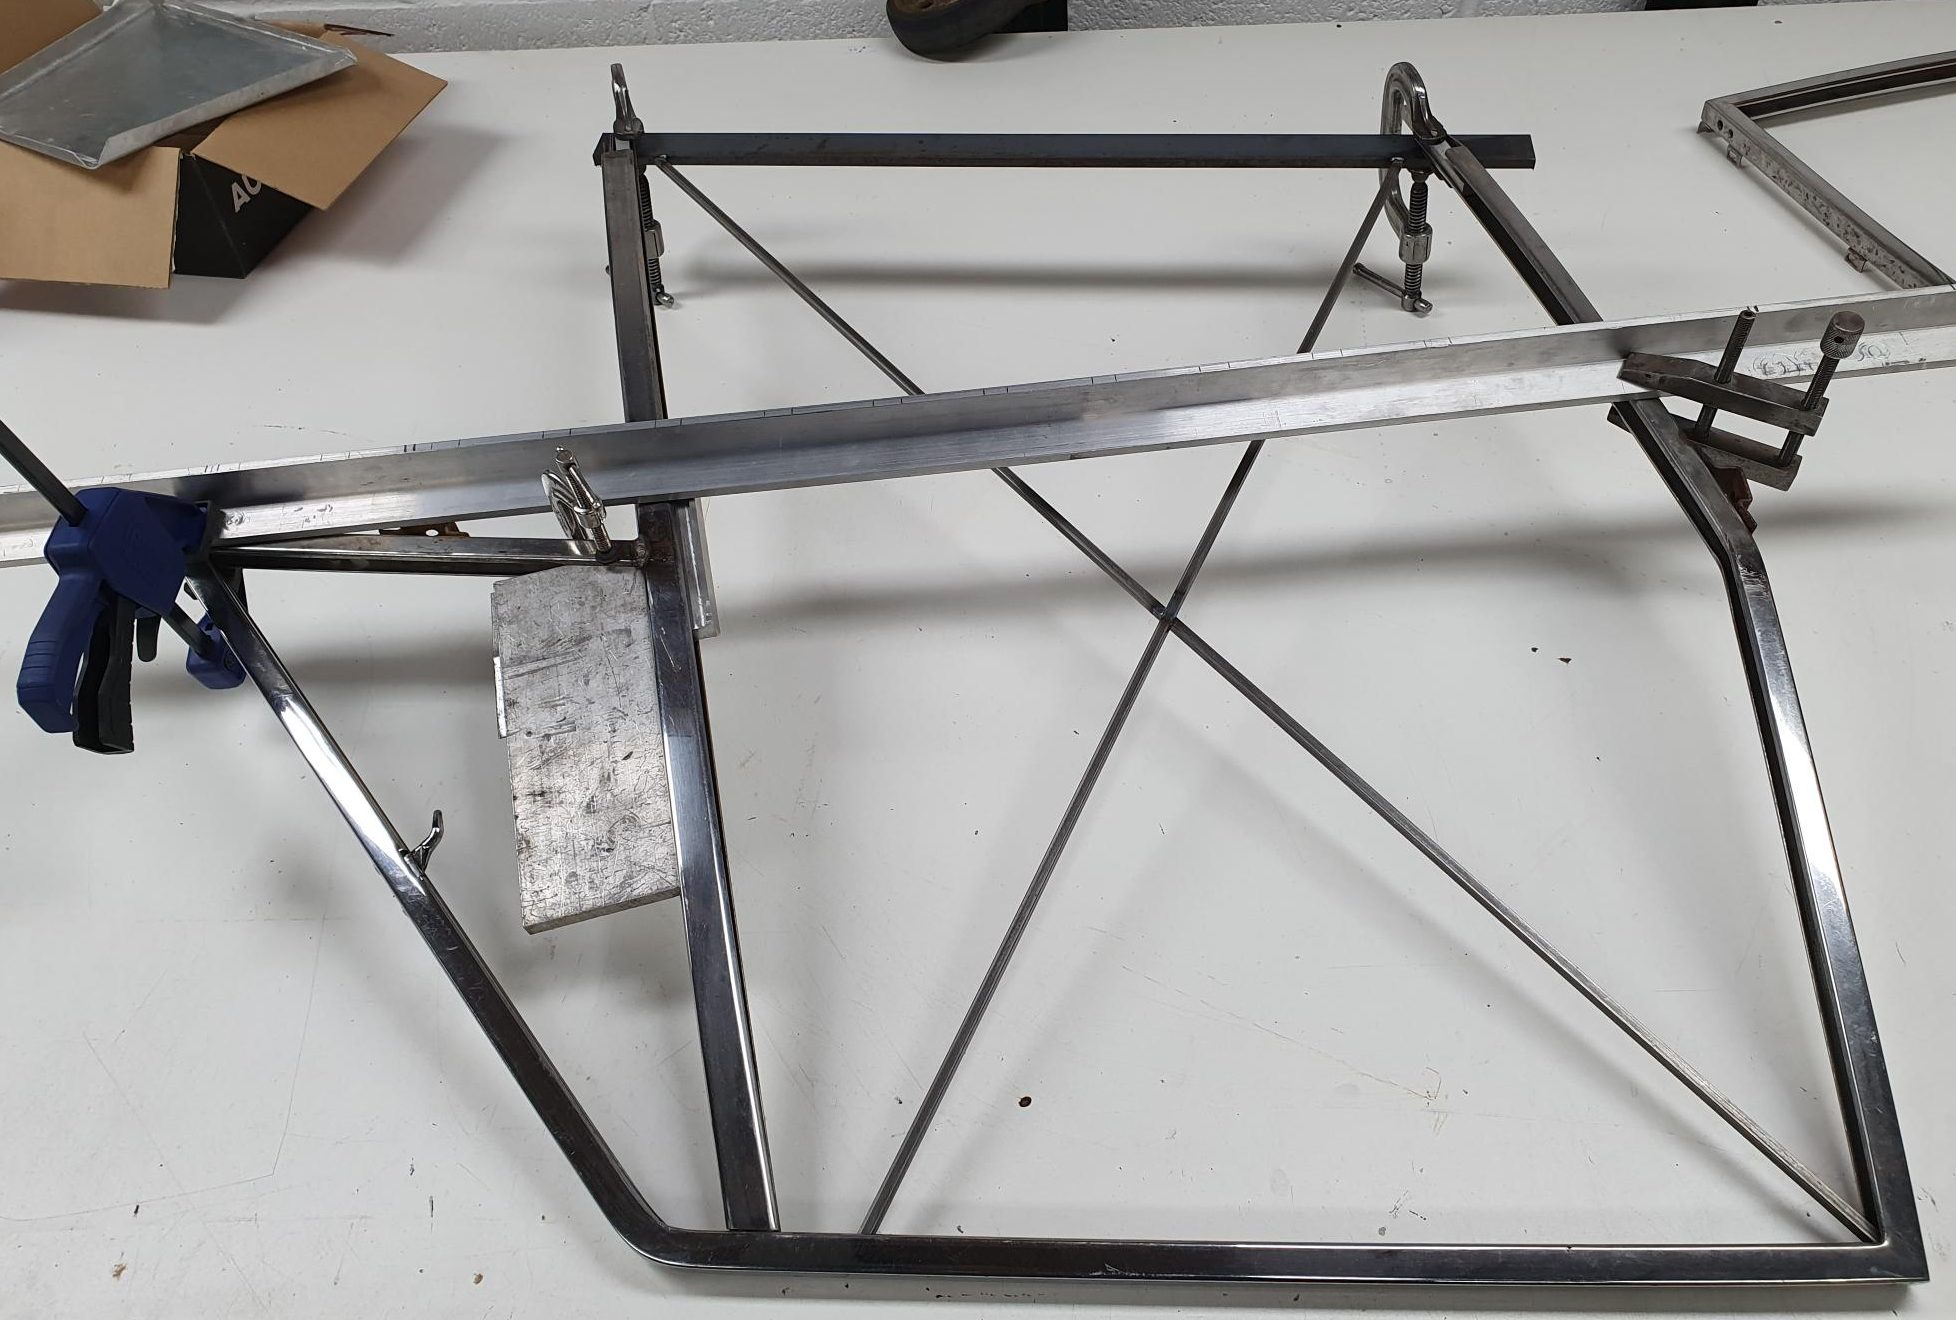
Gaps welded. 隙間を溶接して埋めました。
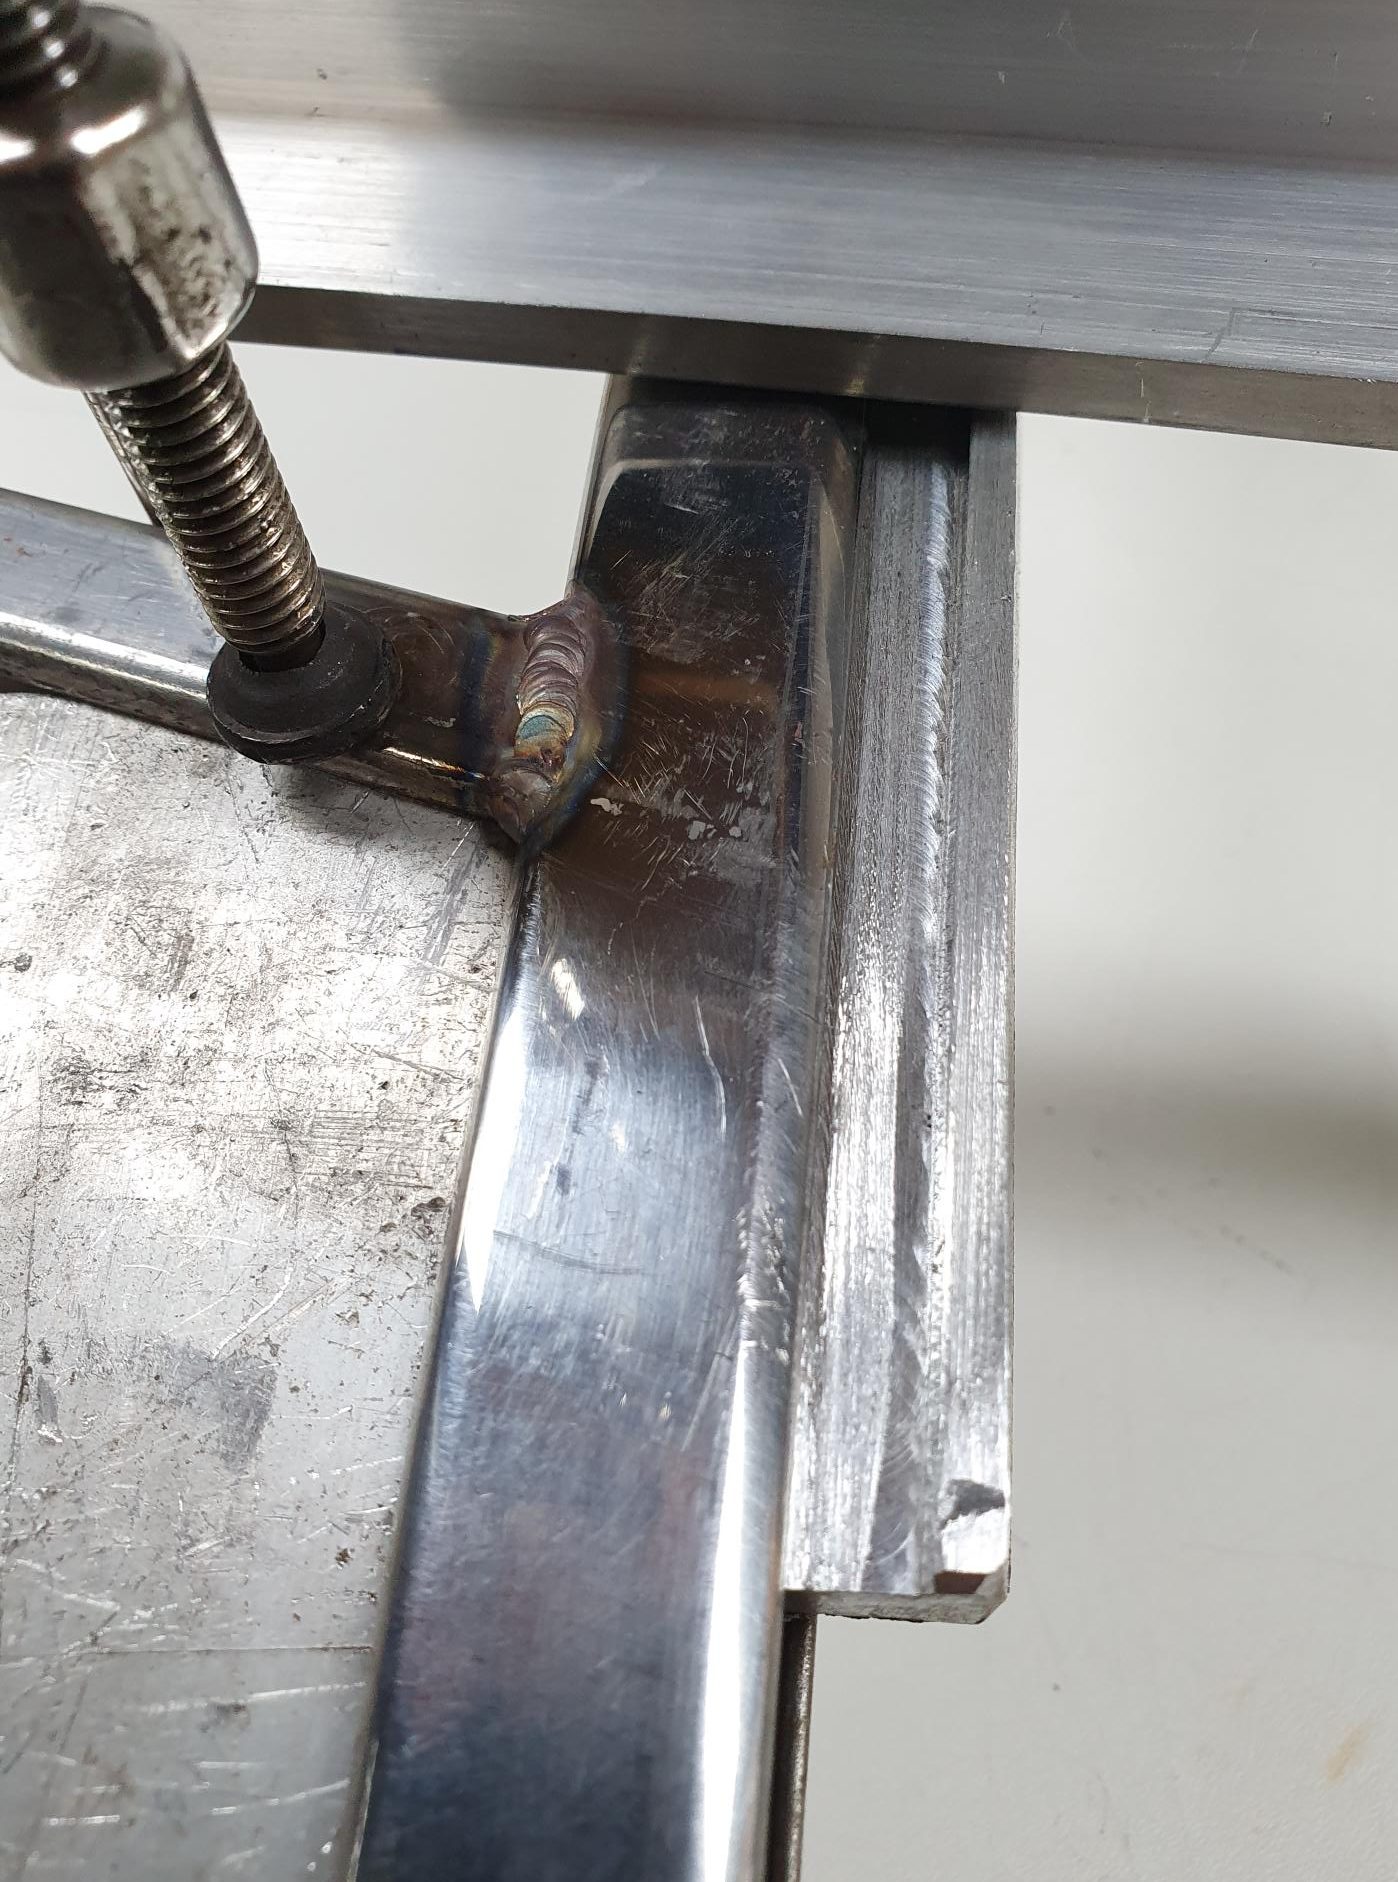
After smoothing and polishing the welded frames, this is the result.
これは溶接されたフレームを滑らかにし、研磨した結果です。
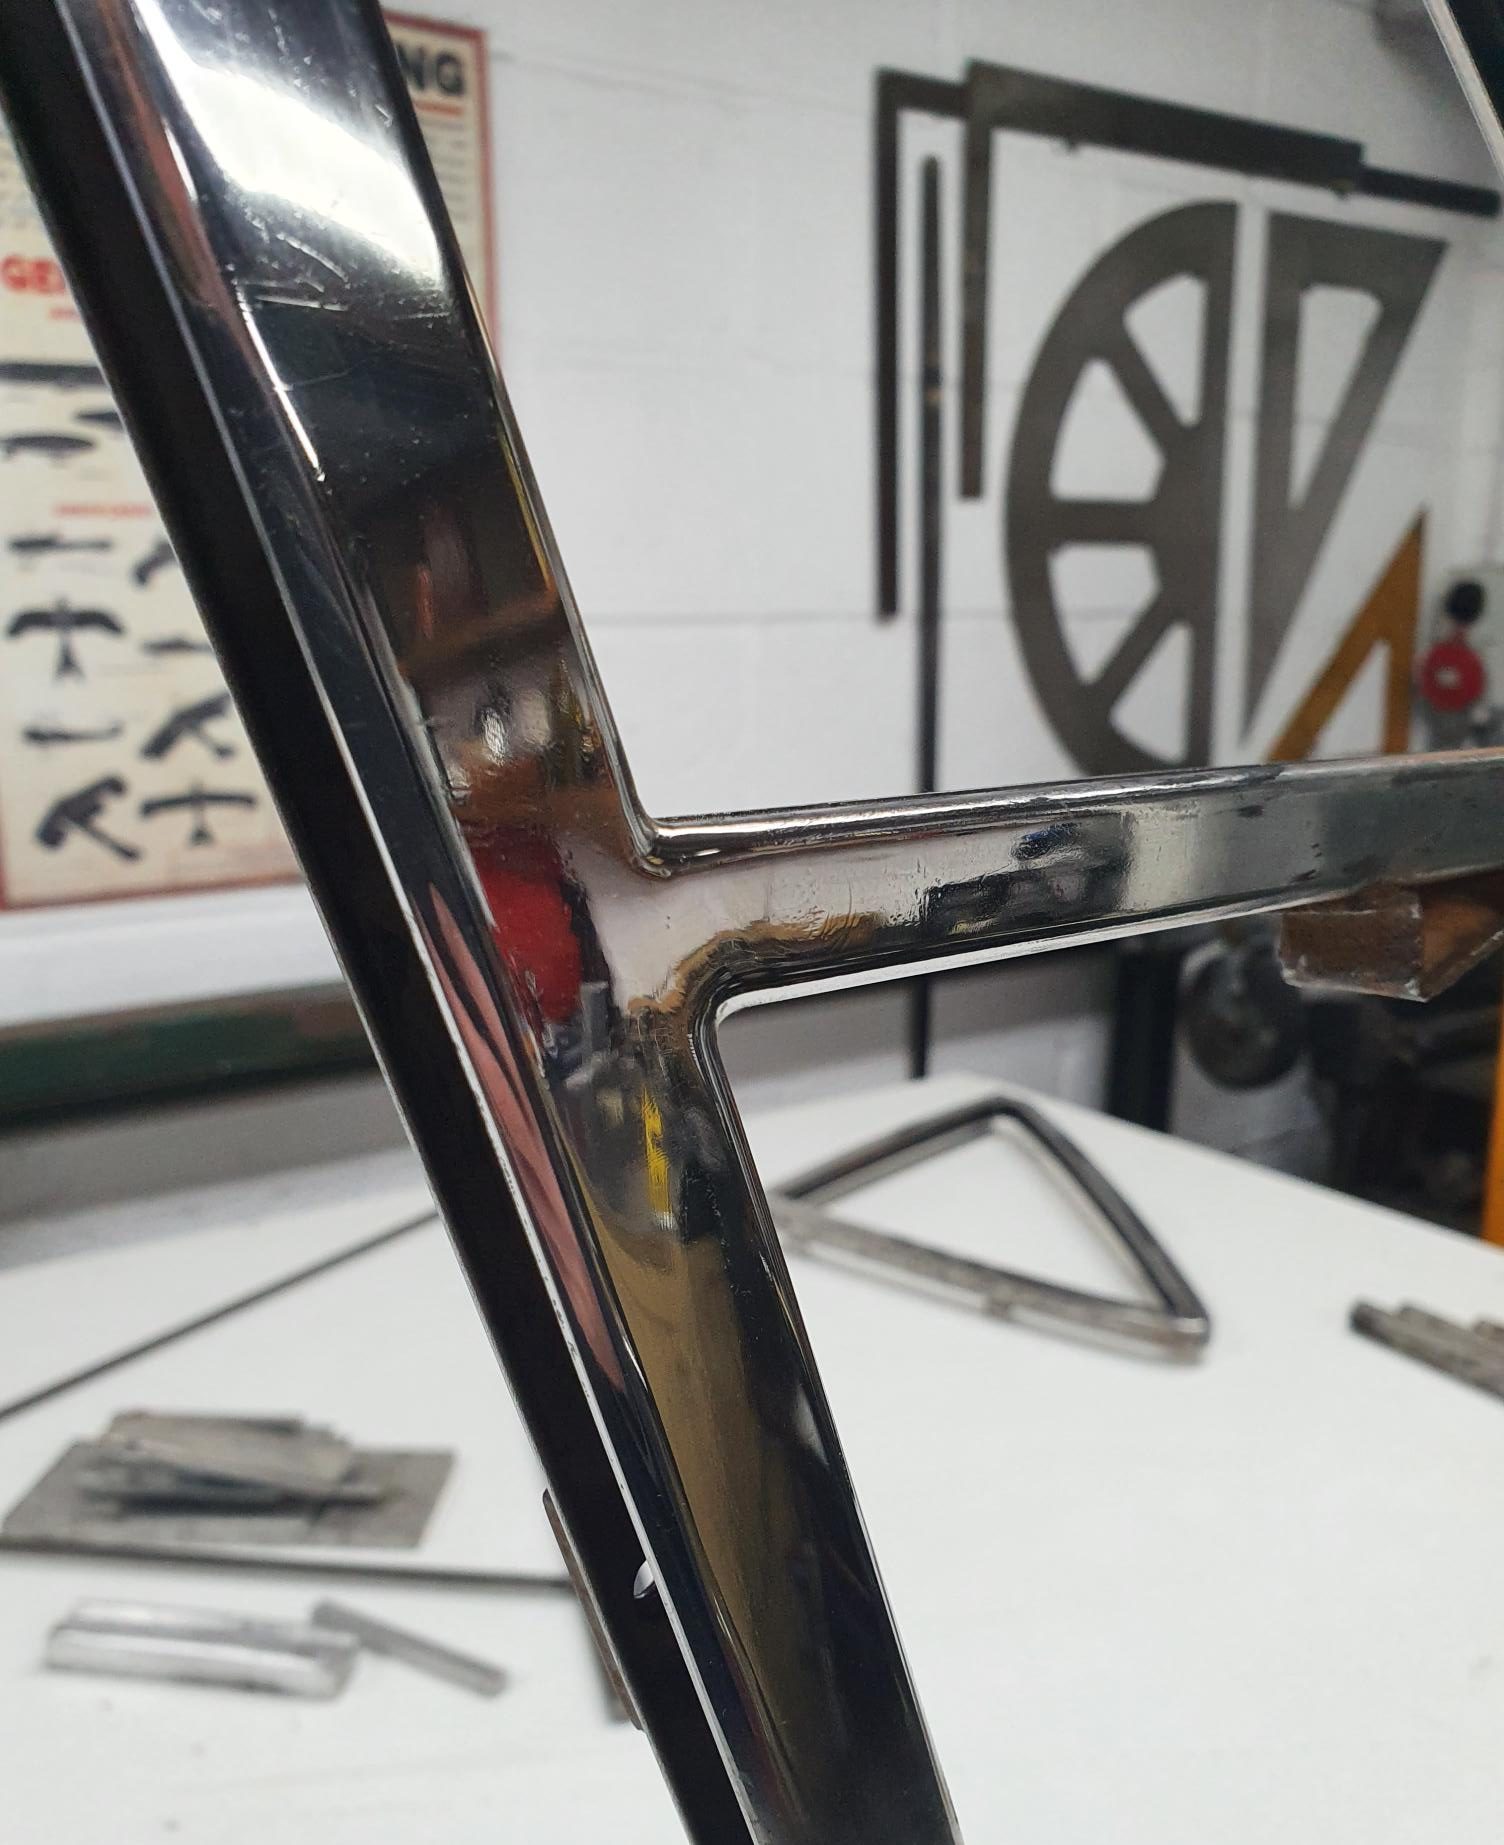
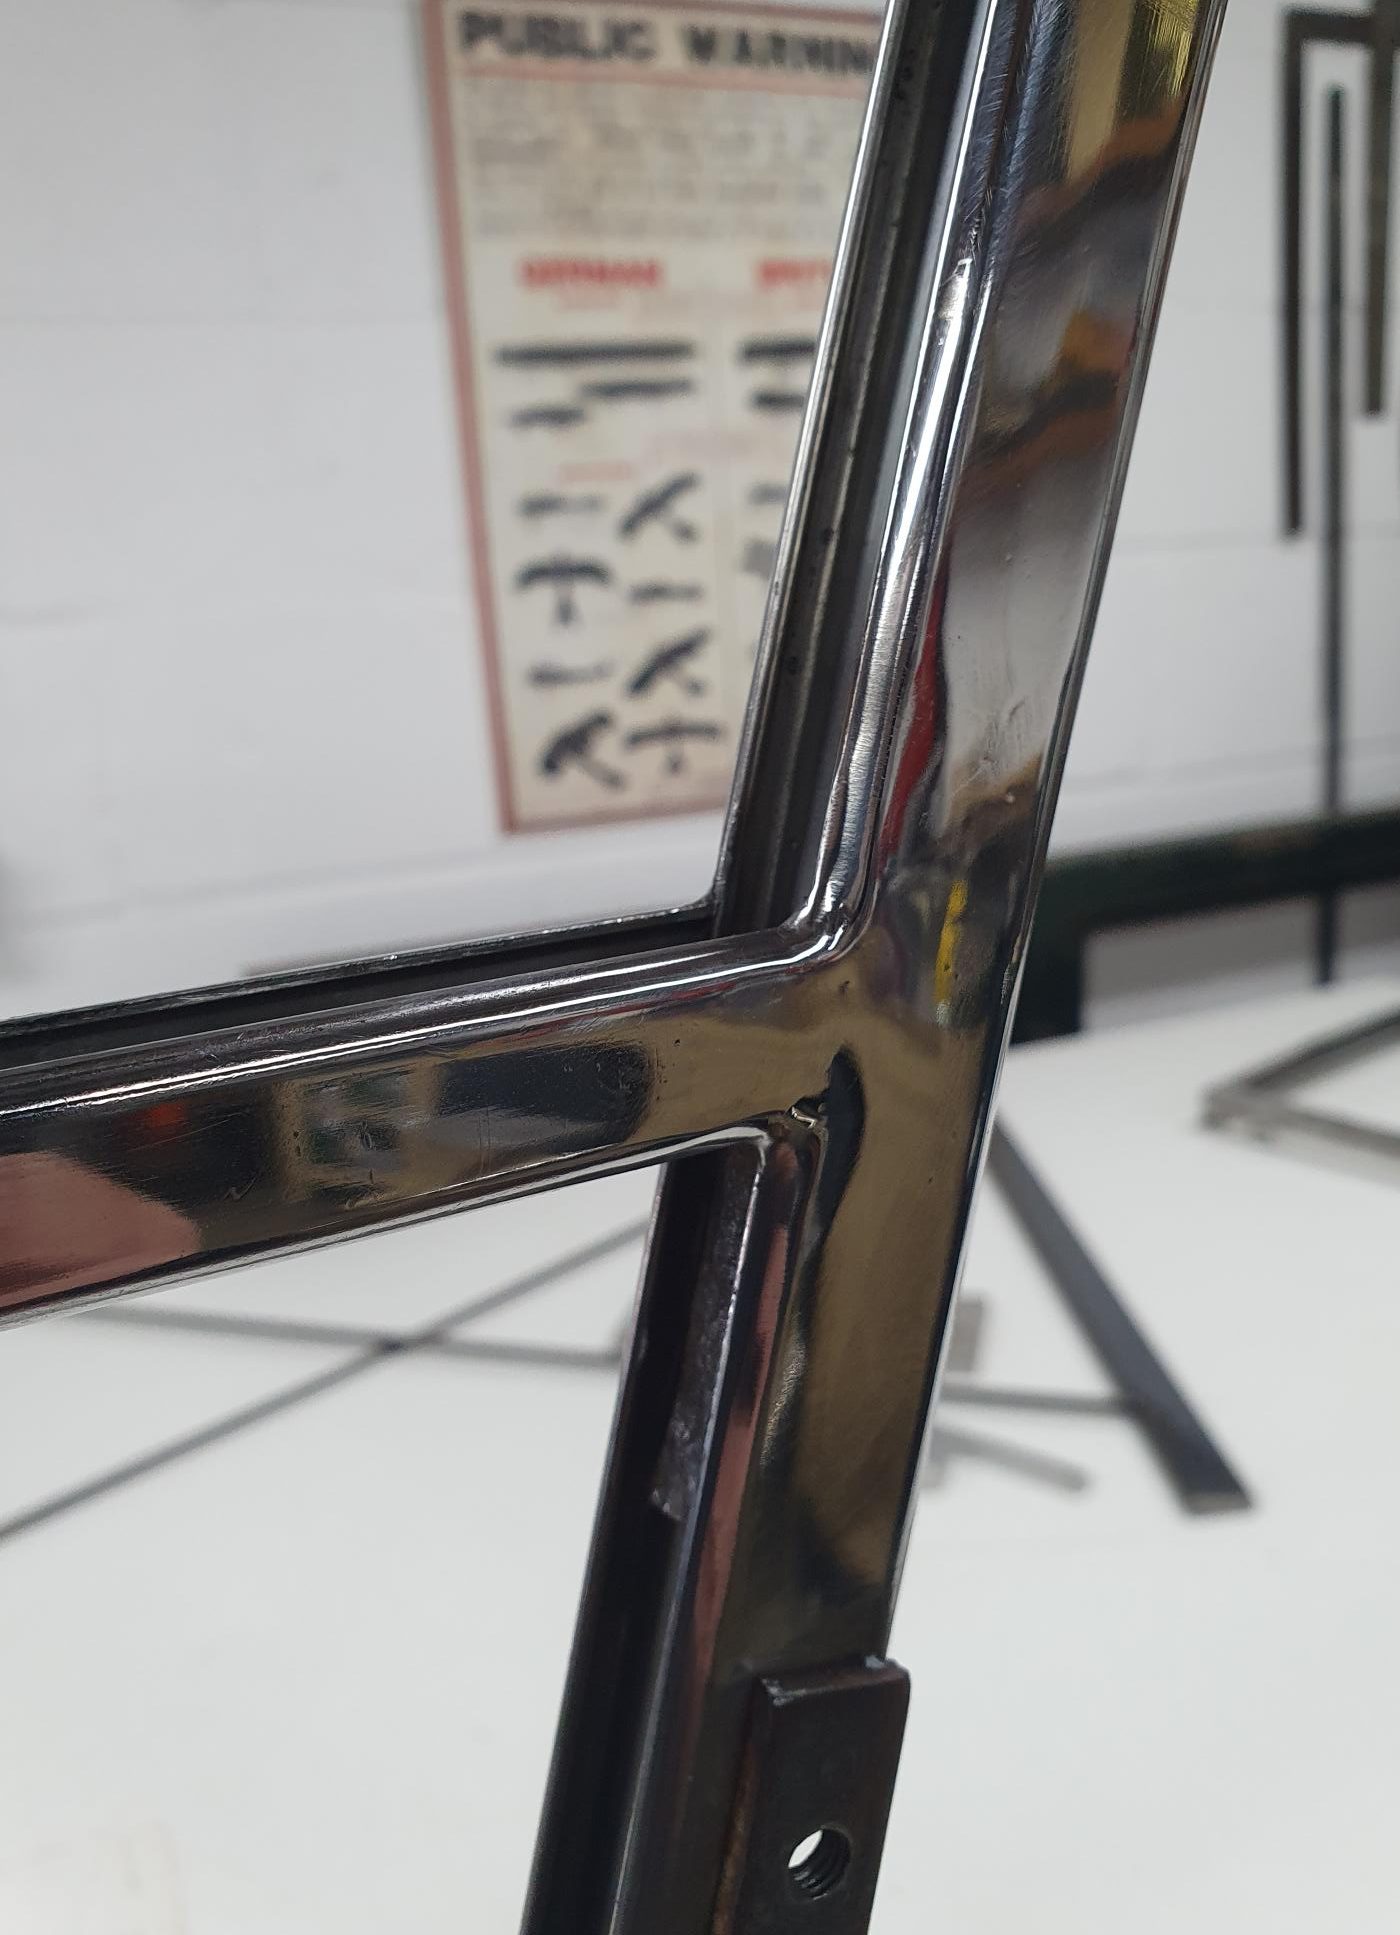
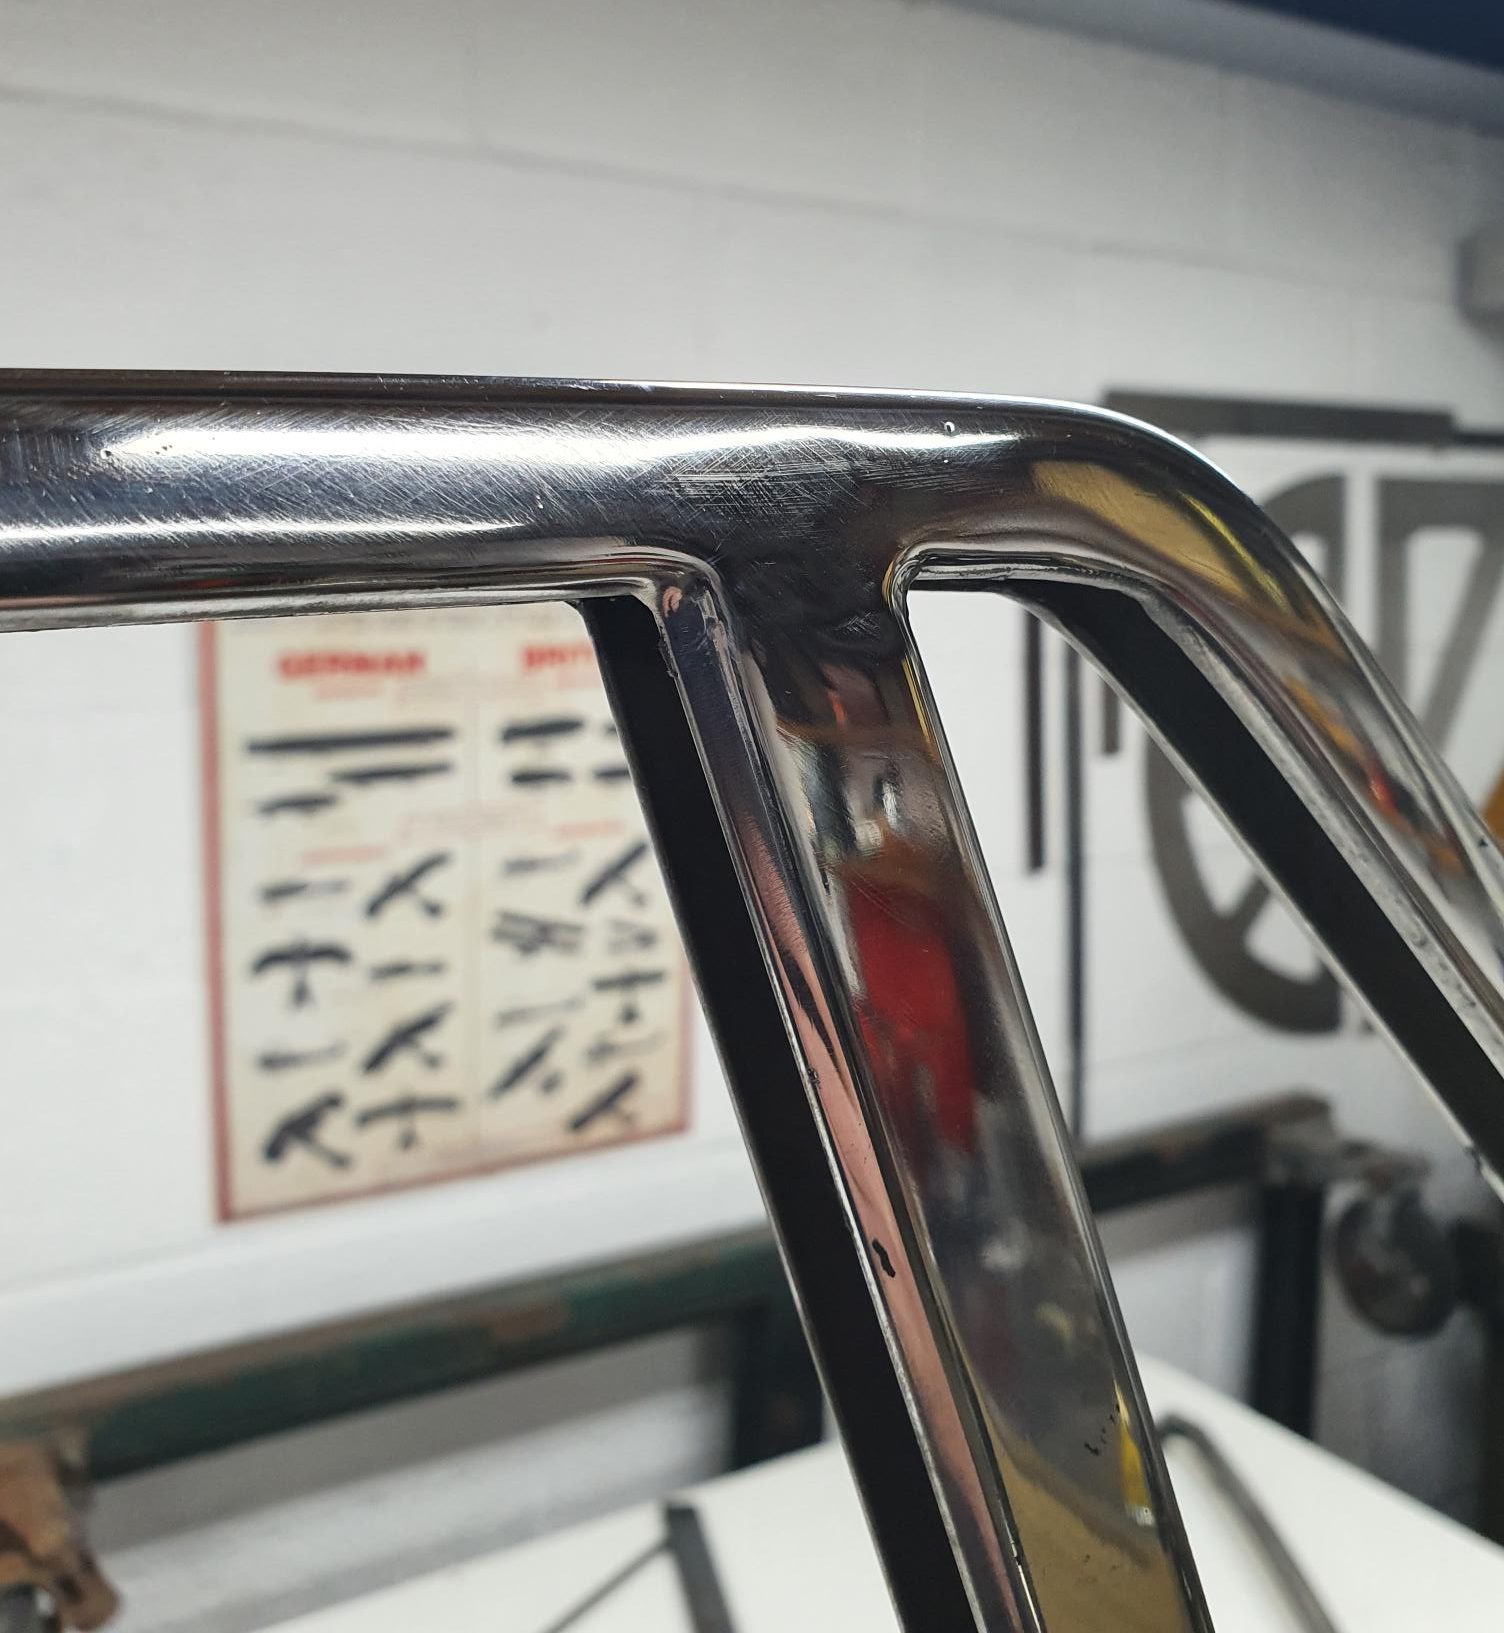
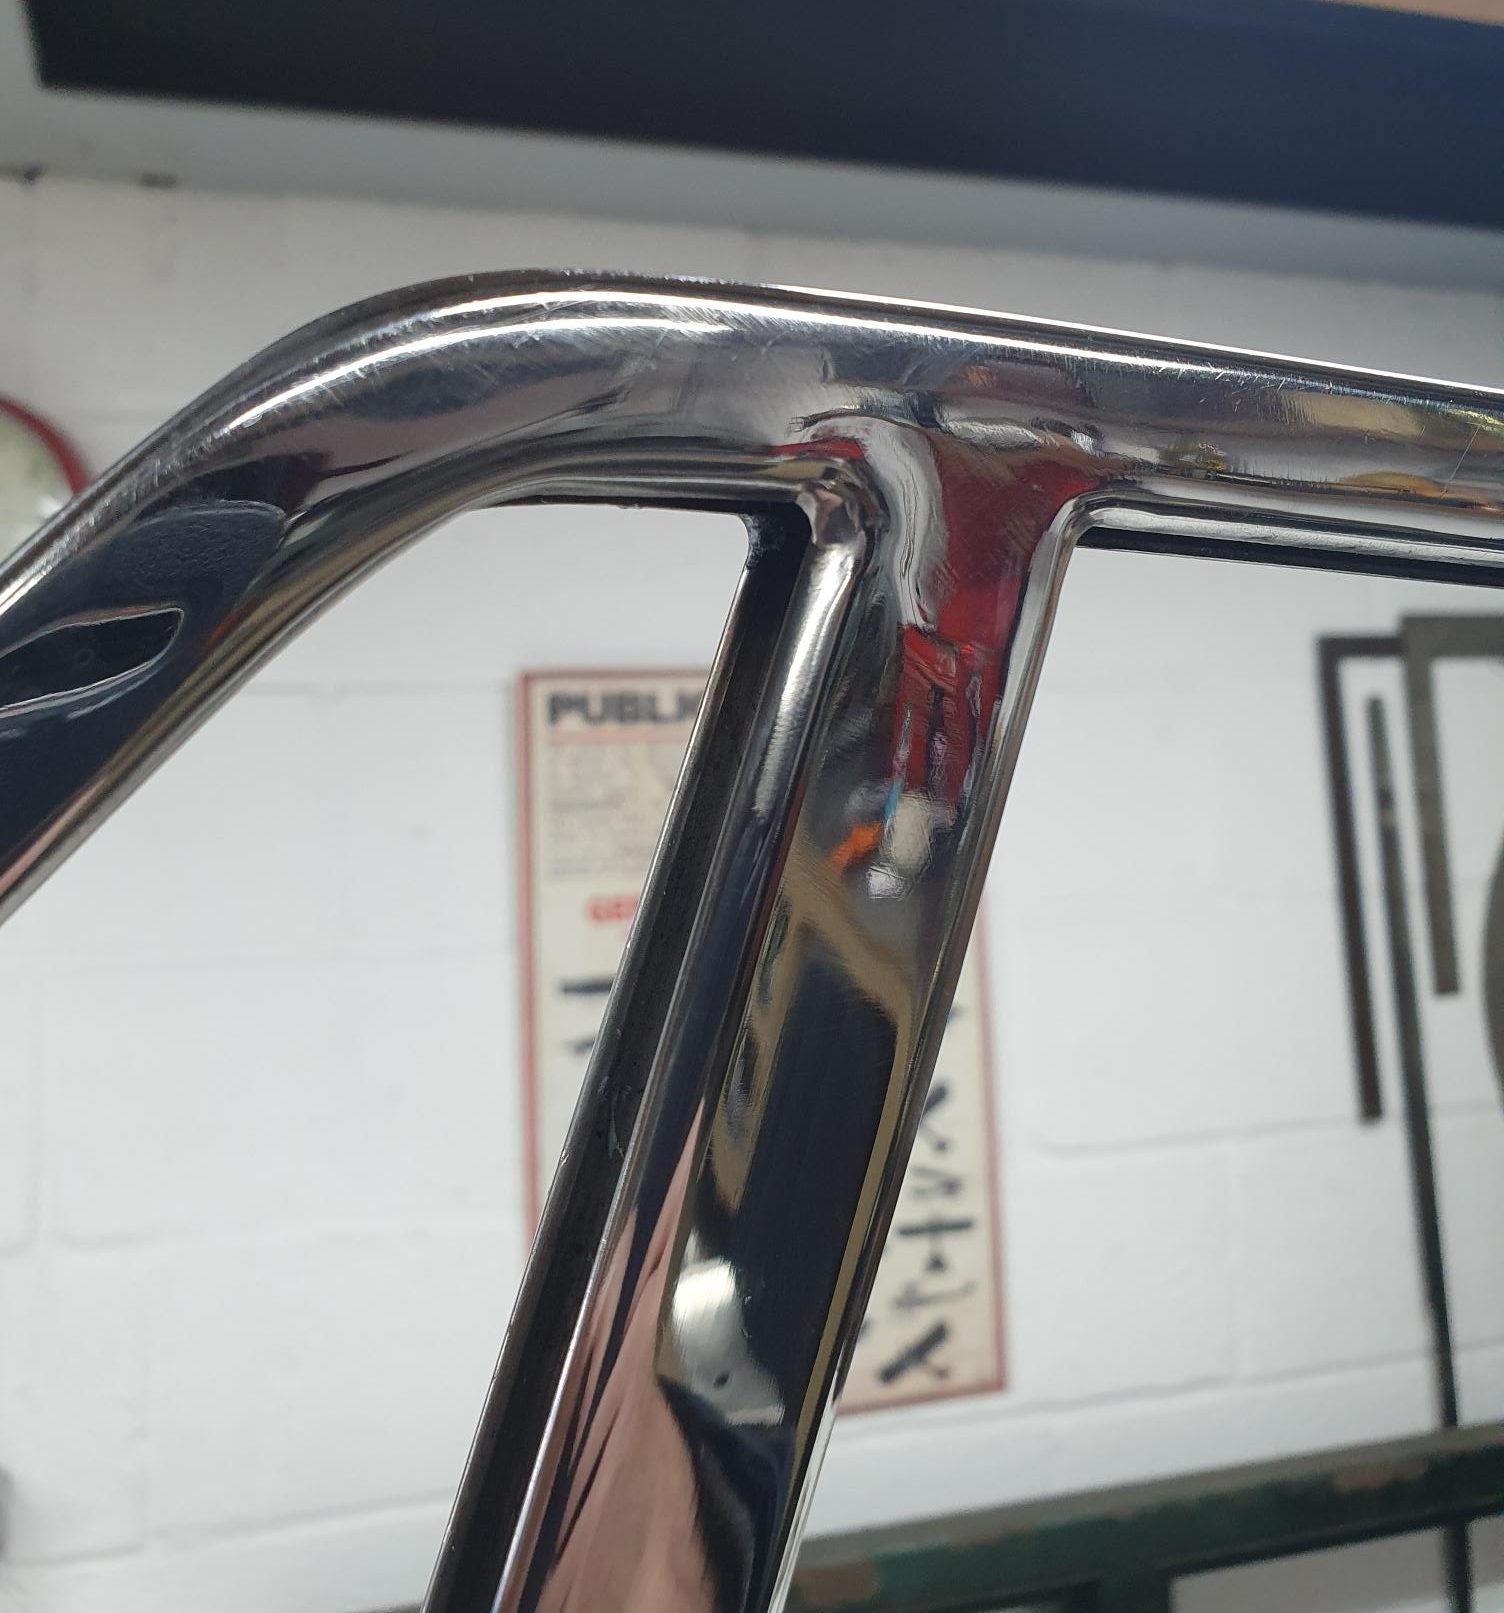
Here (below) shows a non-welded frame against the welded.
こちら(下)は溶接されていないフレームと溶接されたフレームを比較したものです。
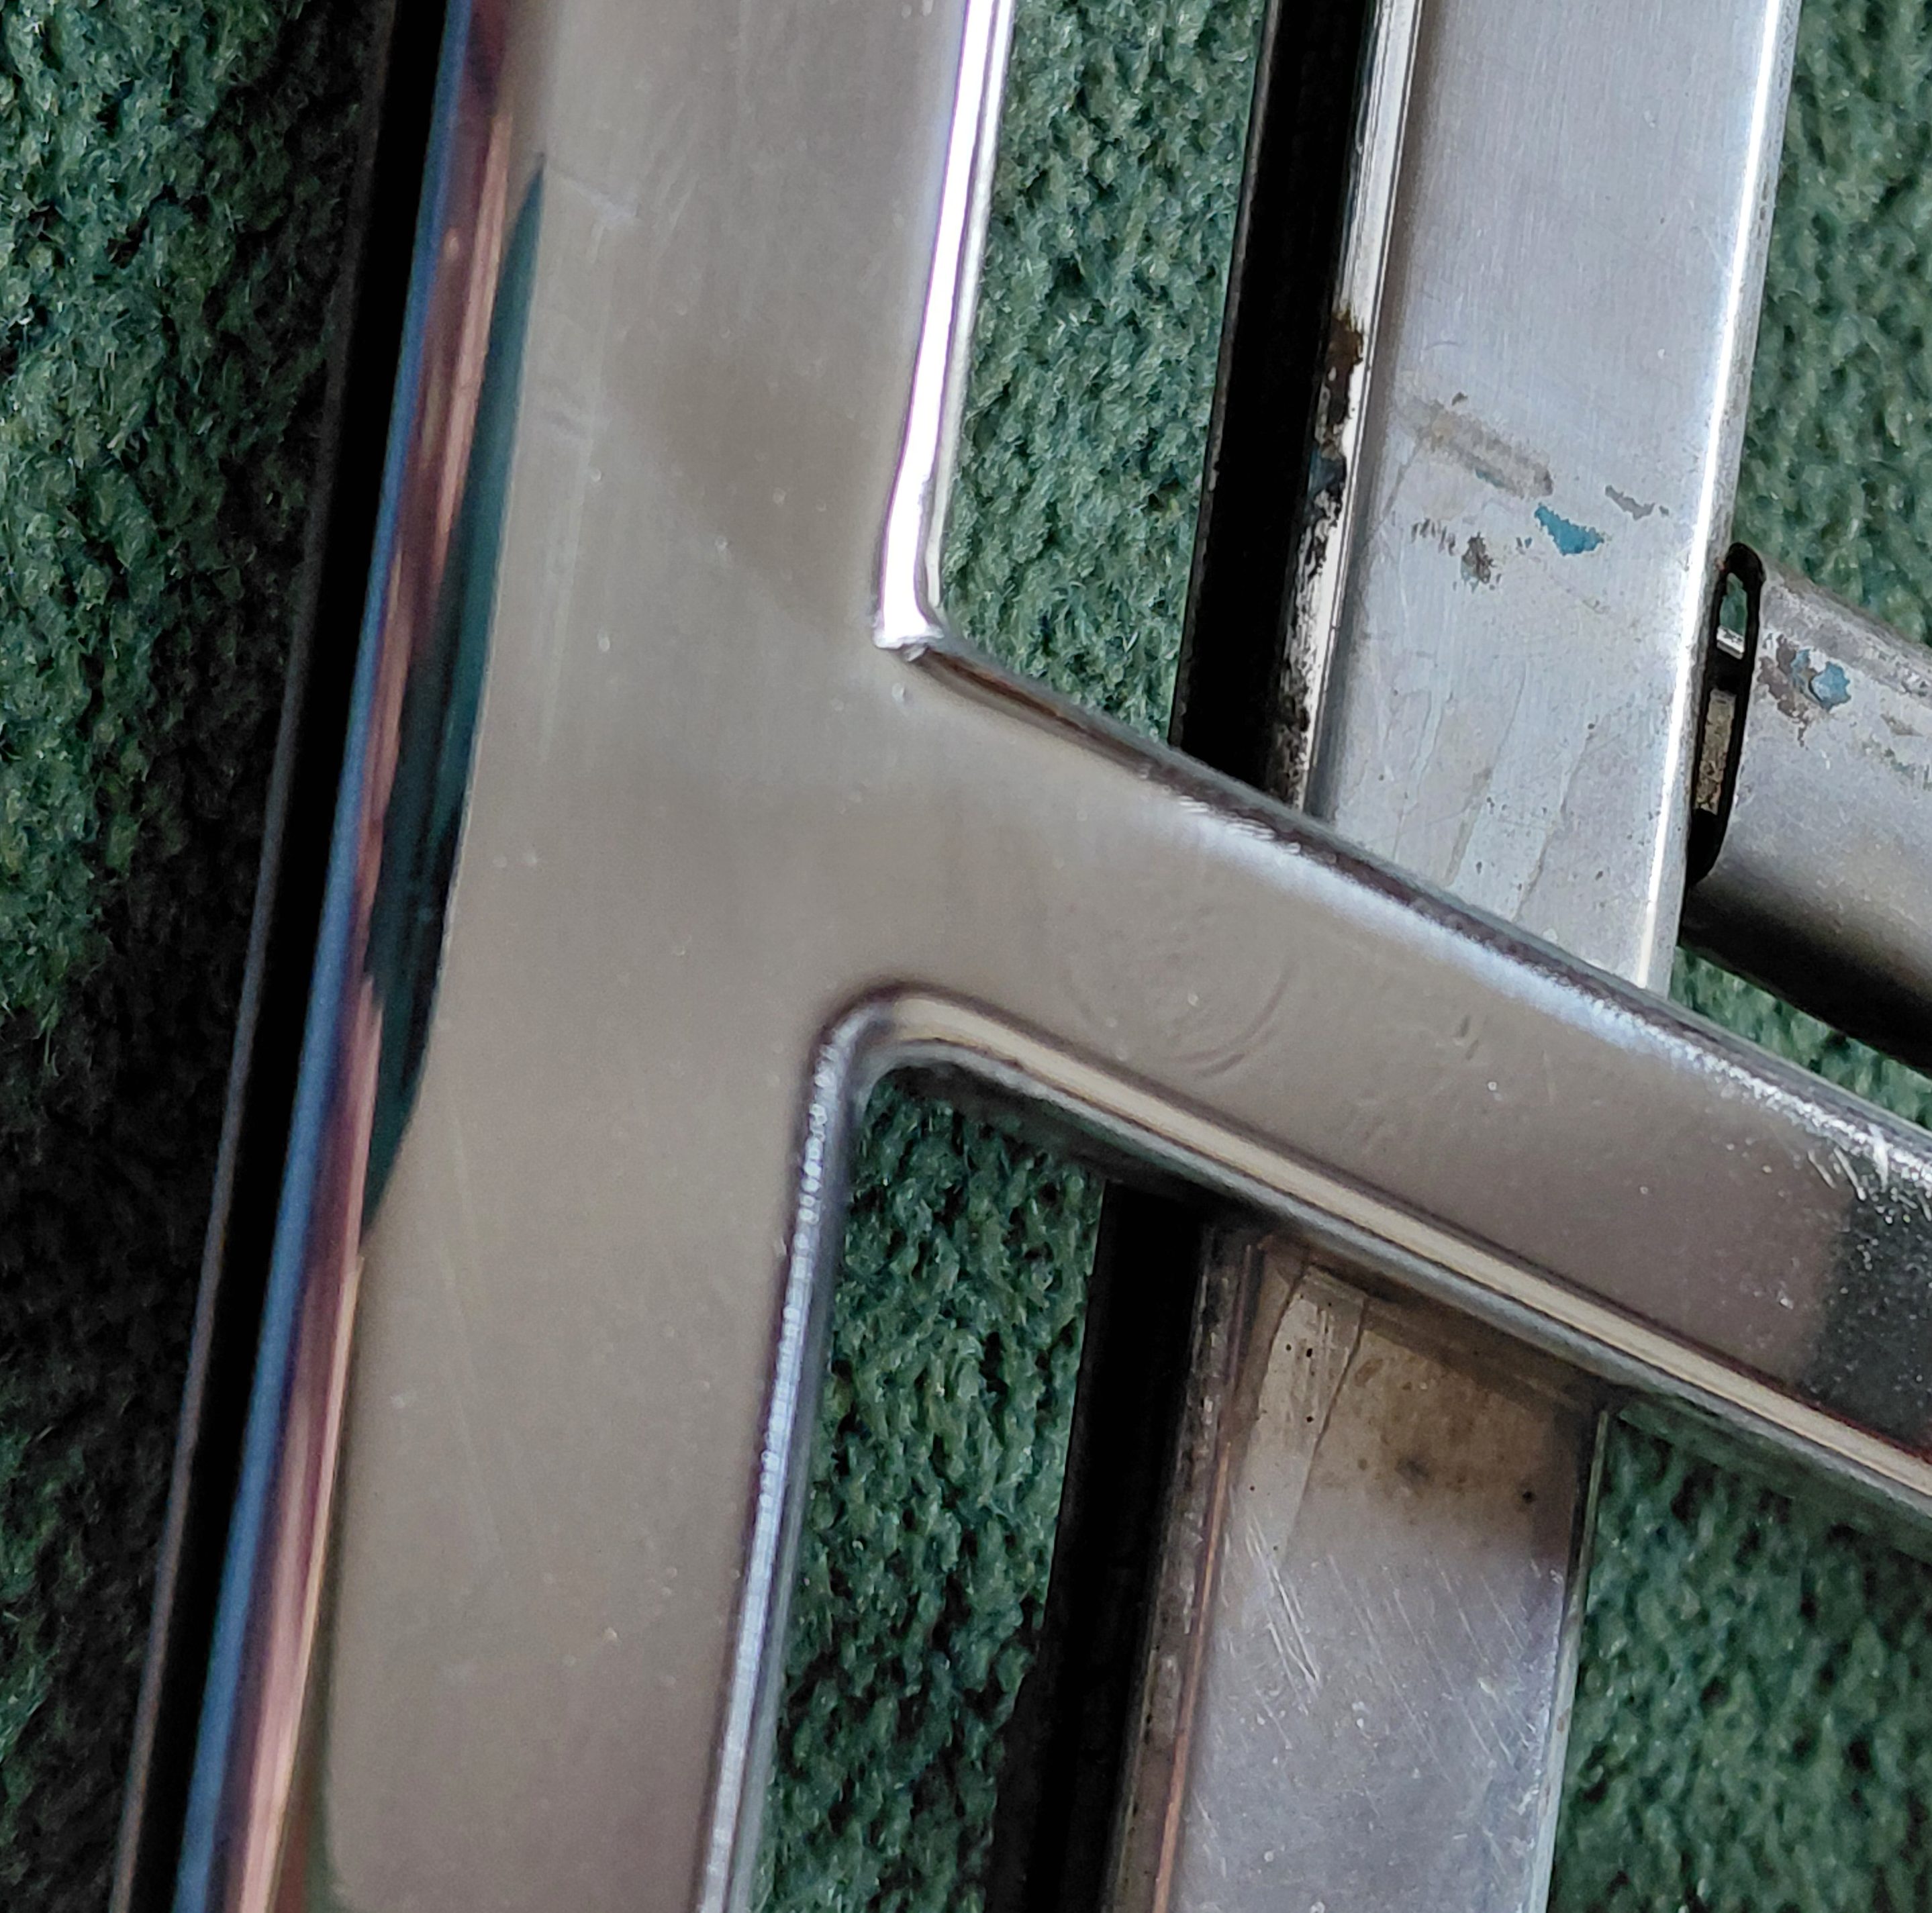
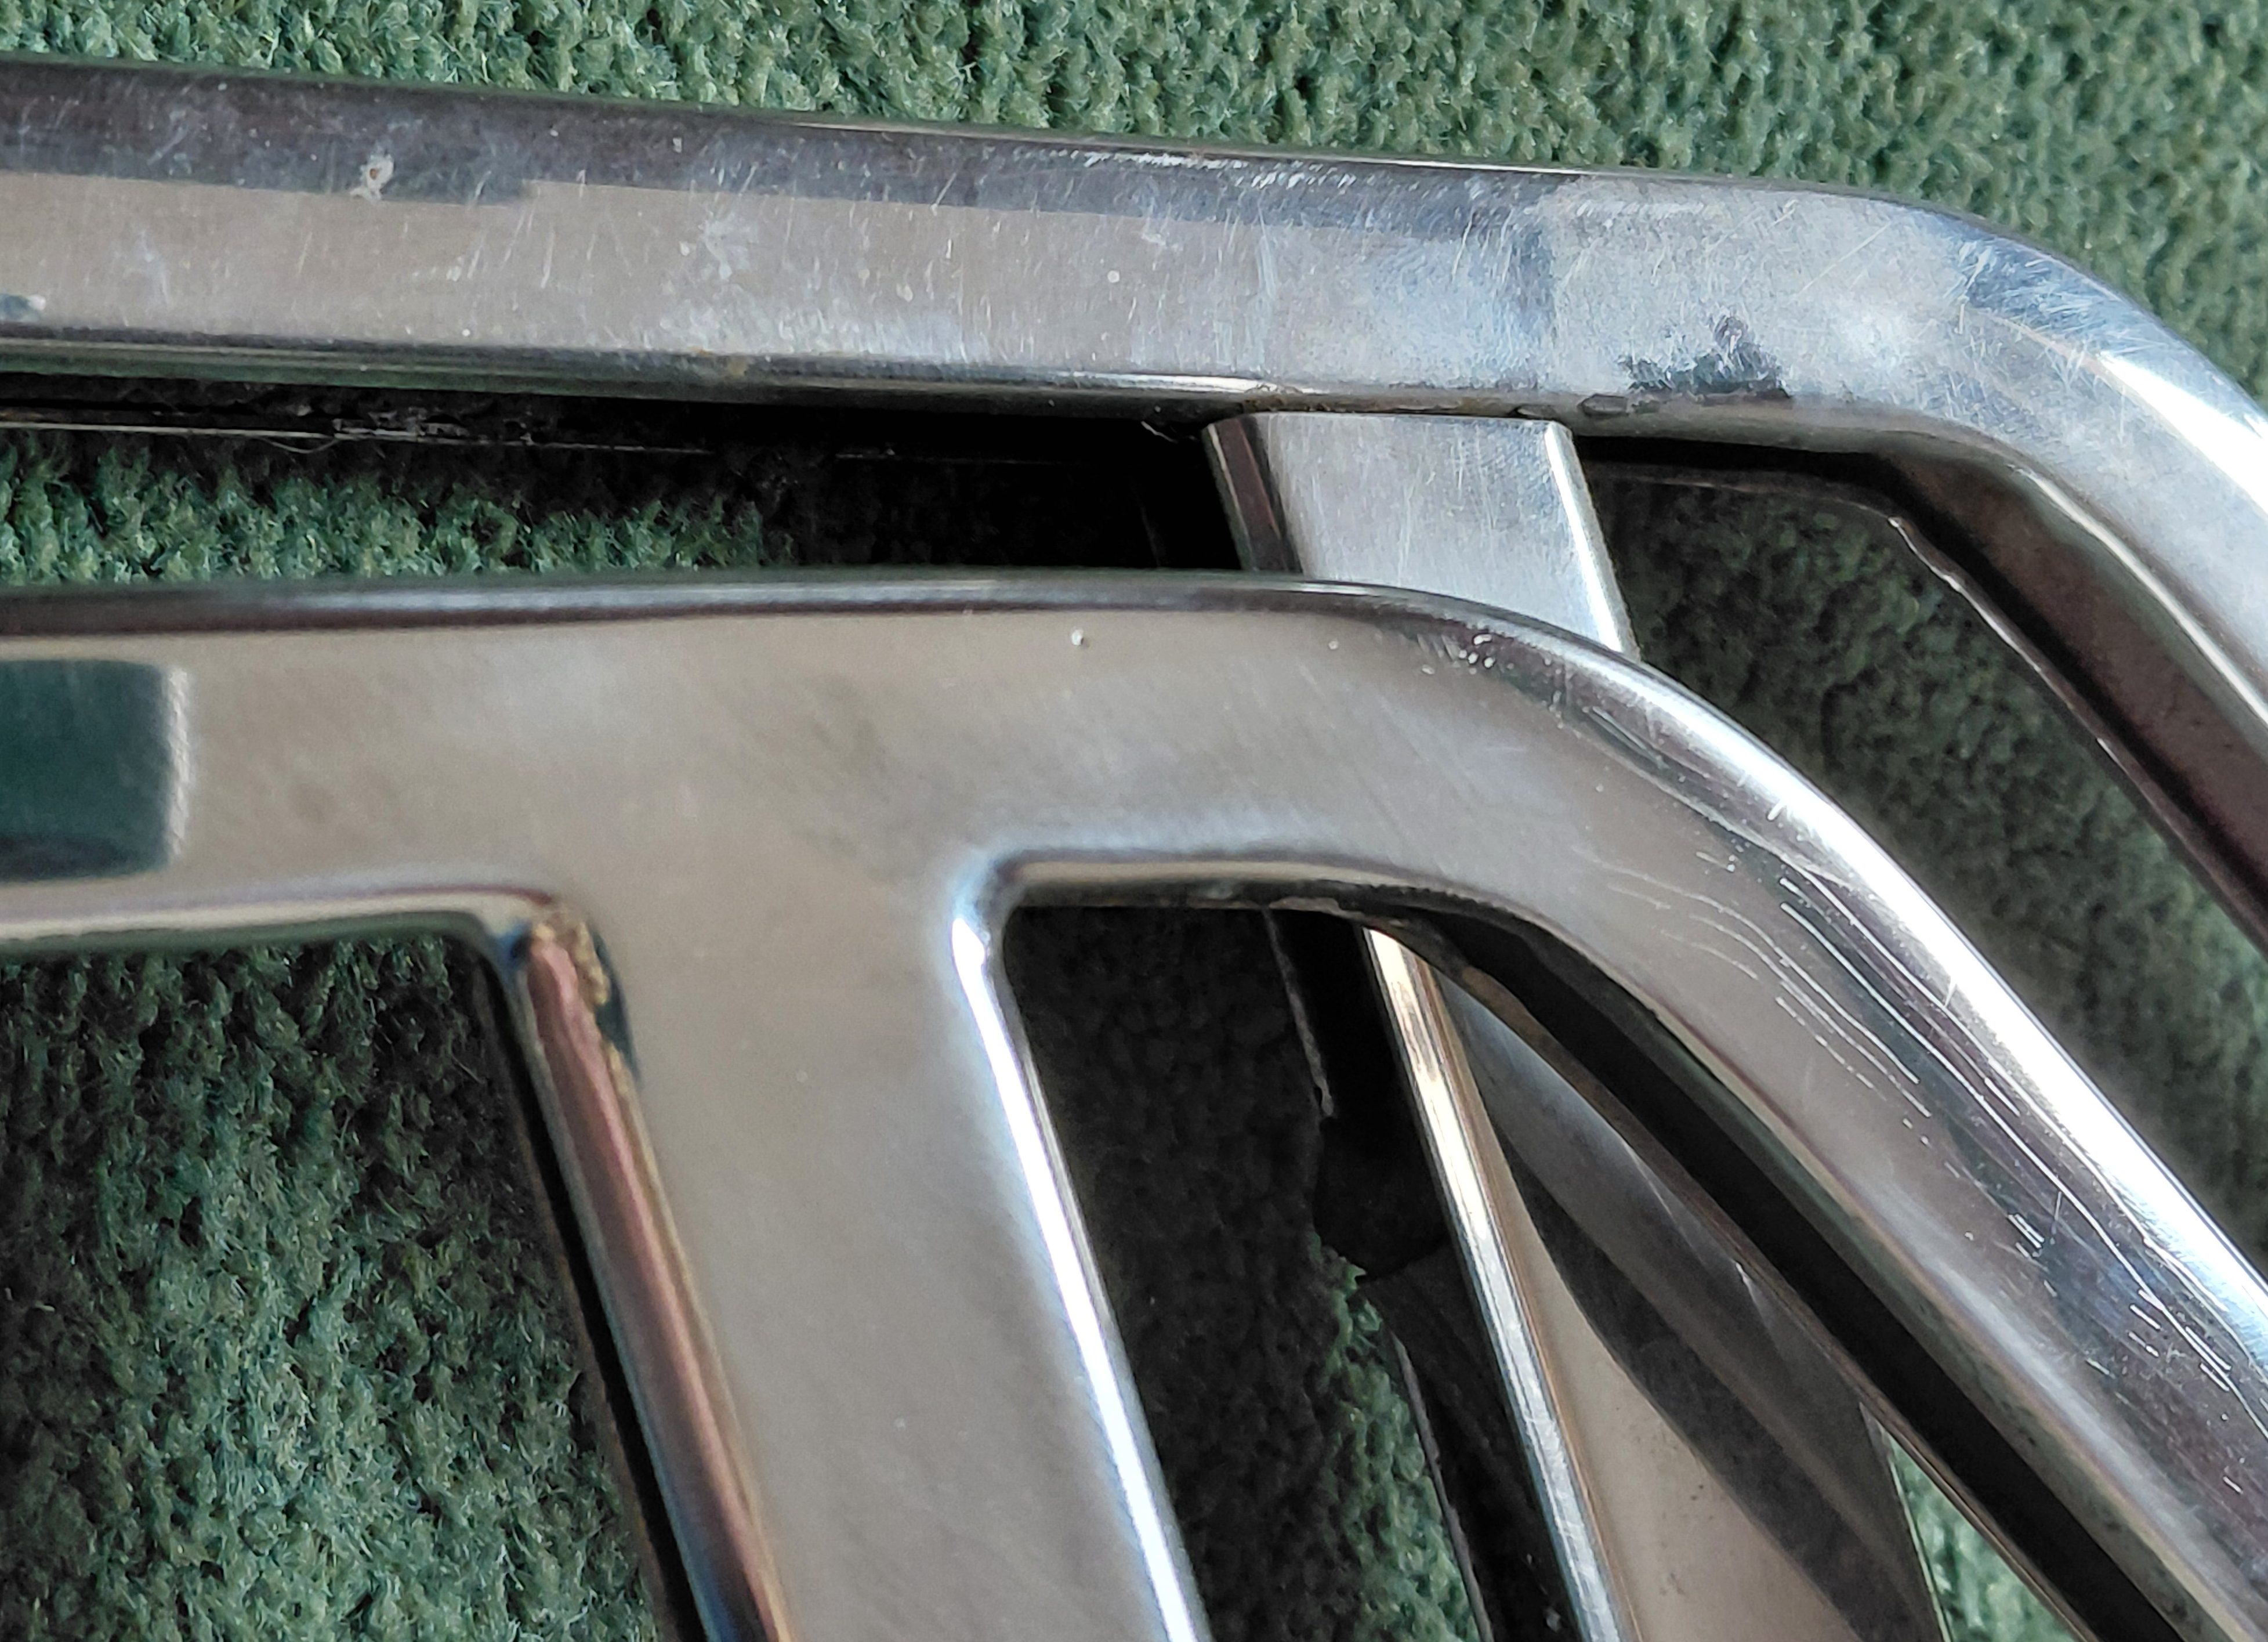
Whilst work was being carried on to the door frame, my attention turned to the 1/4 window pivot on the door. Both frames on my Silvia required work, and also the donor frame I have wasn’t brilliant, but good enough to copy.
ドア枠の作業が続けられている間、私の注意はドアの 1/4 ウィンドウ ピボットに向けられました。私のシルビアの枠は両方とも修理が必要で、手元にあるドナー枠はそれほど素晴らしいものではありませんでしたが、コピーするには十分でした。


The threaded stud that holds the quarter glass pivot and gives tension from a spring were bad. The donor was good, but not enough for me to use, it was bent. So, I decided to make some new studs, that will eventually be welded into the metal glass pivot.
クォーターガラスのピボットを固定し、スプリングから張力を与えるネジ付きスタッドがダメでした。ドナーは良い状態でしたが、曲がっていて使えませんでした。そこで、新しいスタッドをいくつか作って、最終的に金属製のガラスピボットに溶接することにしました。
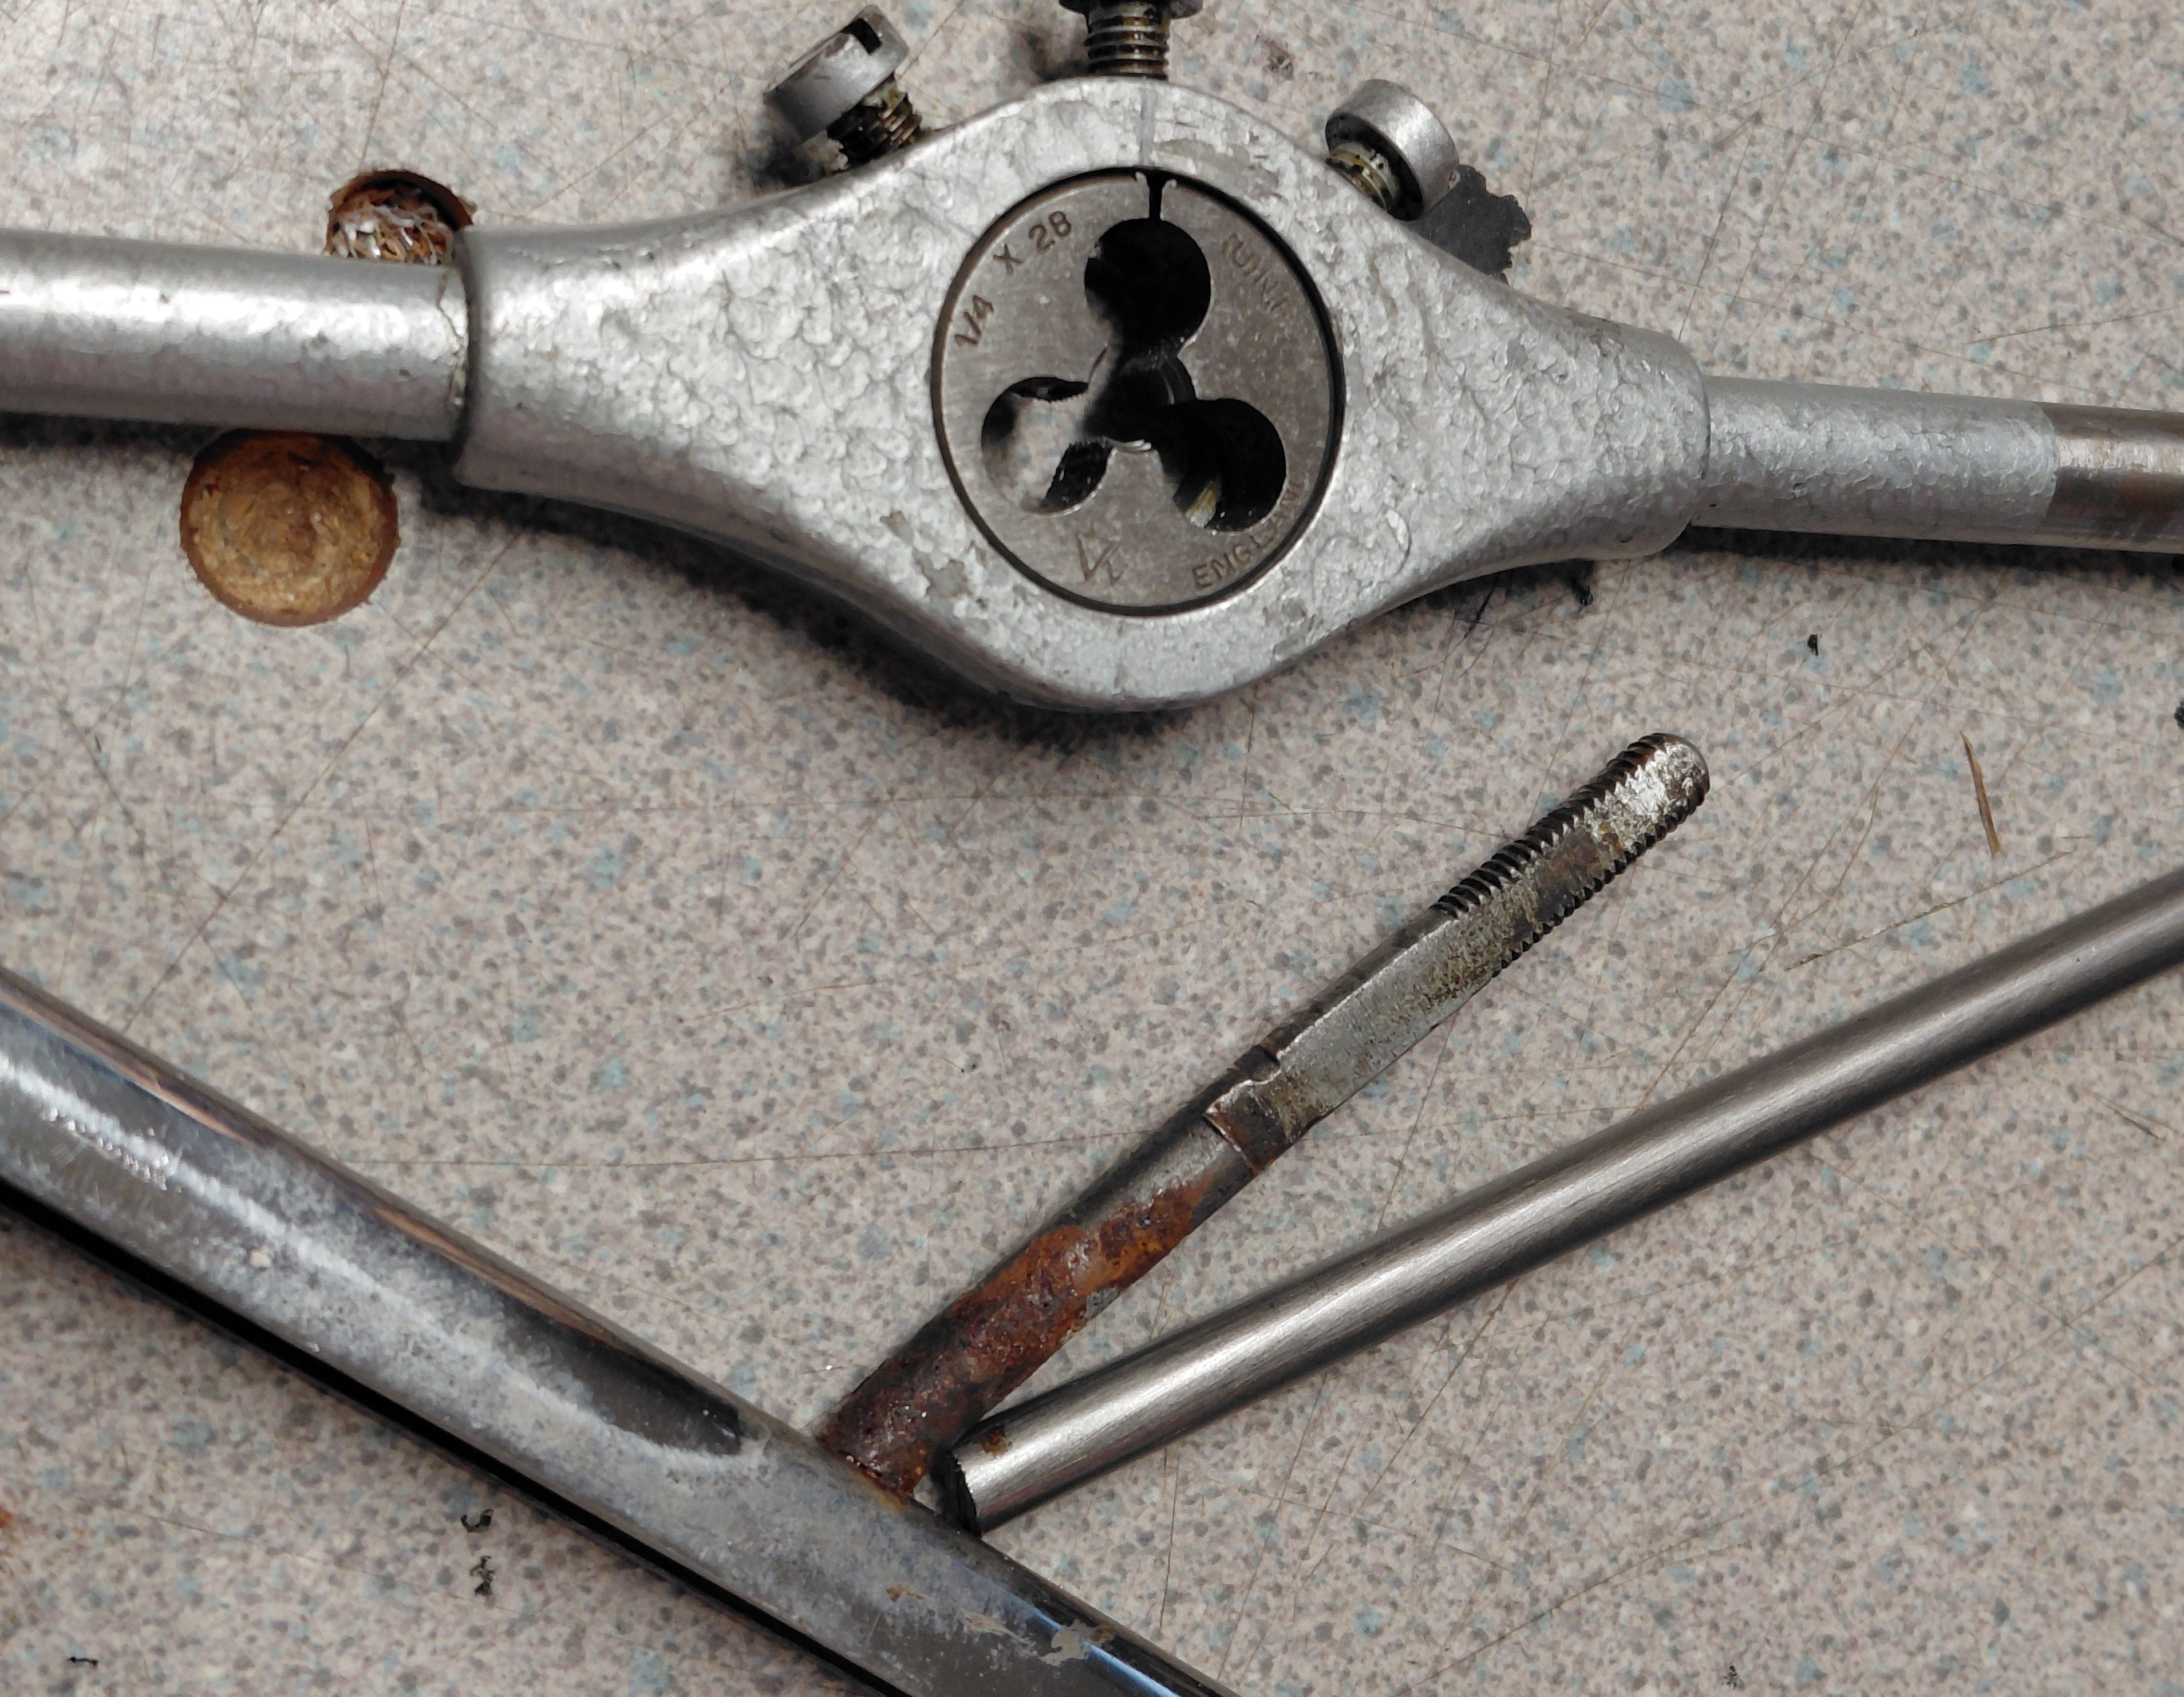
The above photo shows the good quarter pivot with its threaded stud to use as a template, next to a length of 1/4 inch steel round bar. Next photos show the bar being threaded and the flats machined onto the bar.
上の写真は、テンプレートとして使用するネジ付きスタッドが付いたクォーターピボットと、1/4インチの鋼製丸棒を示しています。次の写真は、丸棒にネジ山を切って、平らな部分を機械加工しているところです。
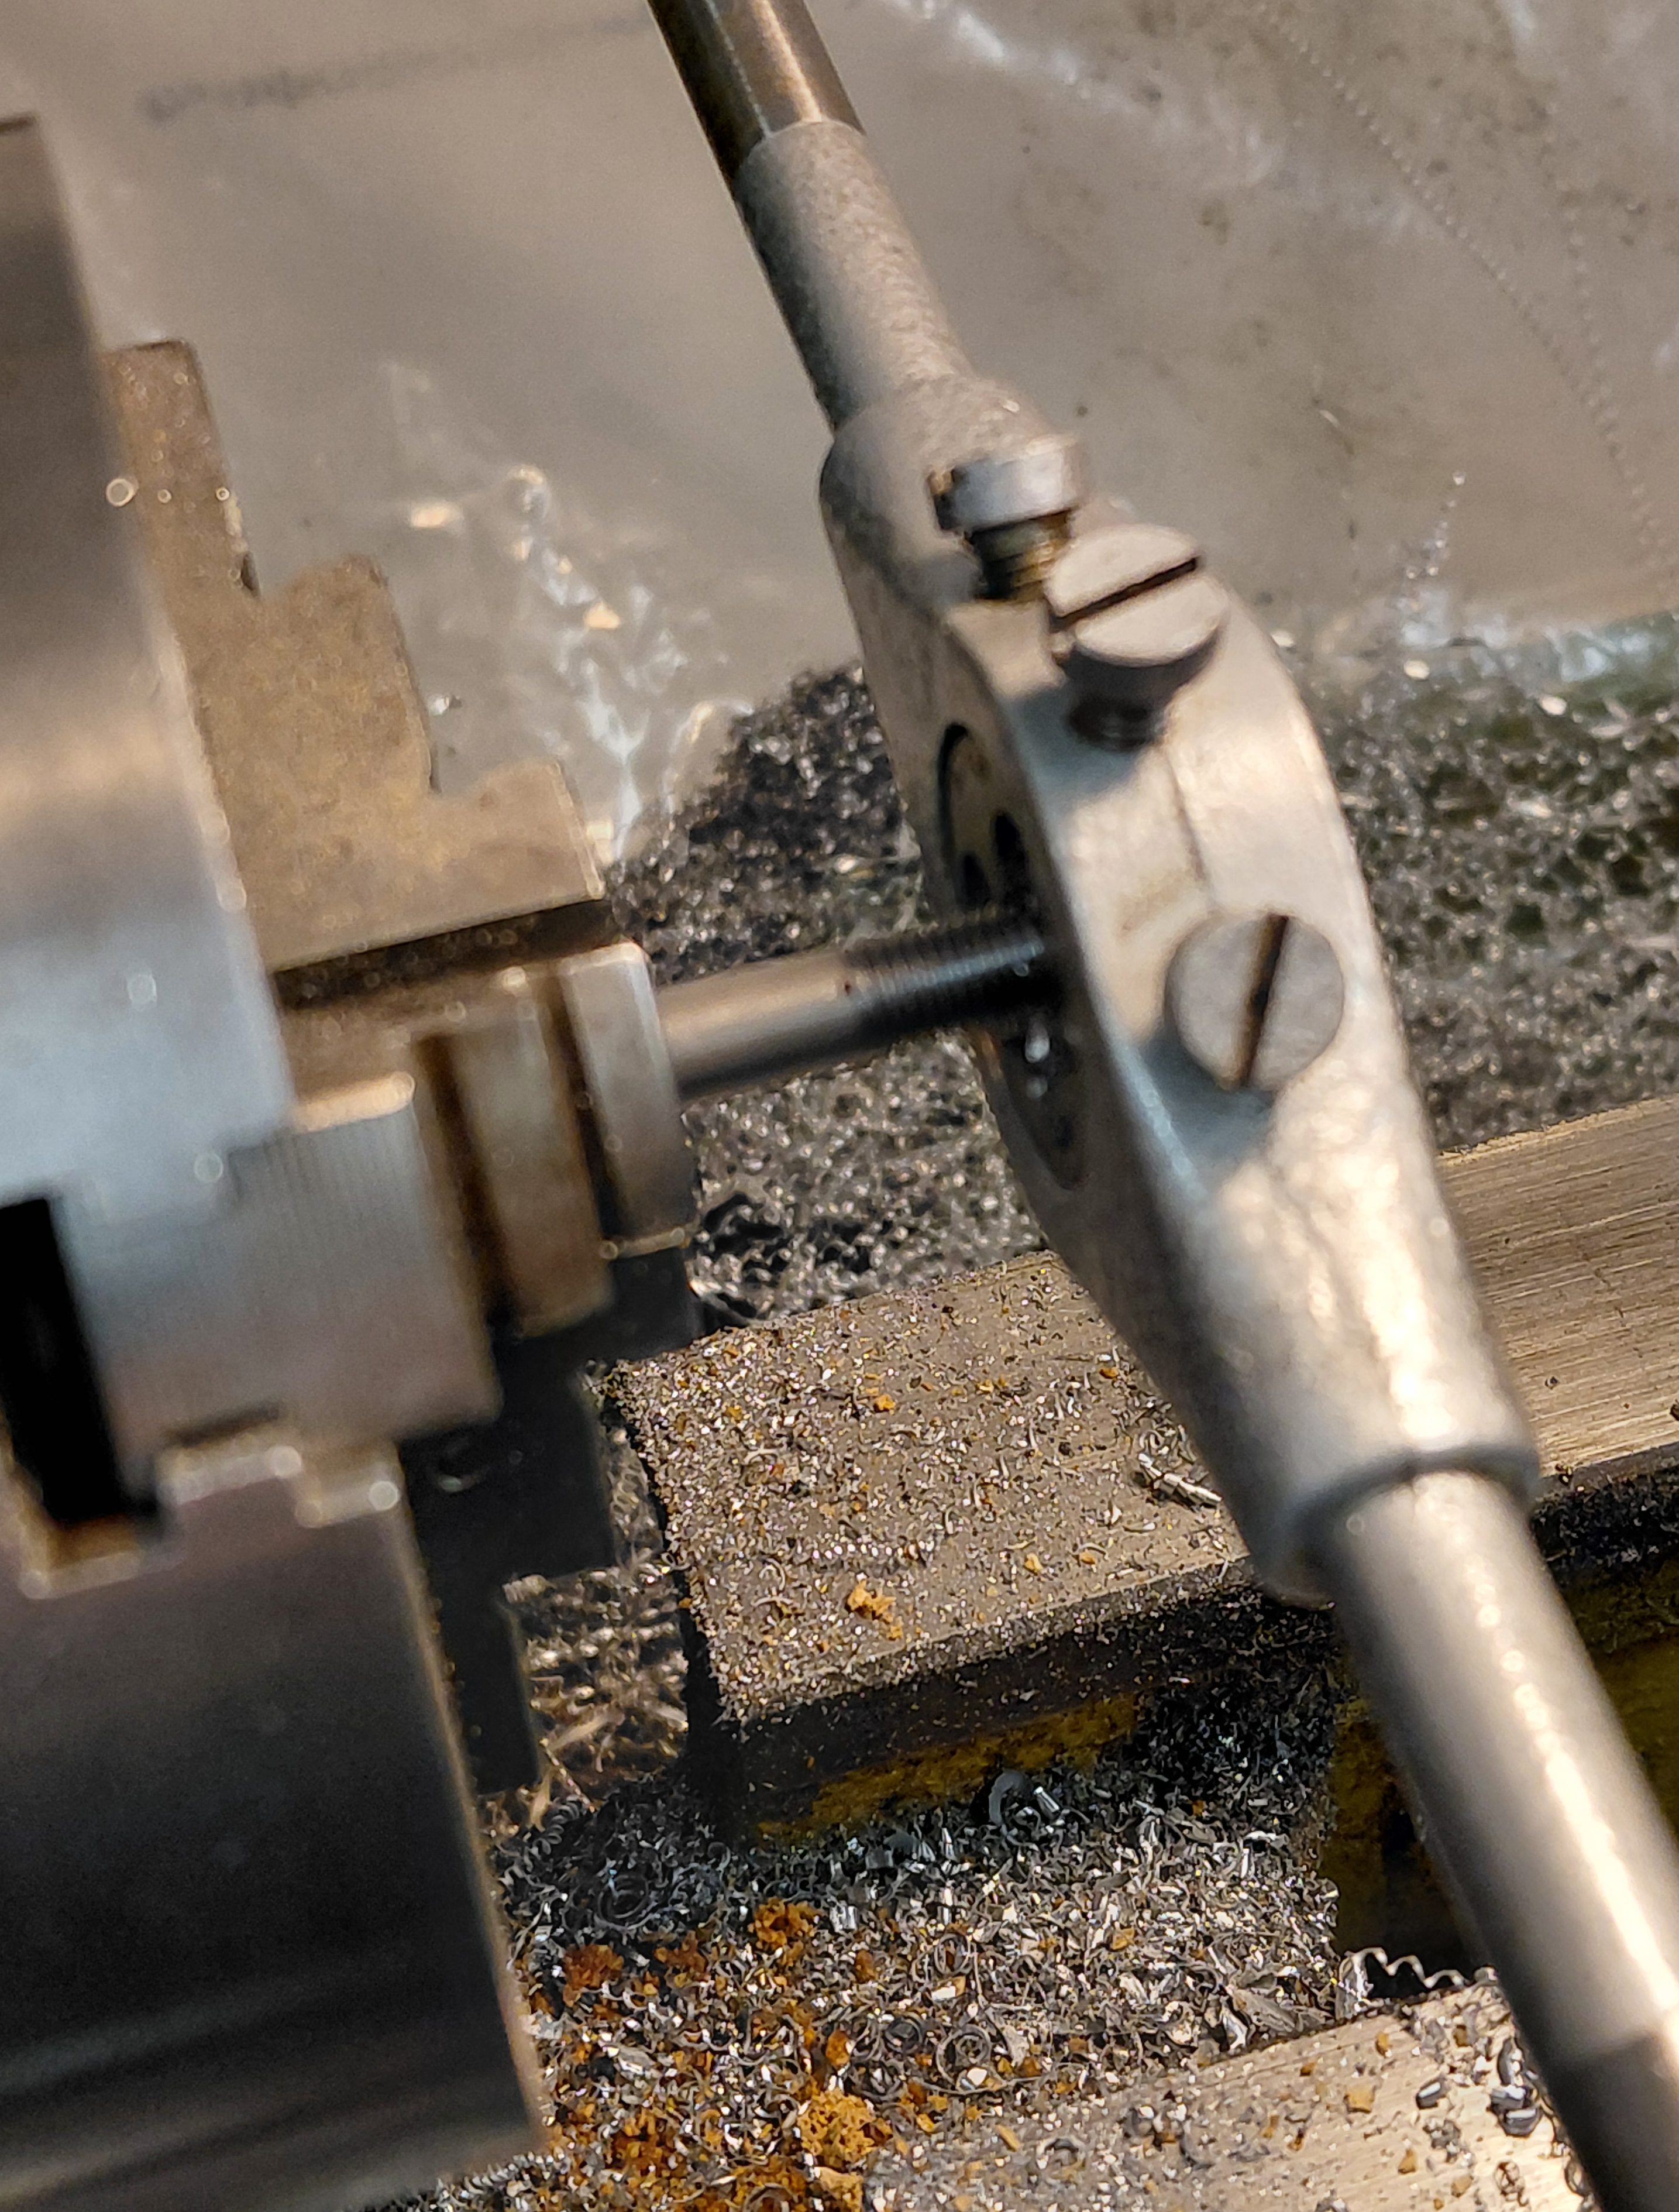
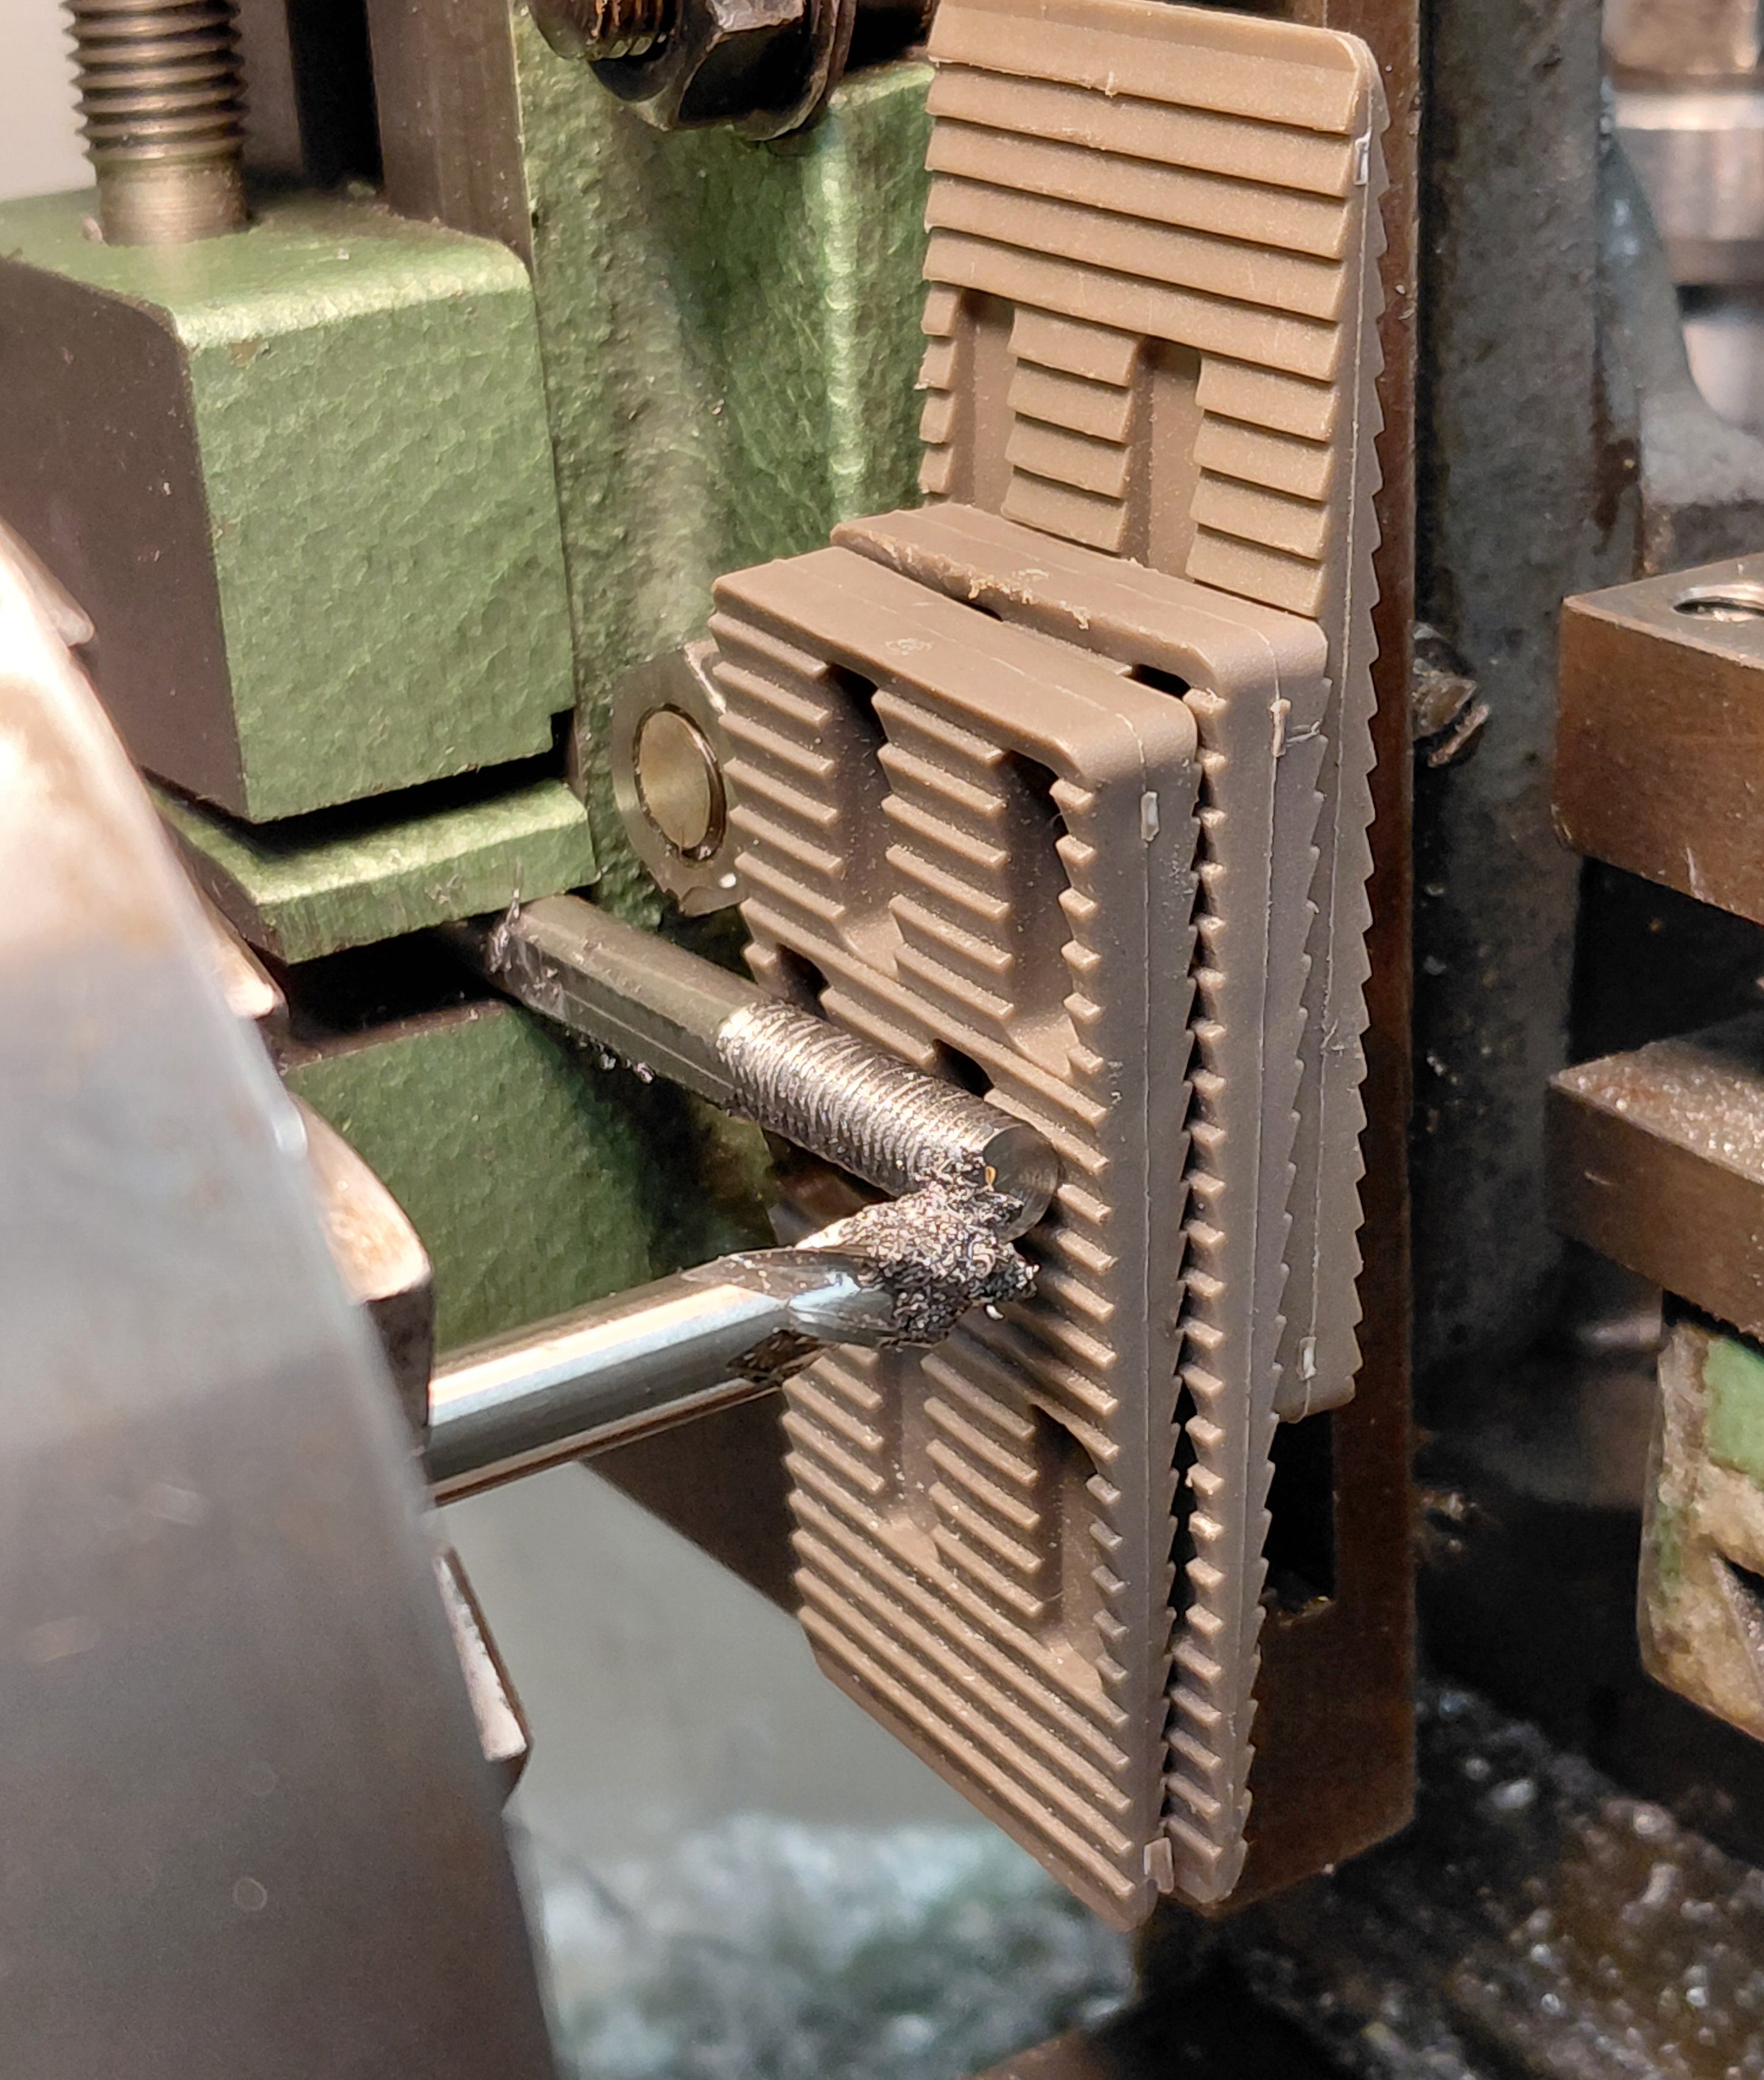
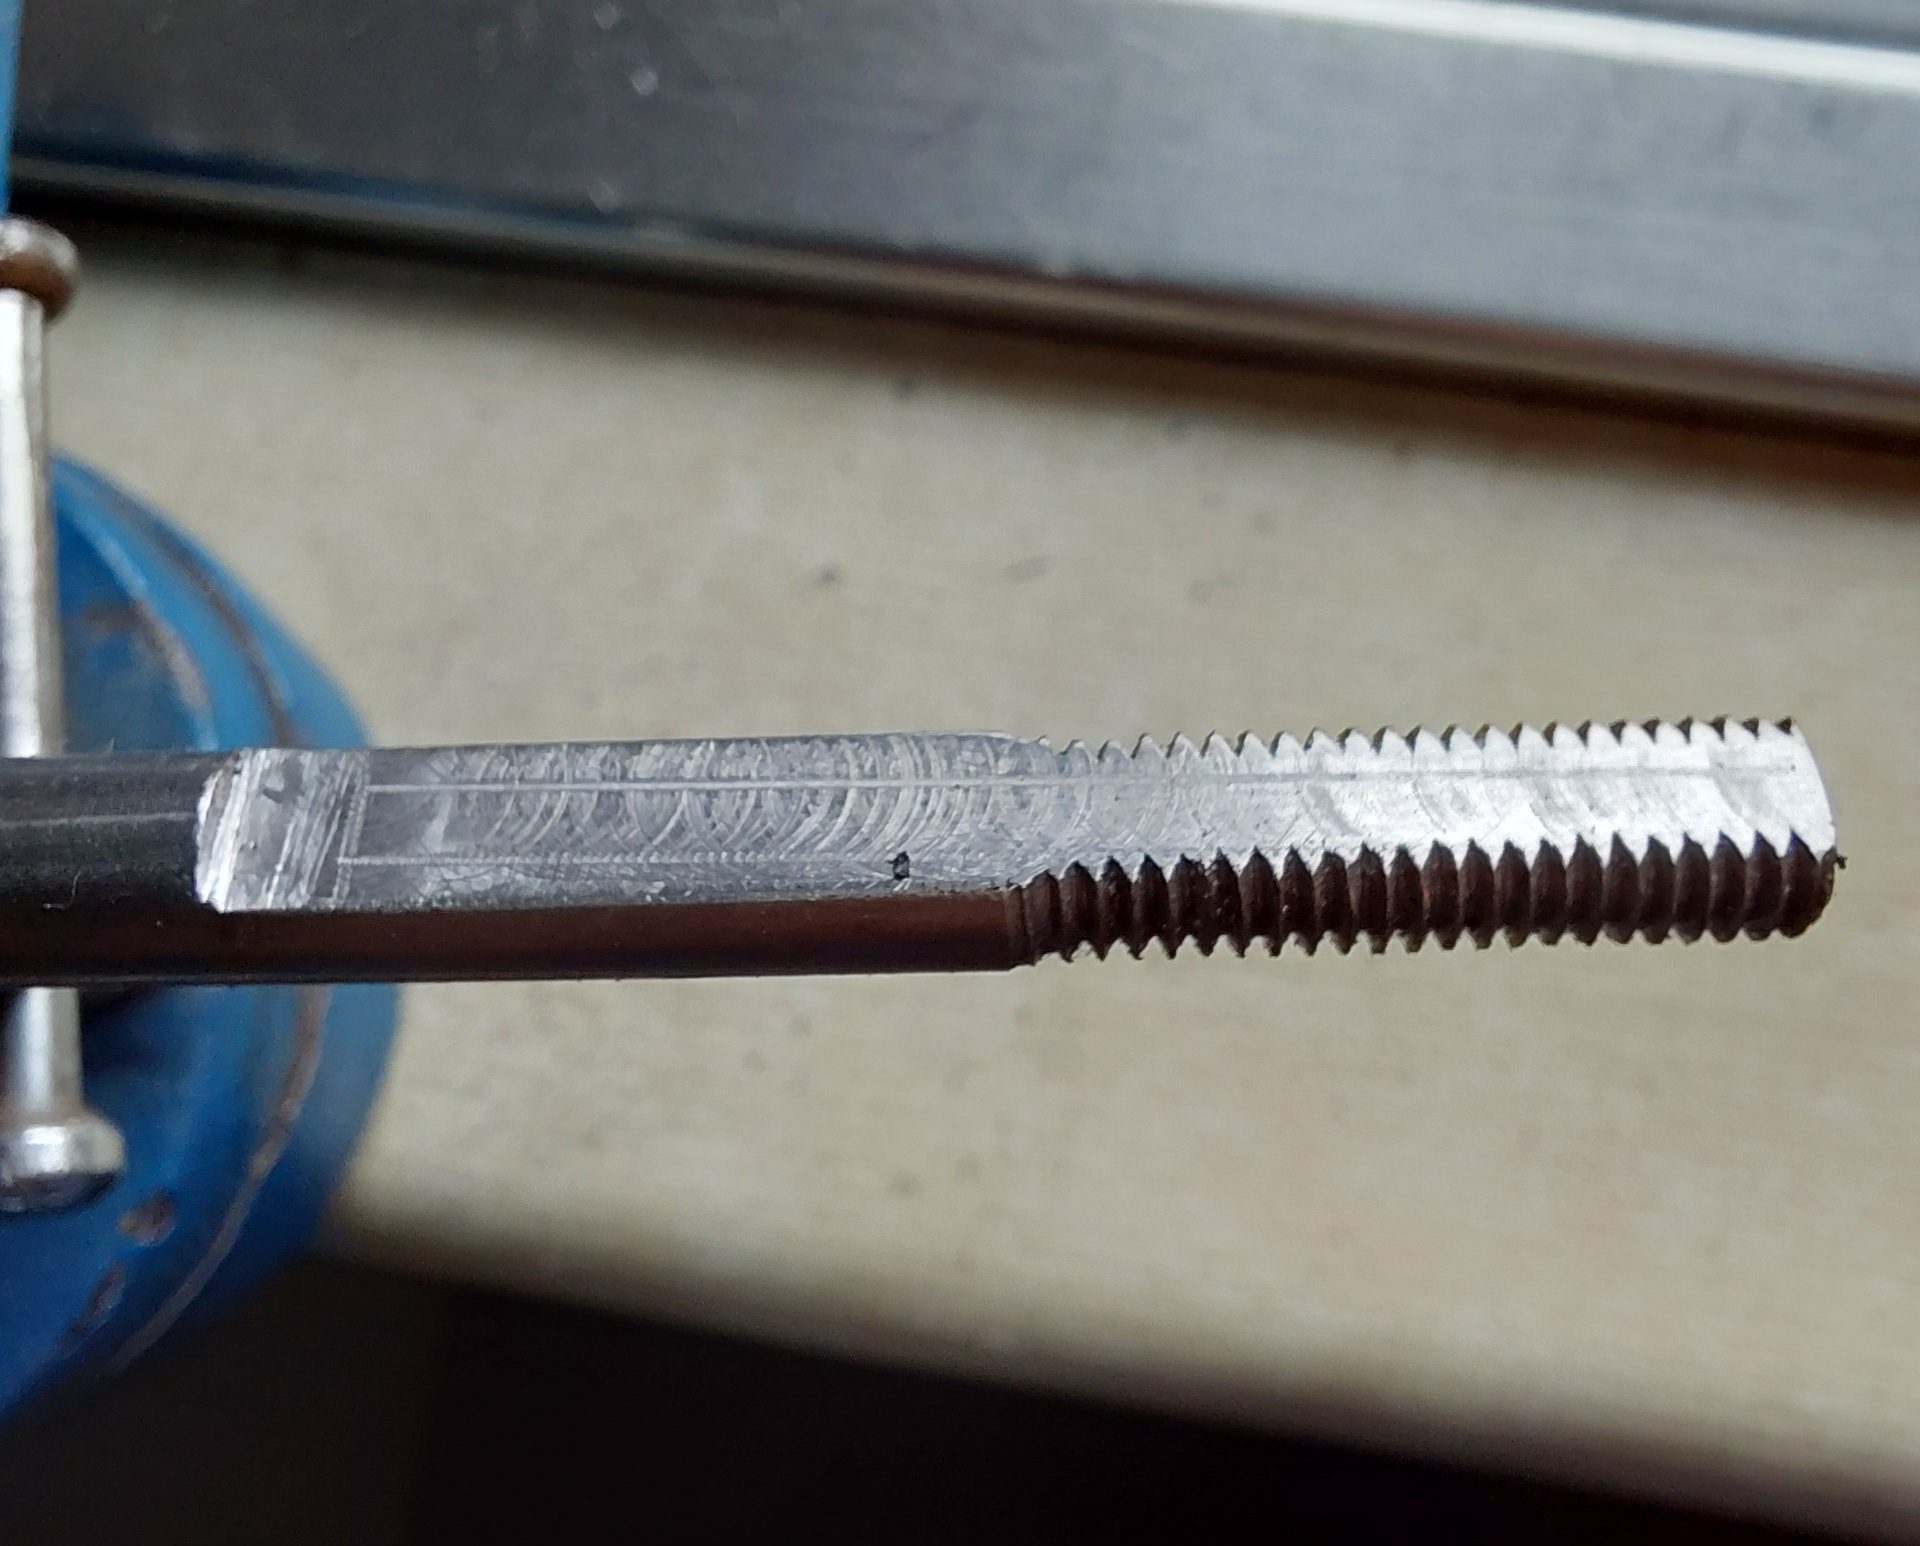
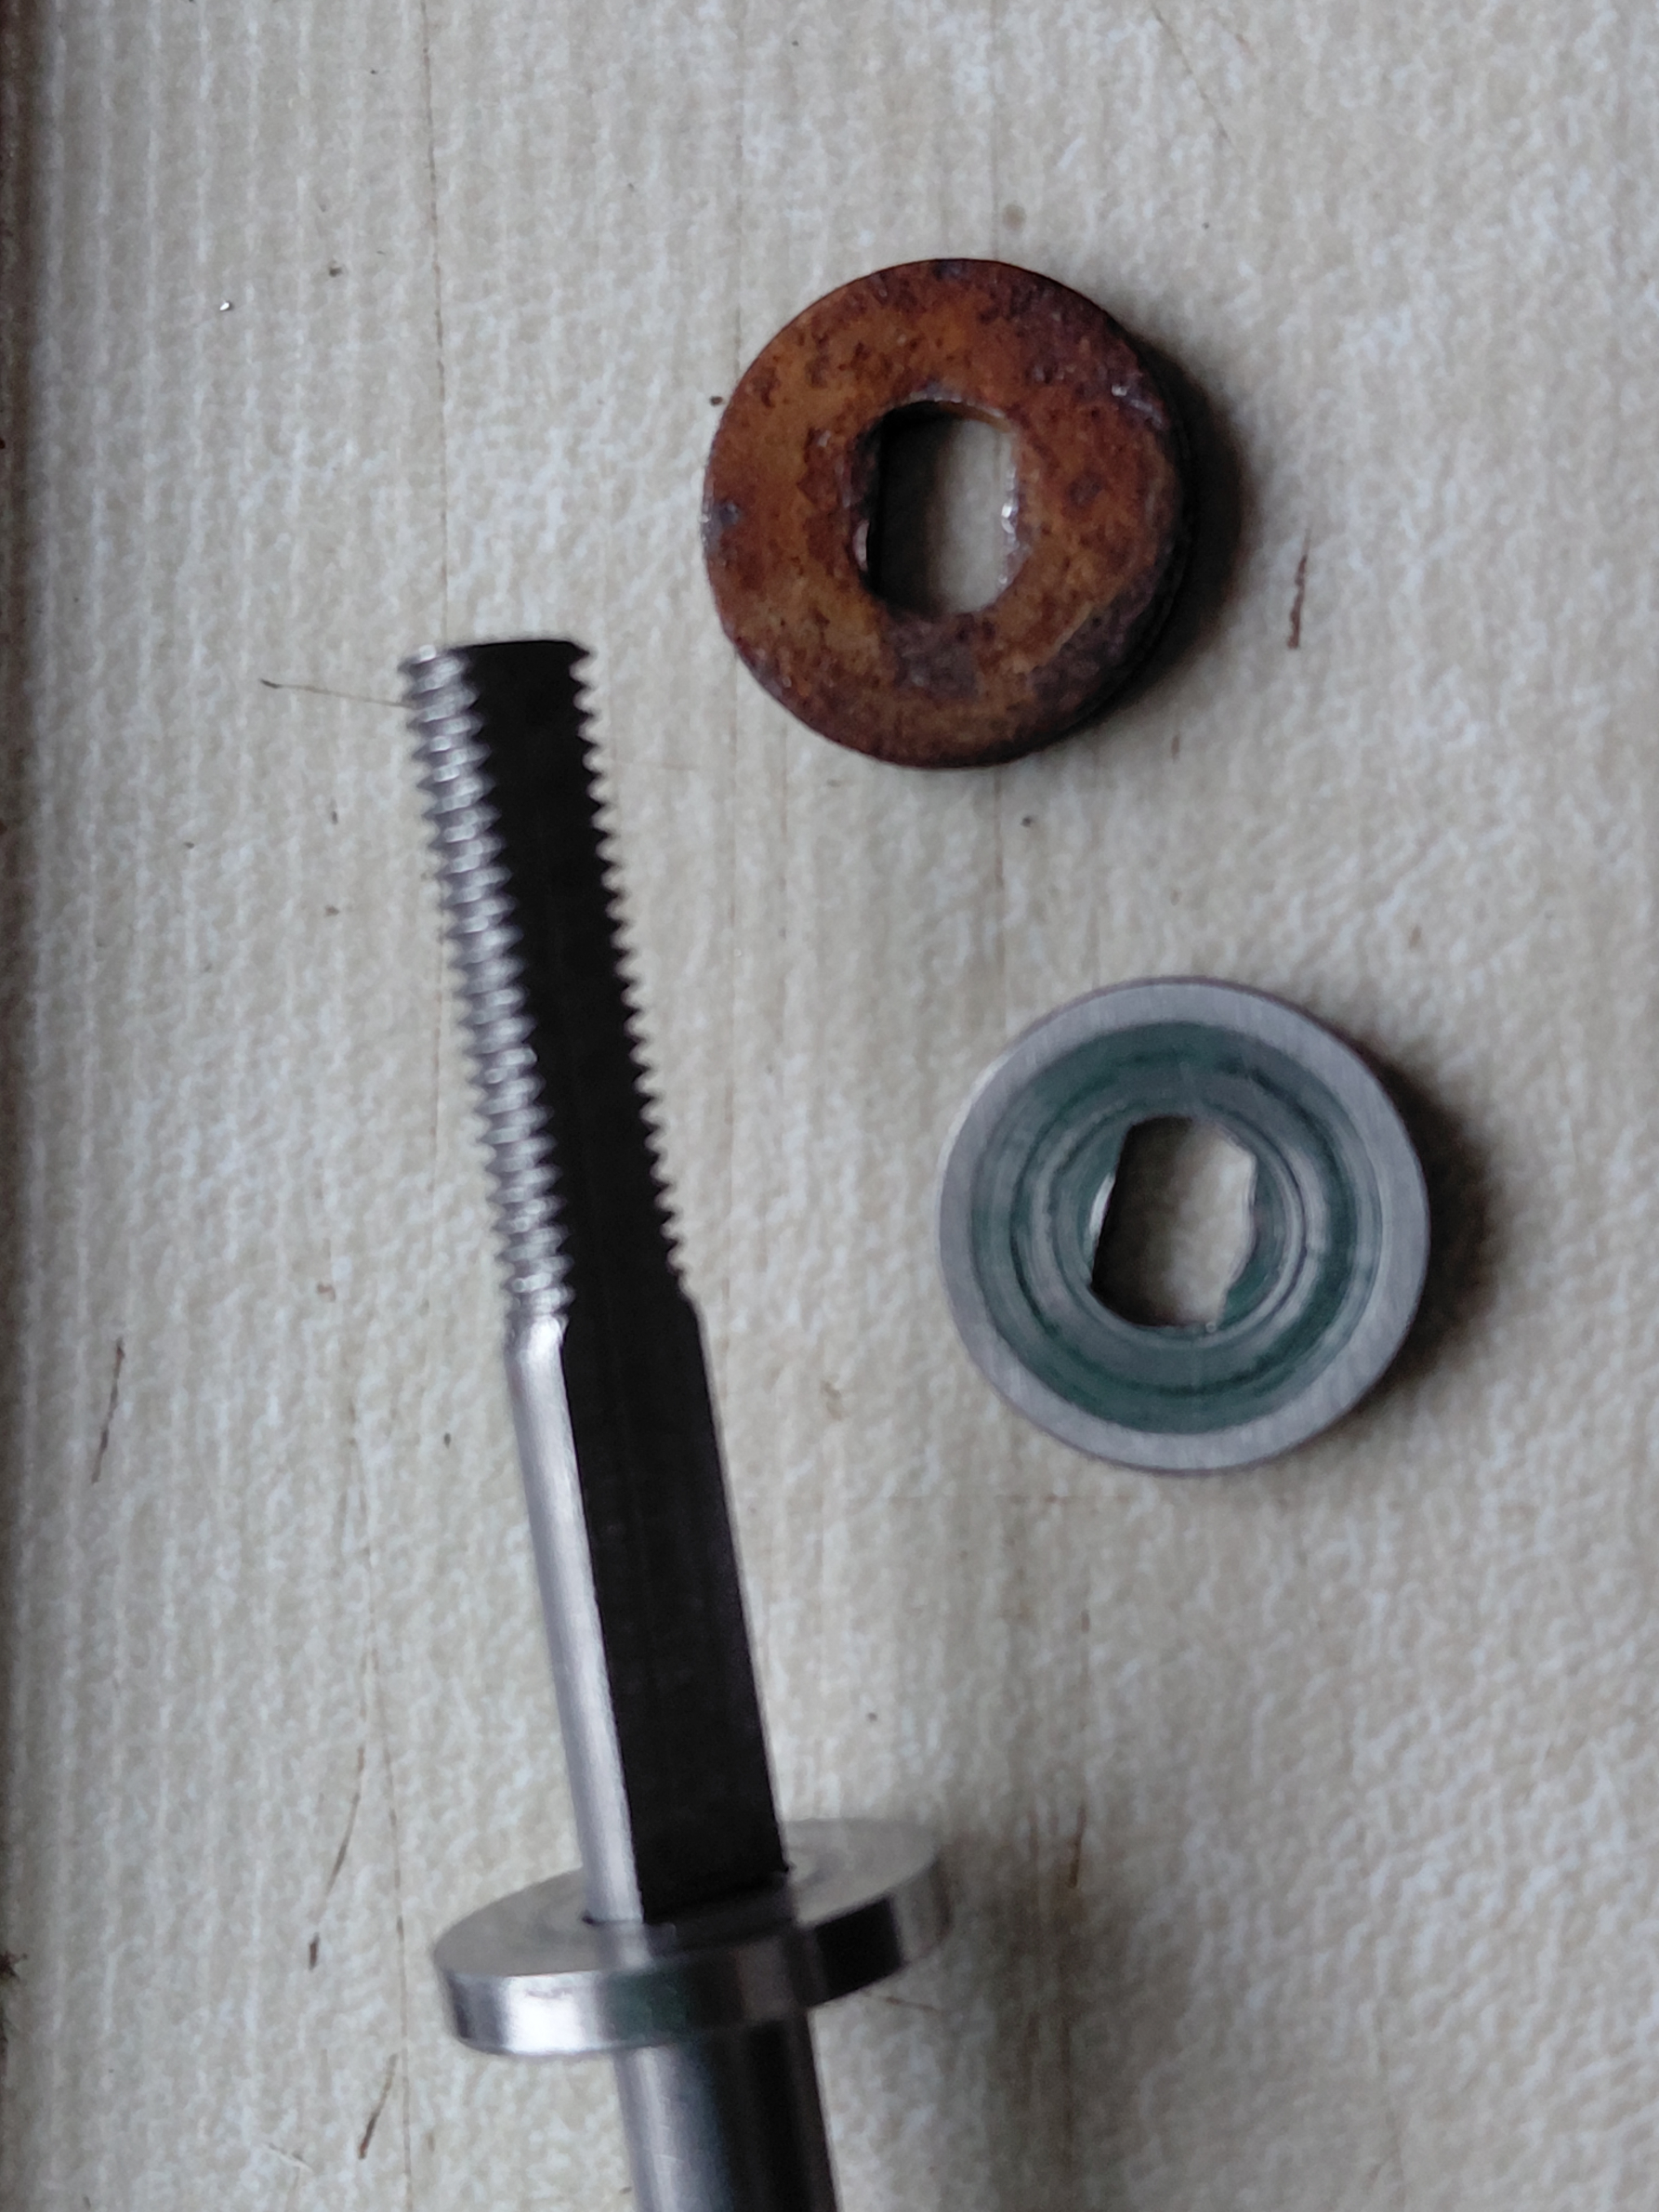
Above shows the finished bar (1 end) so the original washer, spring and nut will fit (below).
上は完成したバー (1 つの端) を示しており、元のワッシャー、スプリング、ナットがフィットします (下)。
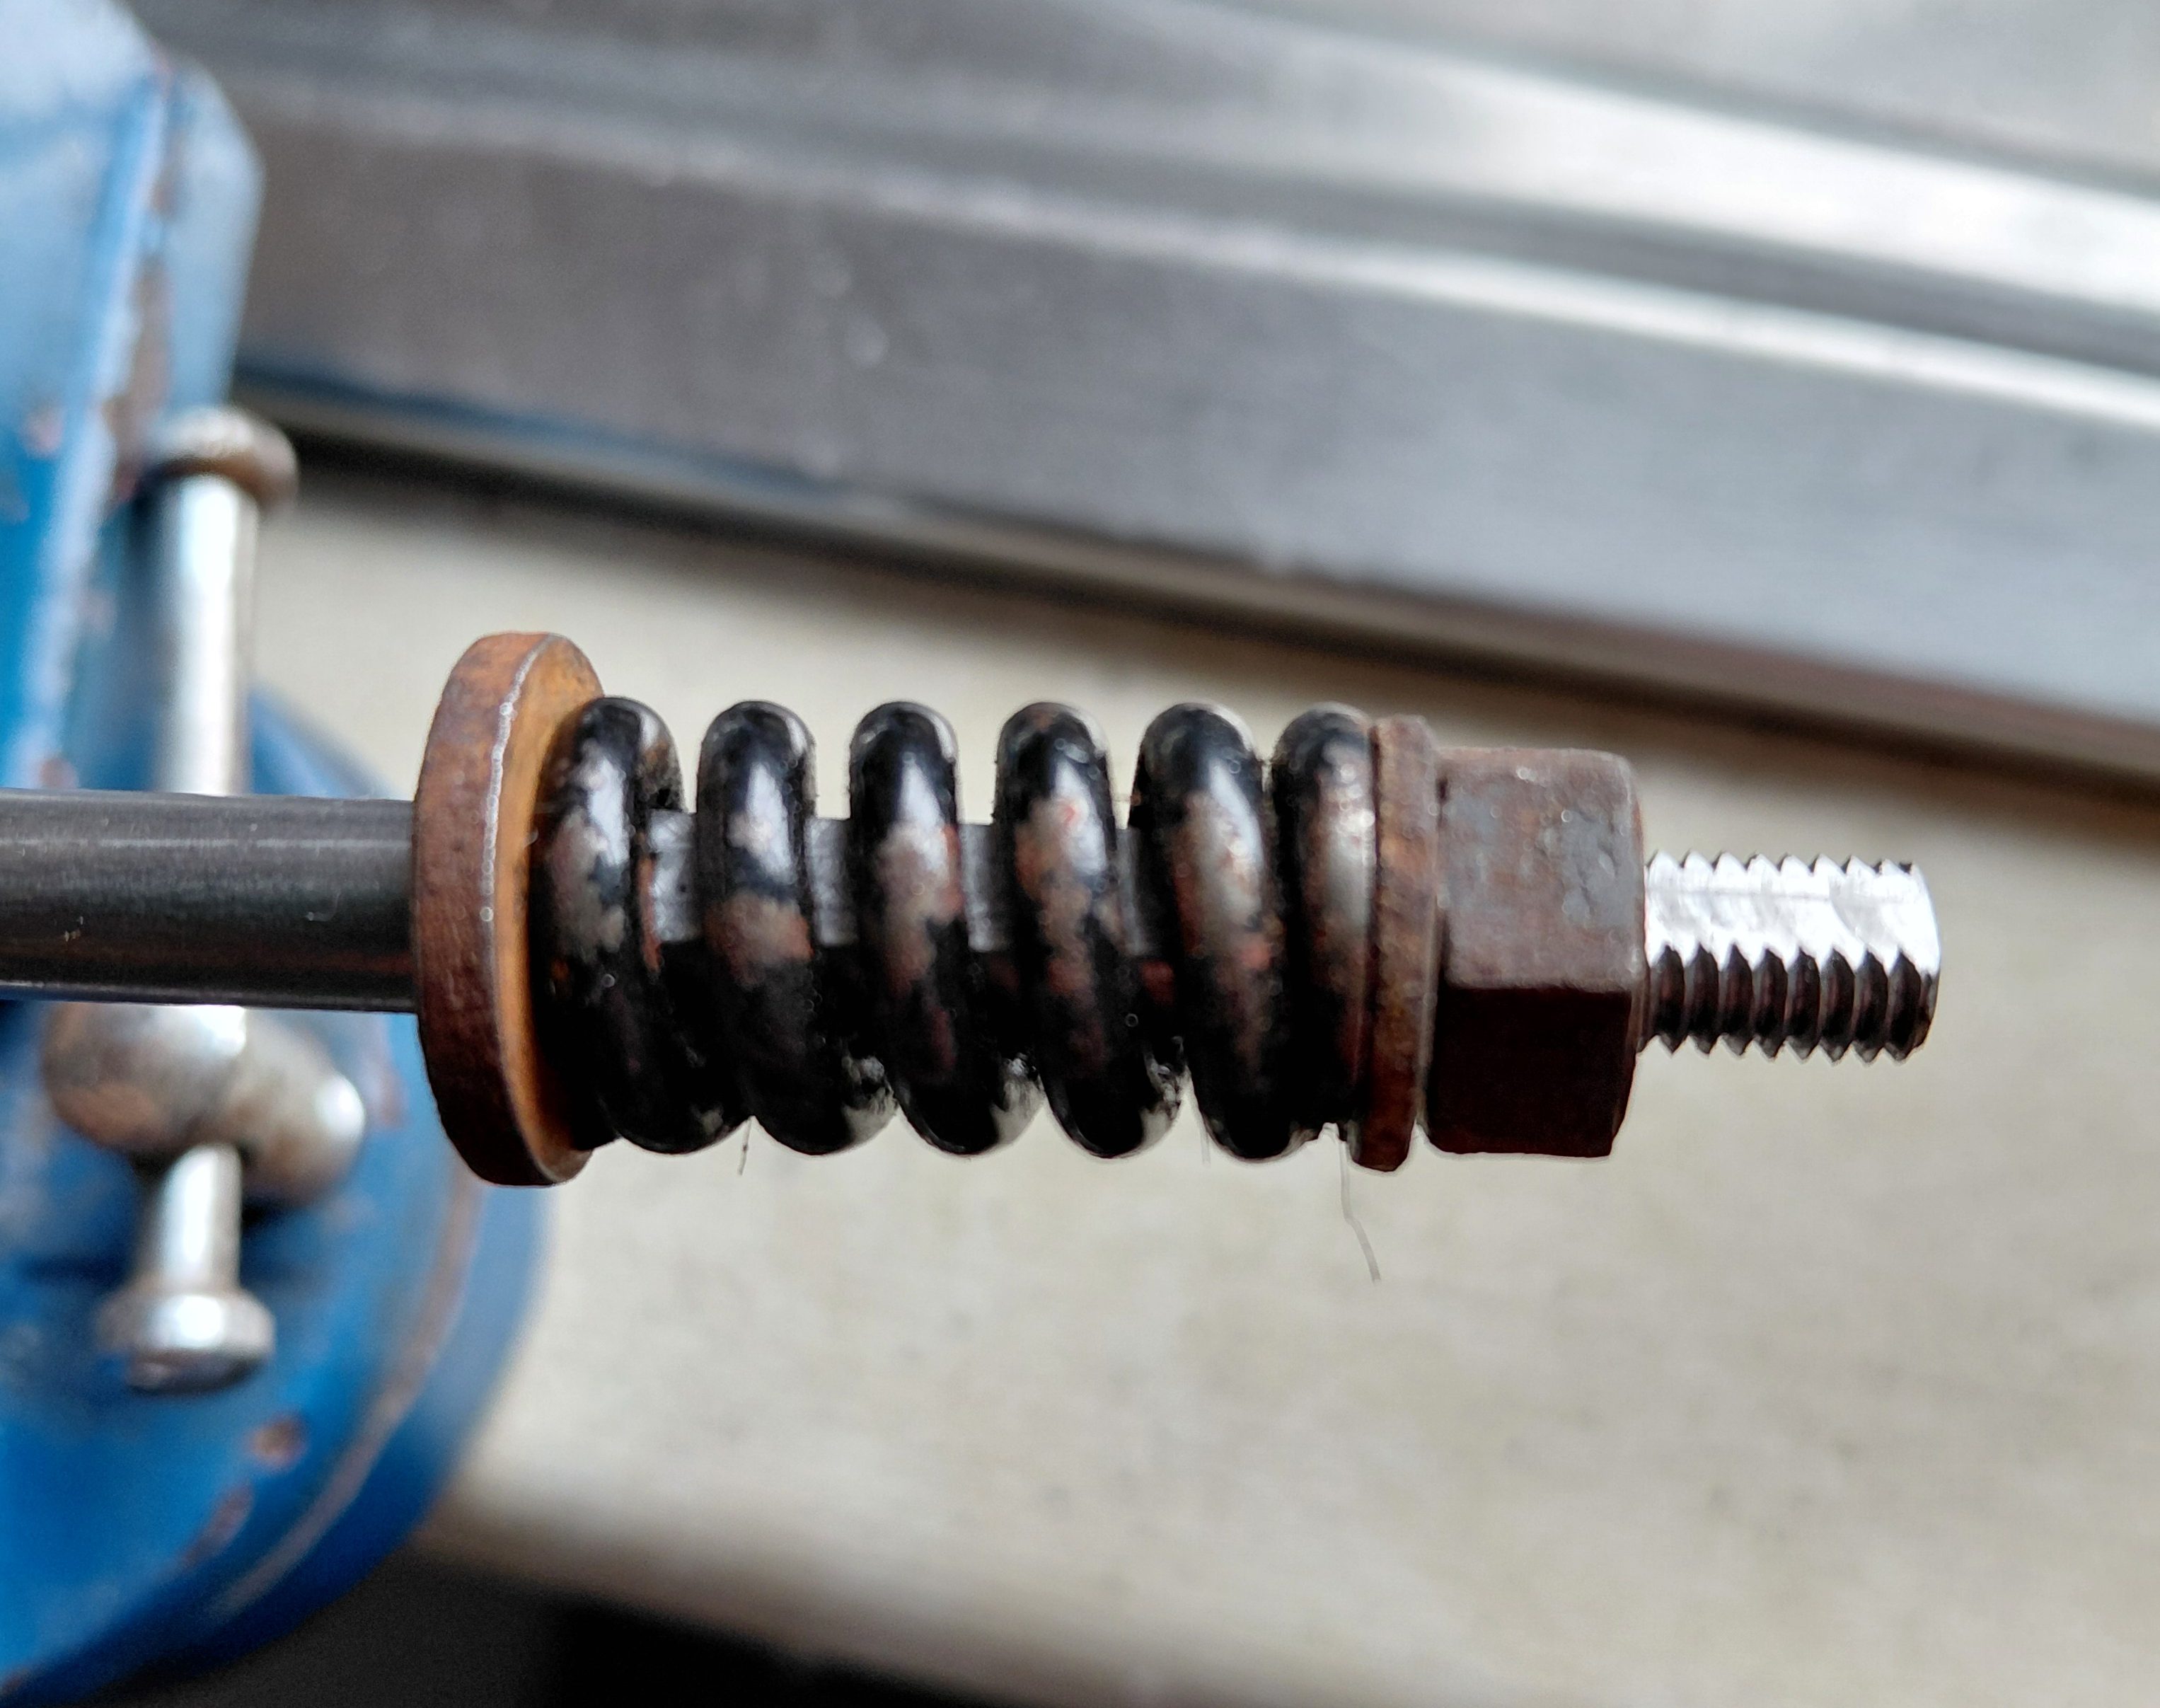
The original washer (mentioned above) is a special one, as the hole is not round, but elongated to fit the profile of the threaded stud and the two machined flats. I only had one original washer, so I made a new one as well (below).
オリジナルのワッシャー(上記参照)は特殊なもので、穴が丸ではなく、ネジ付きスタッドと2つの機械加工された平面部の形状に合わせて細長くなっています。オリジナルのワッシャーは1枚しかなかったので、新しいものも作りました(下記参照)。
The original threaded stud on the quarter window pivot angles forward and also inward. So I filed the new threaded studs to fit the correct angle forward. The welder will cut the new threaded stud to length and add the correct angle inward.(Angle marked on below photo)
クォーターウィンドウのピボットに元々付いていたネジスタッドは、前方にも内側にも角度がついていました。そこで、新しいネジスタッドをヤスリで削り、前方への角度が正しくなるように調整しました。溶接工は、新しいネジスタッドを適切な長さに切断し、内側への角度を正しく調整します。(下の写真に角度がマークされています).
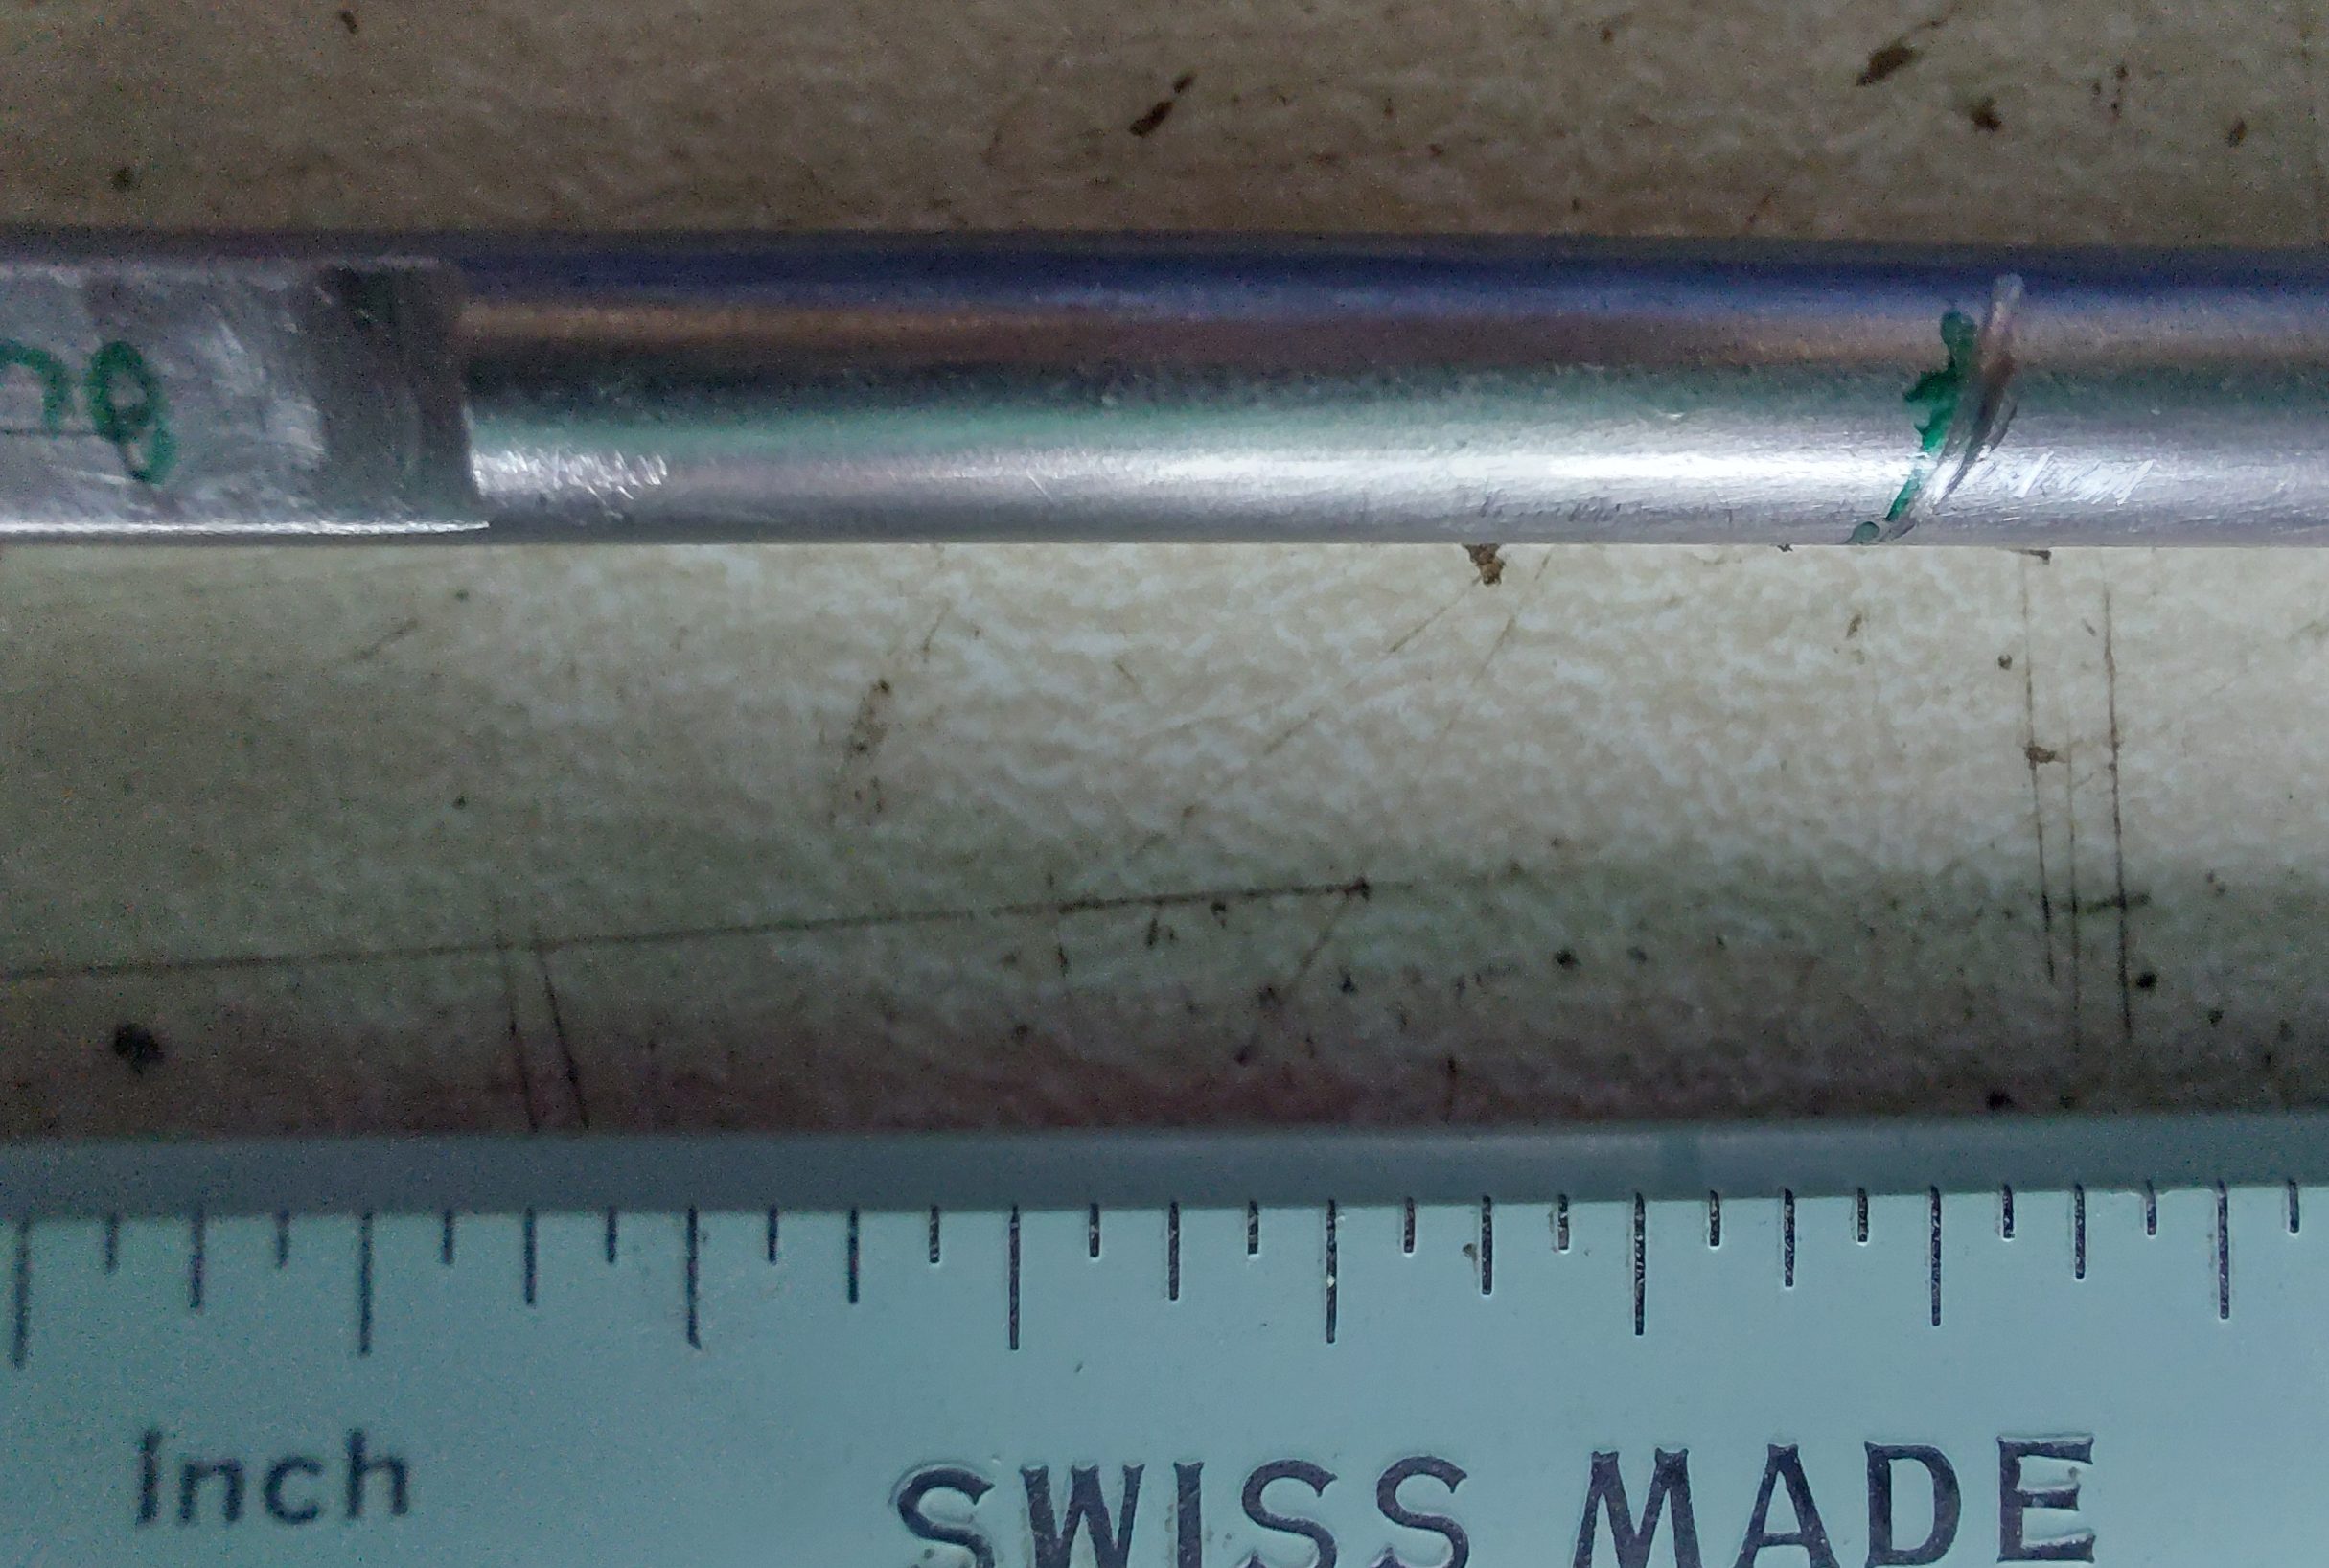
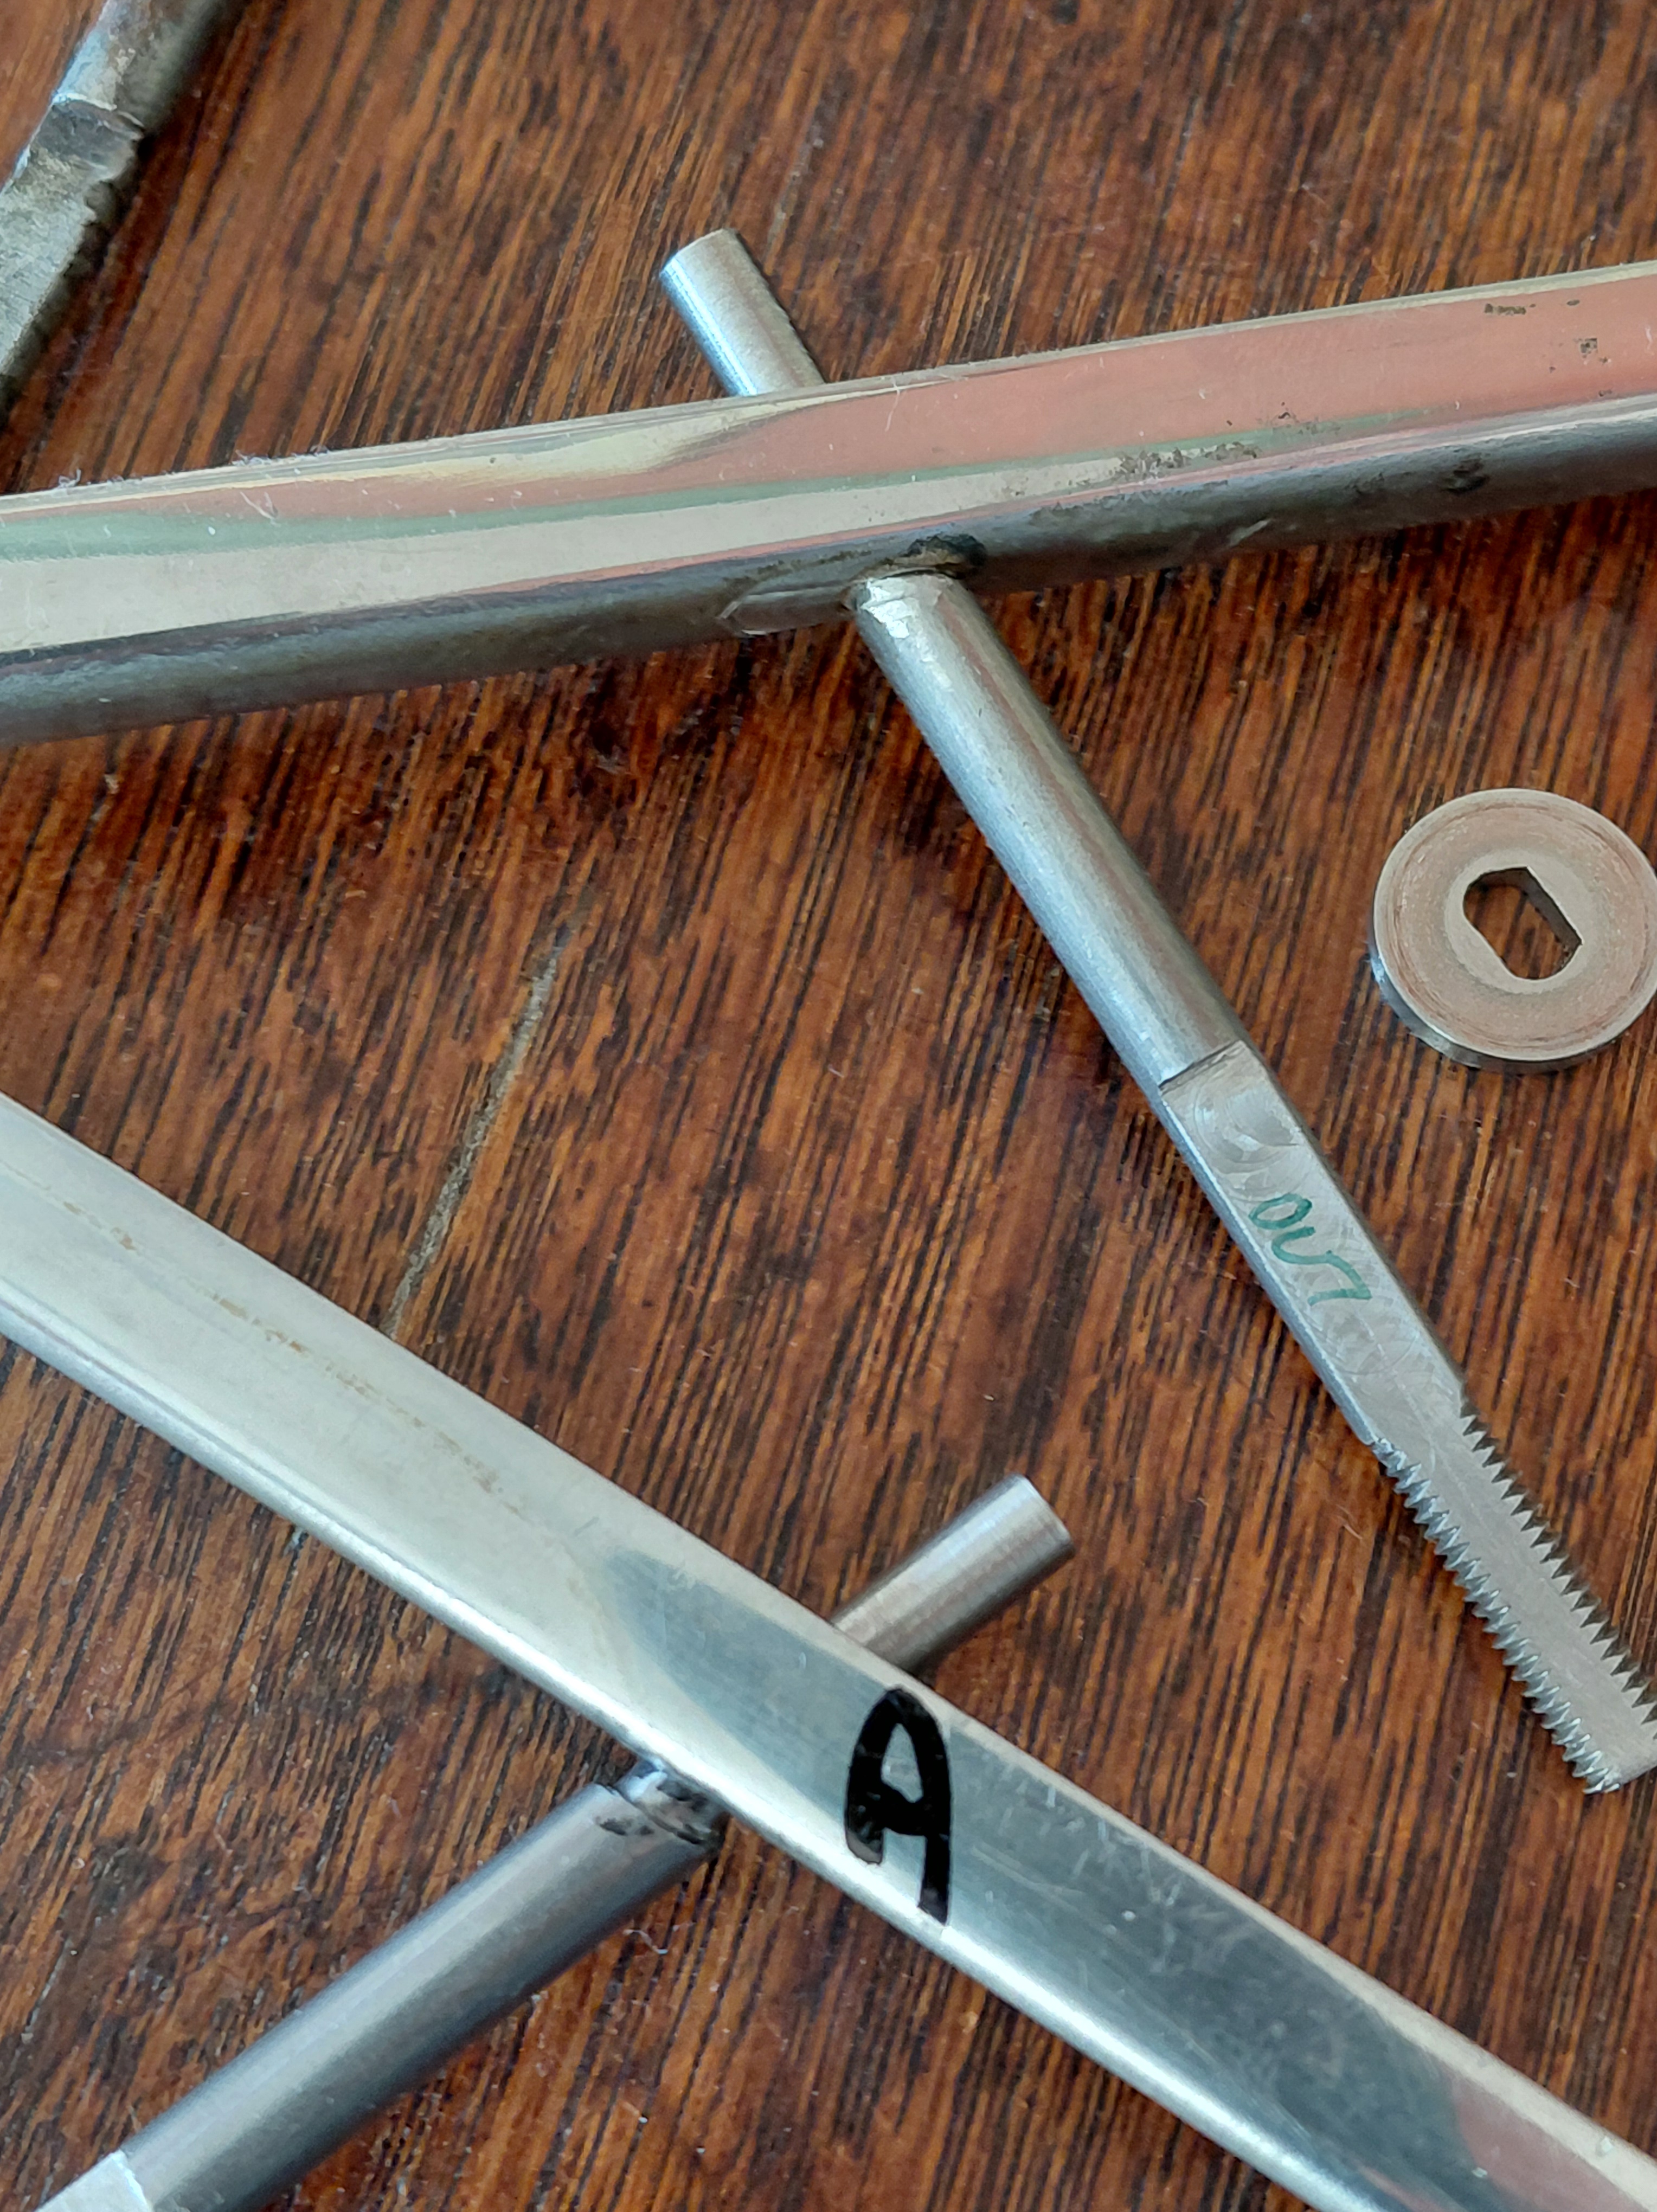
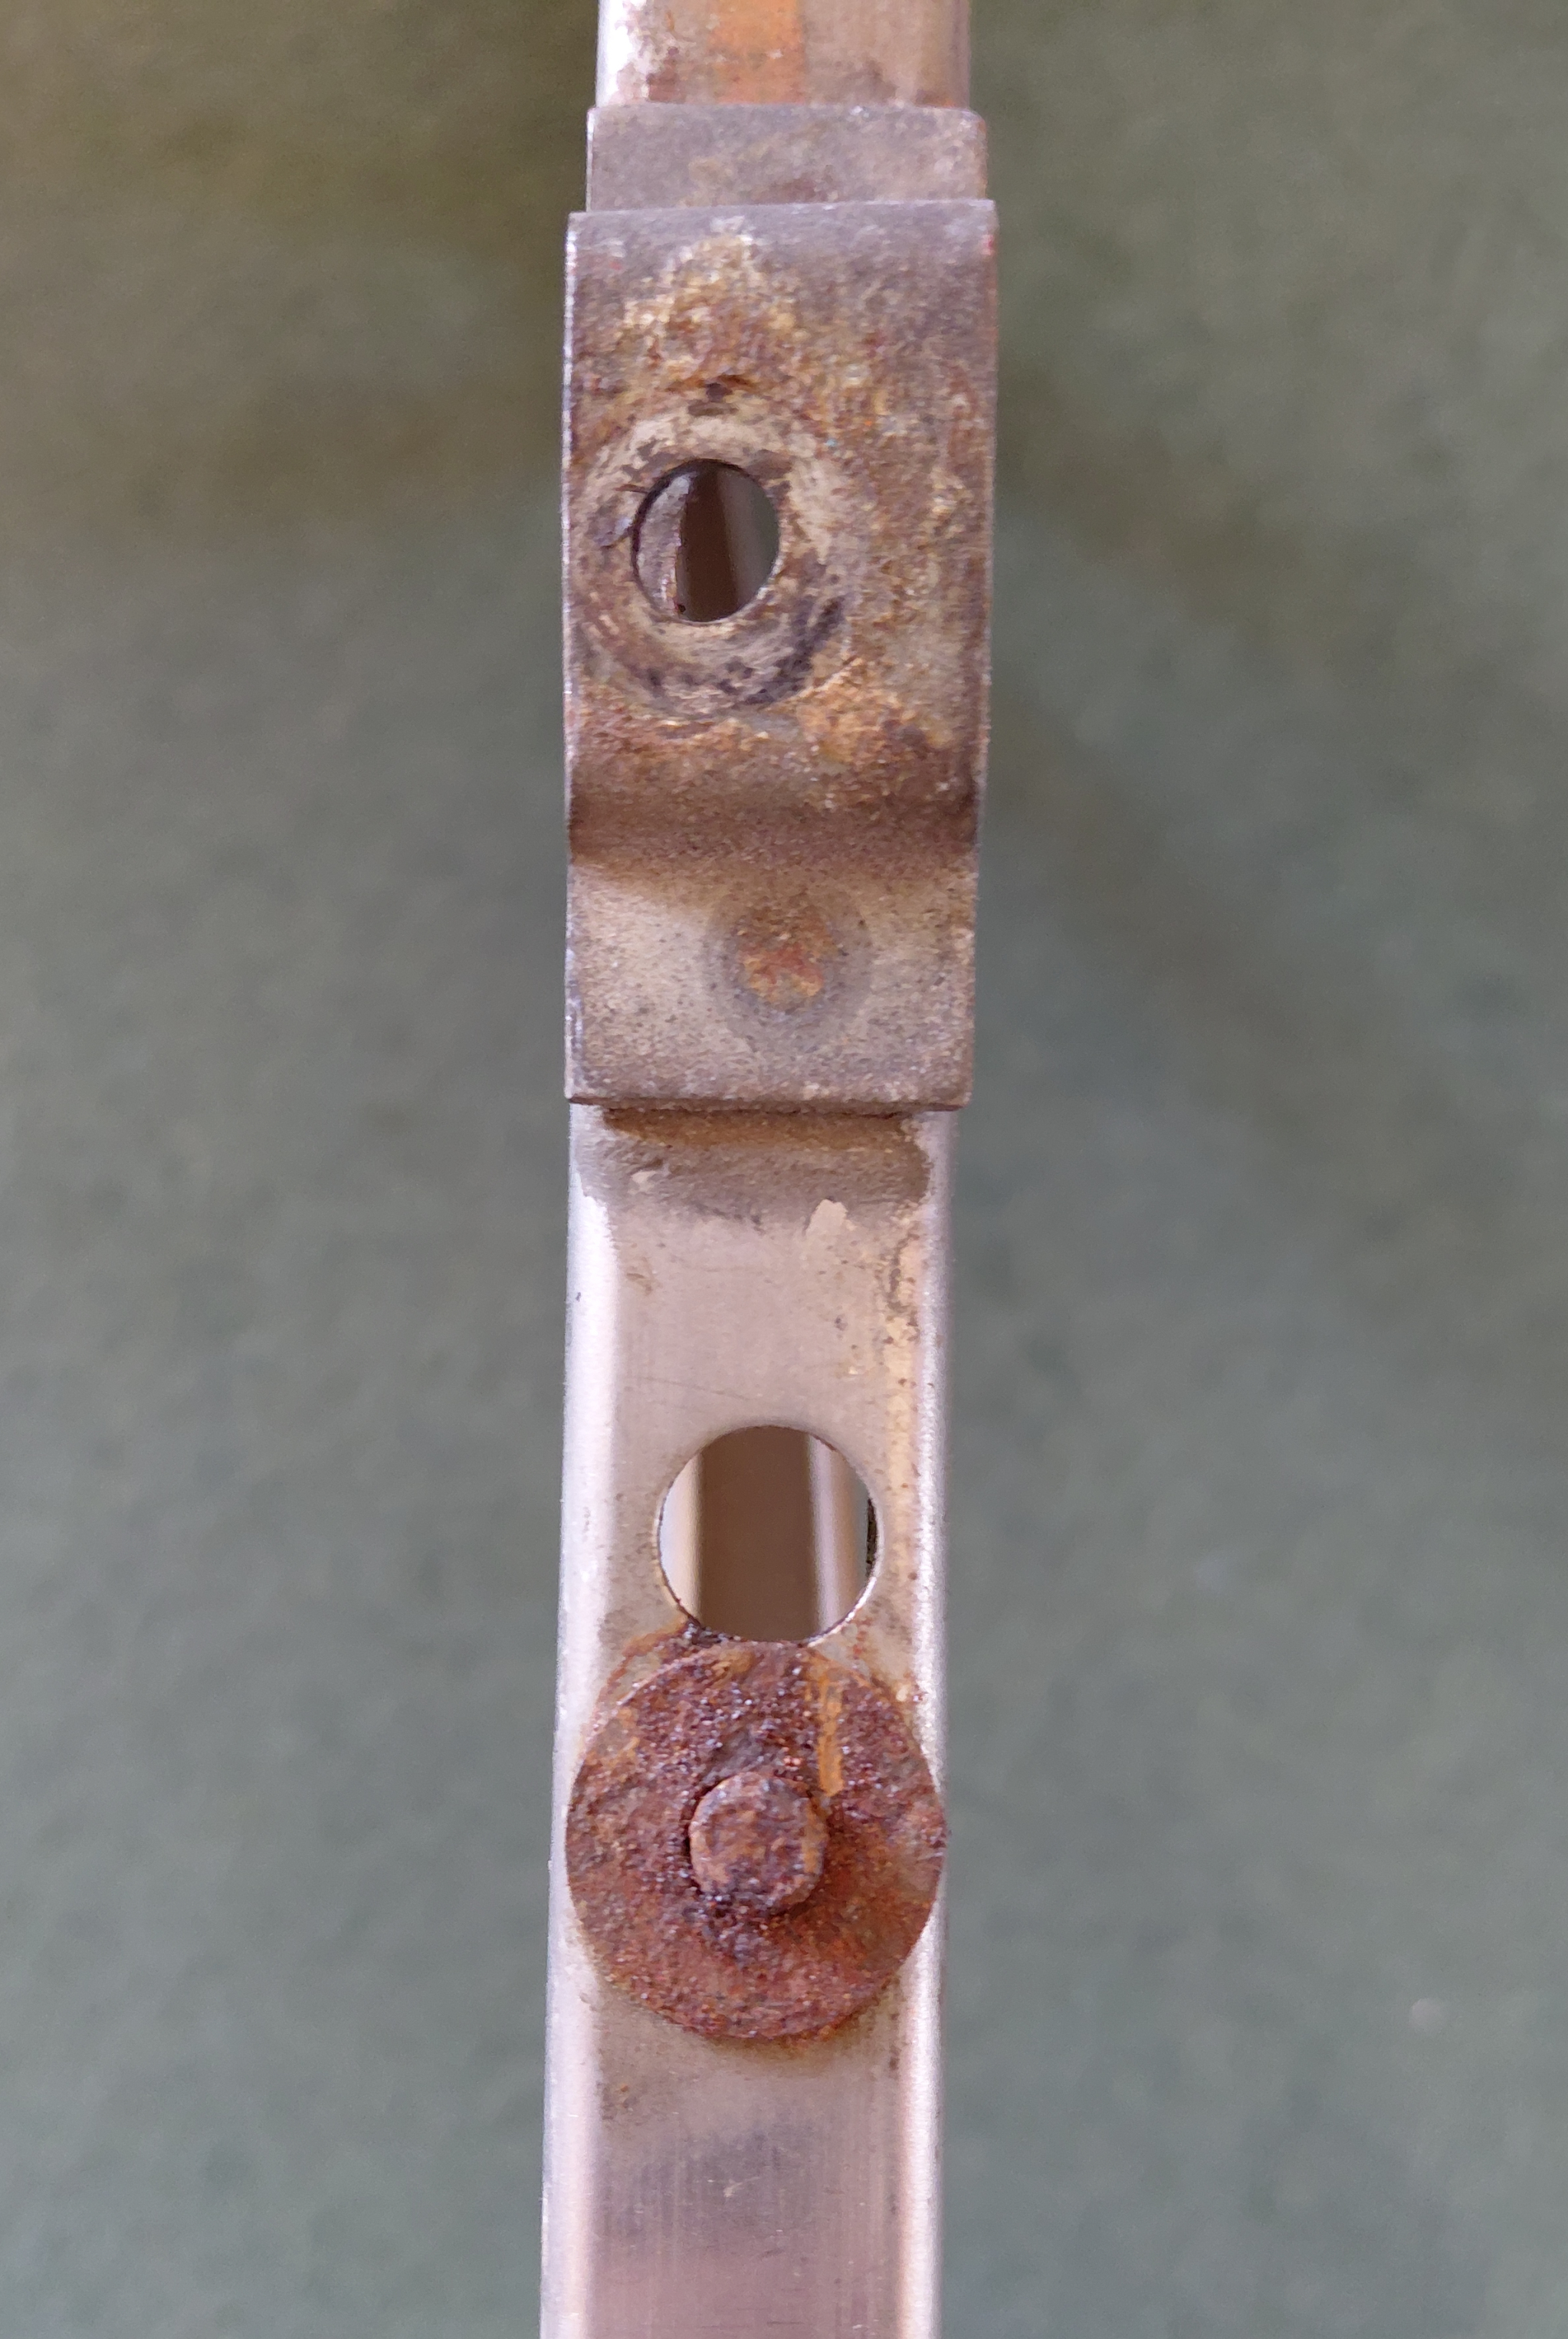
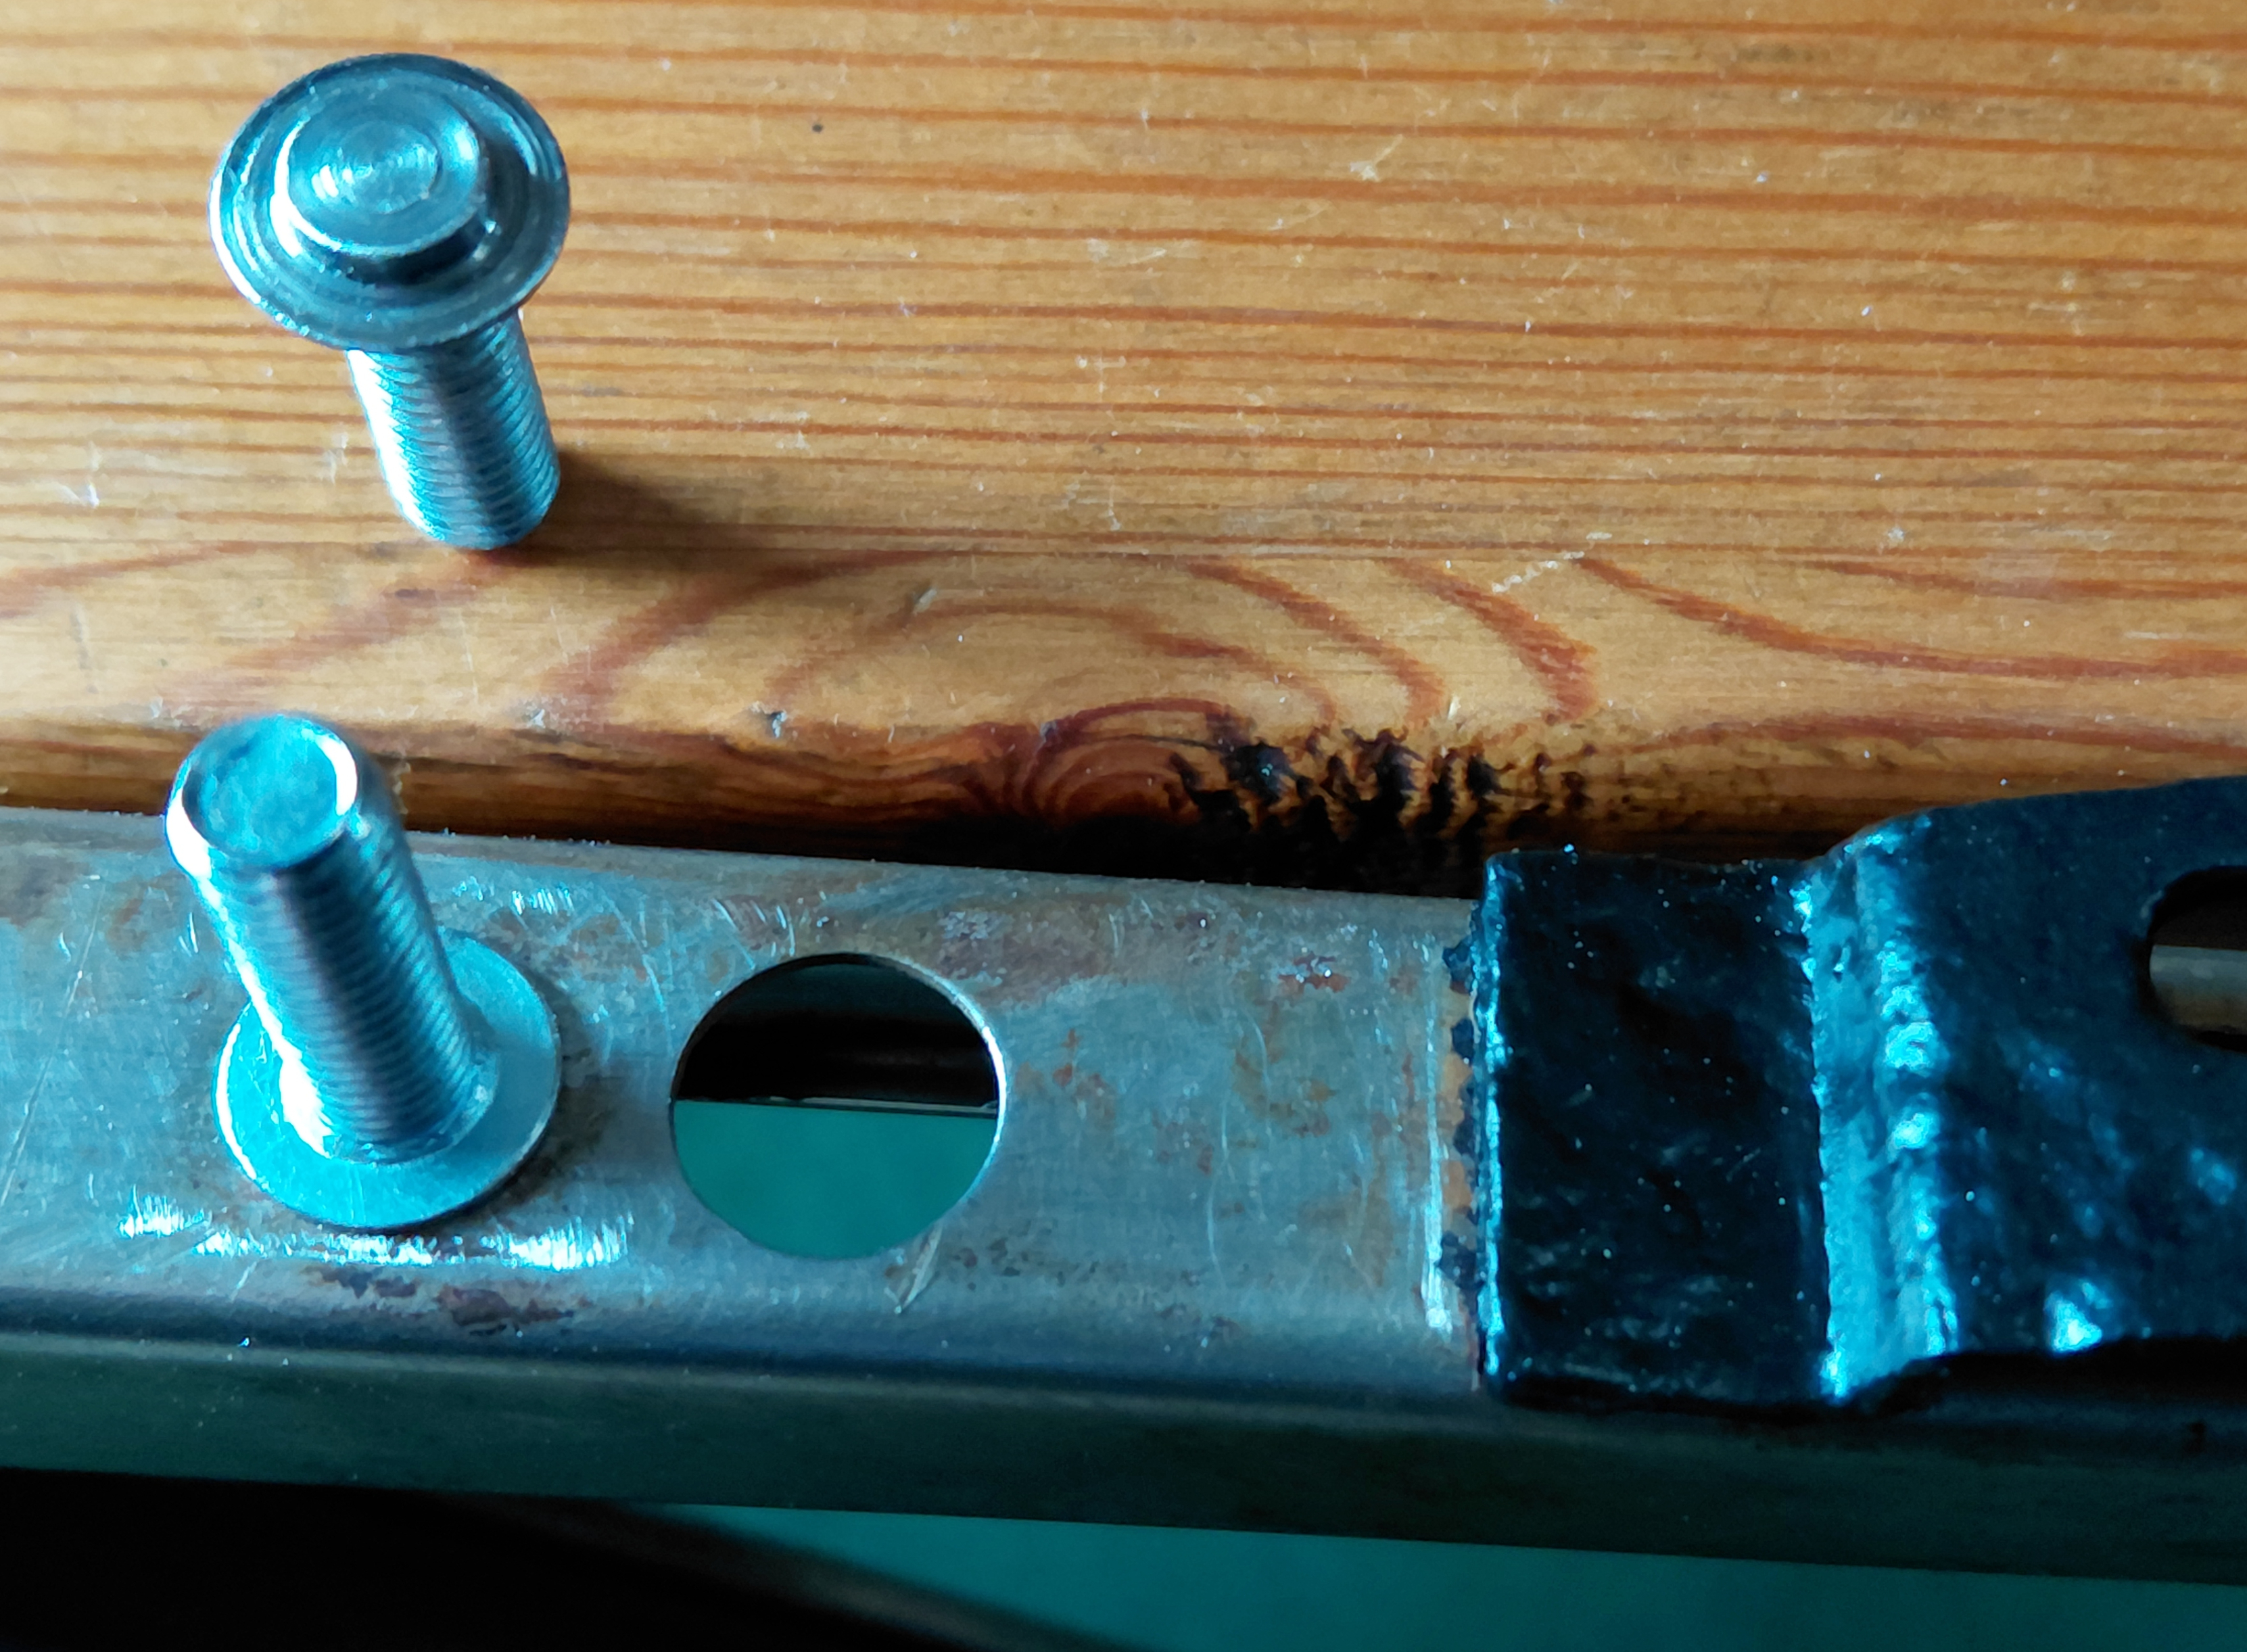
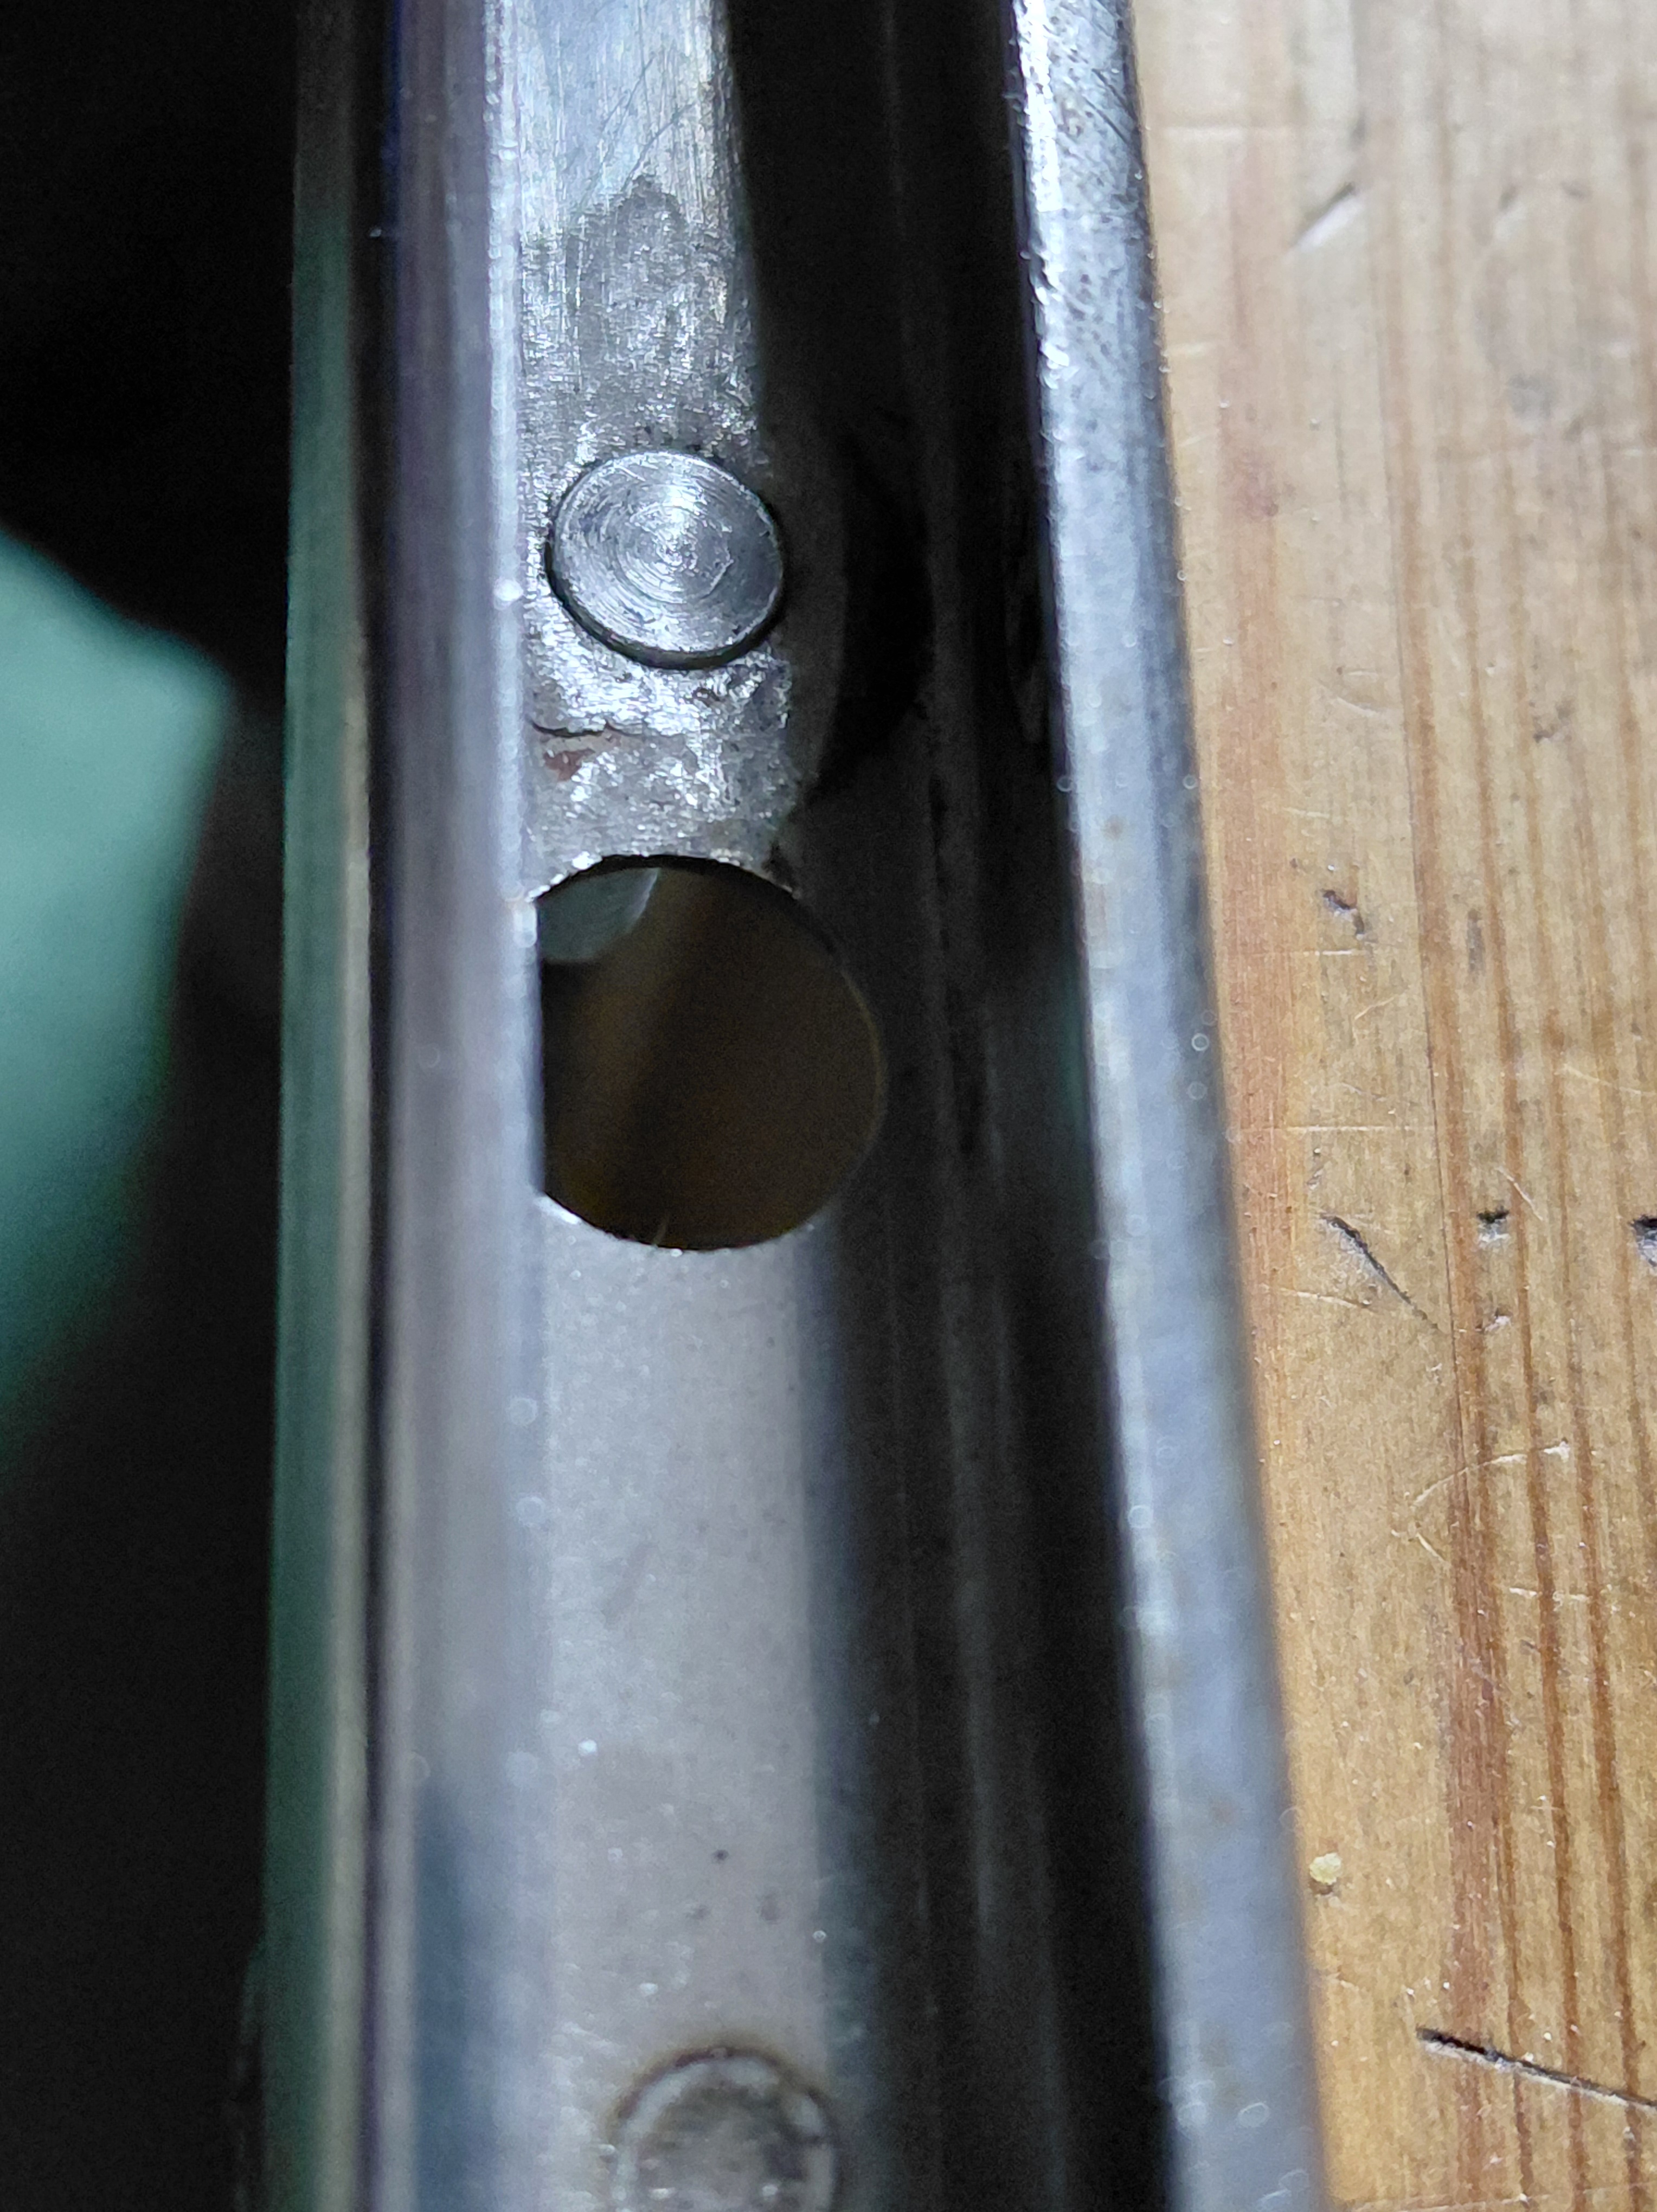
The last making job on the door frames is the fixing stud that holds the frame to the door, under the quarter window. Both of mine are rusty, too short or broken. So, I made some new ones to be welded in. The first couple of pictures shows the original stud, with its round domed head in the frame channel. Followed by the new studs to fit.
ドア枠の最後の作業は、クォーターウィンドウの下、枠をドアに固定する固定スタッドの取り付けです。私のものは両方とも錆びていたり、短すぎたり、壊れていたりしました。そこで、溶接用に新しいスタッドをいくつか作りました。最初の数枚の写真は、丸いドーム型の頭が枠の溝に収まっている元のスタッドです。次に、新しいスタッドを取り付けます。
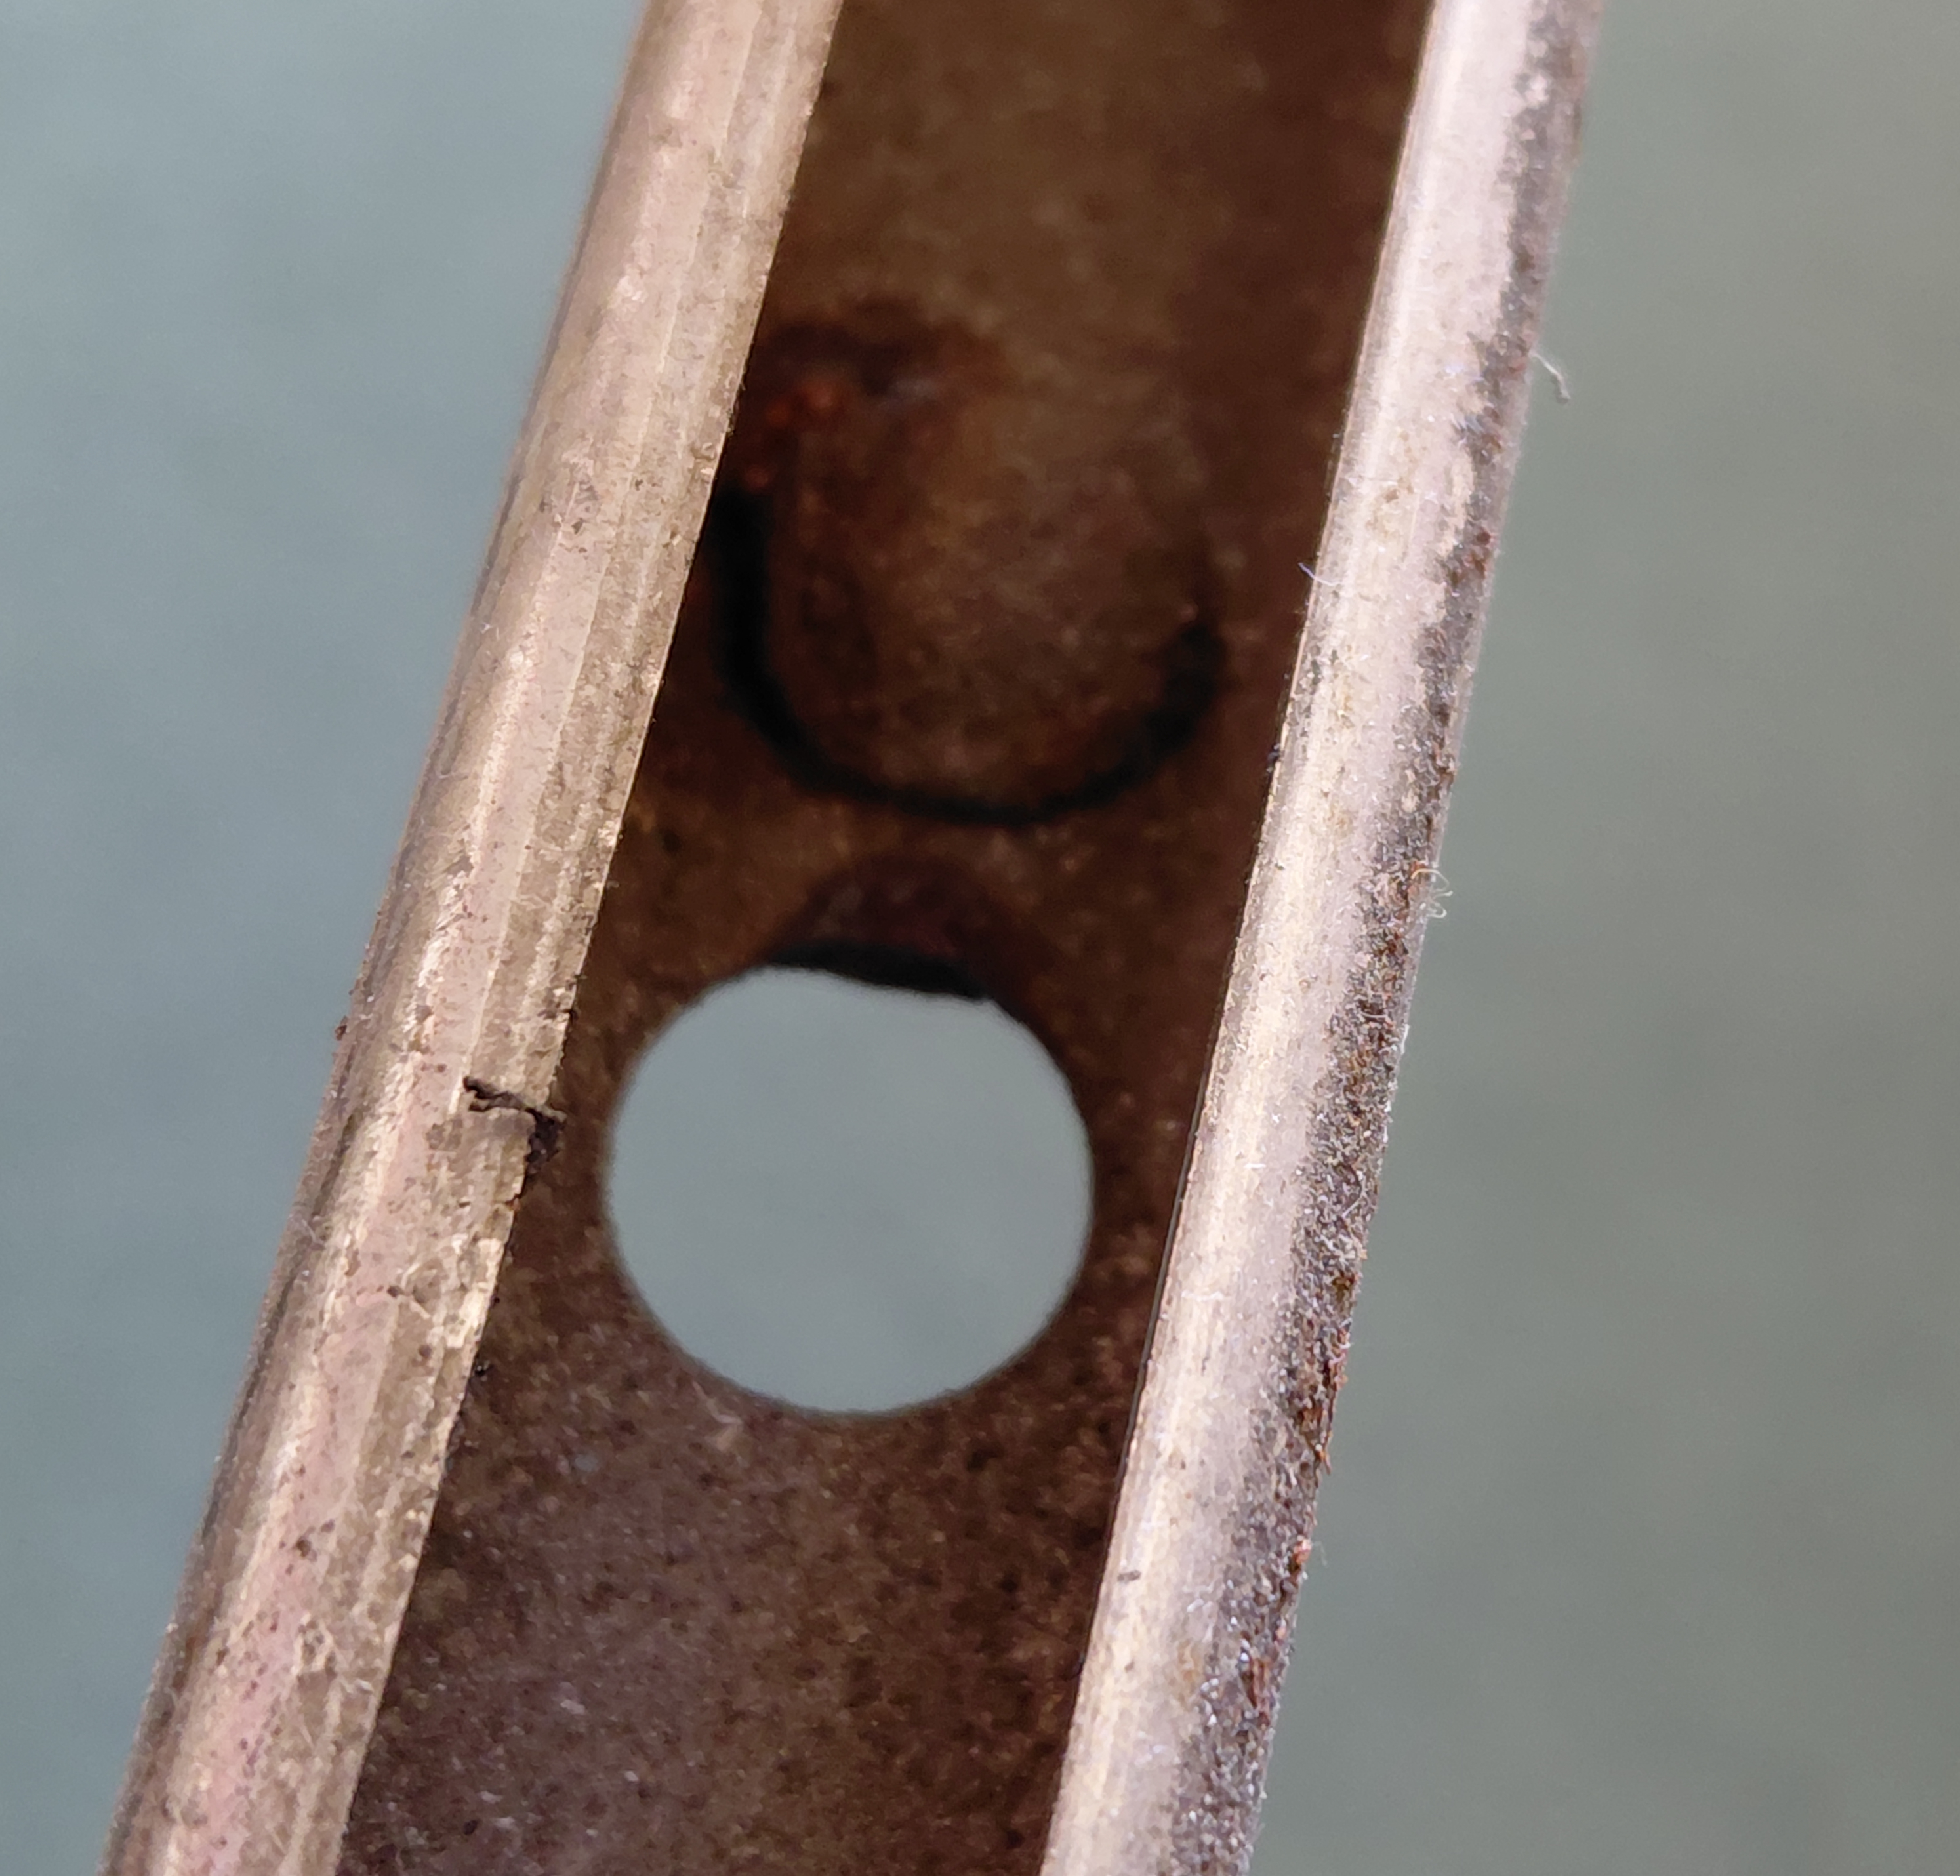
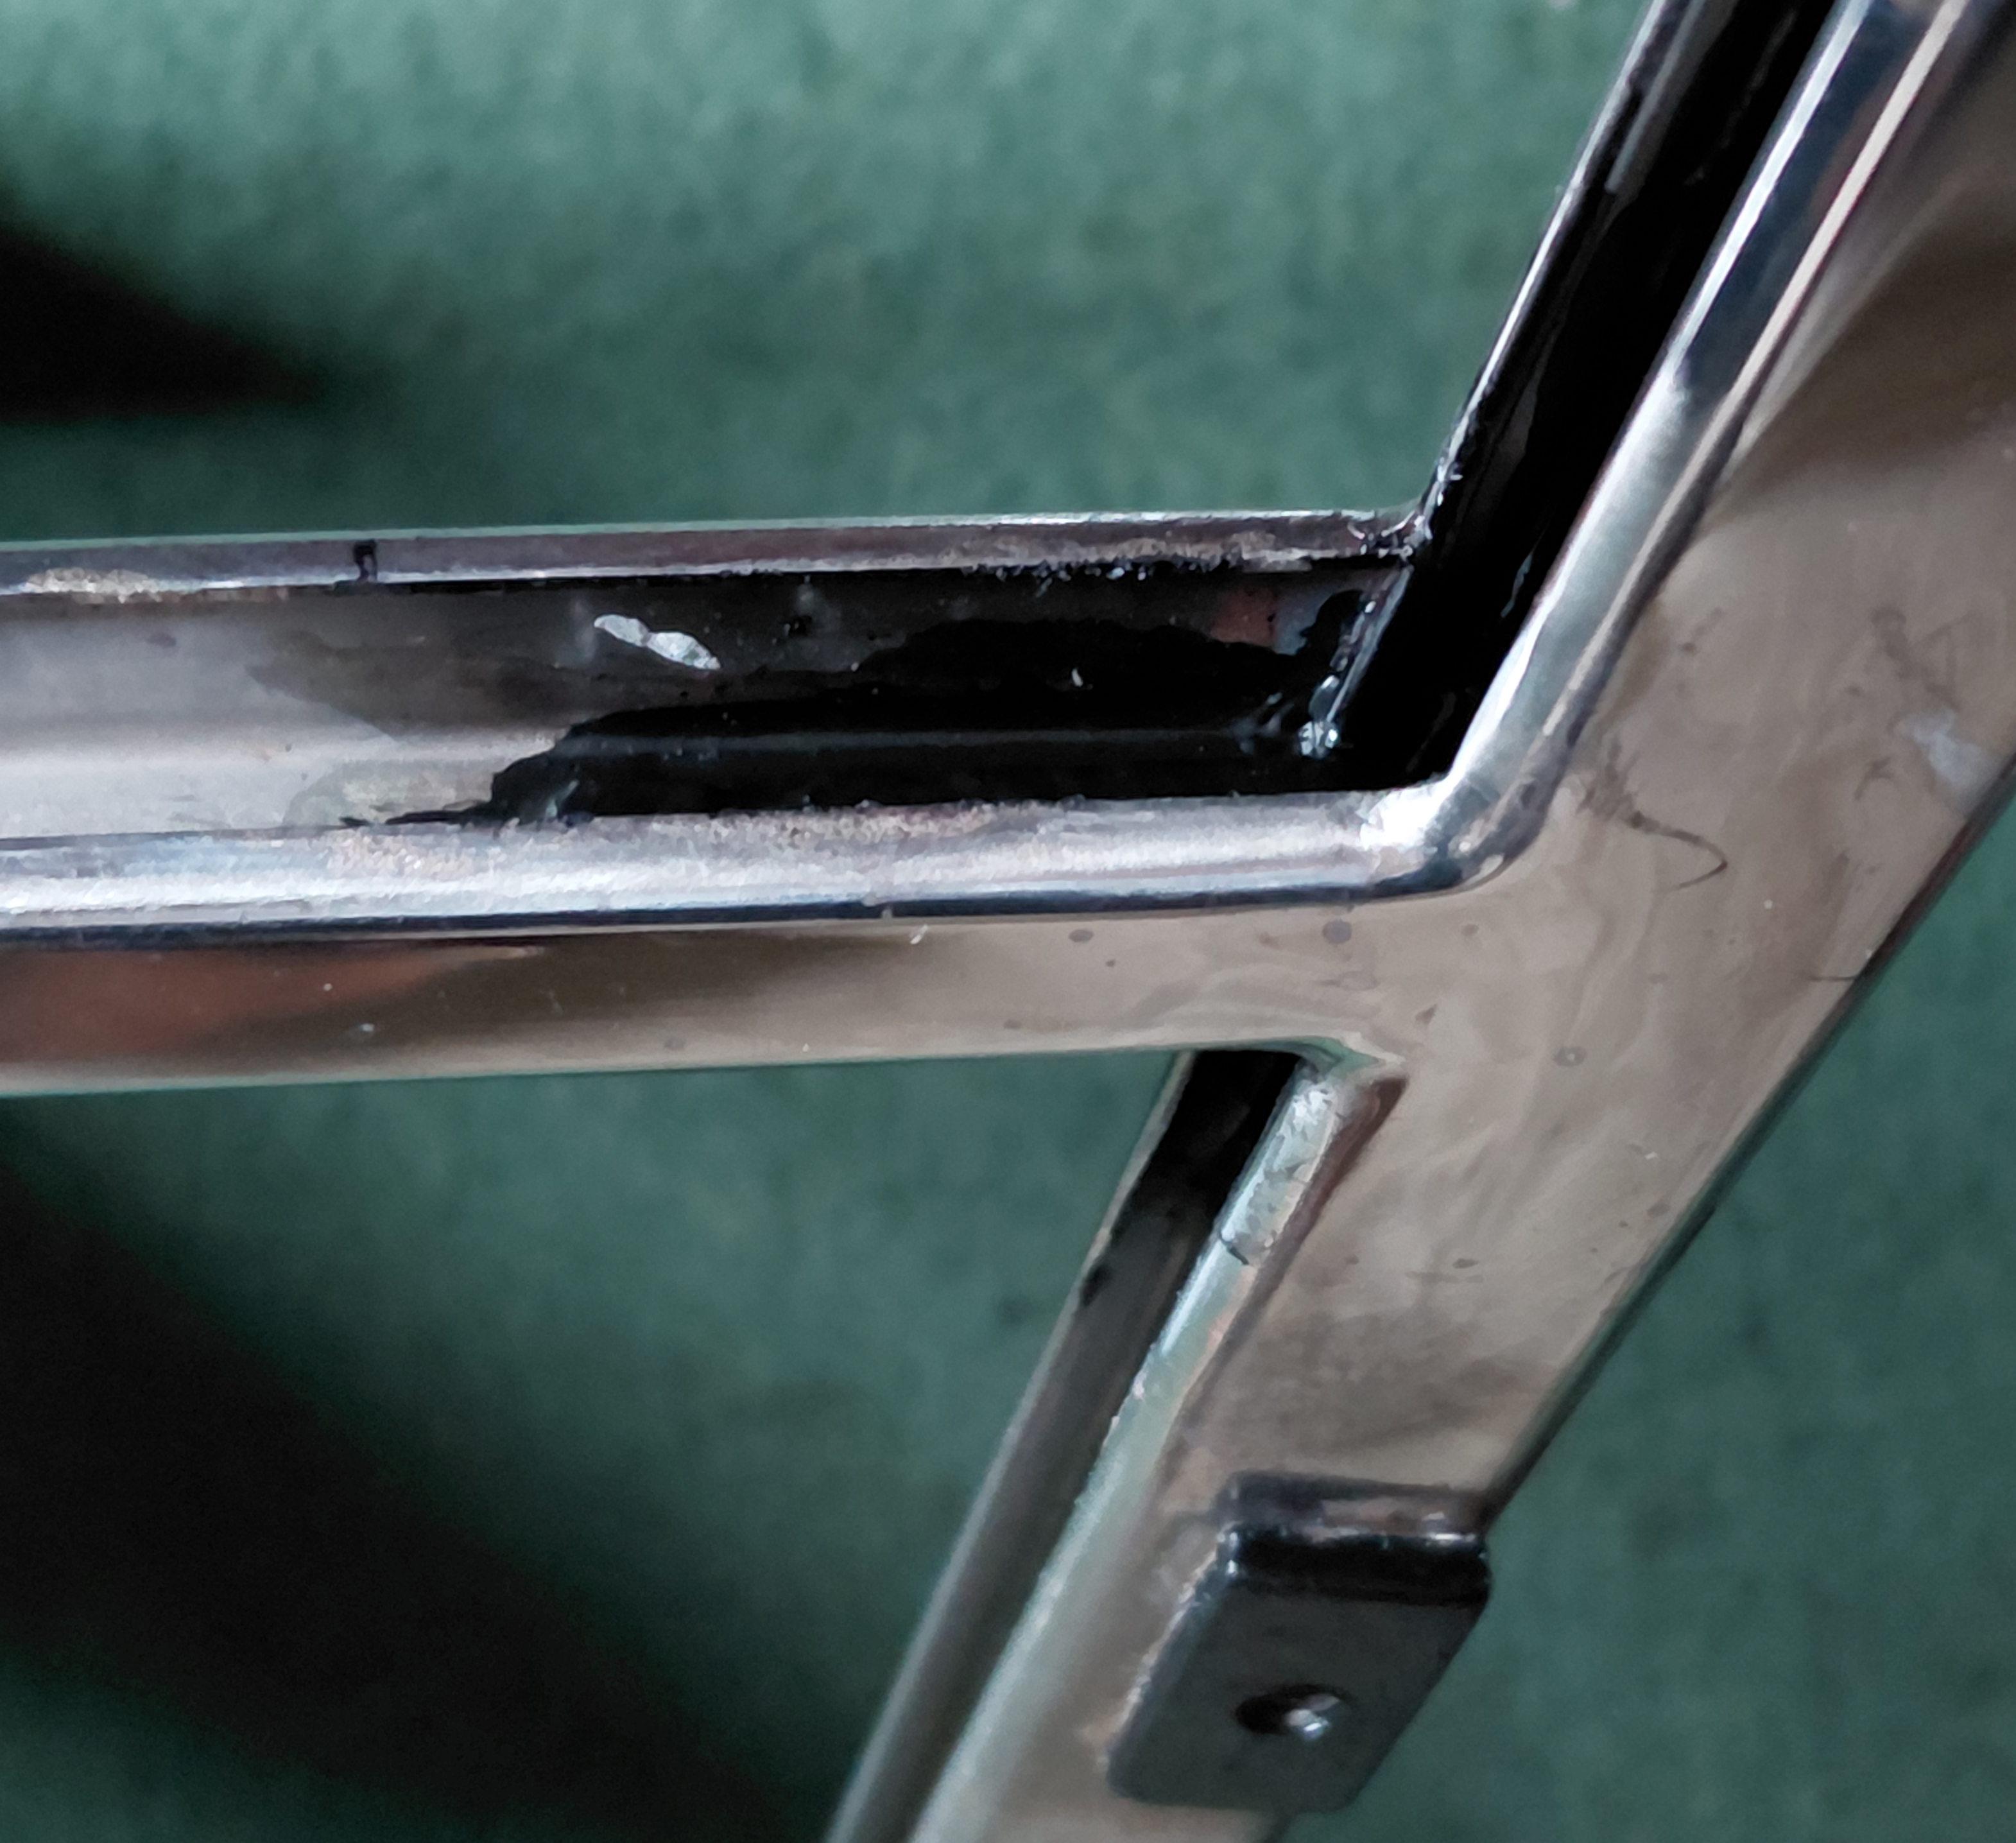
And lastly, rust treat the inner channel brackets and the fixing blocks that allow the door frame to attach to the door, followed by some black paint.
最後に、ドア枠をドアに固定するための内部チャネル ブラケットと固定ブロックに防錆処理を施し、黒色塗料を塗ります。
The reason I have a donor door frame is the upper cast zamak pivot that holds the glass to the door frame is broken. Both of the good zamak pivots are good, but could do with re-chroming. So, with the broken pivot, I wanted to see how easy they are to remove.
ドナーのドア枠を持っている理由は、ガラスをドア枠に固定している上部の鋳造ザマック製ピボットが壊れているからです。良品のザマック製ピボットは両方とも状態は良いのですが、再クロームメッキが必要かもしれません。そこで、壊れたピボットを使って、どれくらい簡単に取り外せるか試してみたかったのです。
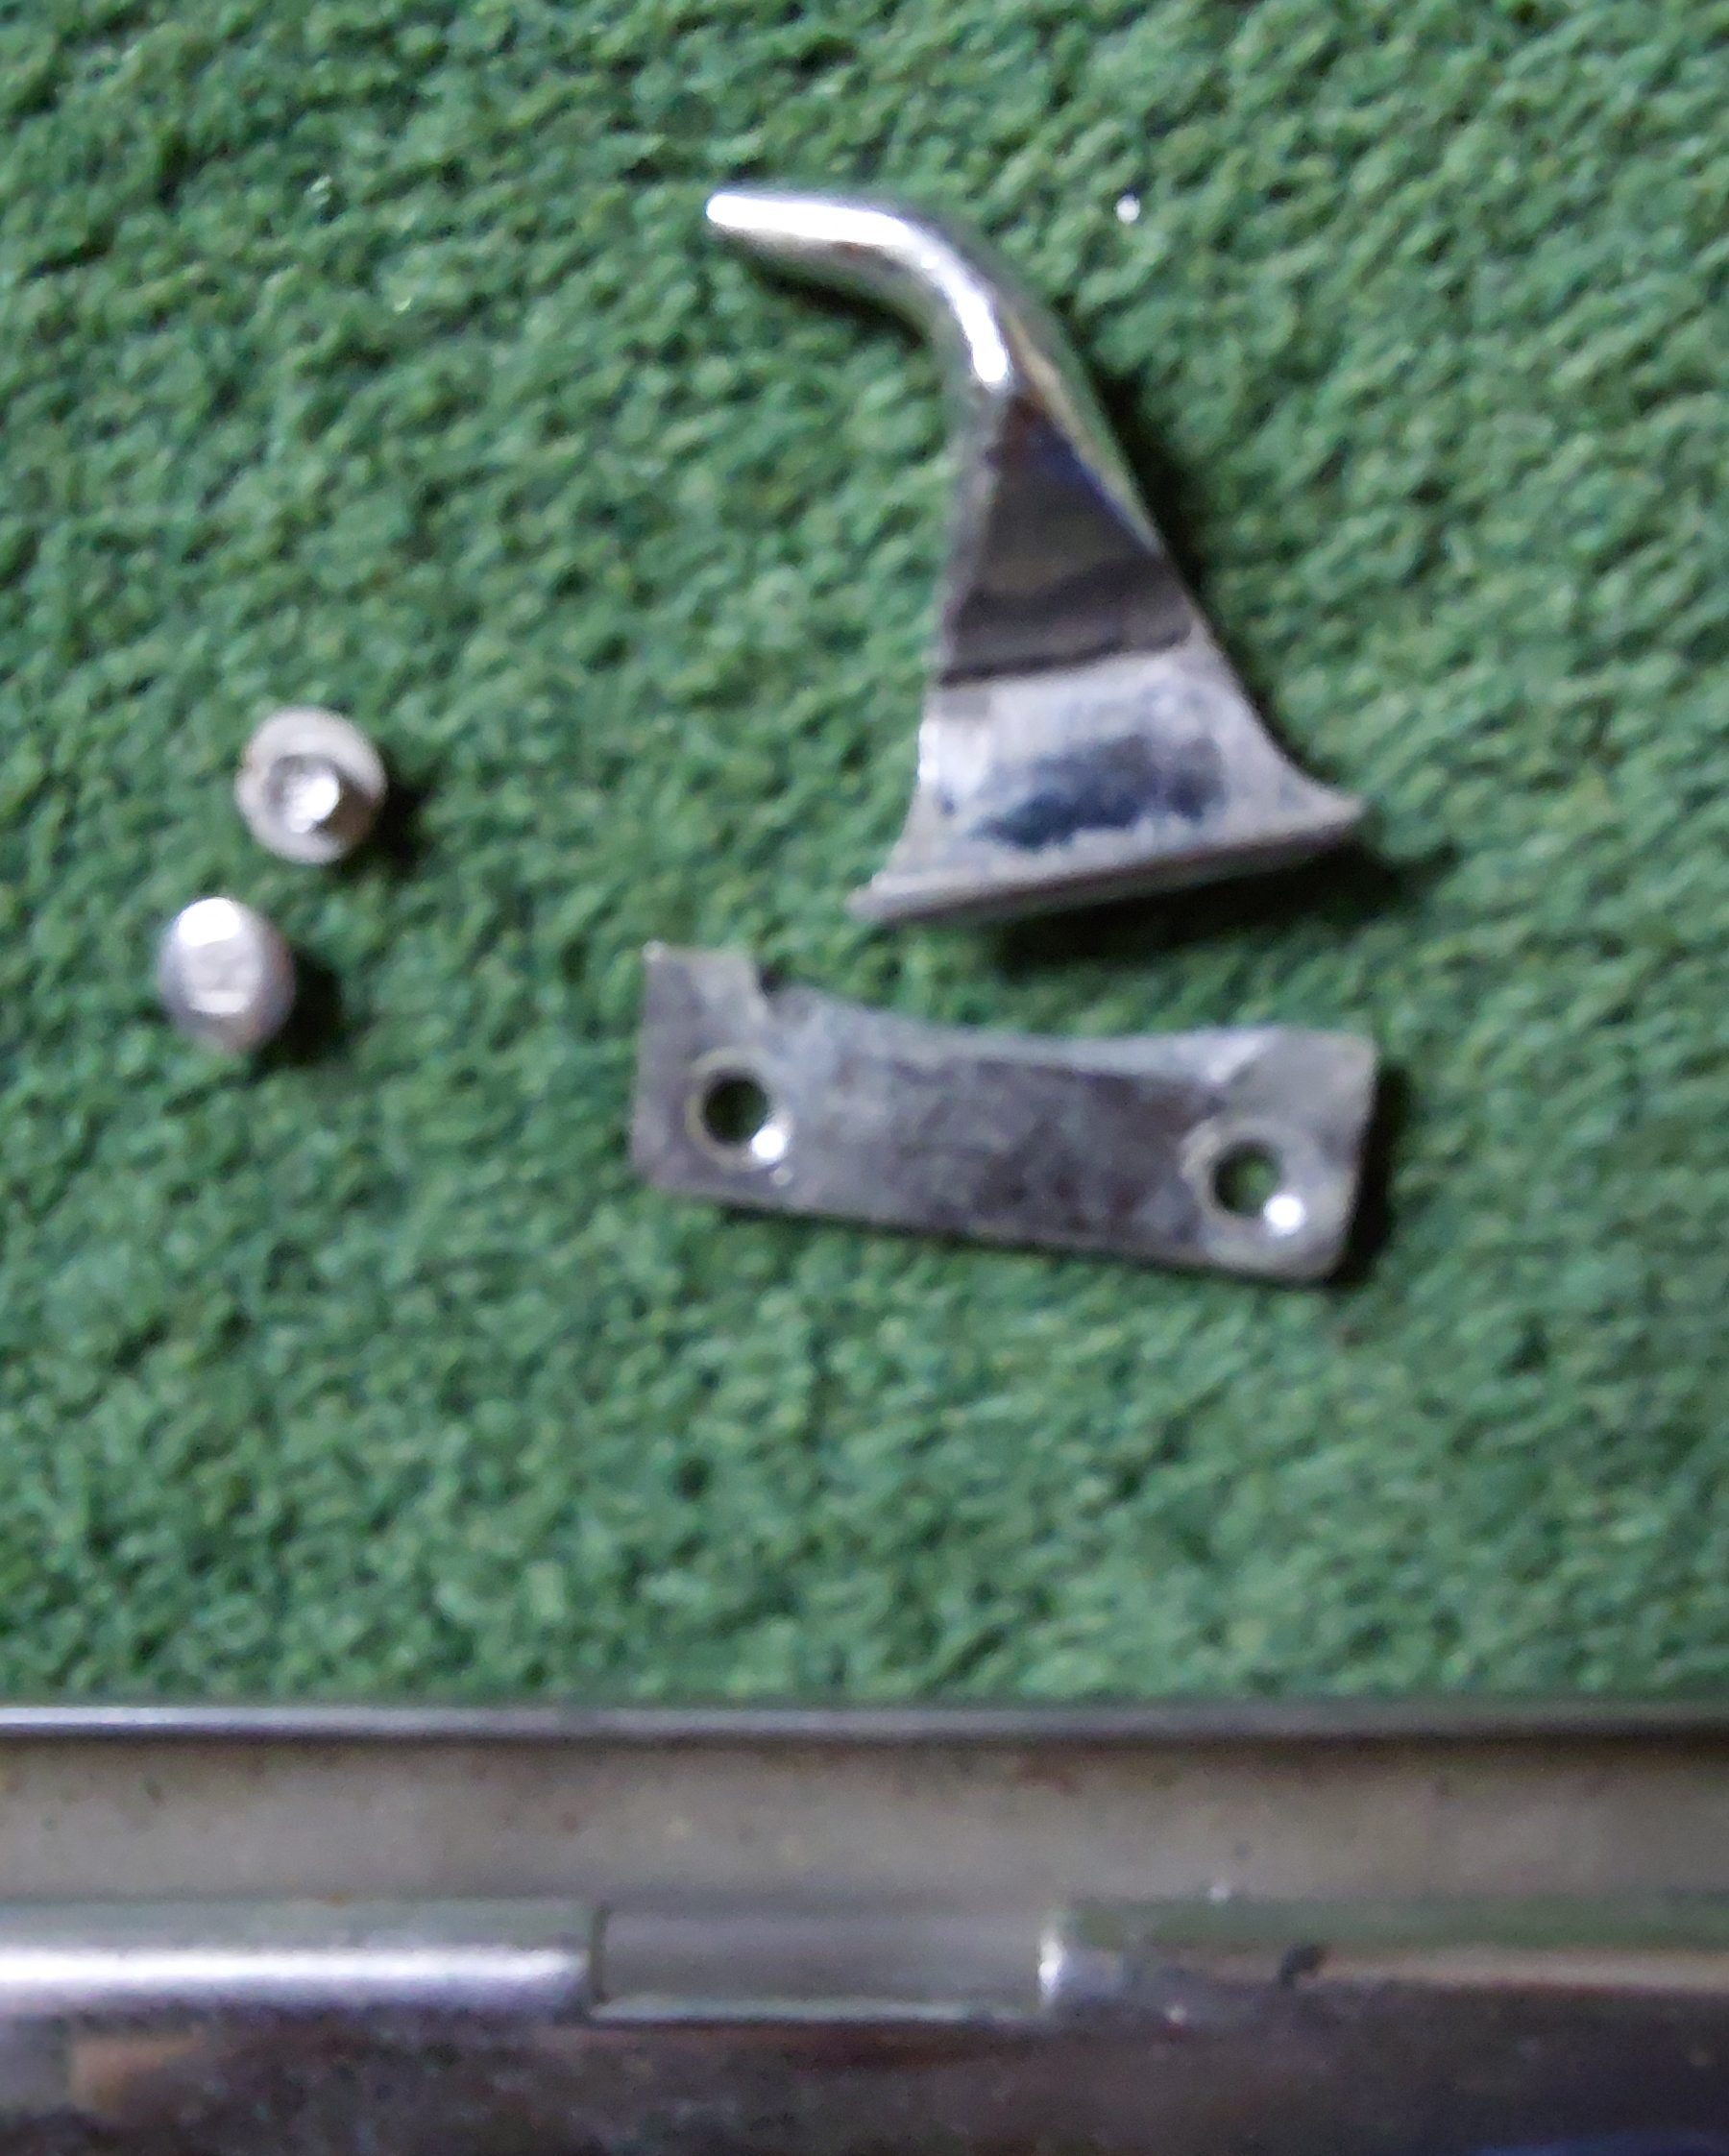
Once the zamak pivots are re-chromed, I have found some new aluminium rivets to fix them back on.
ザマックのピボットを再度クロームメッキしたら、新しいアルミリベットを見つけて、それを元に戻します。
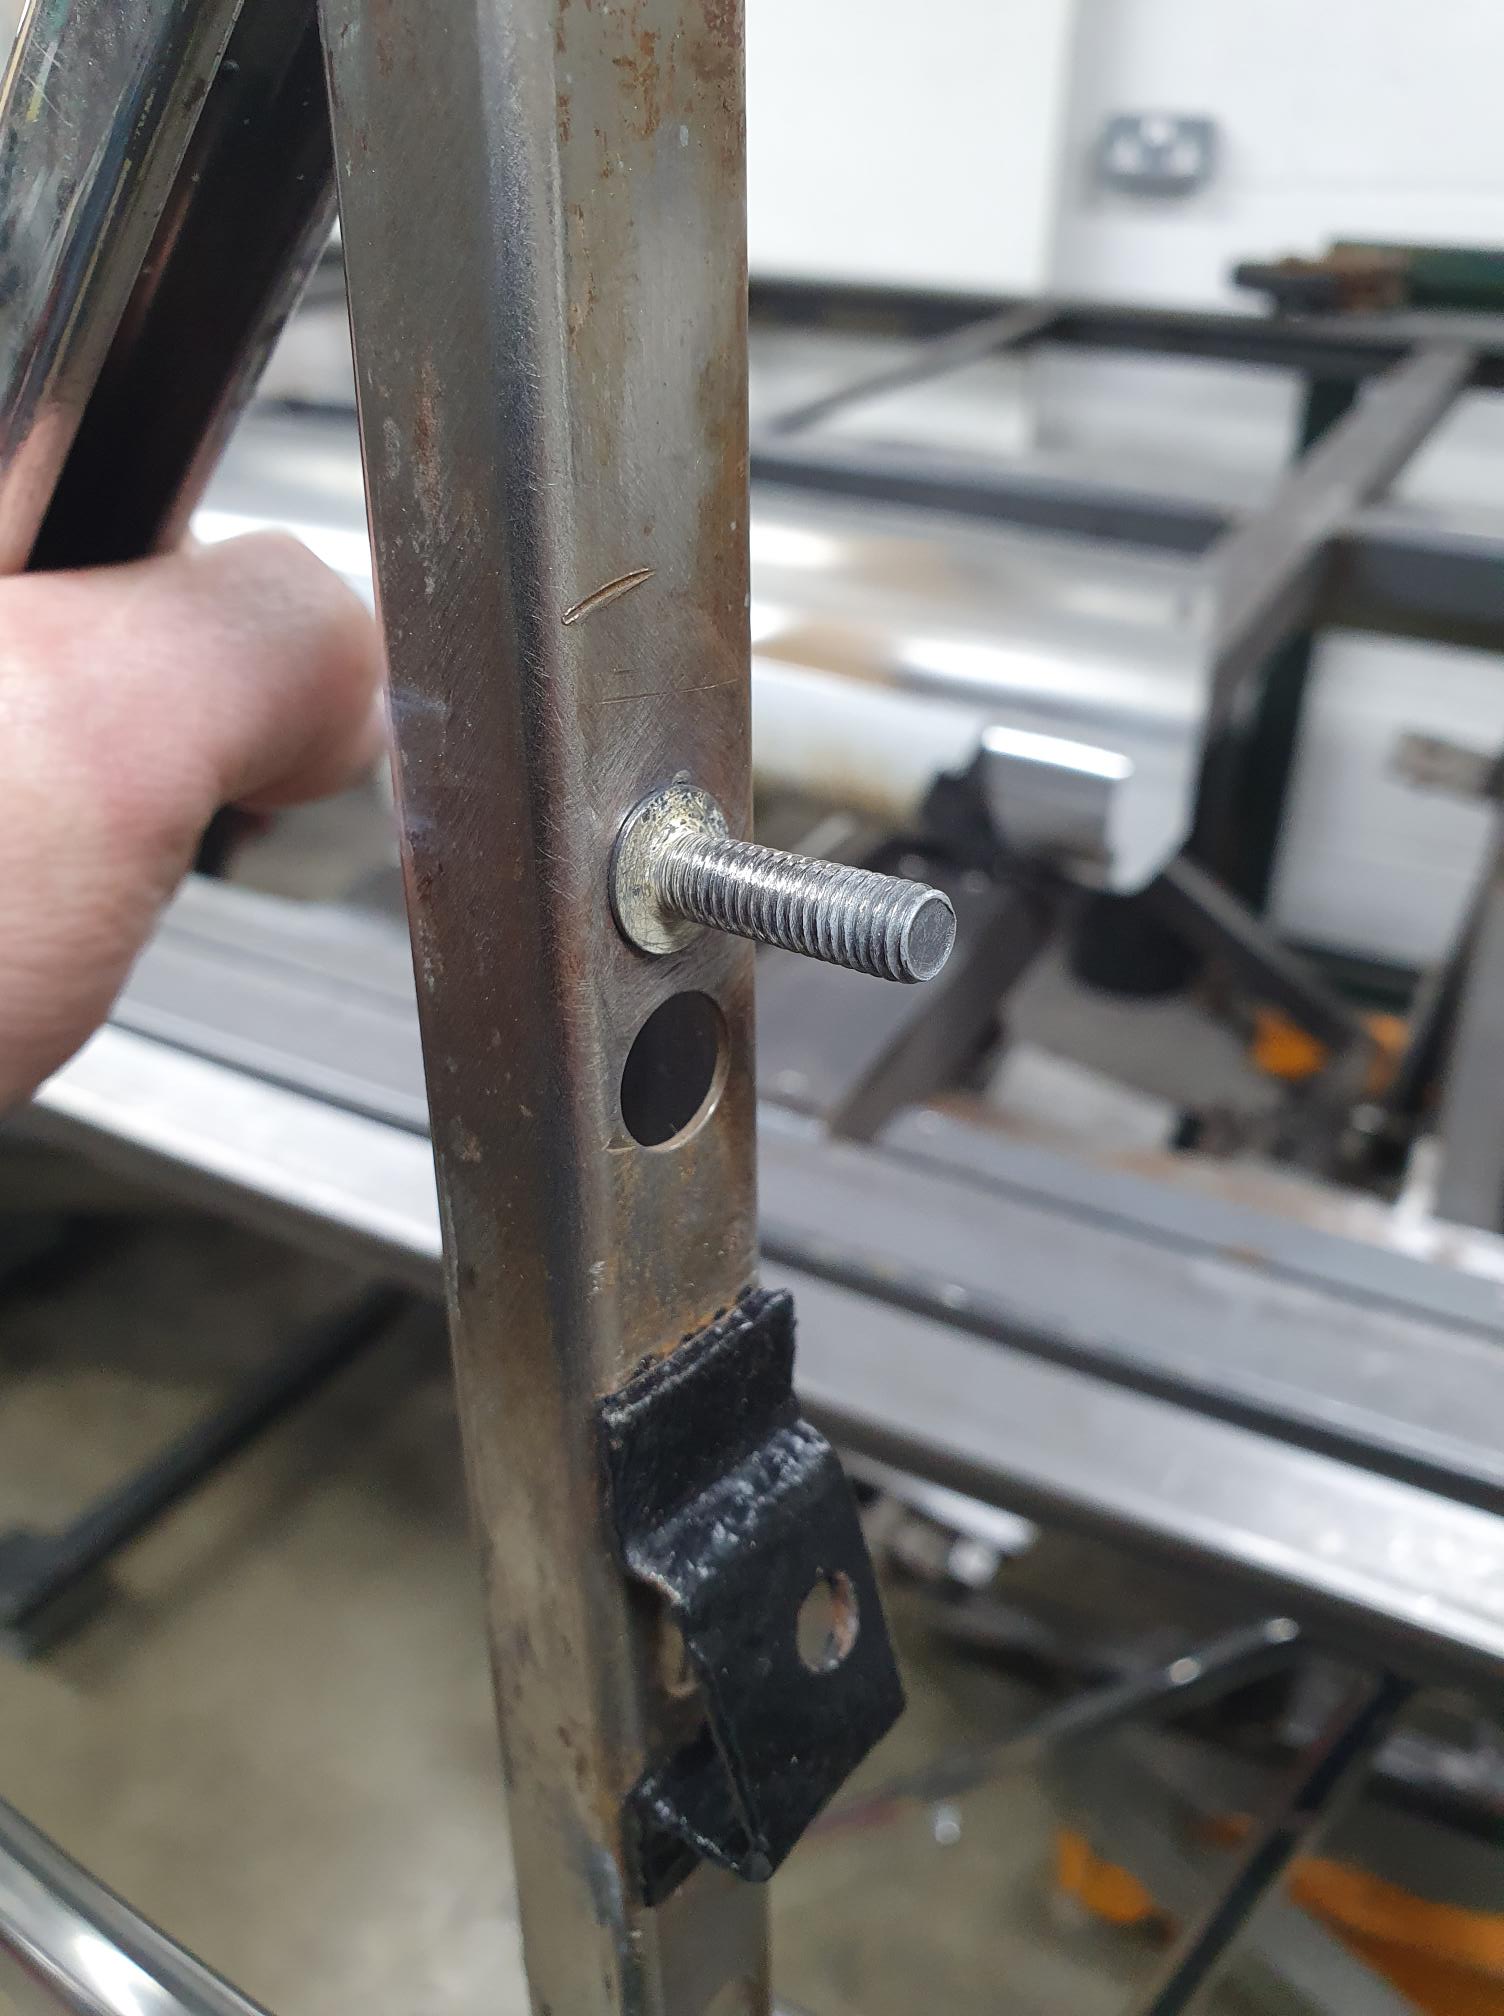
After another trip to the welder I use, the fixing stud on the frame that helps hold it to the door is welded in.
いつも利用している溶接業者に再度依頼し、ドアにフレームを固定するためのスタッドボルトを溶接してもらった。
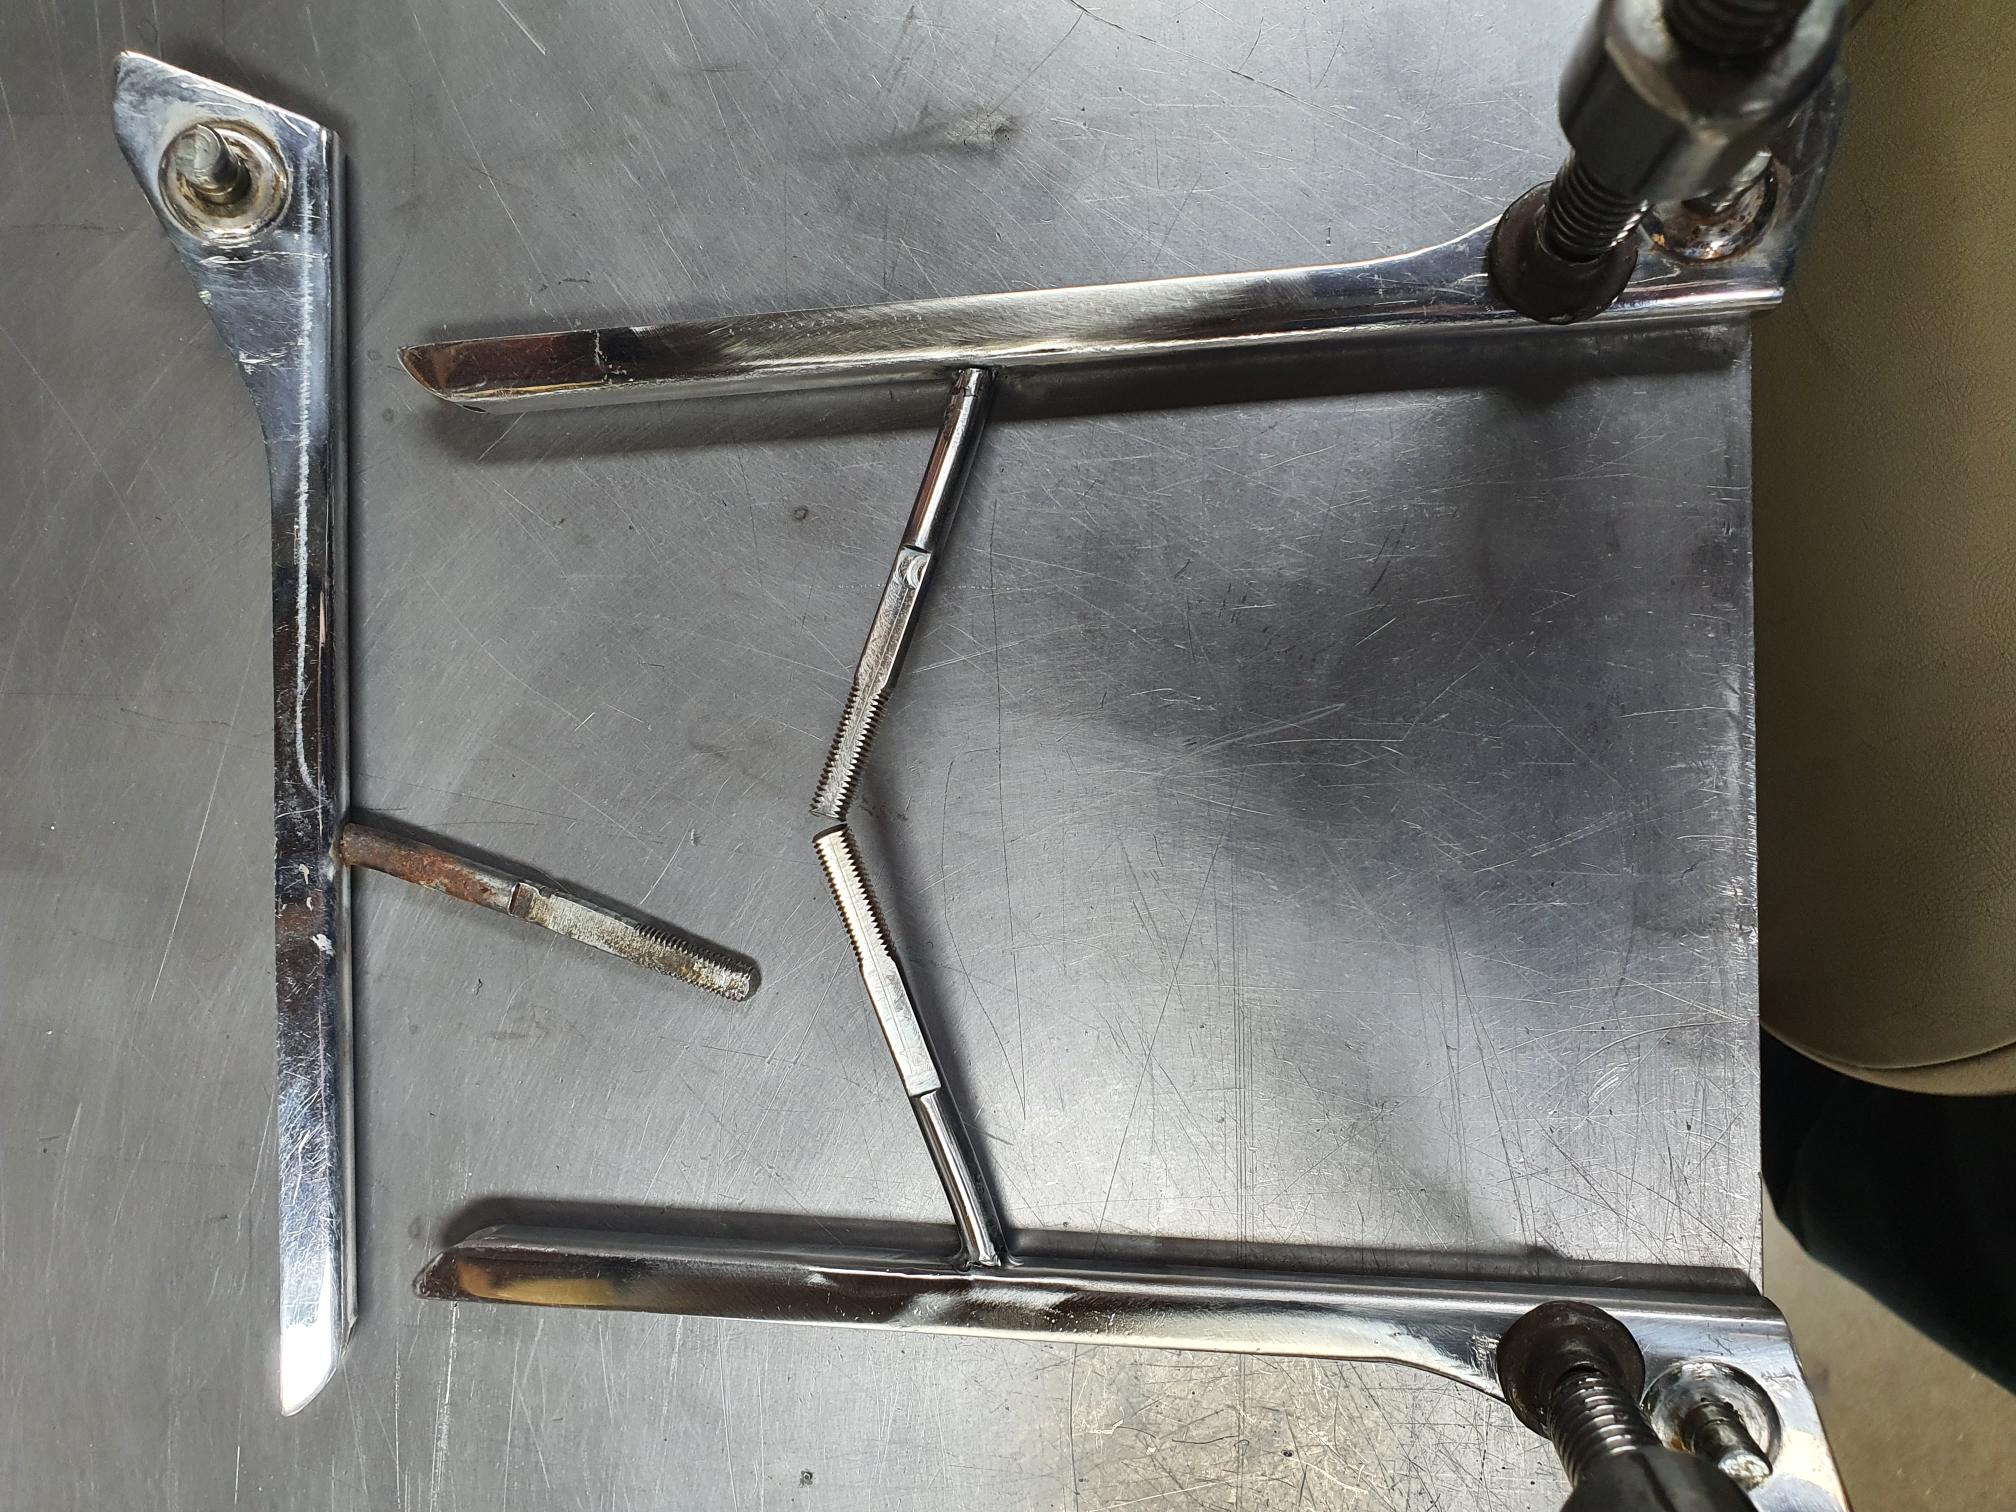
Also, the quarter light glass pivots mentioned earlier have been welded in place and bent to follow the original angle.
また、先に述べたクォーターライトガラスのピボットは溶接され、元の角度に沿うように曲げ加工されています。
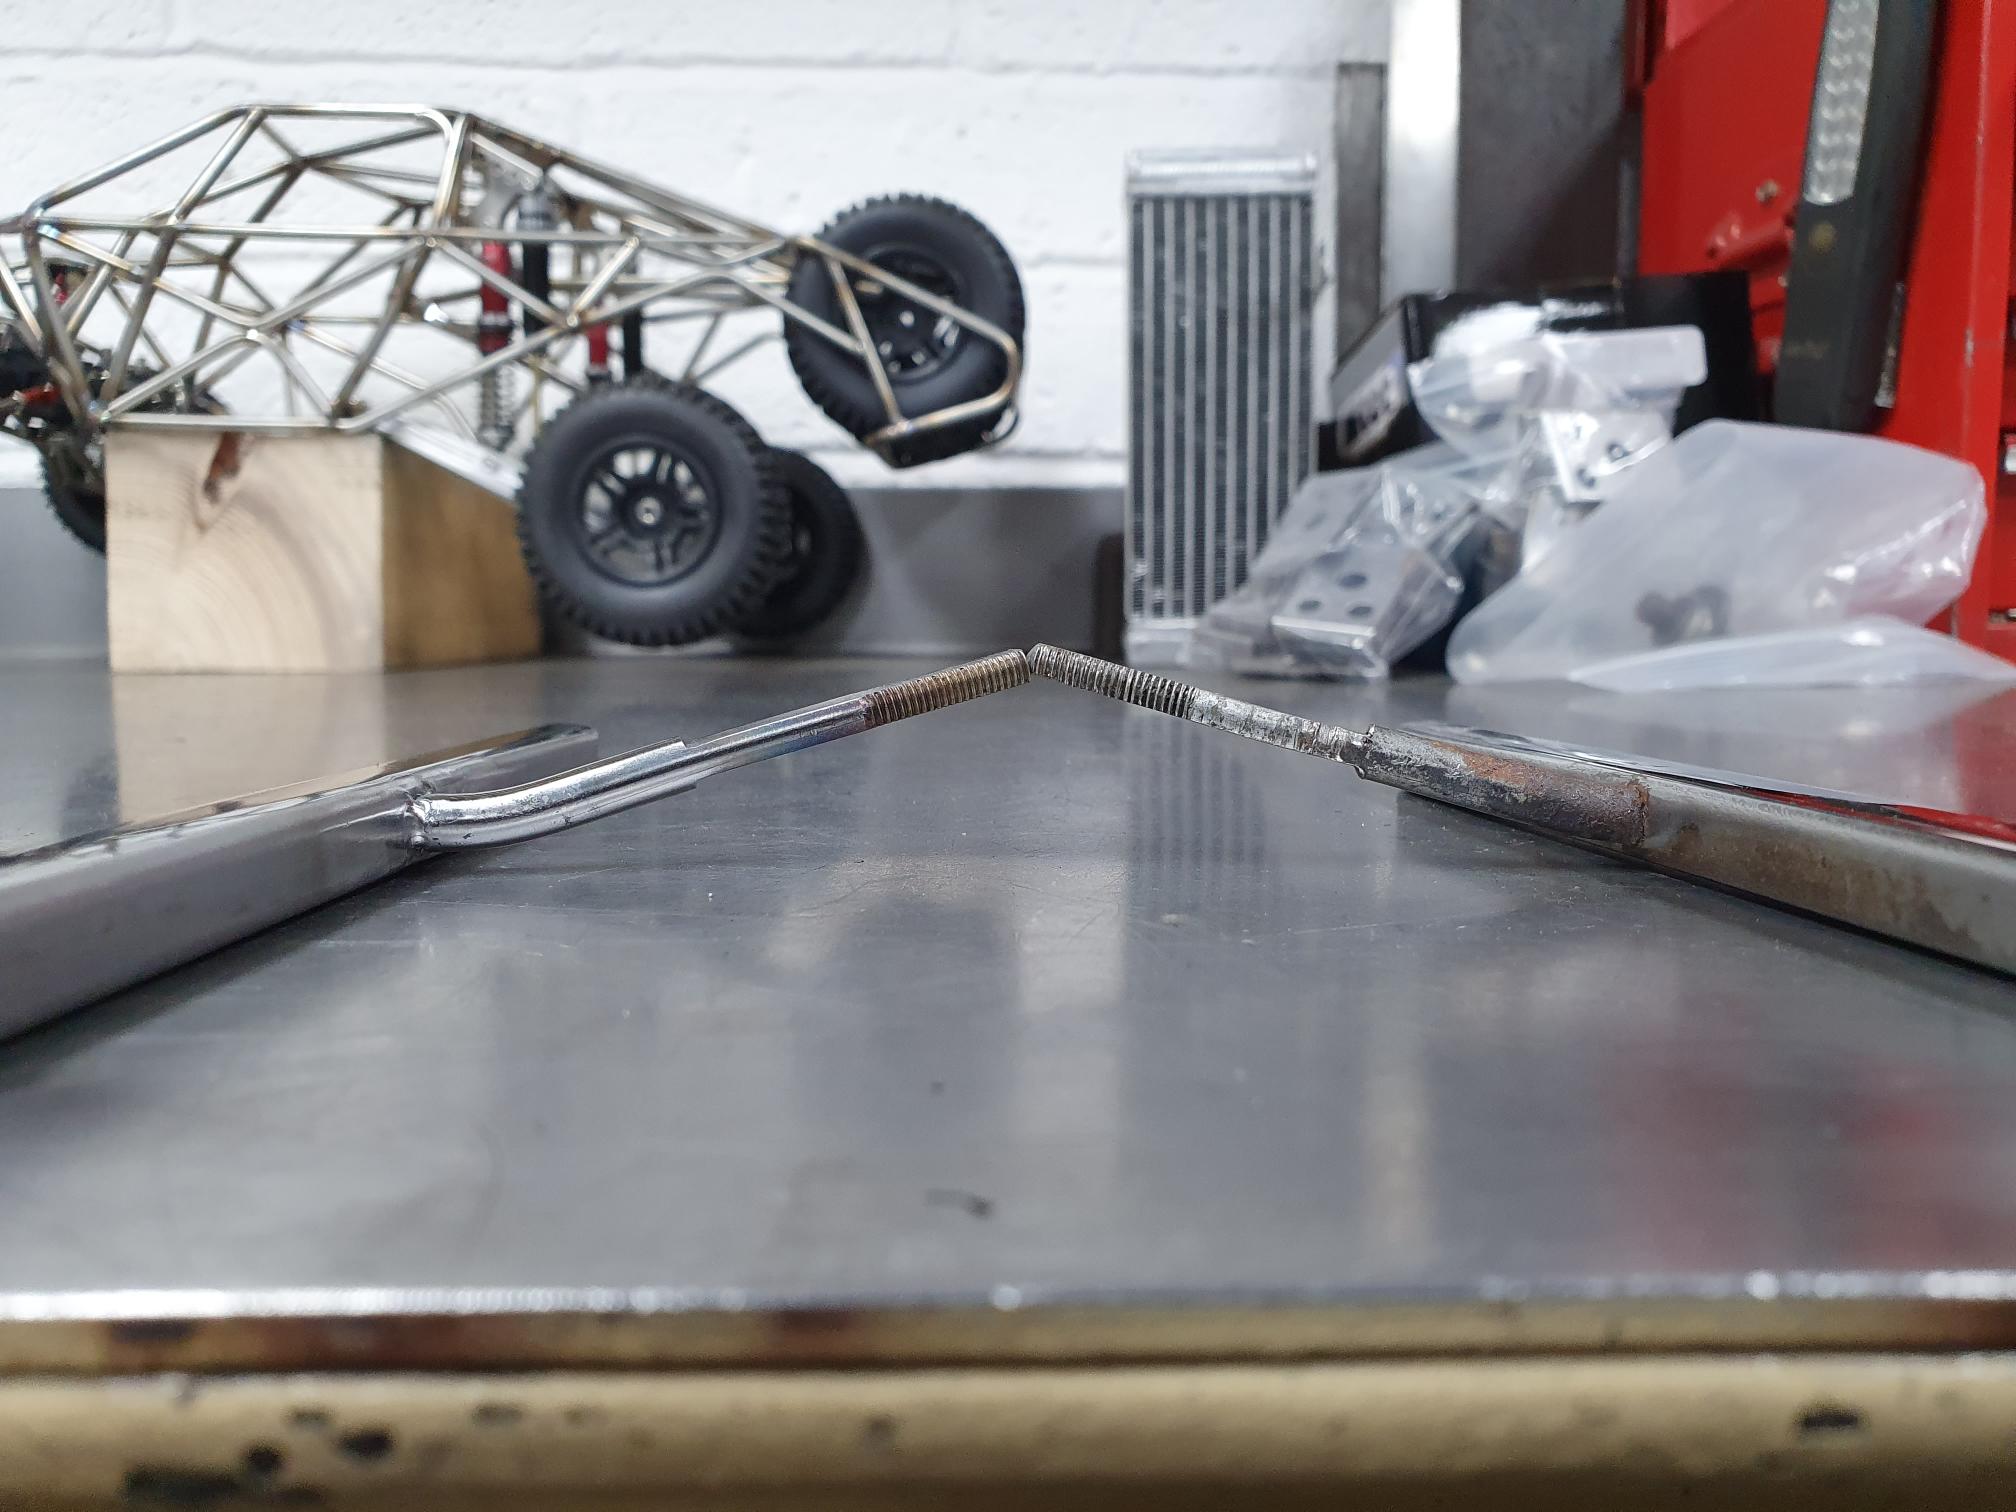
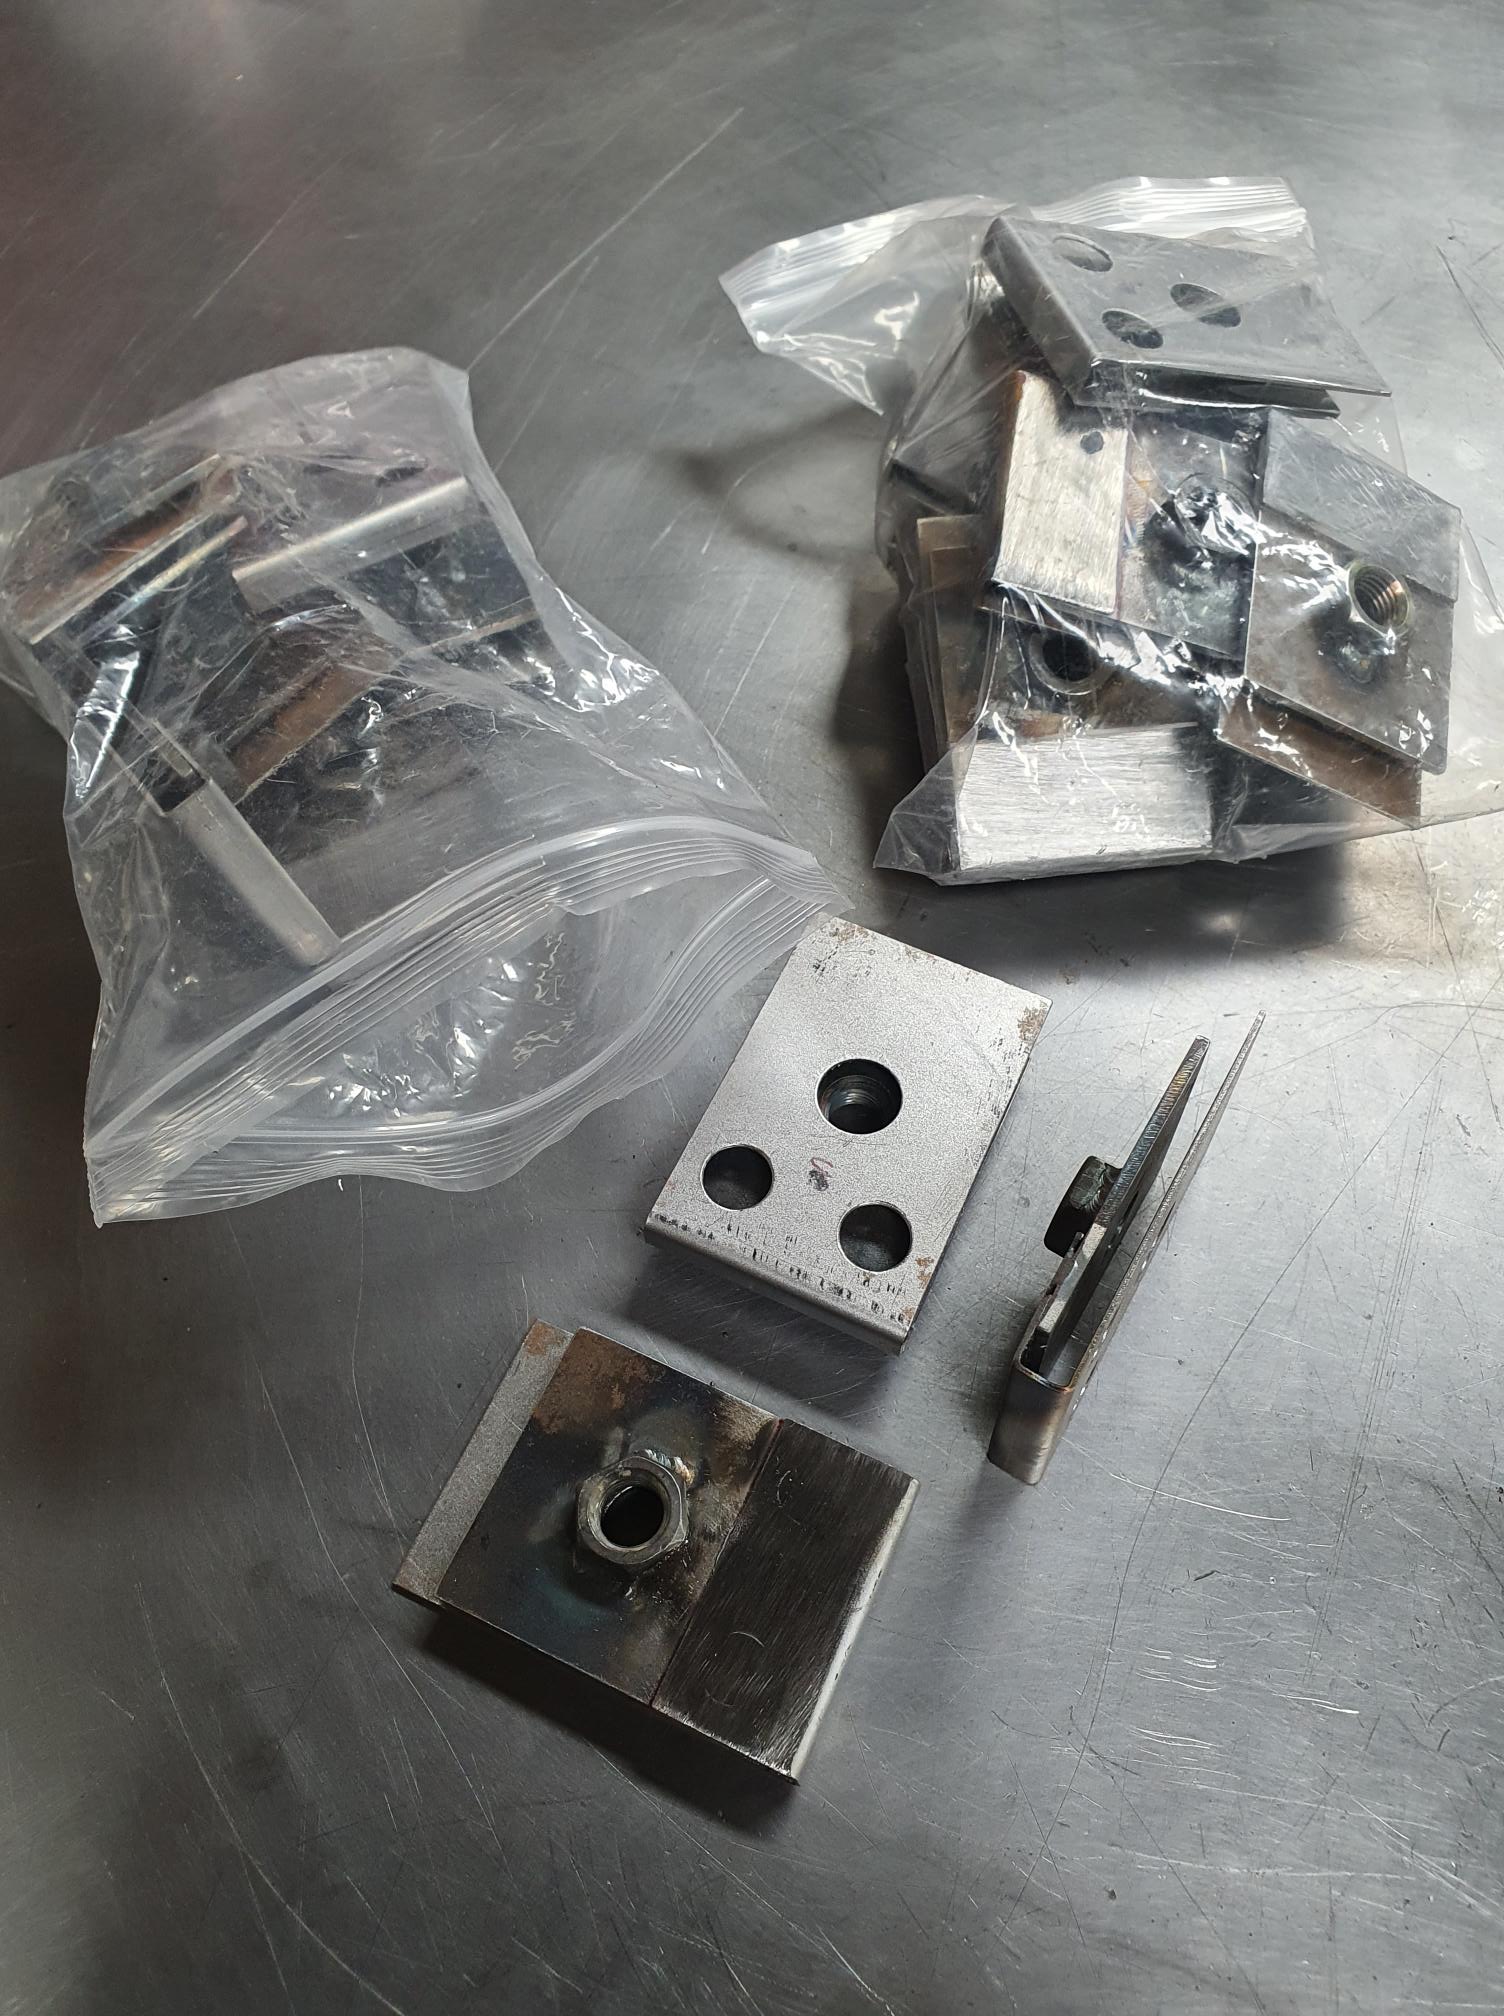
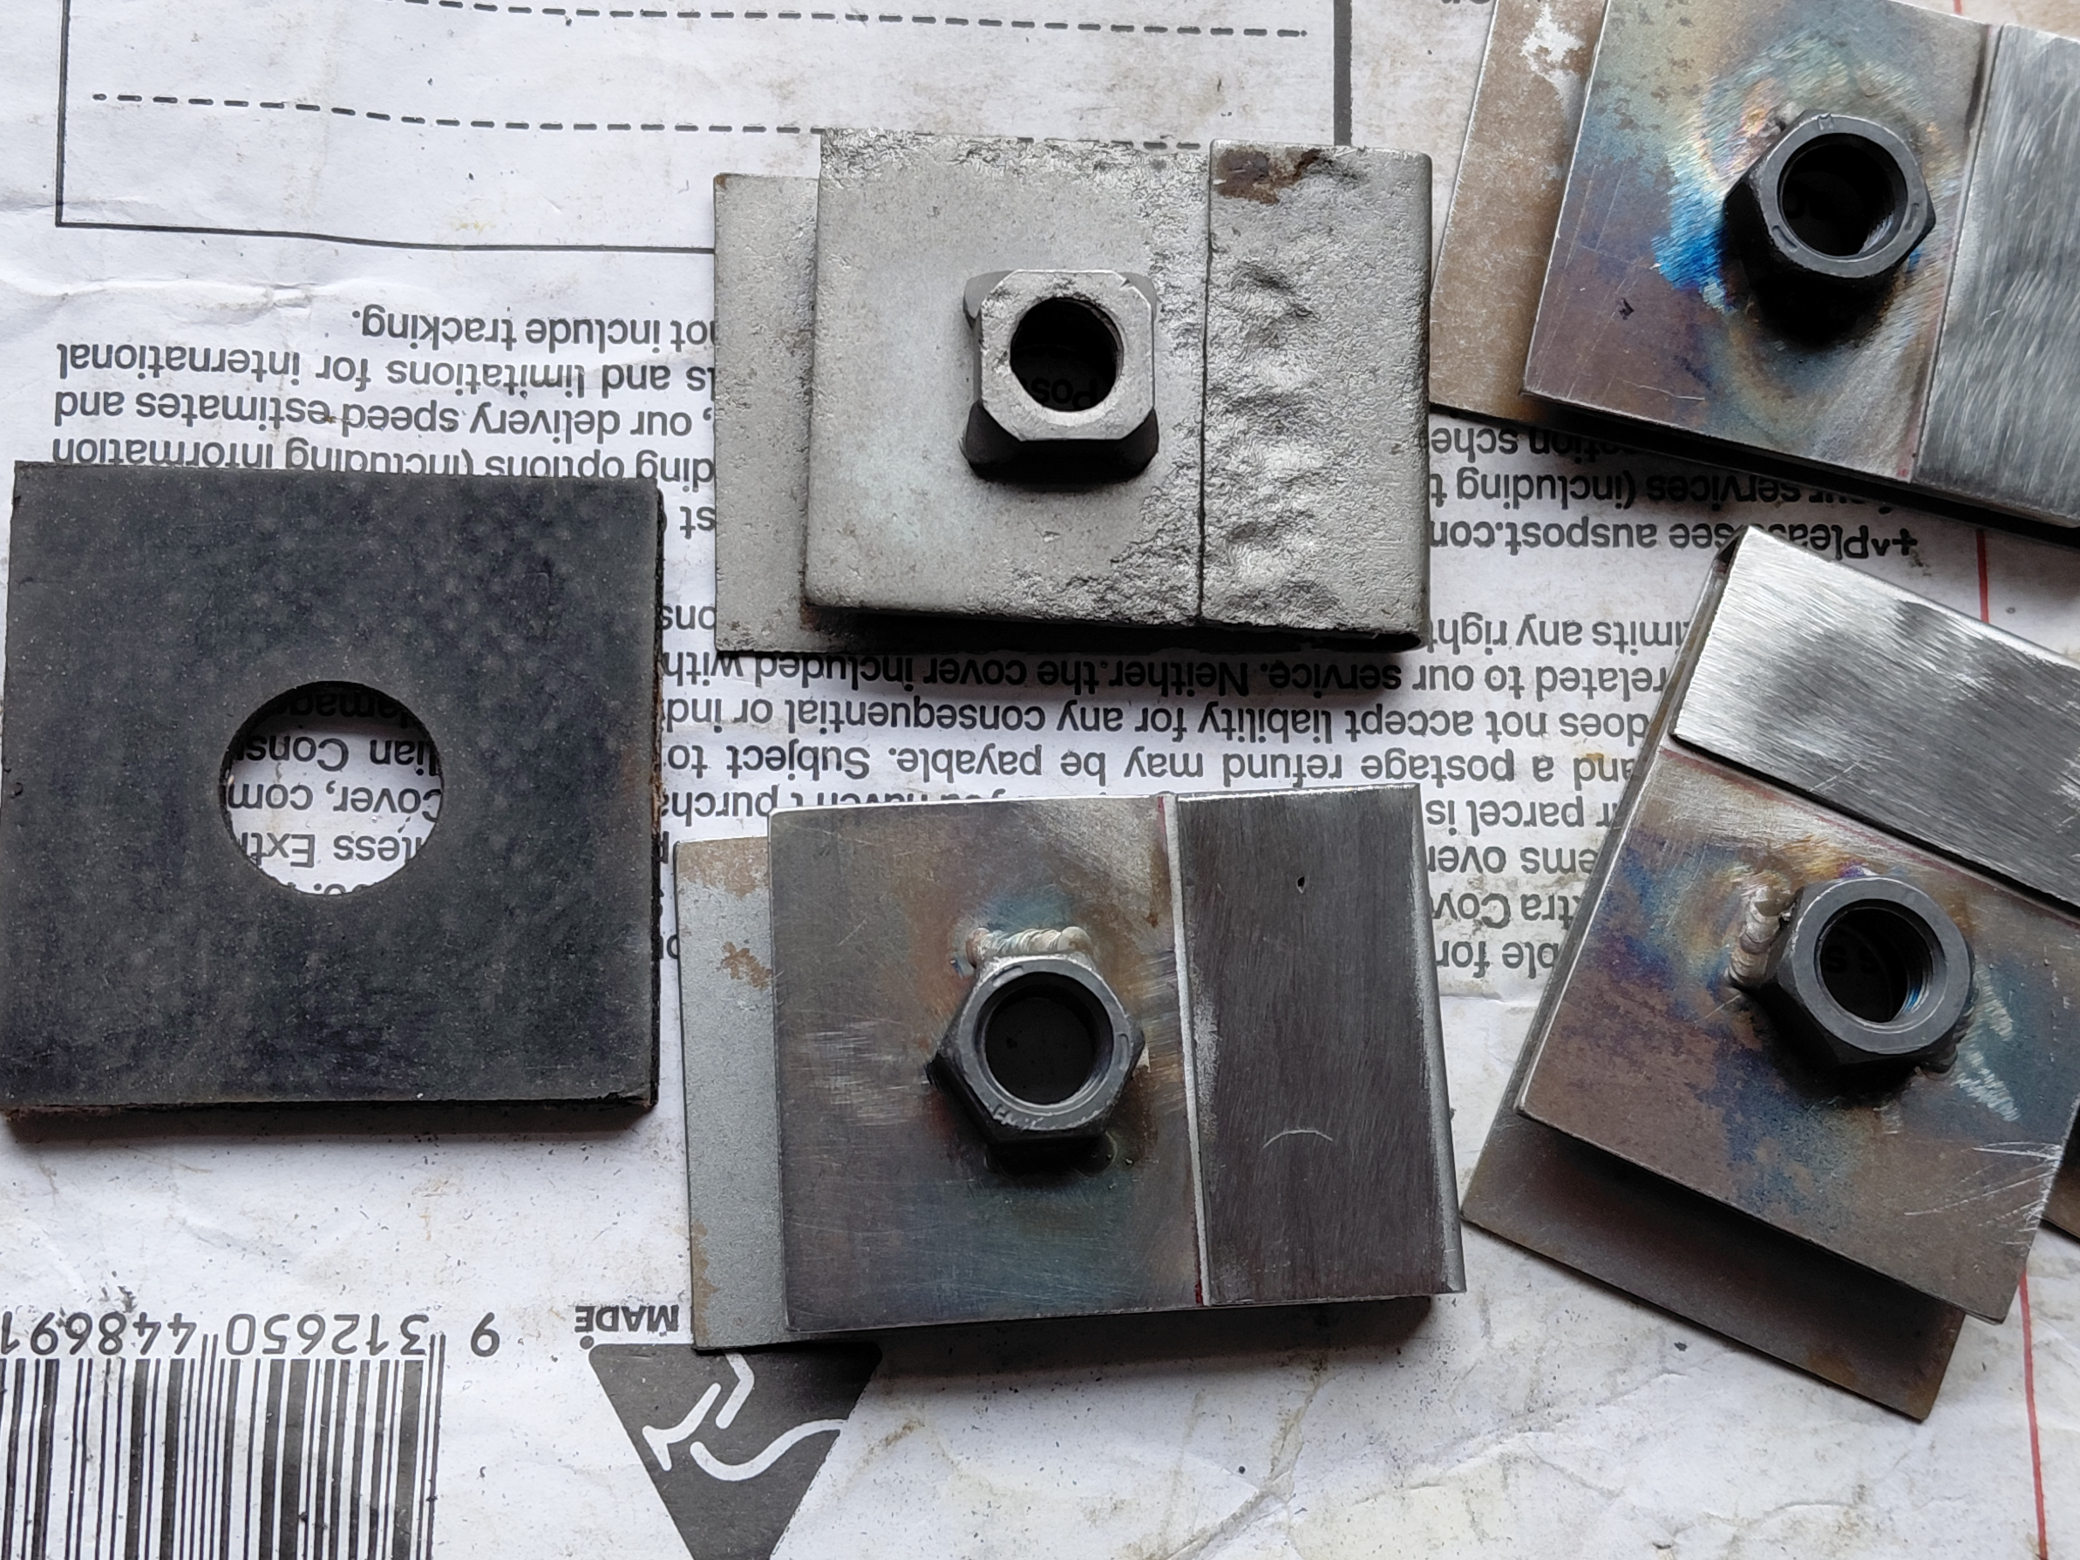
And lastly the chassis body clips I have been slowly making have now been welded together and bent into shape to replicate the original.
そして最後に、これまで少しずつ製作してきたシャーシボディクリップを溶接し、オリジナルの形状を再現するように曲げ加工しました。
Another long term modification job coming to an end, is the rear brakes. The plan is for my Silvia to have more engine power, handle better and I want it to stop better. Rear brake parts for the CSP/SP/SR are expensive and do not exist in my country, so why not swap to something better and more available? Having a larger rear brake cylinder helps, why not use the system from the S30? This is not a straightforward swap, but as I am fully restoring my CSP, this is the time to do this. Some have tried S30 rear drums on the CSP/SP/SR but the drums do not fit well, others have used Bluebird 510 rear brake cylinders, which works with a little modification. For me, this works but is not the best solution.
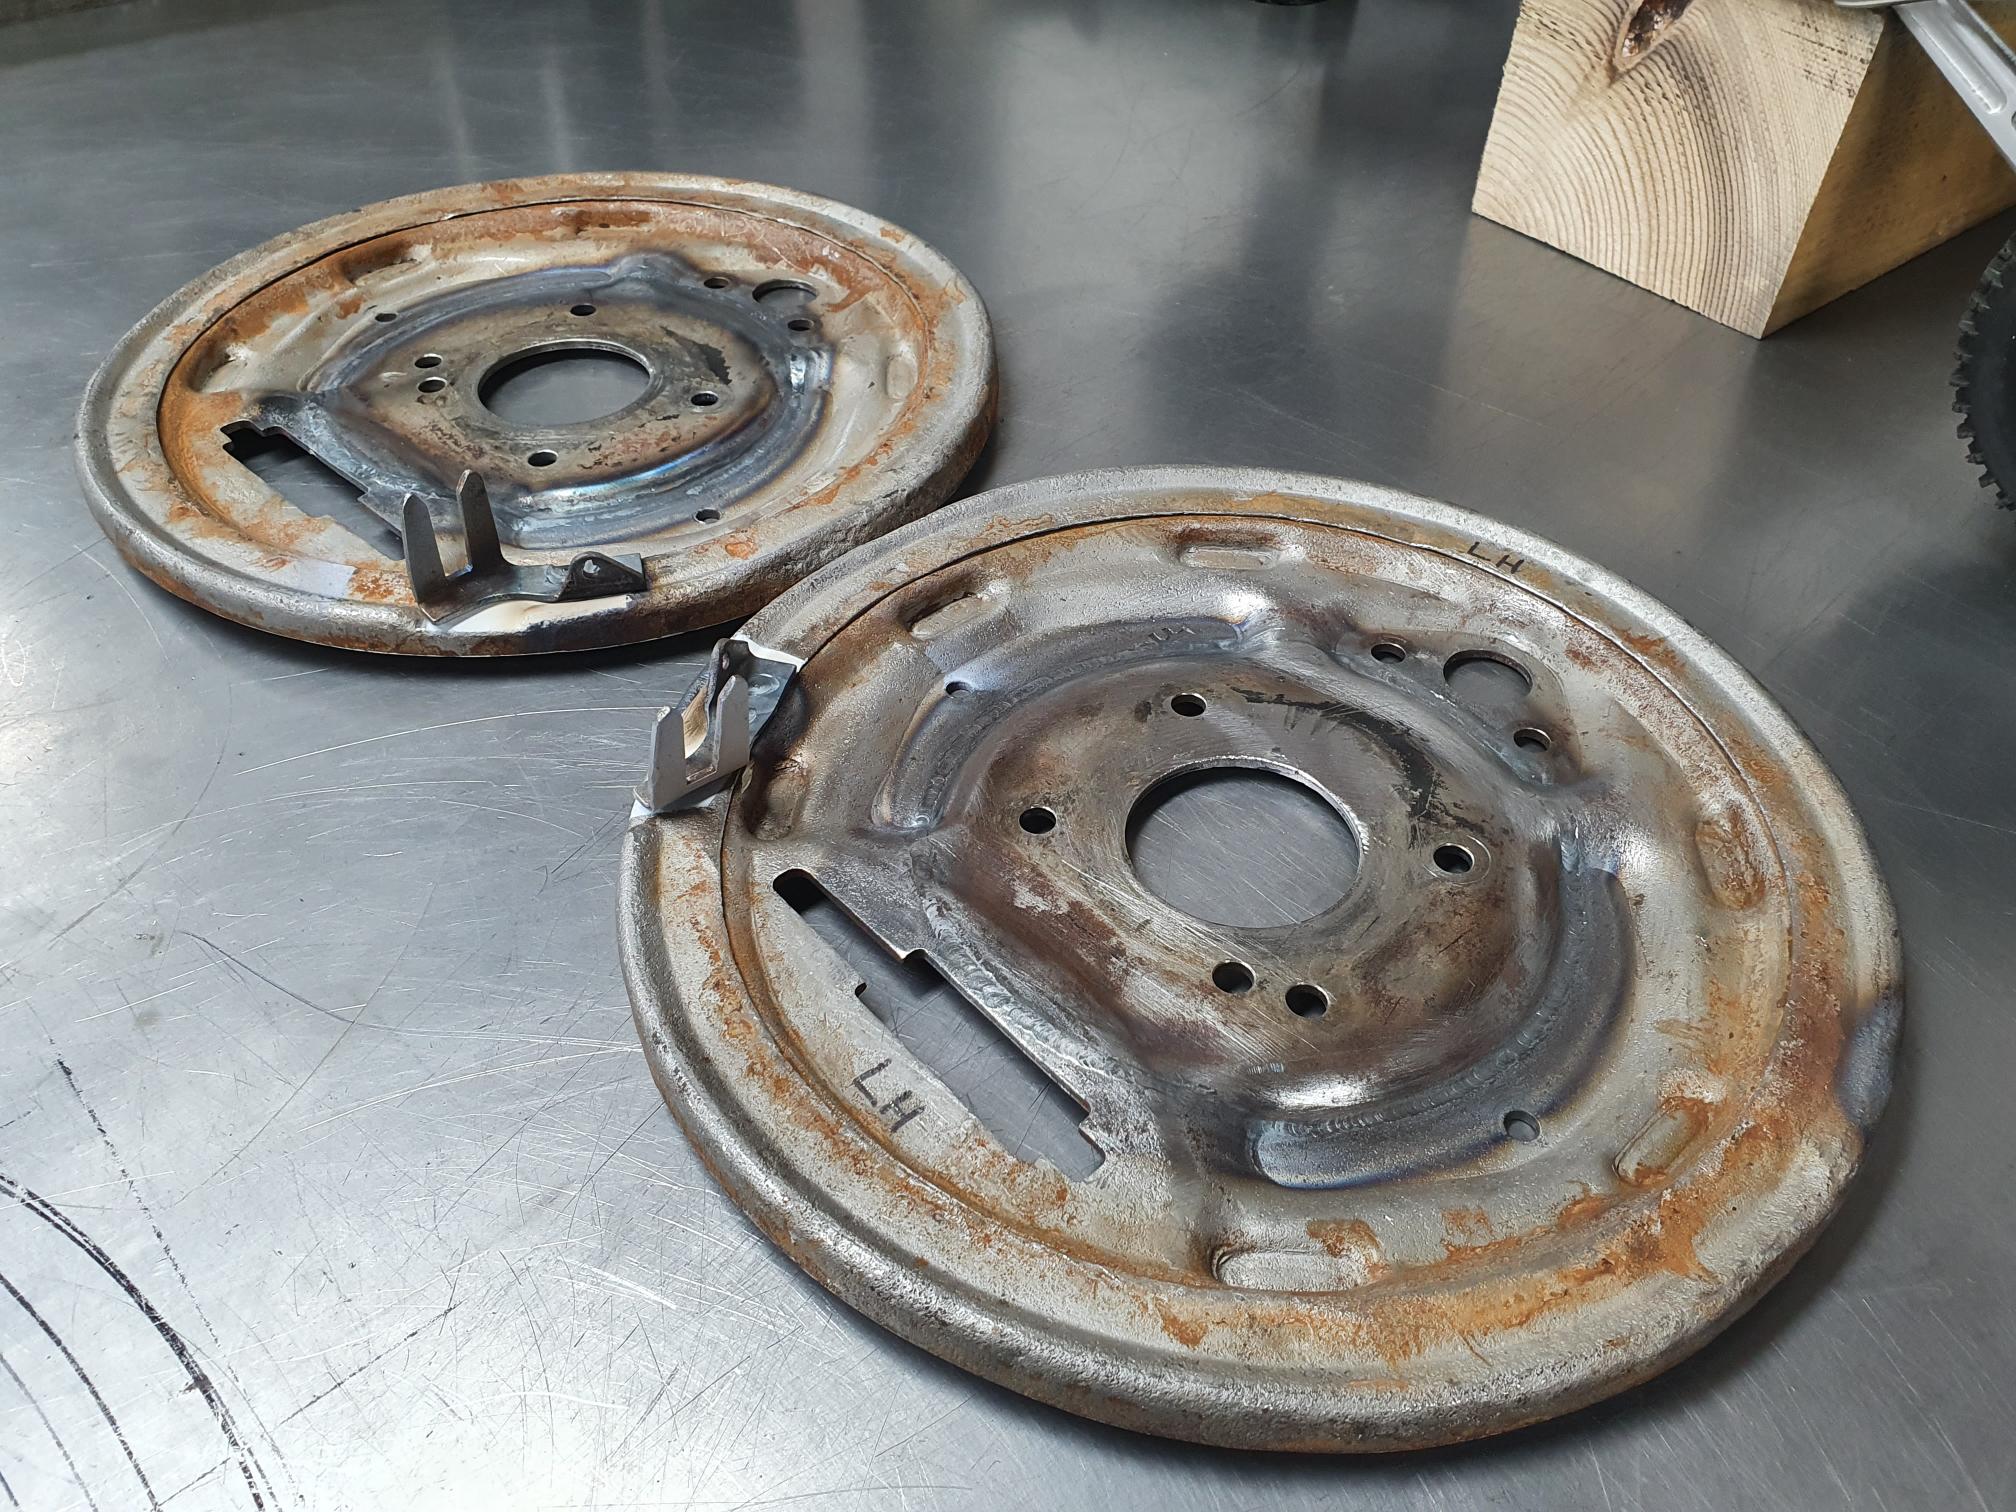
For this to work, S30 rear brake backing plates need to go on the CSP, so everything can fit well. Later, larger wheel studs will be fitted and the rear axle will have to be modified for the S30 drums to fit, but that is to come…. But, the S30 backing plate will not fit, as the bolt pattern to attach to the rear hub is different. The easiest, though not the most straighforward, is to use a hybrid backing plate. Part S30, part CSP. This means fitting the centre of the CSP backing plate to the outer of the S30. See below (after next 2 Japanese paragraphs).
長期にわたる改造作業の一つ、リアブレーキの作業も完了に近づいています。私のシルビアの計画としては、エンジン出力を向上させ、ハンドリングを改善し、さらに制動性能も高めたいと考えています。CSP/SP/SR用のリアブレーキ部品は高価なうえ、私の国では入手できません。それなら、より性能が良く、入手しやすいものに交換してみてはいかがでしょうか?リアのブレーキシリンダーを大型化するのは有効な手段ですね。S30用のシステムを流用してみてはいかがでしょうか?単純な載せ替えではありませんが、CSPをフルレストアしている今こそ、これを行うべきタイミングです。CSP/SP/SRにS30用のリアドラムを流用しようとした例もありますが、適合性はあまり良くありません。一方で、ブルーバード510用のリアブレーキ・シリンダーを使用した例もあり、こちらは多少の加工で対応可能です。私の場合、これでうまくいきますが、最善の解決策ではありません。
これを実現するには、各部を適切に収めるためにS30用のリアブレーキ・バッキングプレートをCSPに取り付ける必要があります。後ほど、より大きなホイールスタッドへの交換や、S30用ドラムを装着するためのリアアクスルの加工が必要になりますが、それはまた別の段階の話です……。ただし、S30用のバッキングプレートは装着できません。リアハブへの取り付けボルトの配置(ボルトパターン)が異なるためです。最も手軽な(とはいえ、単純な作業というわけではありませんが)方法は、S30用とCSP用の部品を組み合わせたハイブリッド型のバッキングプレートを使用することです。これは、CSPのバックプレートの中央部をS30の外側に取り付けることを意味します.以下を参照してください…
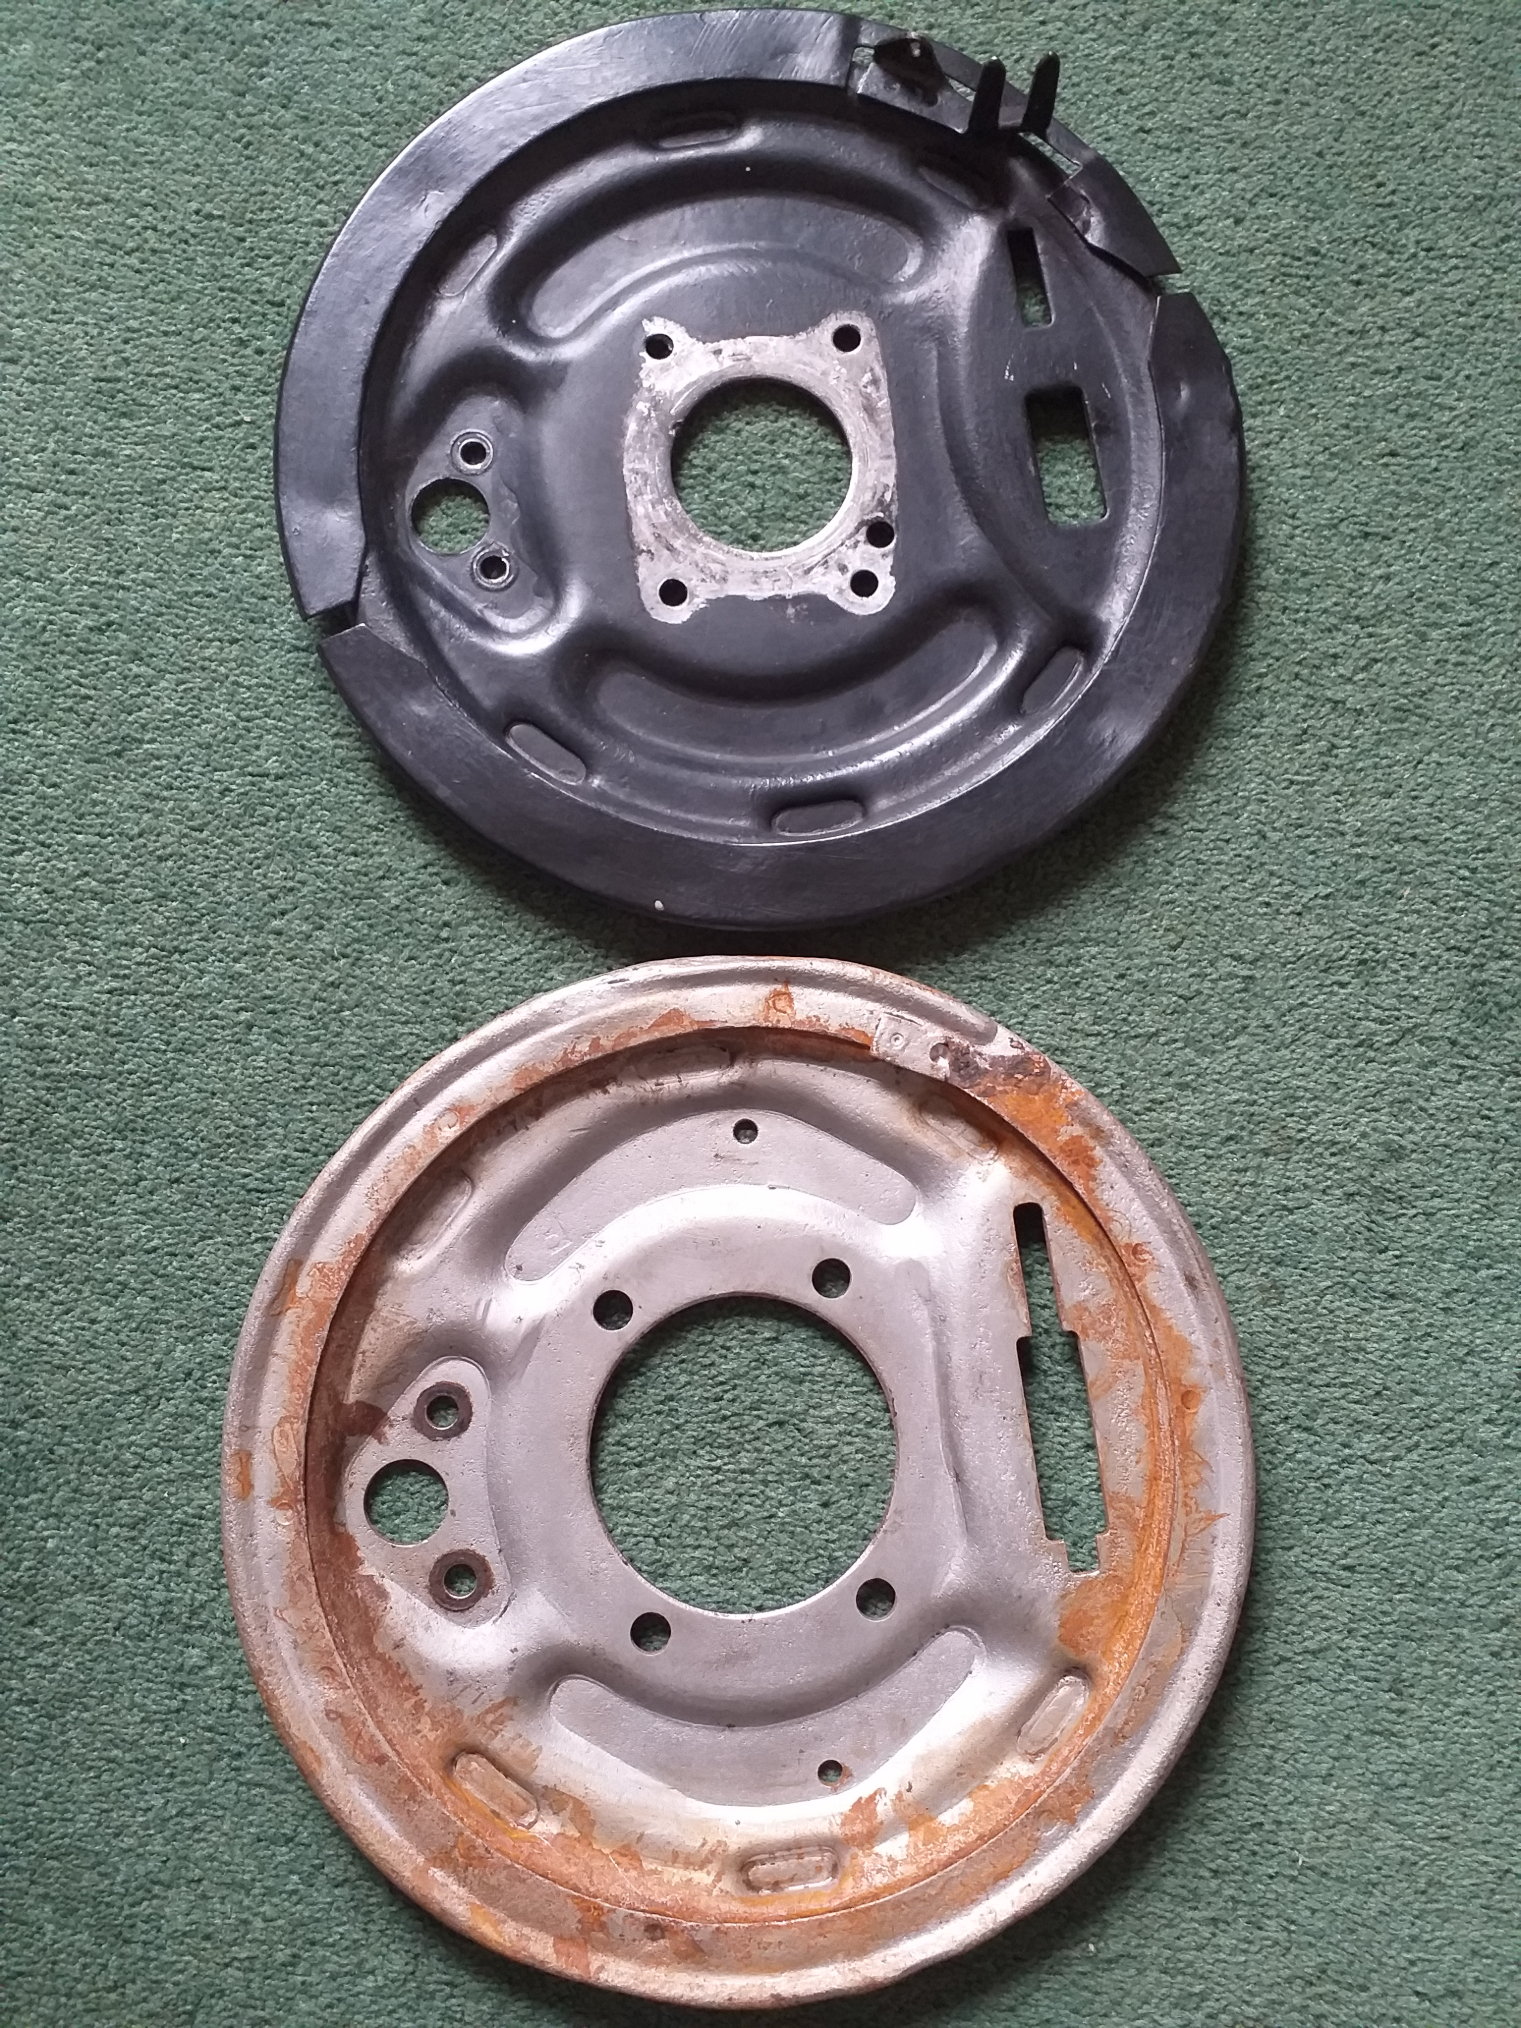
Above is the CSP/SR/SP backing plate (top) and S30 below.上がCSP/SR/SP用バッキングプレート(上側)、下がS30用です。
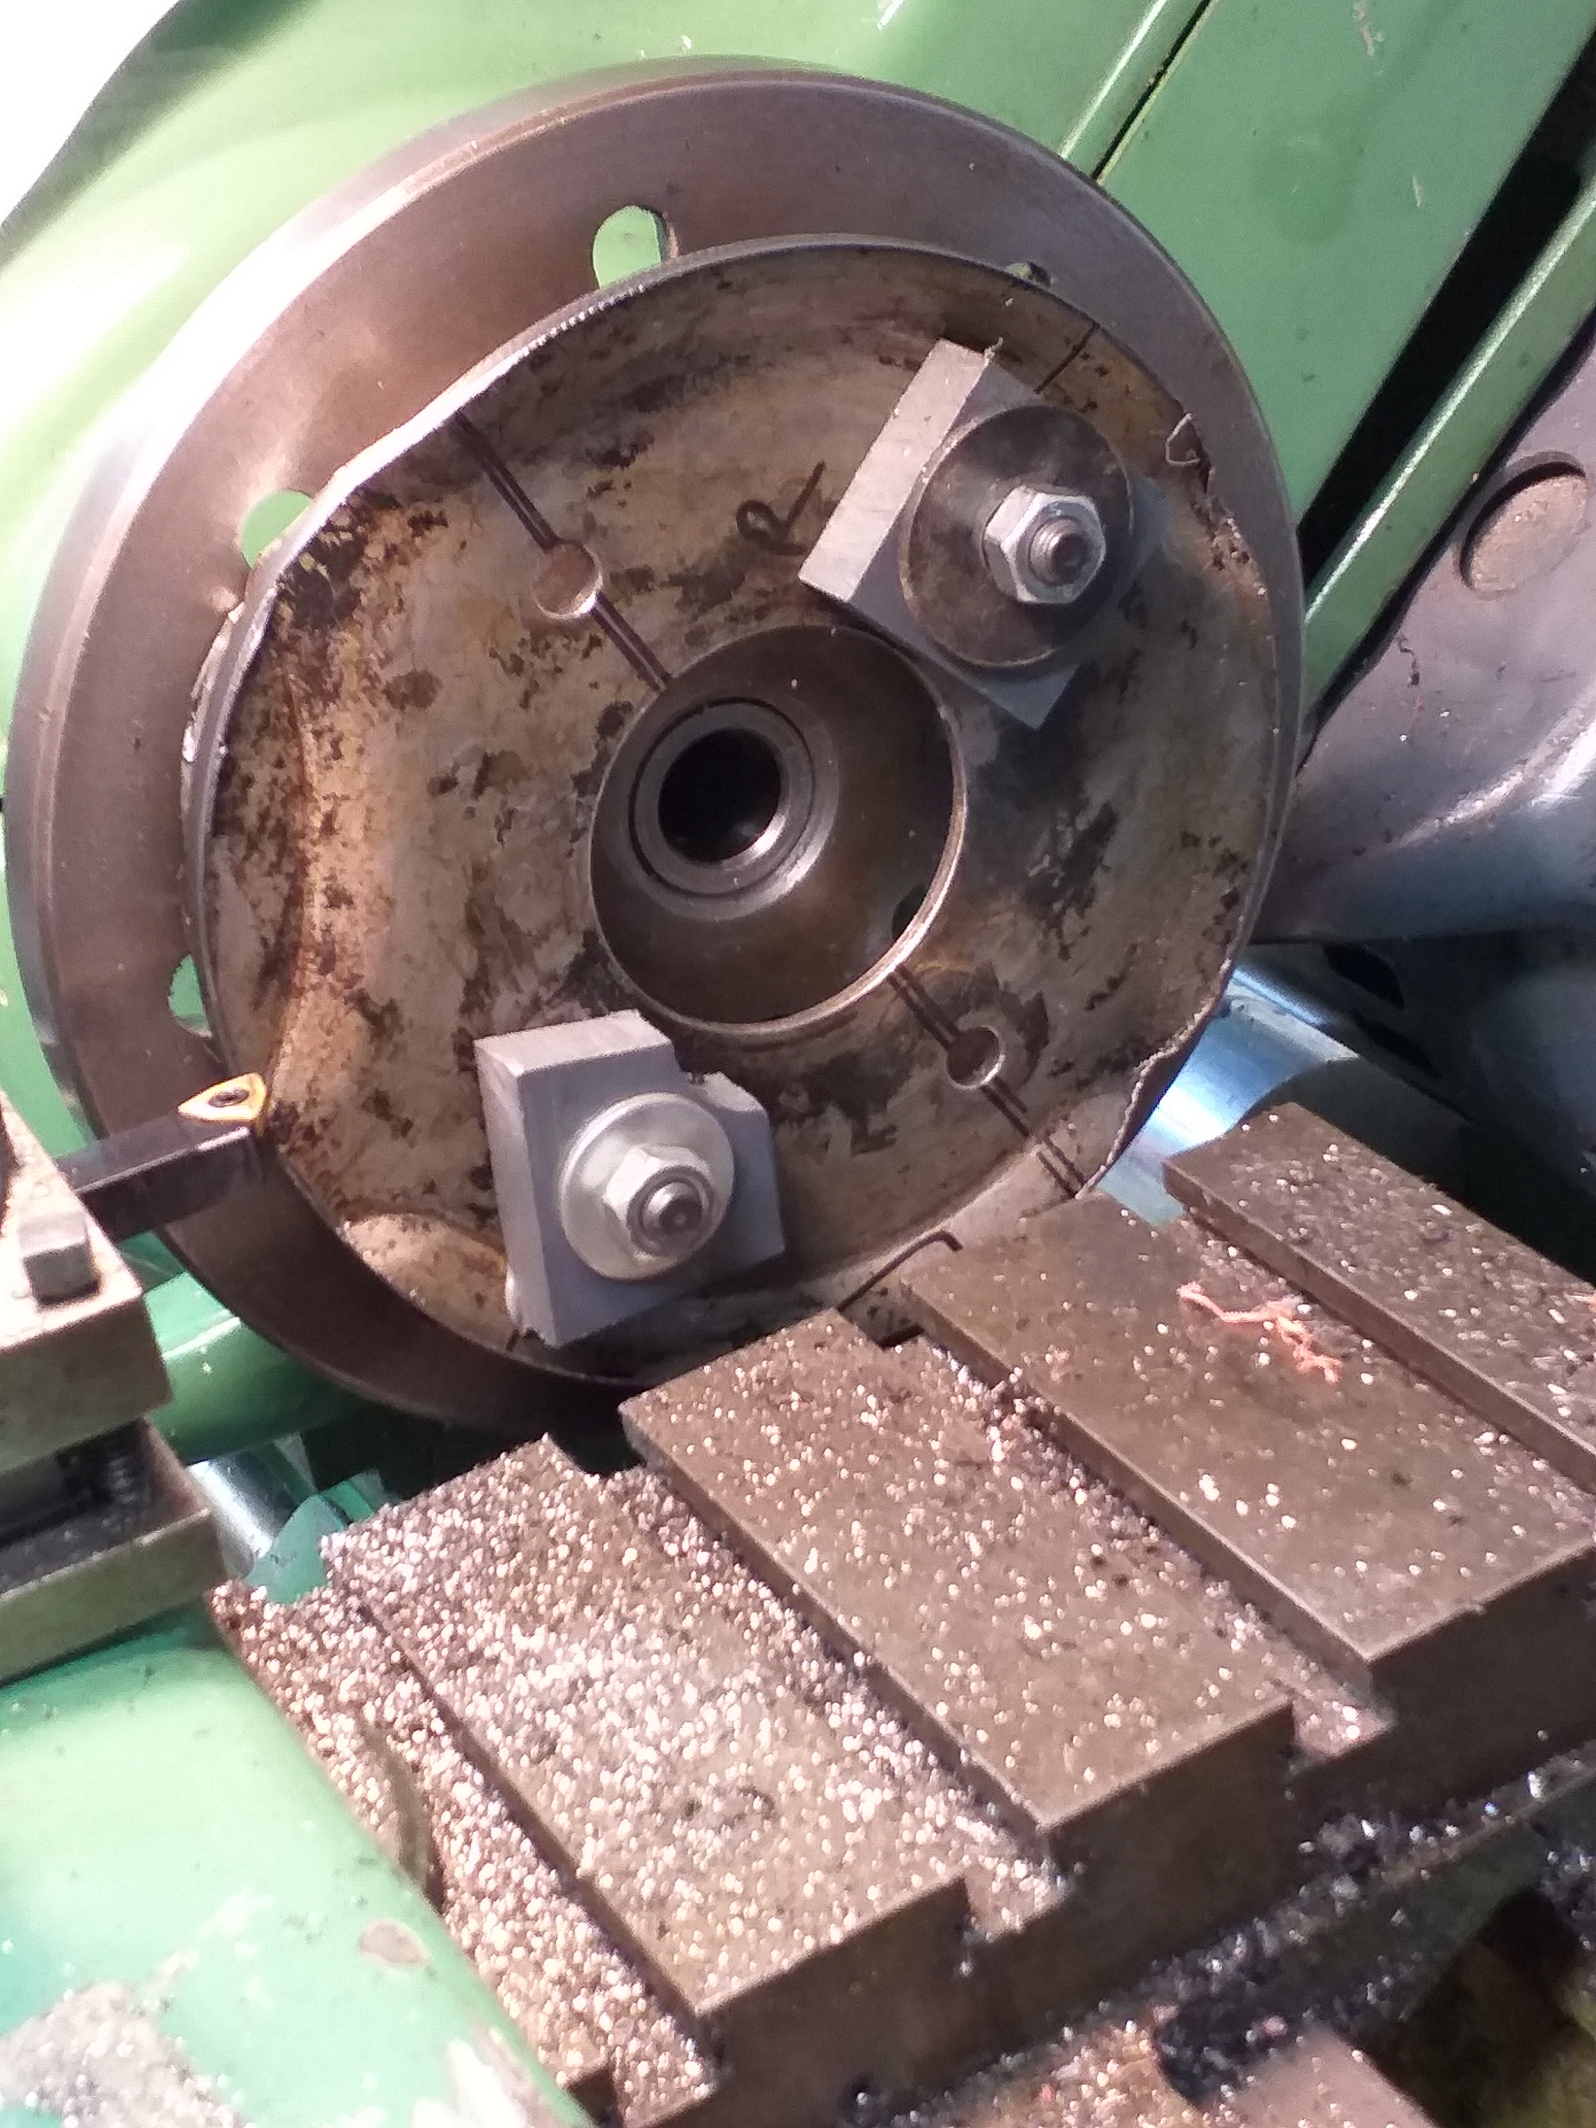
The CSP backing plate JUST fitted on my lathe if I removed the outer lip, as I want a centre disc.(Below).
CSPのバックプレートは、外側の縁を取り除けば、私の旋盤にちょうど収まりました。中央に円盤を付けたかったからです. 以下.
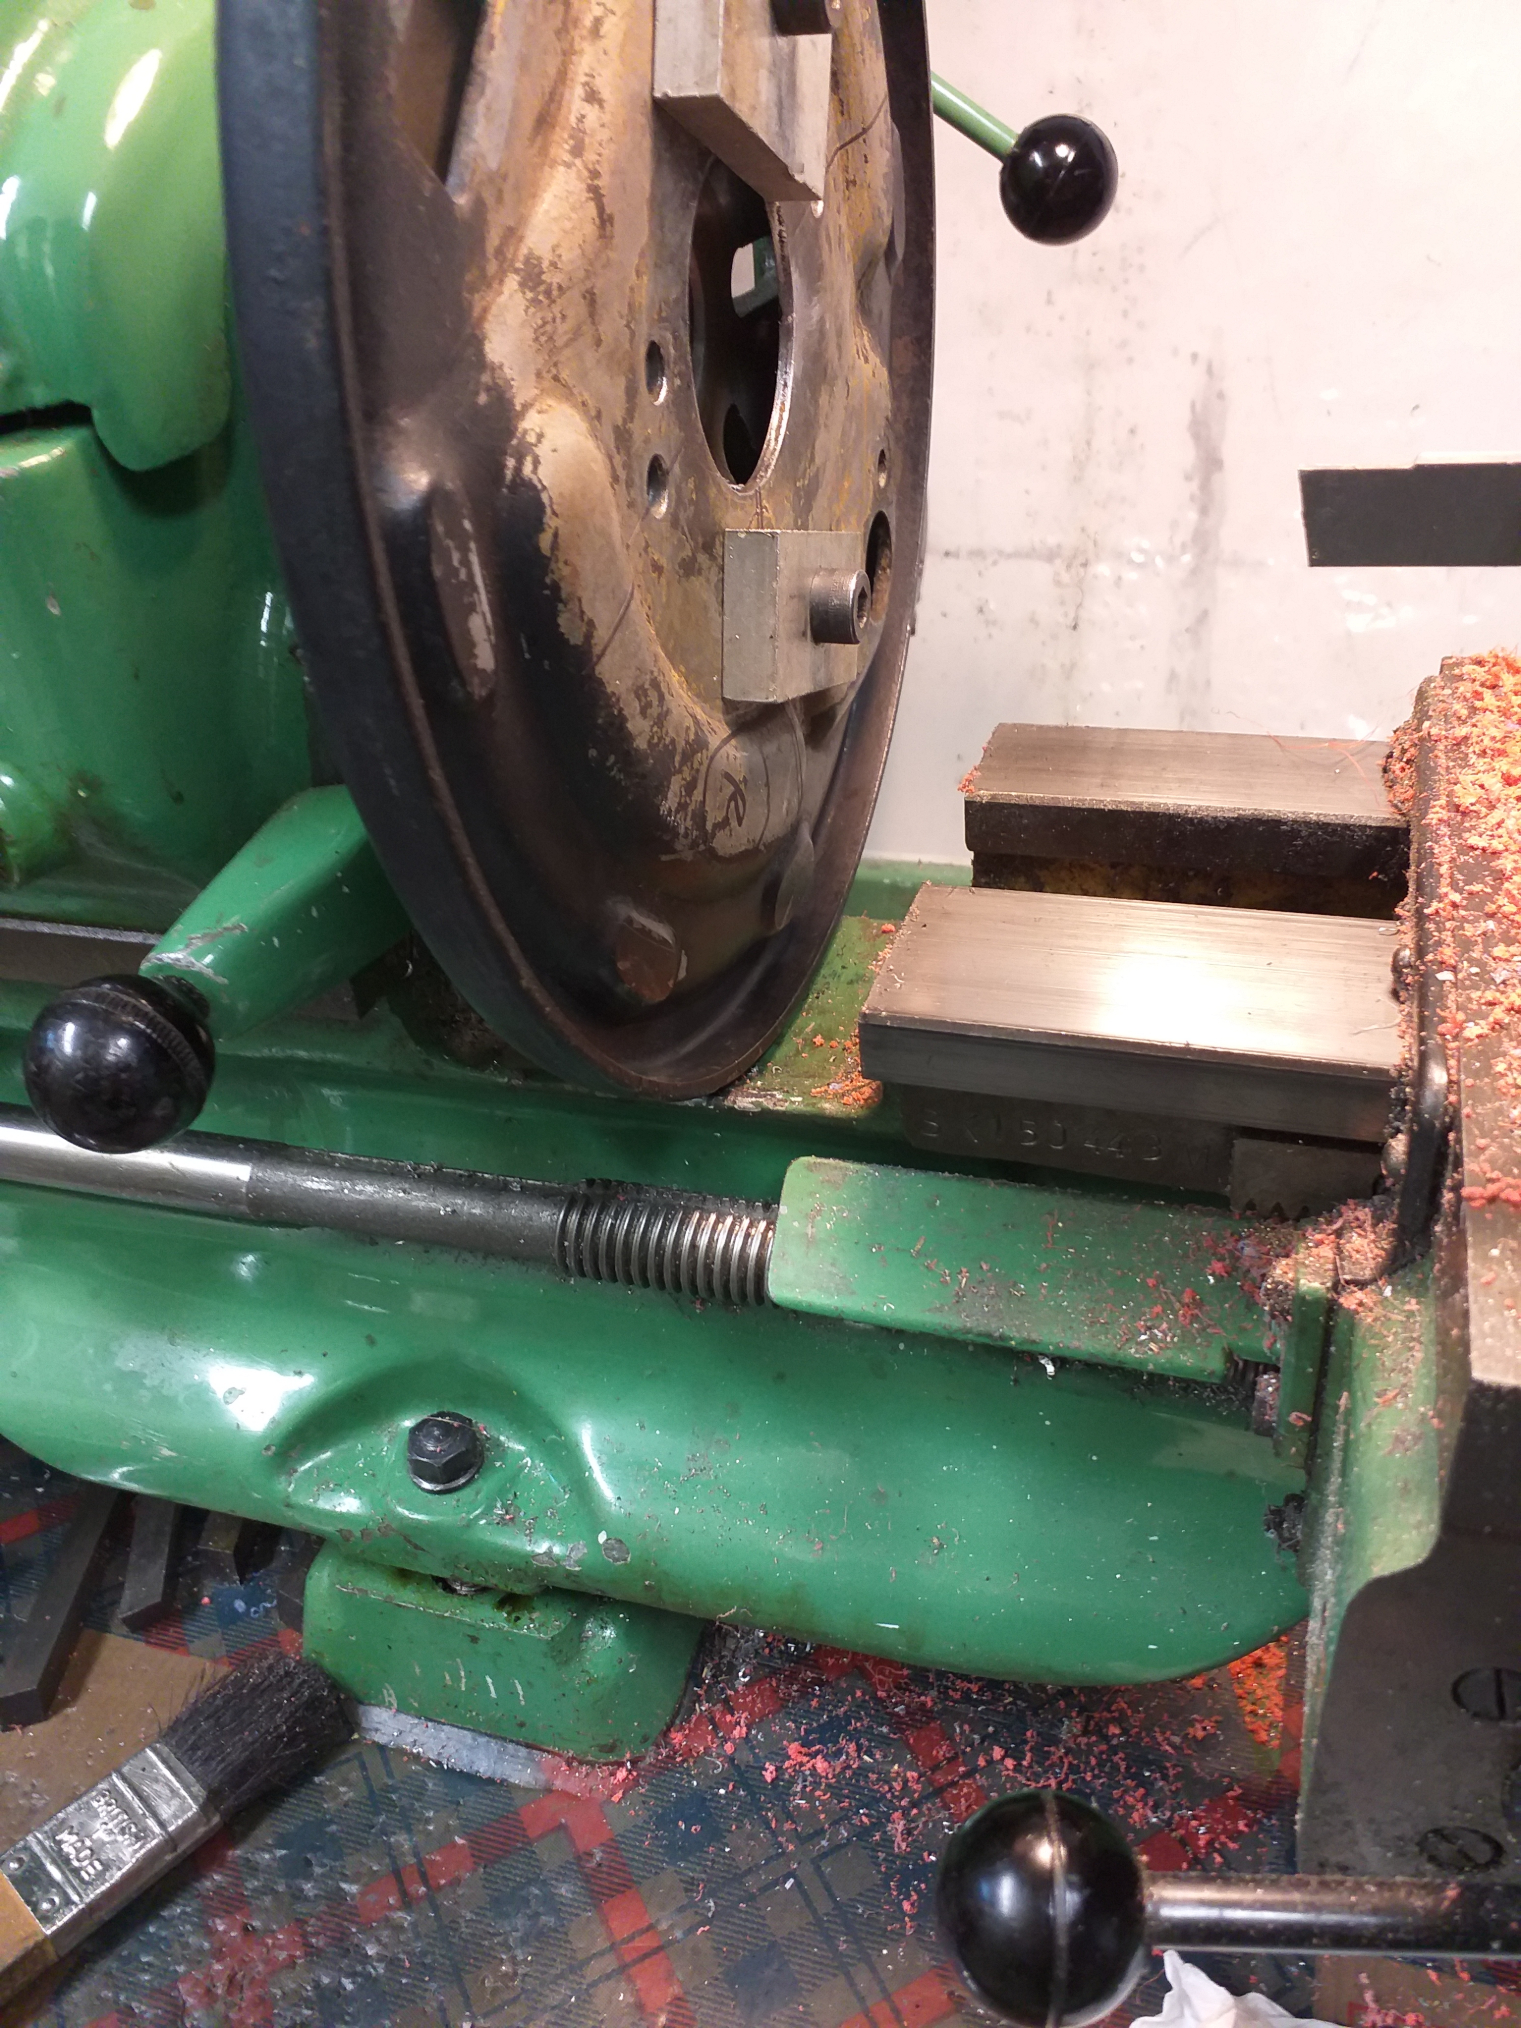
My lathe had to work hard to cut this, and also I am still learning what is best.
これを切削するのに旋盤はかなり苦労しましたし、私自身もまだ最適な方法を模索中です。
My lathe is too small to fit the S30 backing plates in, the welder cut them on his milling machine.
私の旋盤は小さすぎてS30の裏板が入らないので、溶接工がフライス盤で切り出してくれました.
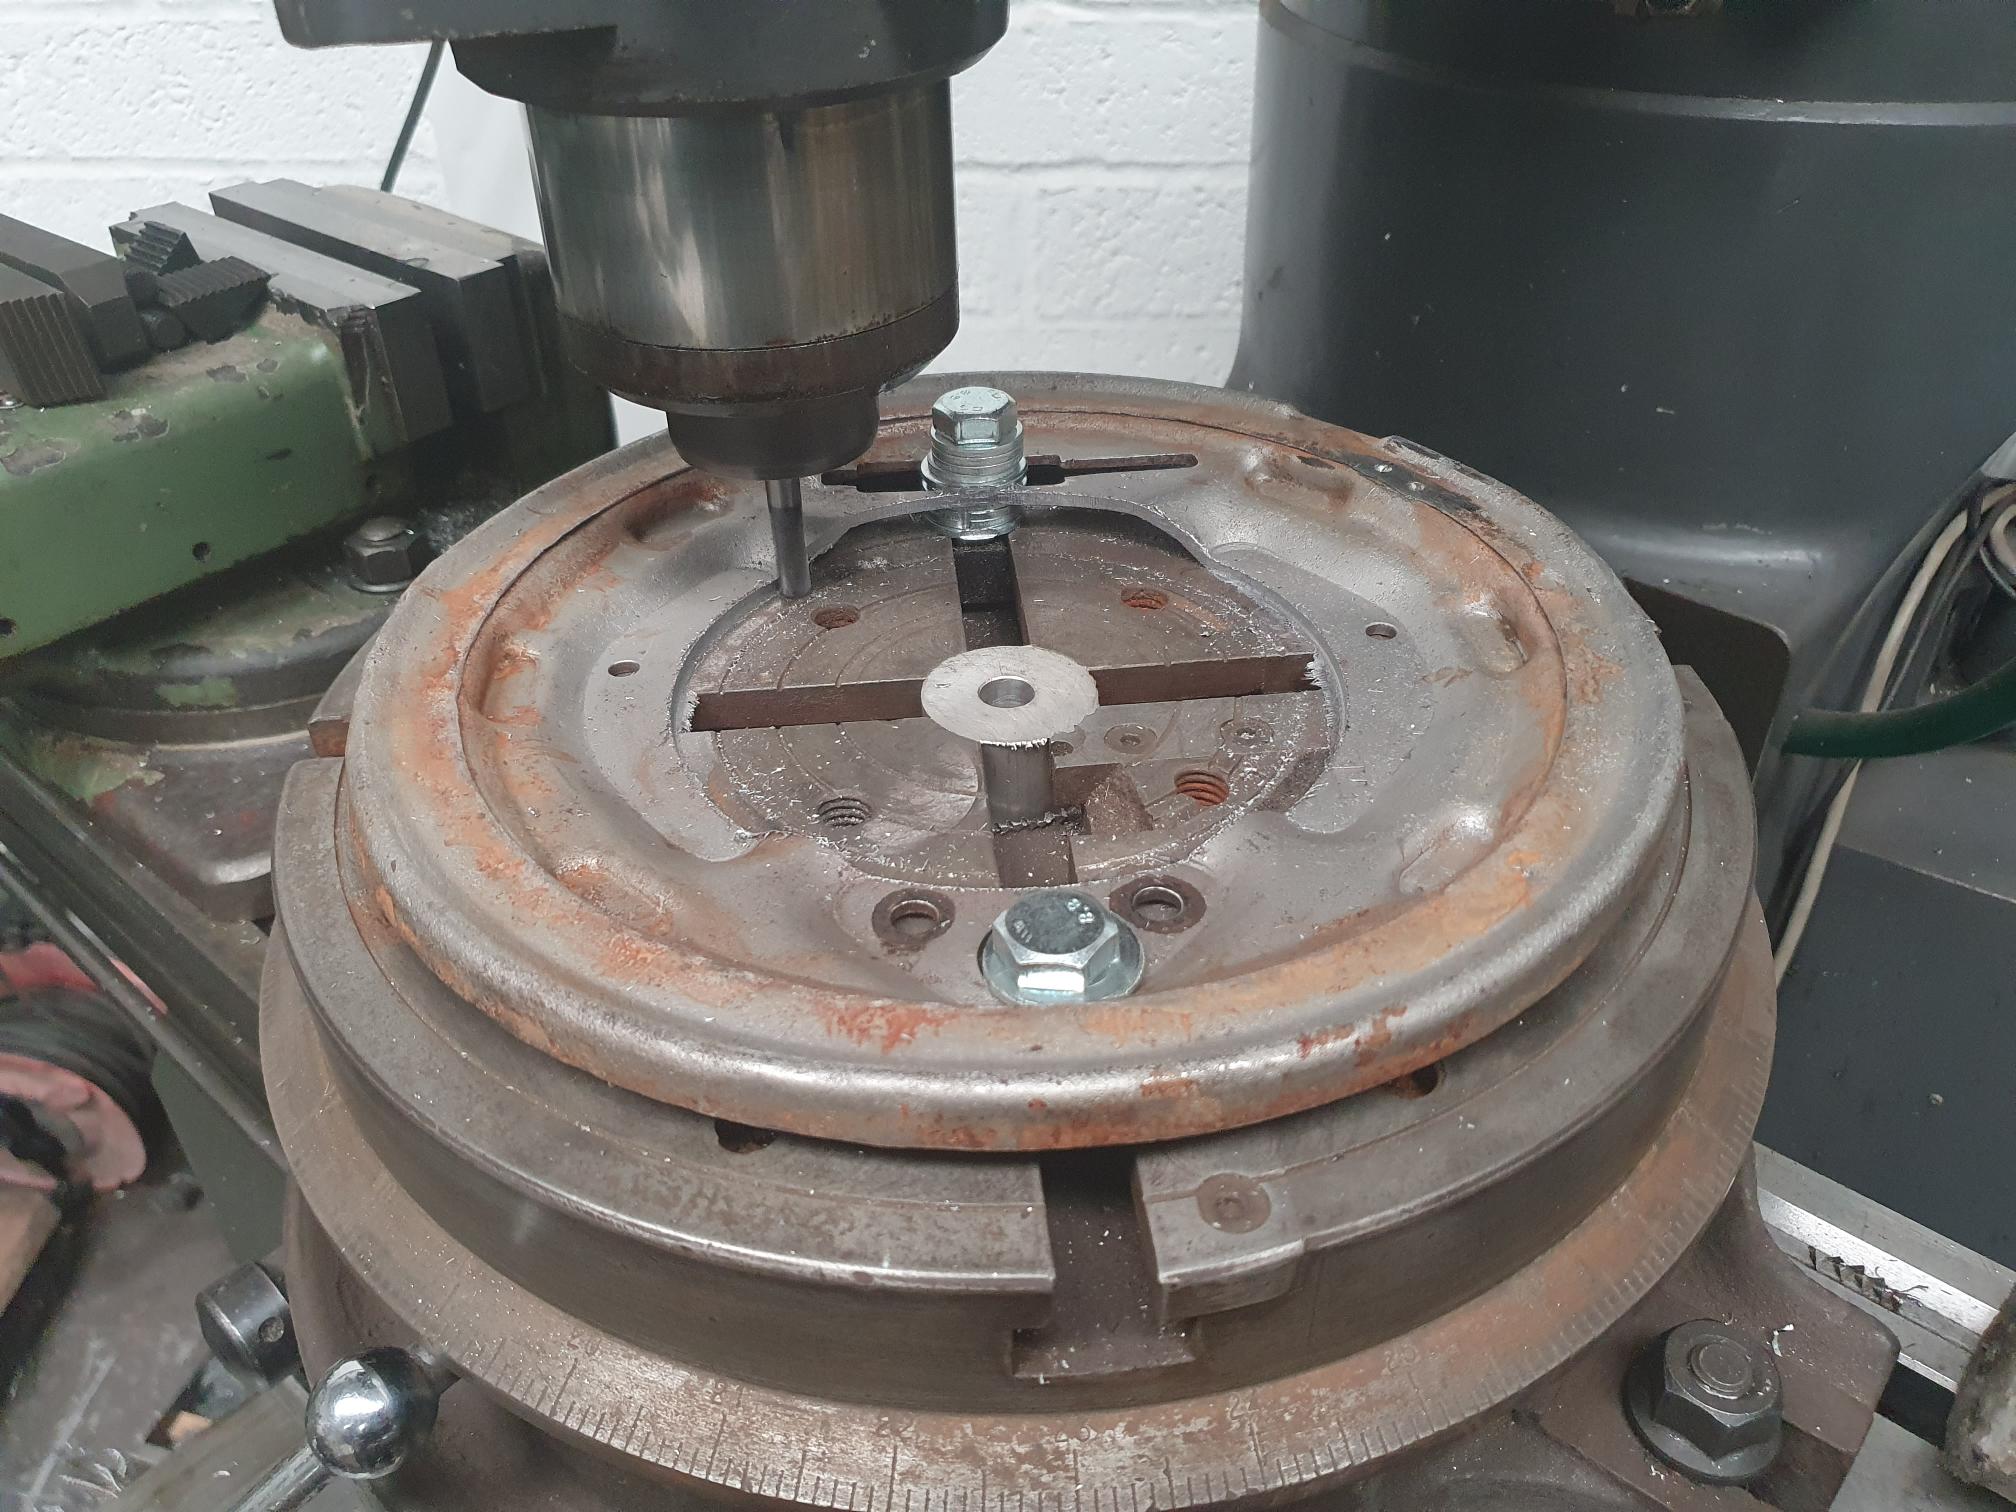
The welder made a jig of a thick aluminium plate to fix both sections of plate for a clean flat weld.
溶接工は、2枚の板をきれいに平らに溶接できるよう固定するために、厚いアルミニウム板で治具を製作した。

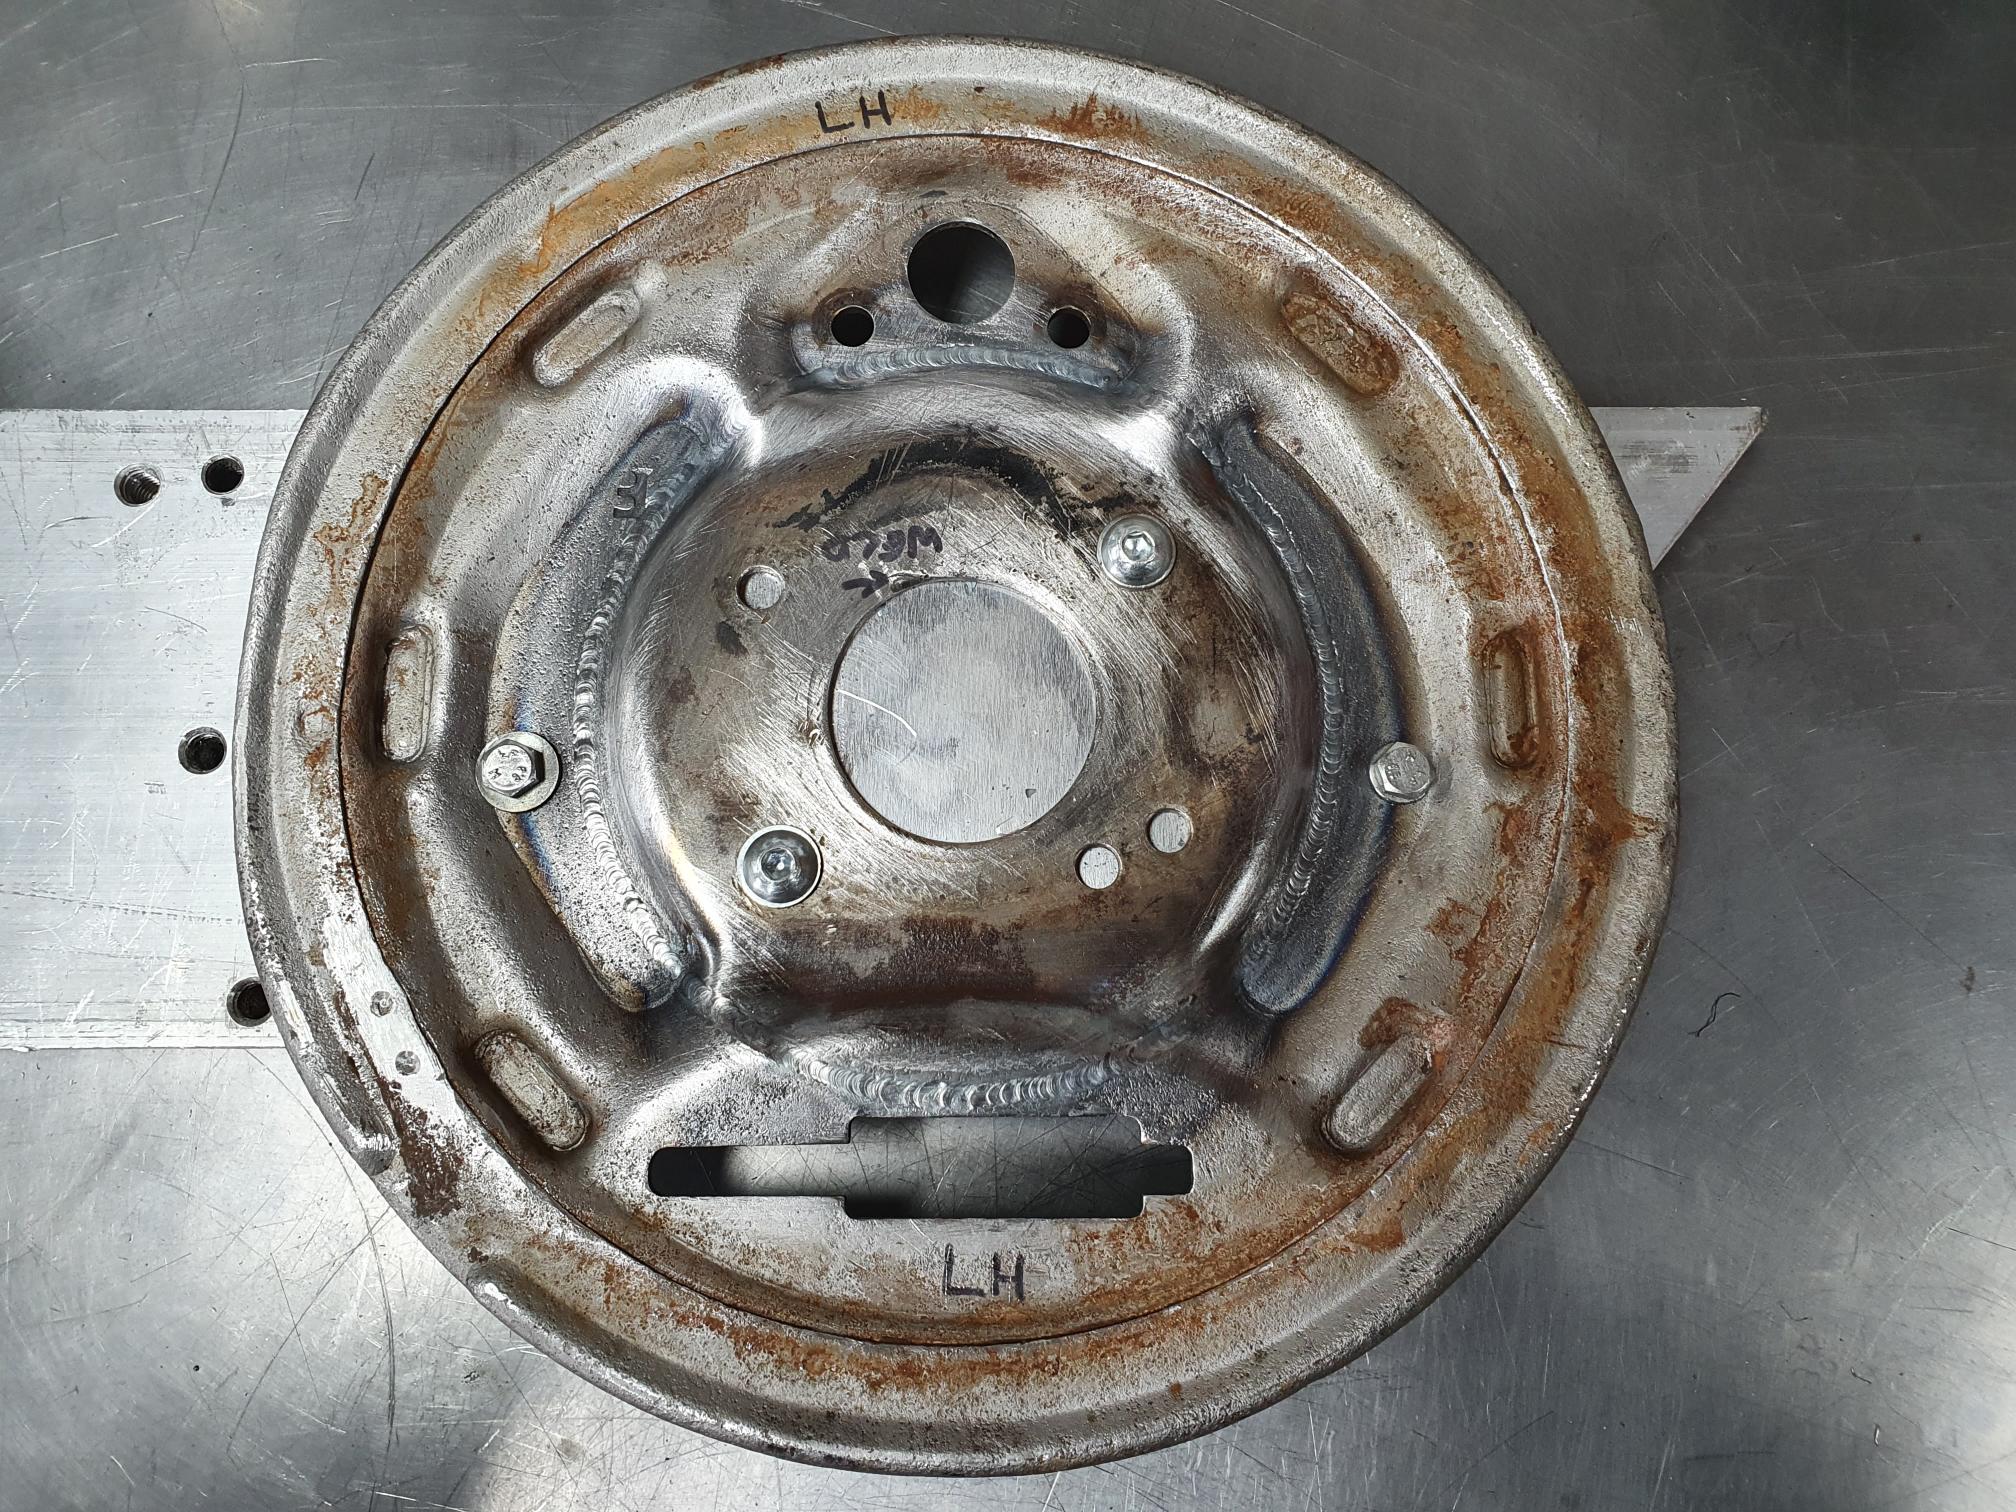
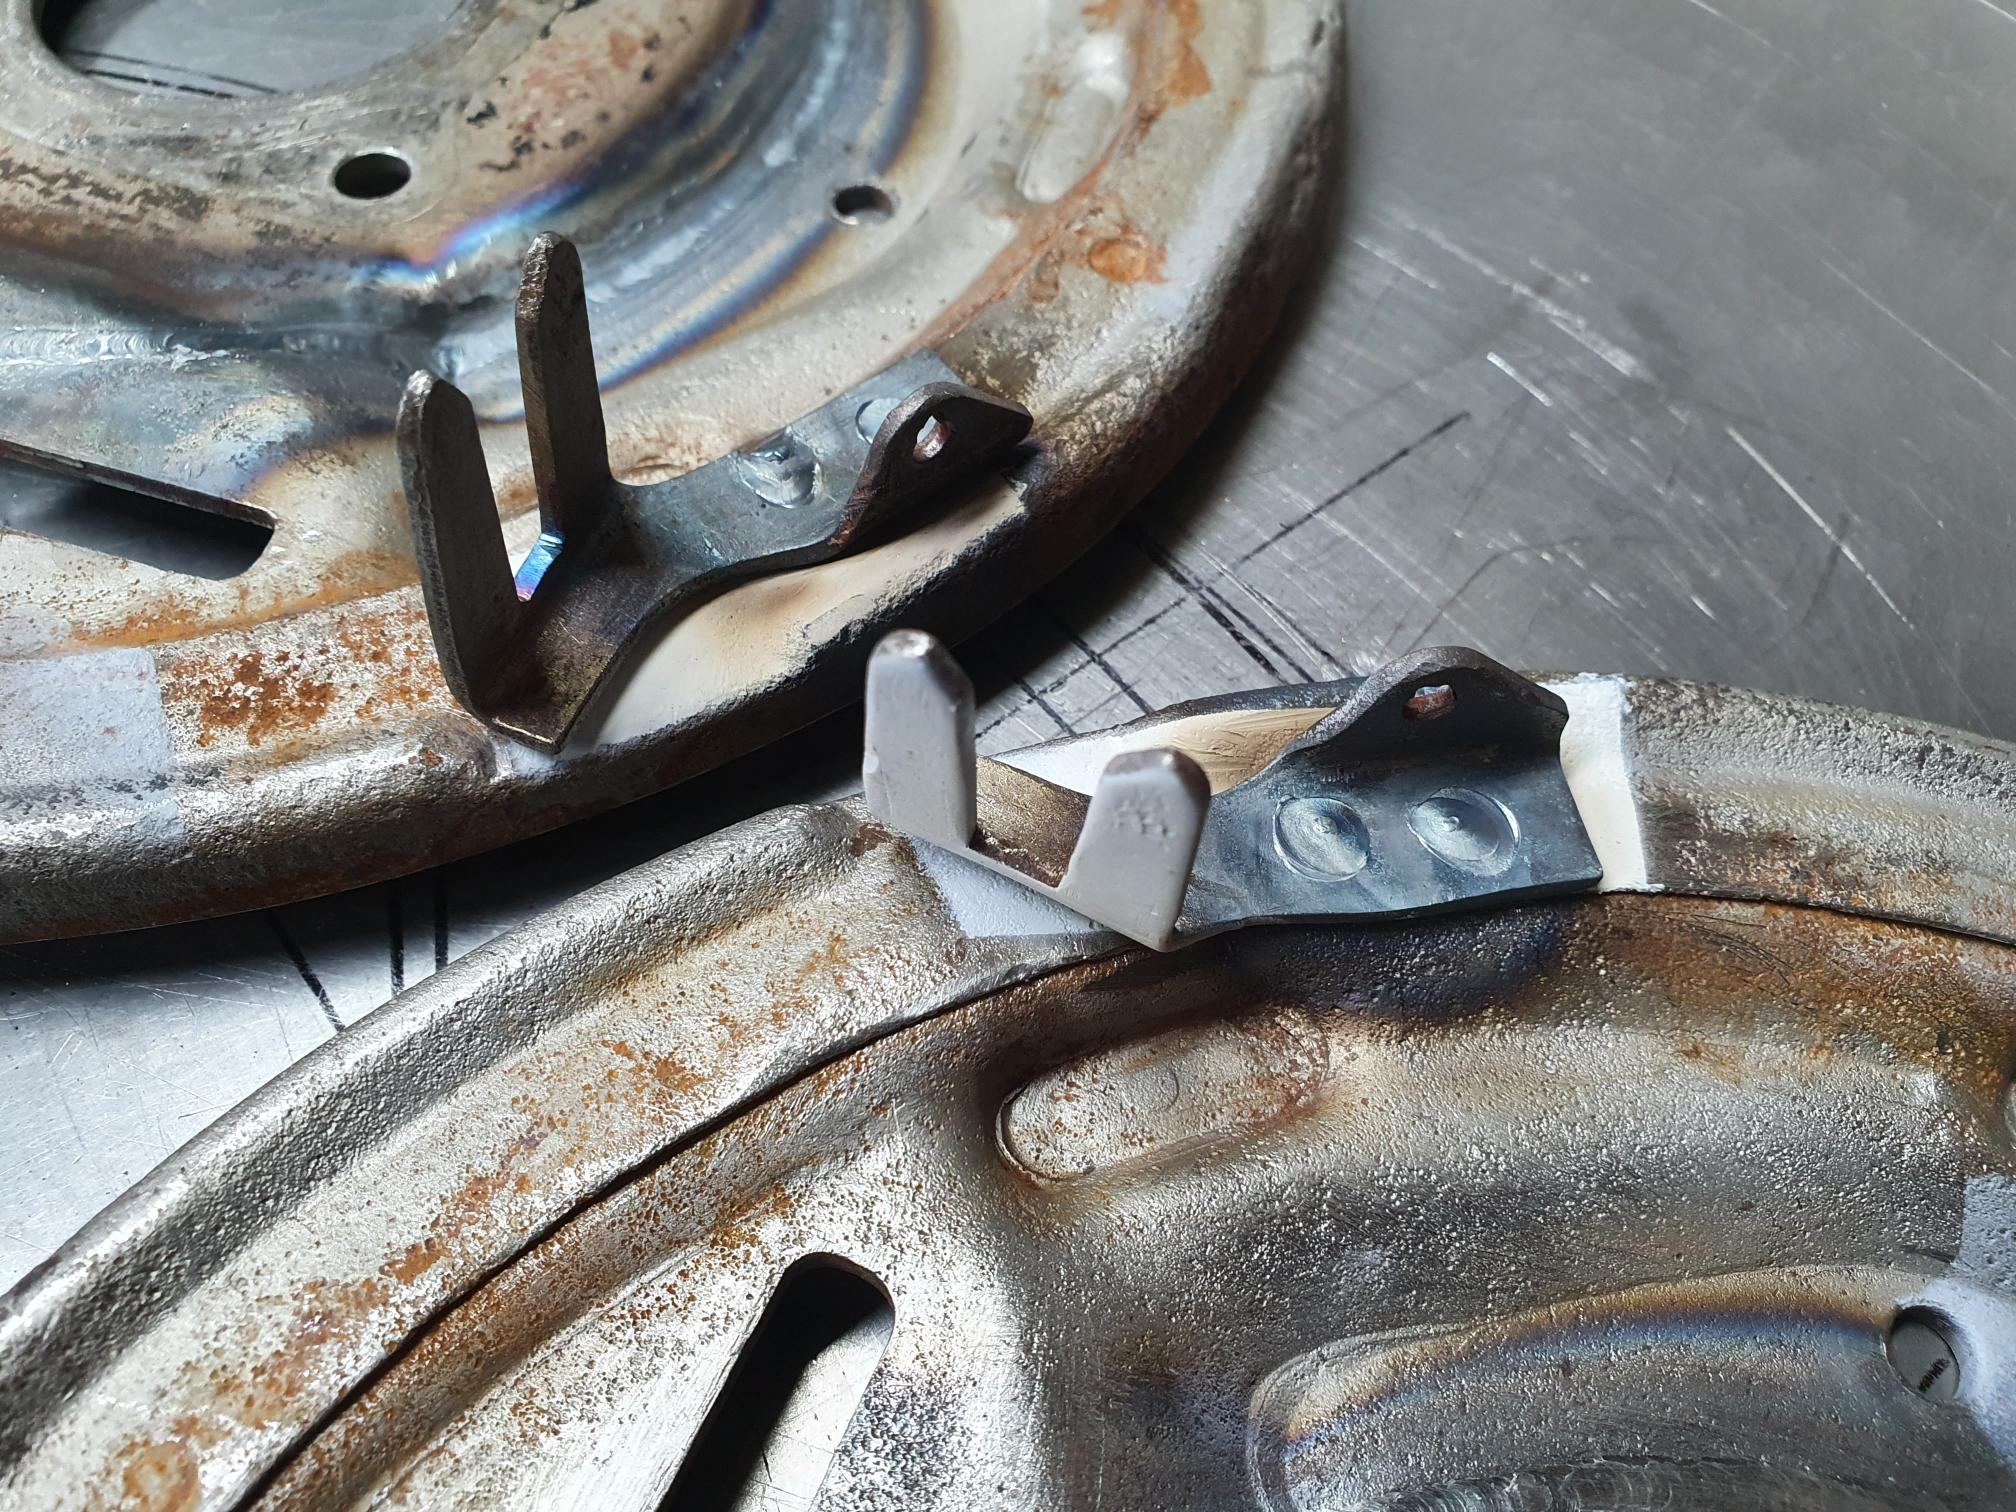
Both hybrid backing plates finished. We also attached the CSP rear cylinder hand brake guides onto the back as well.
ハイブリッド・バッキングプレートが両方とも完成しました。また、CSP製のリアシリンダー用ハンドブレーキ・ガイドも裏側に取り付けました.