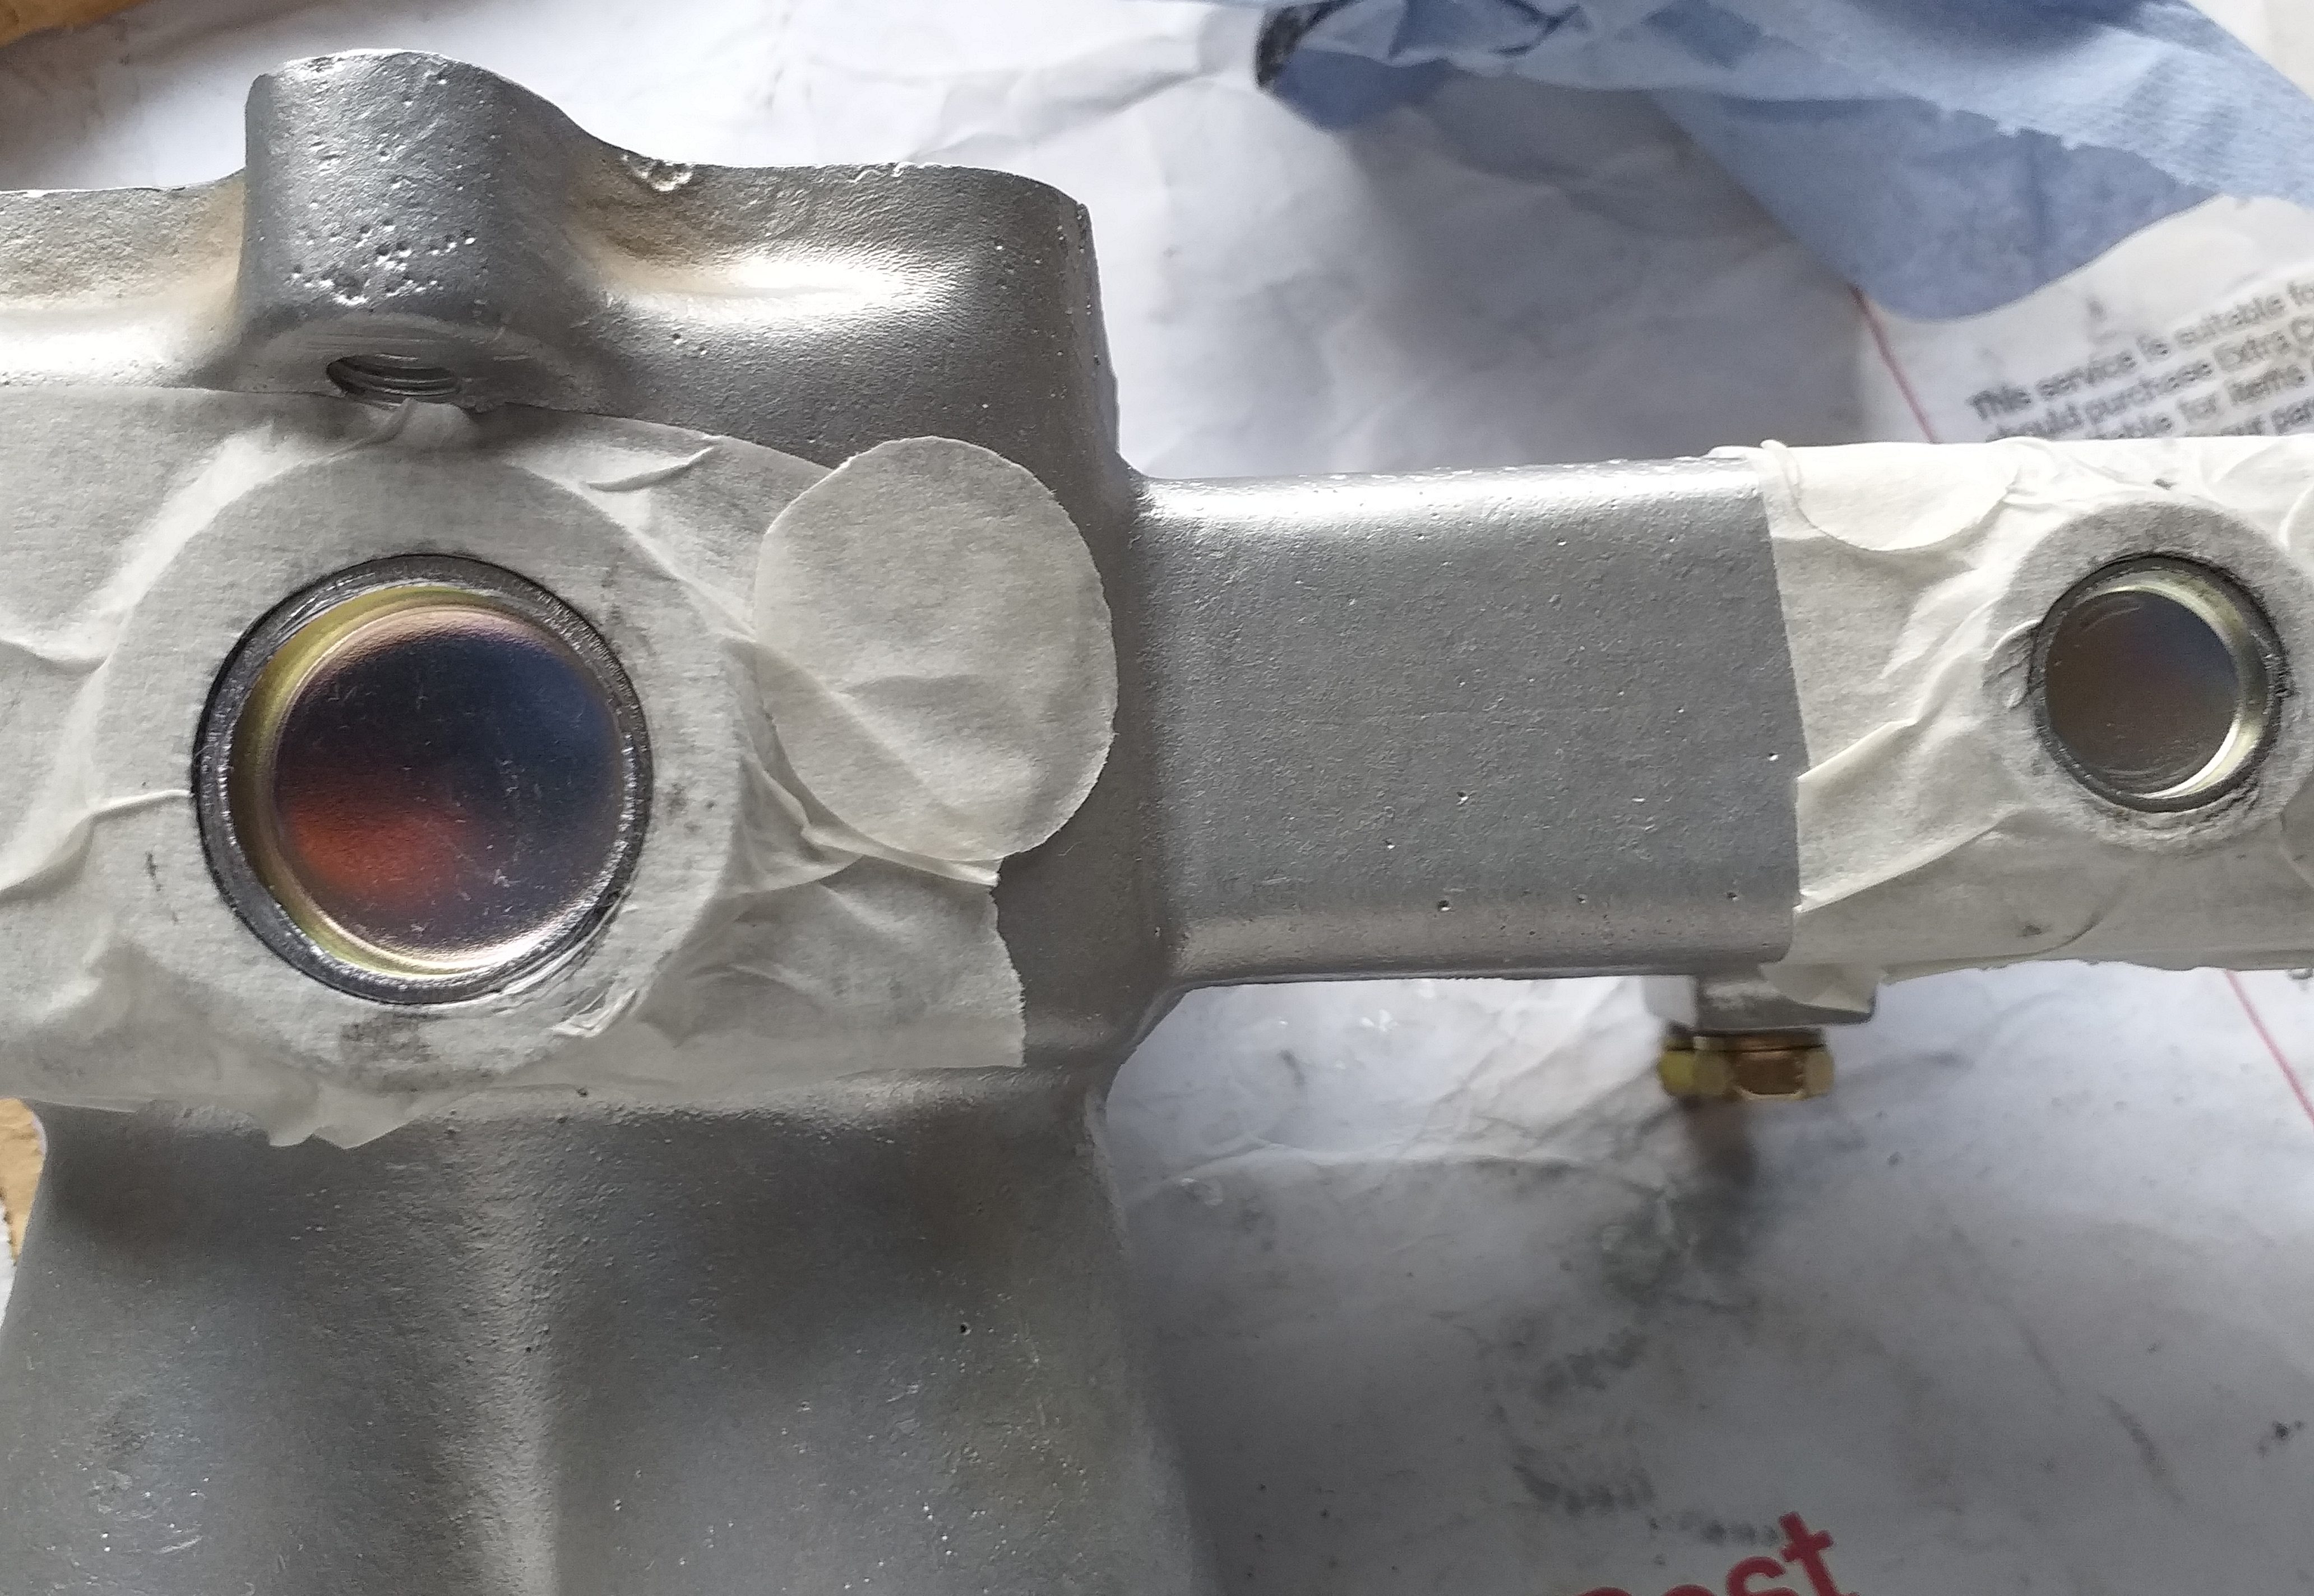
More lathe work, I noticed the handbrake rods that are paralell with the rear axle, are held to the pivot (attached to axle) and to either brake lever at the rear wheels. The ends of the rods were a little worn, with the pivot pins having quite a bit of movement. I want my CSP311 to be as refined as I can get it, and parts fitting loosely, adds play, slop into the working mechanism, I want to improve.
さらに旋盤作業を進めると、後輪の車軸と平行なハンドブレーキ ロッドがピボット (車軸に取り付けられている) と後輪のブレーキ レバーのいずれかに取り付けられていることに気付きました。ロッドの端は少し摩耗しており、ピボット ピンはかなり動いていました。CSP311 をできるだけ洗練させたいのですが、部品が緩くフィットし、動作機構に遊びや緩みが生じるので、改善したいと思っています。
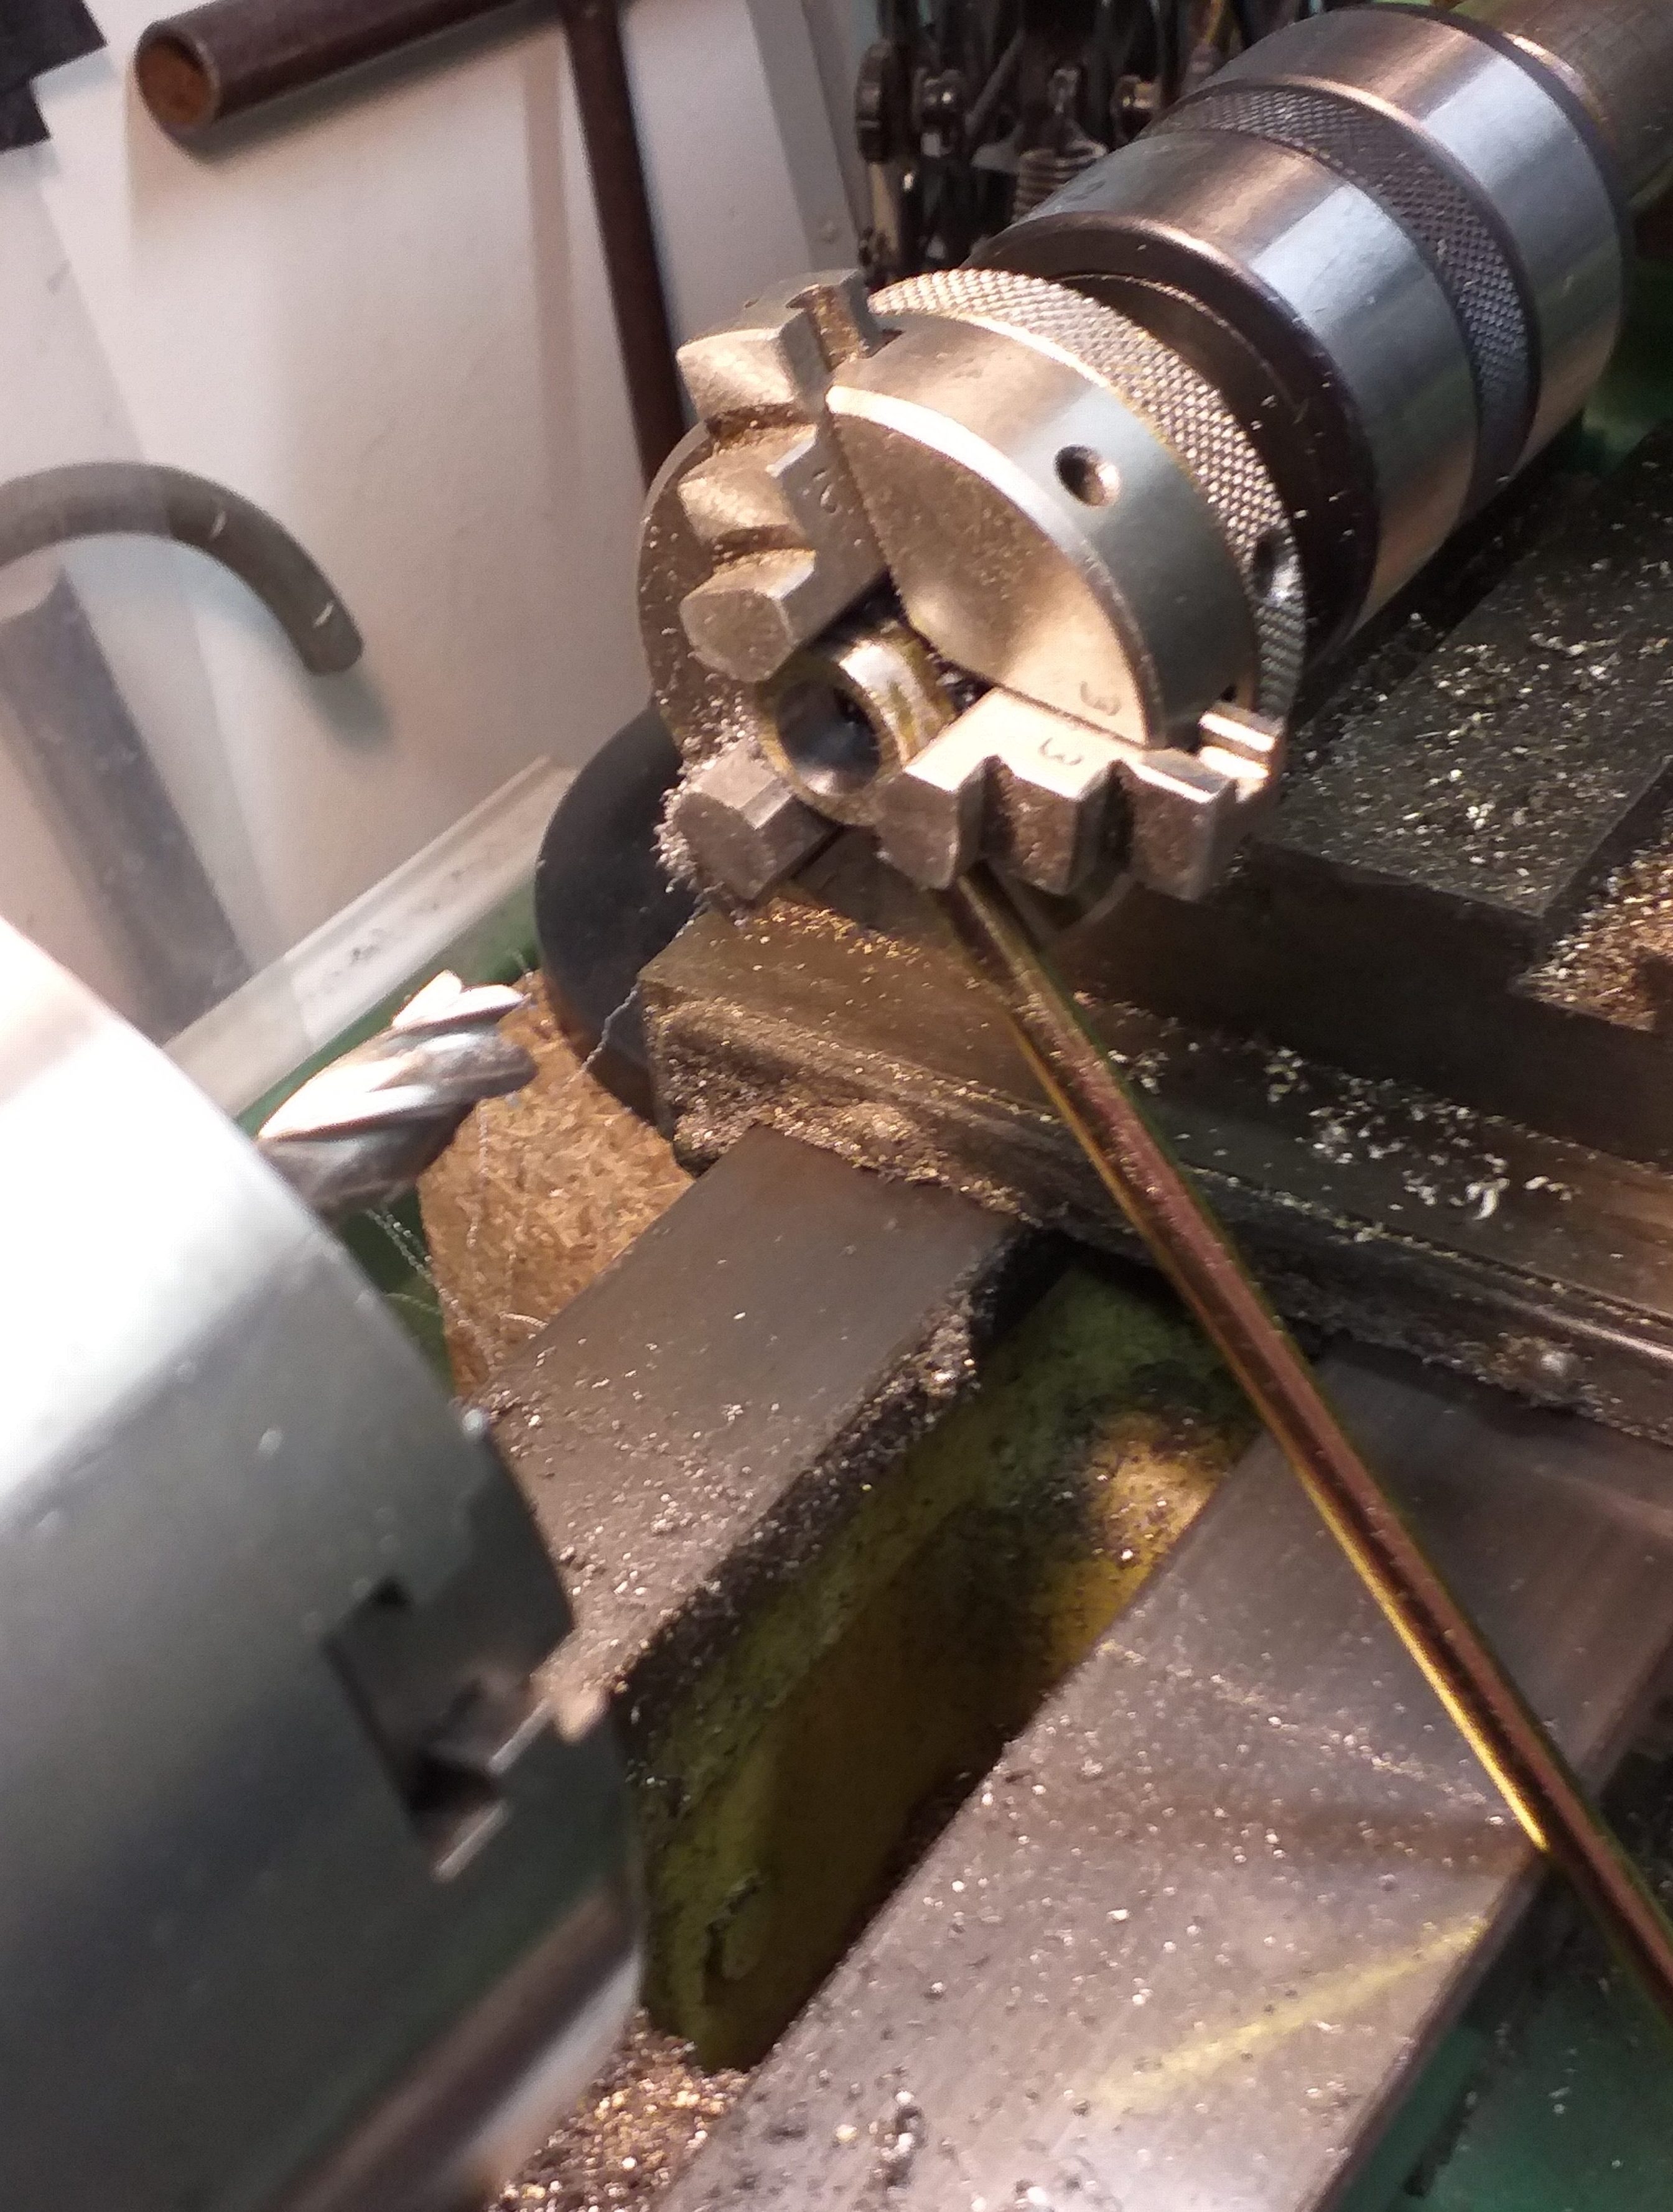
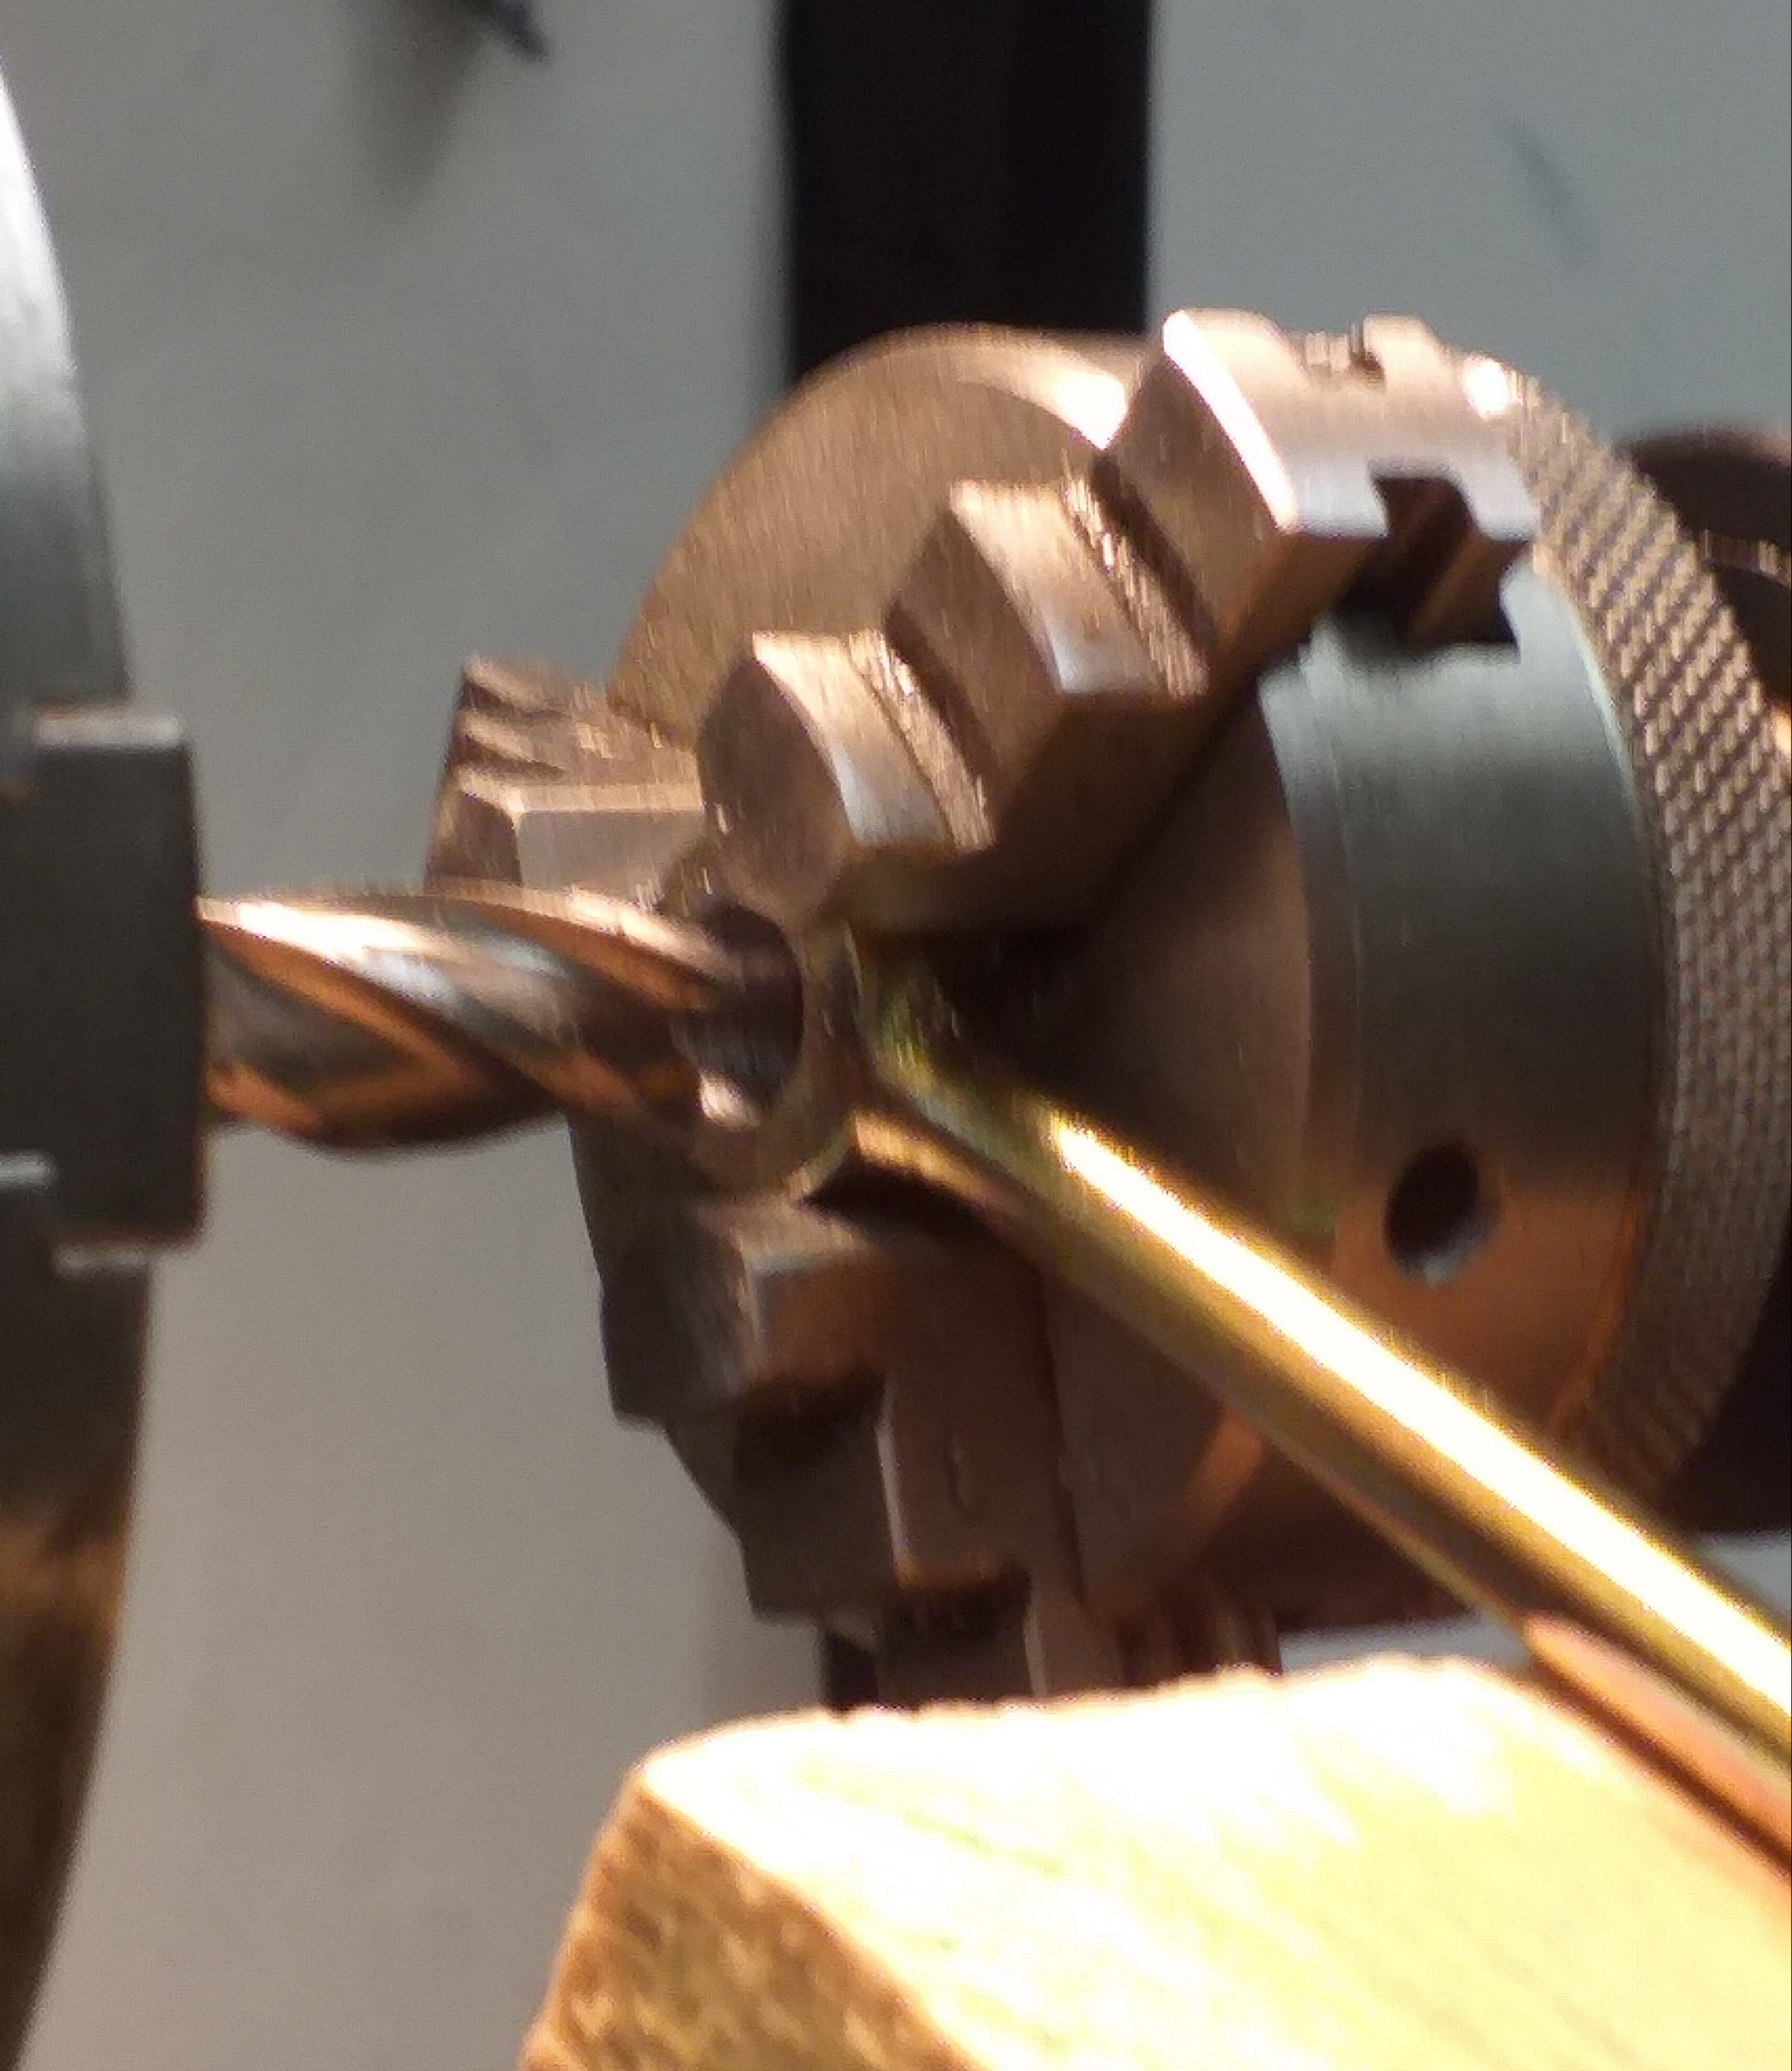
Now the holes on the ends of the rods are larger, I made a brass bushing to fit in the rod hole and a nice fit for the pivots pins to pass through. On the image below, you can see brass bushing. Originally this would have been a felt washer, impregnated with grease. I will throughly grease when I fit together. Sorry, no pictures of brass bushings.
ロッドの端の穴が大きくなったので、ロッドの穴に合うように真鍮のブッシングを作り、ピボット ピンが通れるようにしました。下の画像では、真鍮のブッシングが見えます。本来は、グリースを染み込ませたフェルト ワッシャーでした。組み立てるときに、グリースをたっぷり塗ります。申し訳ありませんが、真鍮のブッシングの写真はありません。
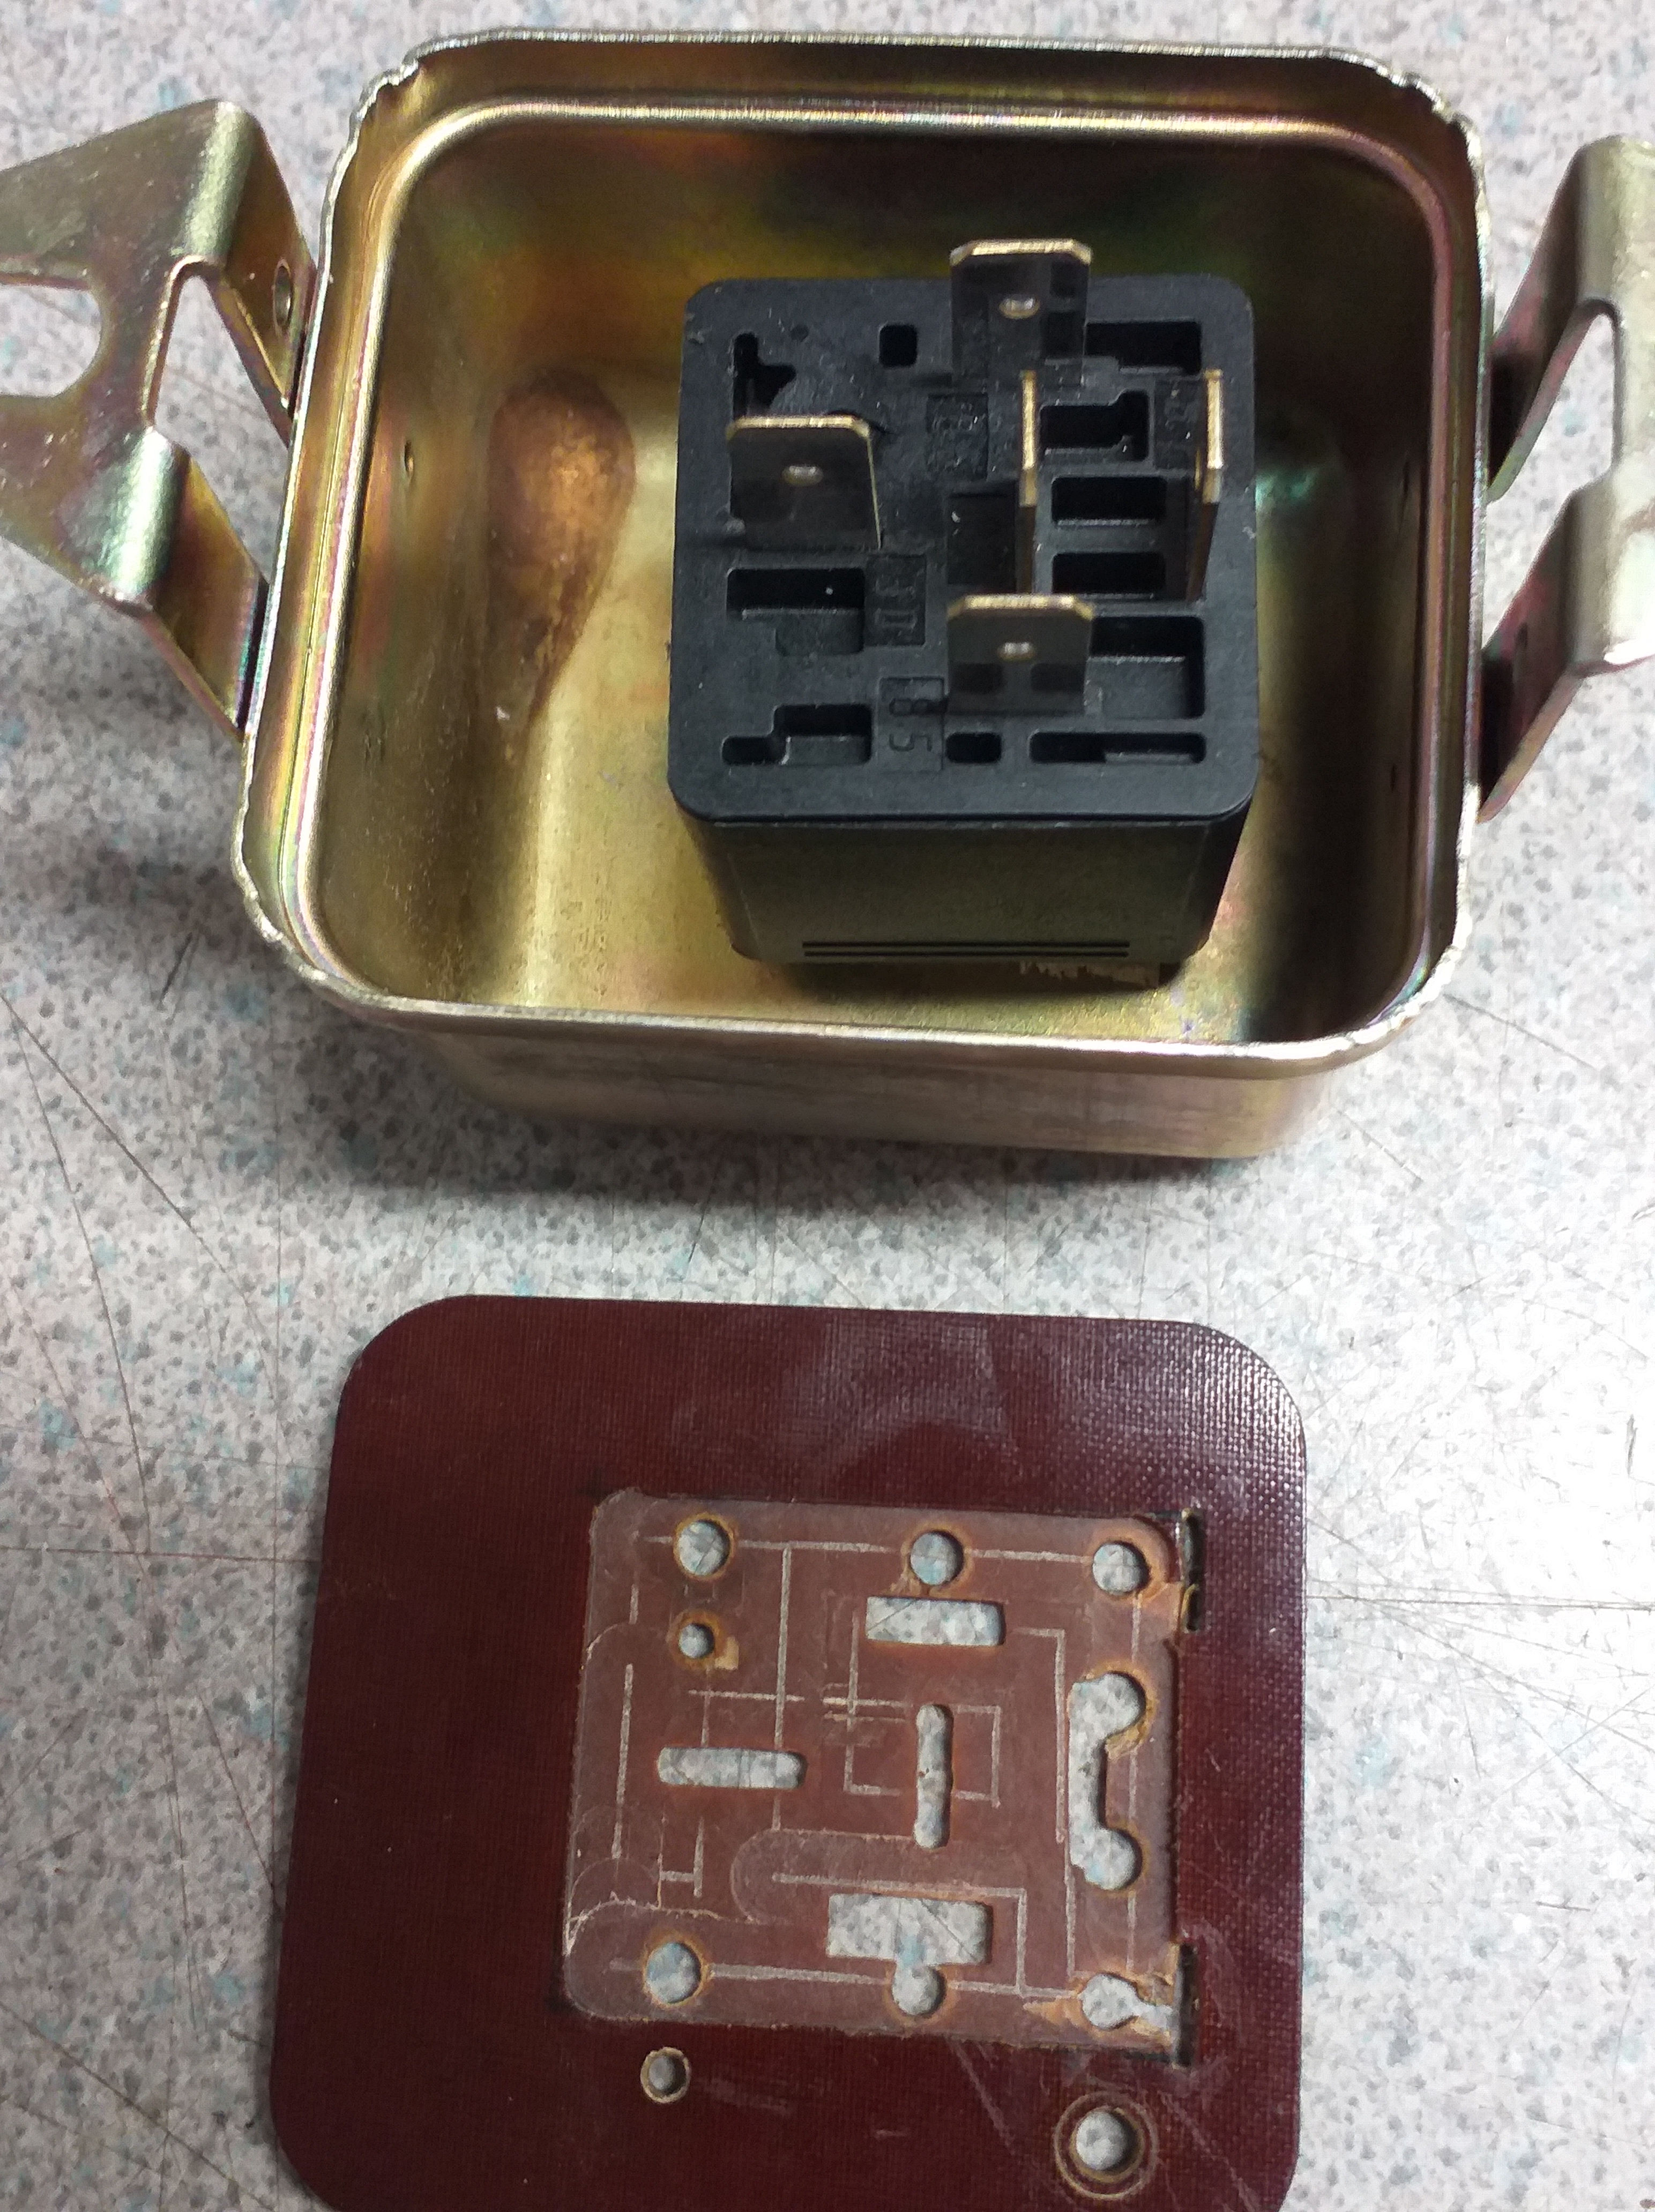
Another headlamp fuse fitted to an old metal fuse holder. To wire the headlamps so power is going directly and not through the dash switch, each headlamp (dip and main) require their own curcuit. I also plan a pair of spot/driving lamps, so this also needs its own wiring fuse, as I want it separate from the headlamps. The backing plate of the original required a little machining to fit well.
もう 1 つのヘッドランプ ヒューズは、古い金属製ヒューズ ホルダーに取り付けられています。ヘッドランプに配線して、ダッシュ スイッチを経由せずに直接電力が供給されるようにするには、各ヘッドランプ (ディップとメイン) に独自の回路が必要です。また、スポット/ドライビング ランプのペアも計画しているので、ヘッドランプとは別にしたいので、これも独自の配線ヒューズが必要です。オリジナルのバッキングプレートは、うまくフィットさせるために少し加工する必要がありました。
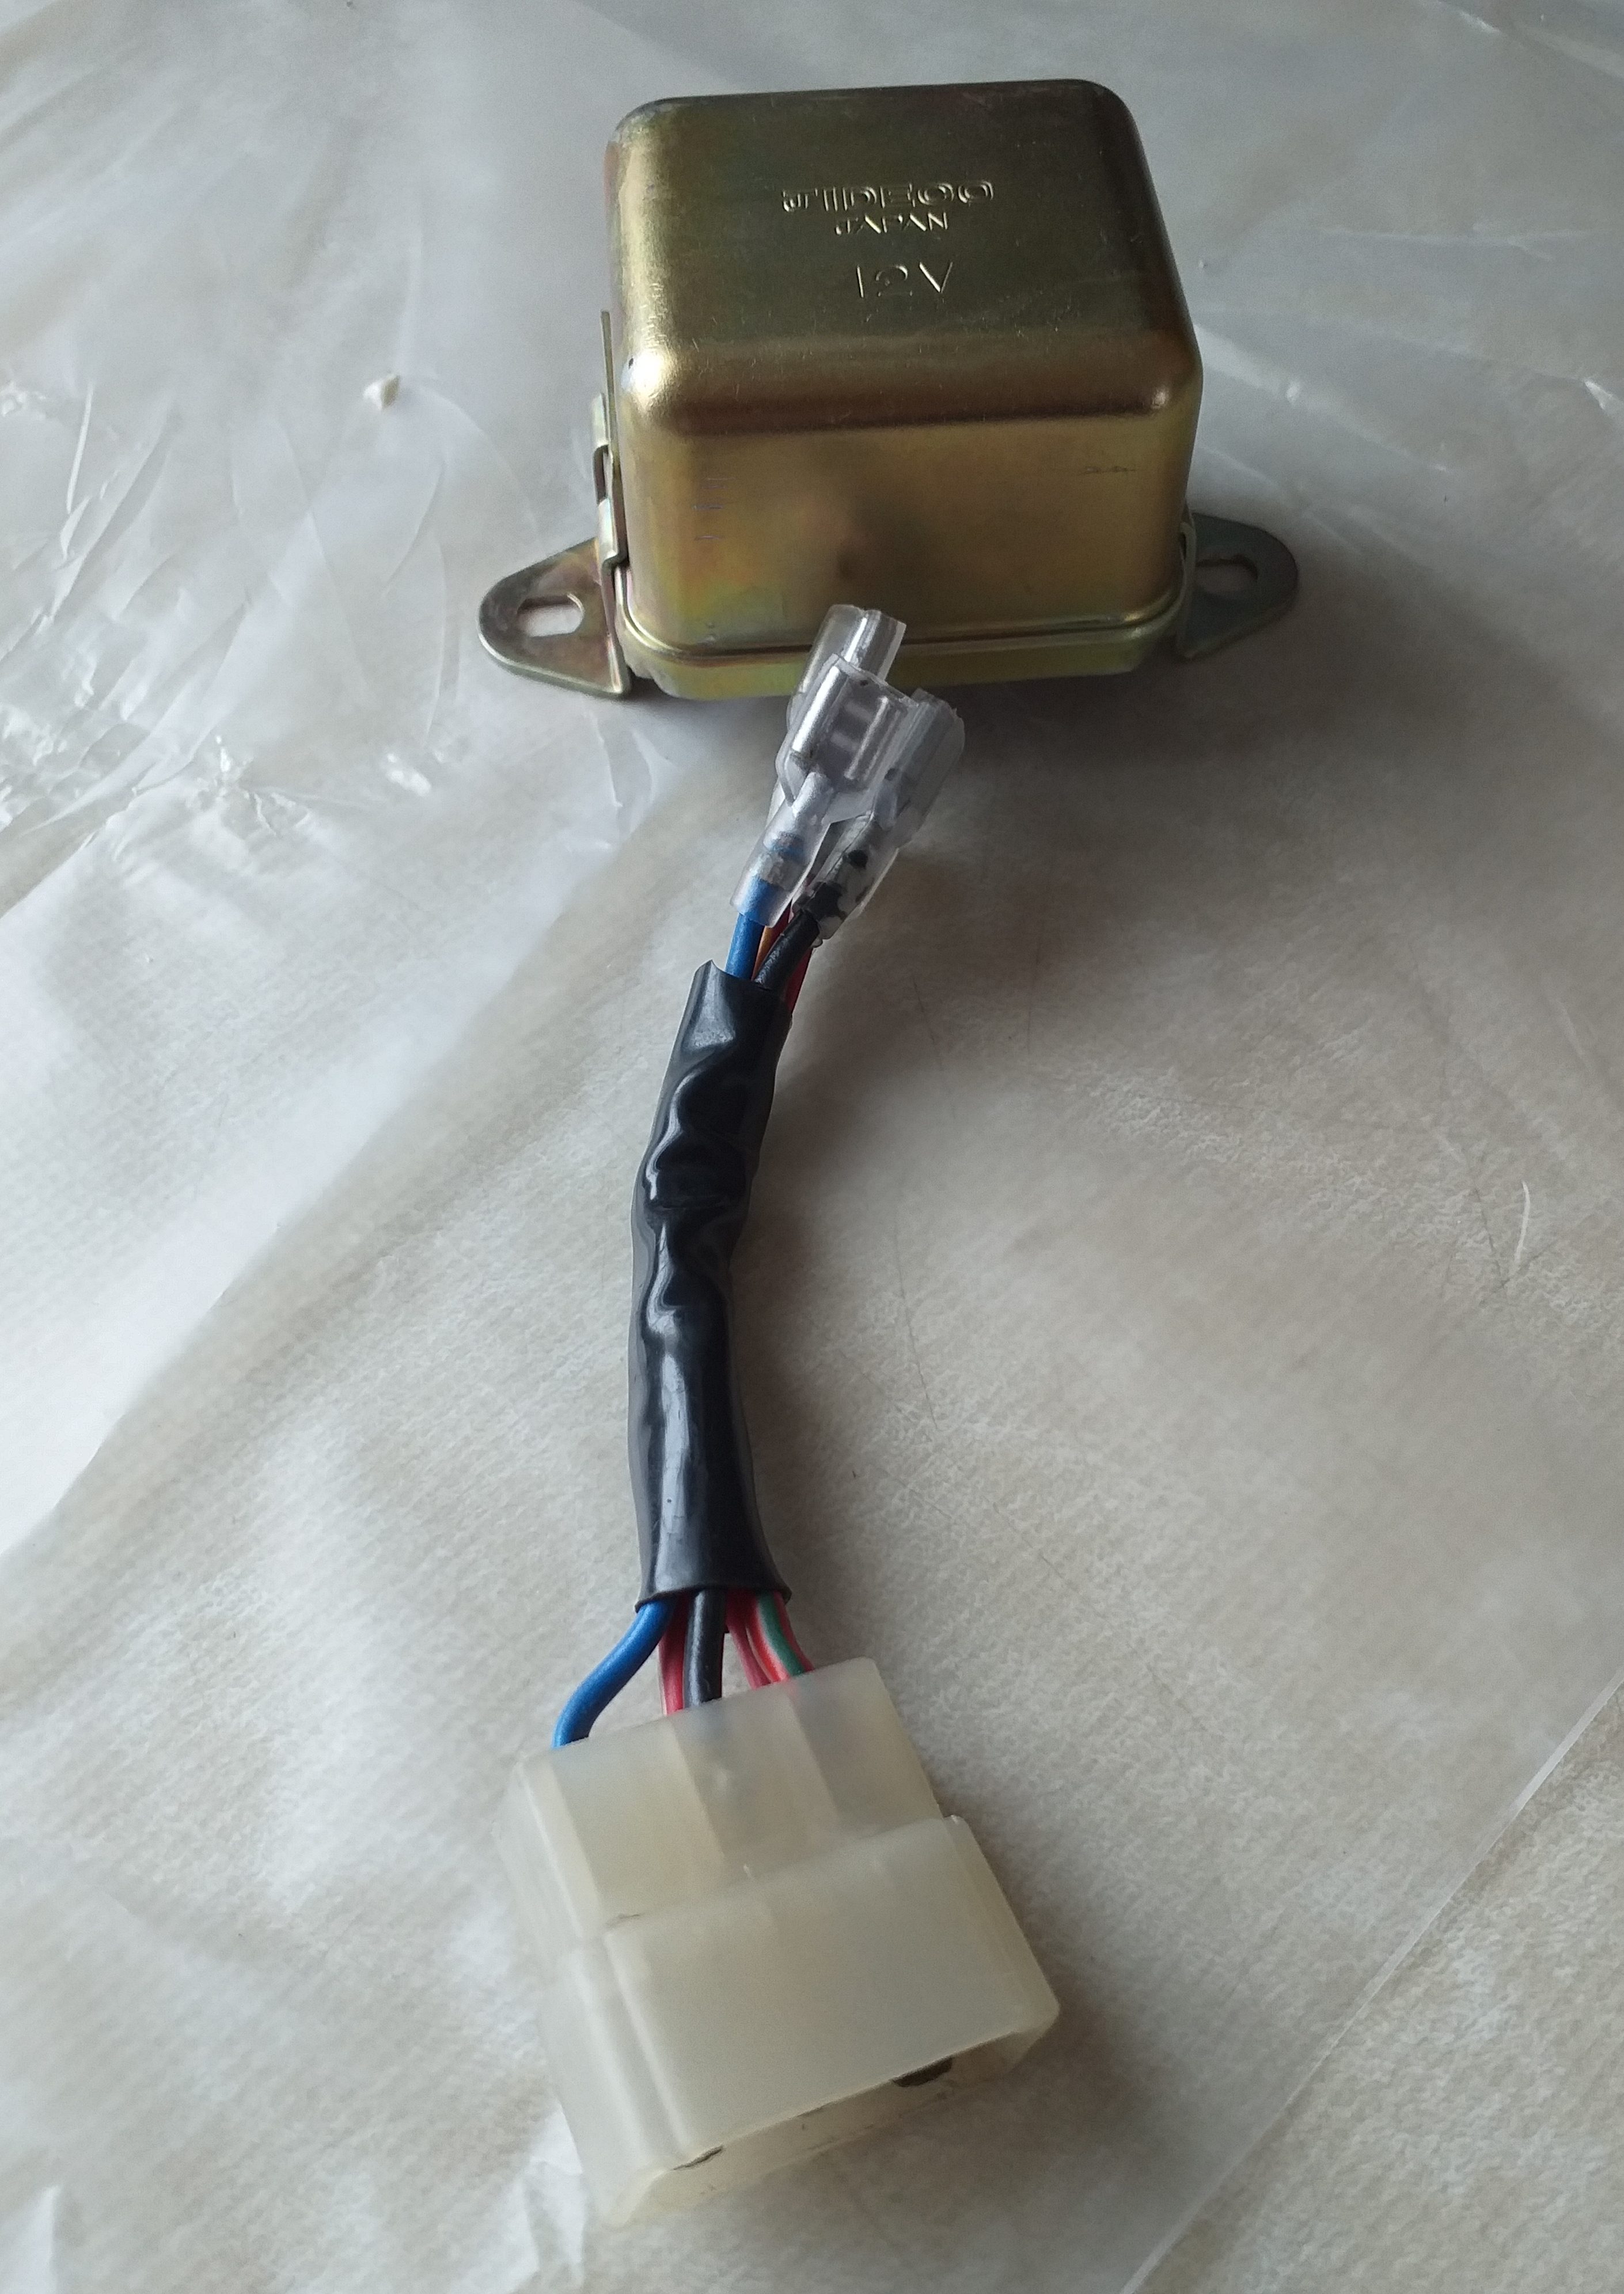
New wiring loom made up to suit.
適合するように新しい配線束を製作しました。
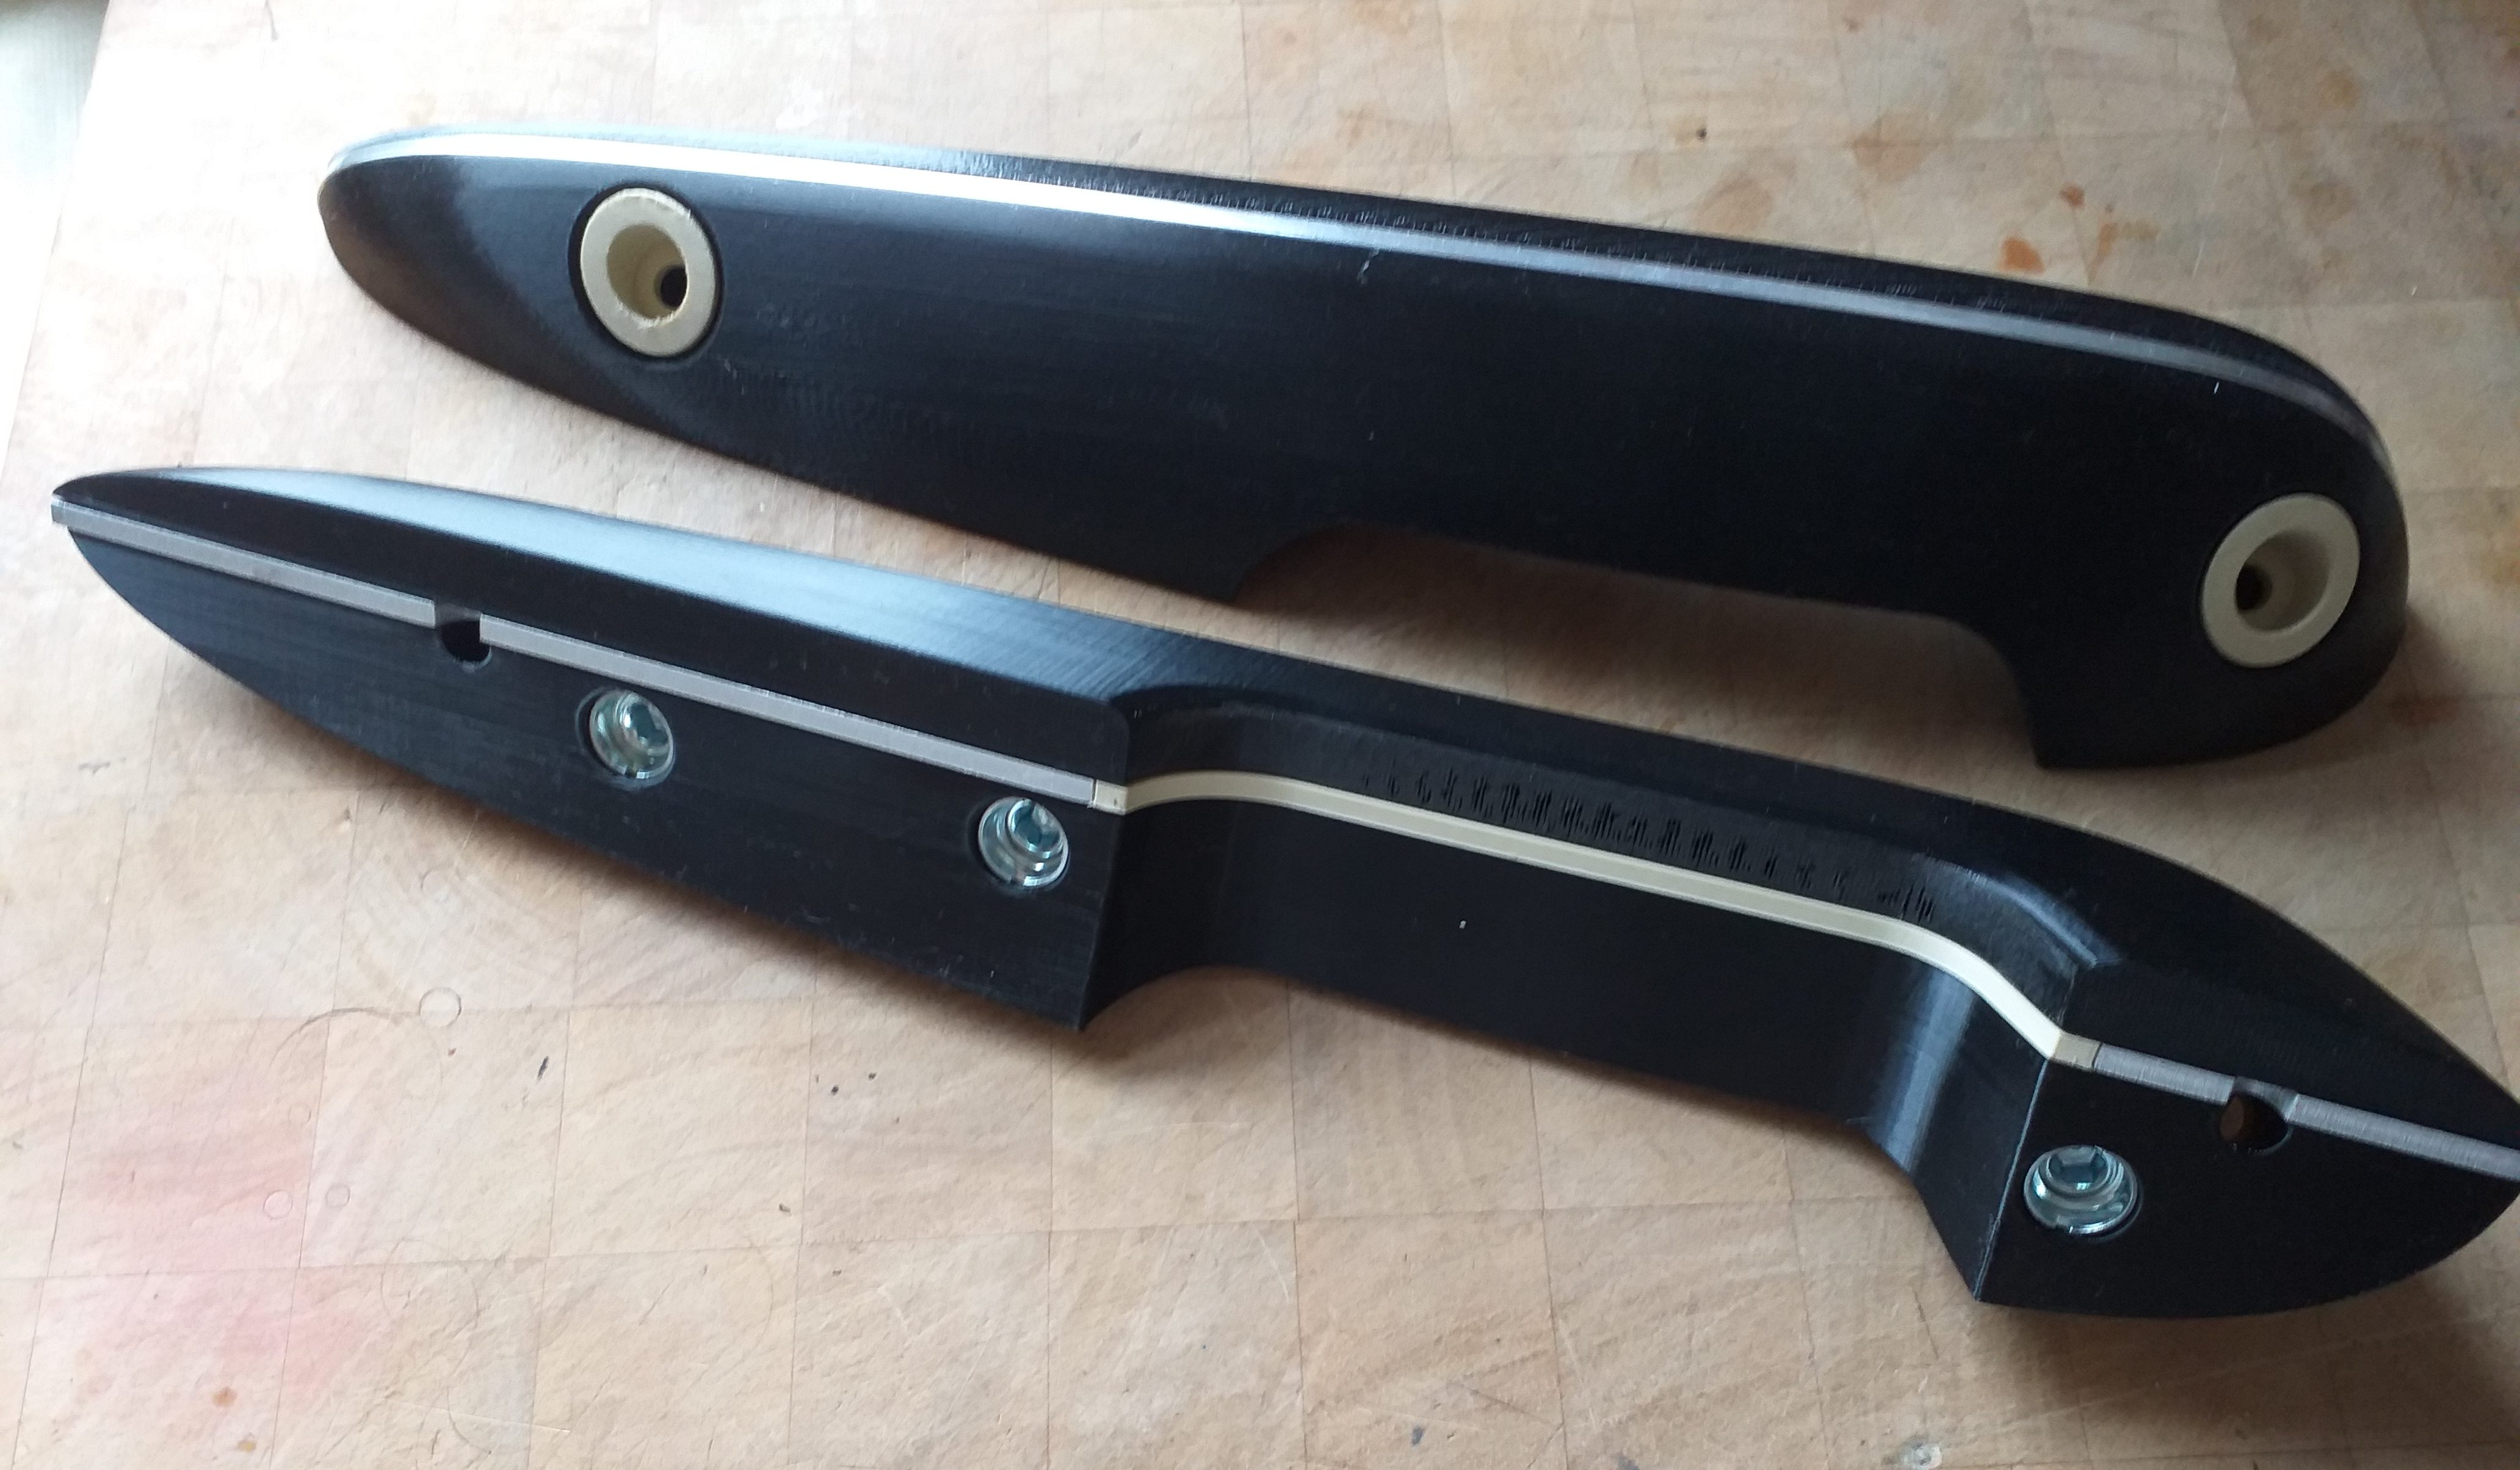
Newly made (thank you Herbert) interior armrests. 3D printed with metal central plate. These require covering with material to match the interior colour. The original armrests lost their structure, due to many years in a hot climate, and many pulls shut/opened by users. Hence why these reproductions were made.
新しく作られた(ハーバートさん、ありがとう)内部のアームレスト。金属製の中央プレートで 3D プリントされています。内部の色に合うように素材で覆う必要があります。オリジナルのアームレストは、長年の高温環境と、ユーザーによる何度もの引き手による開閉により、構造が失われていました。そのため、これらの複製品が作られました。
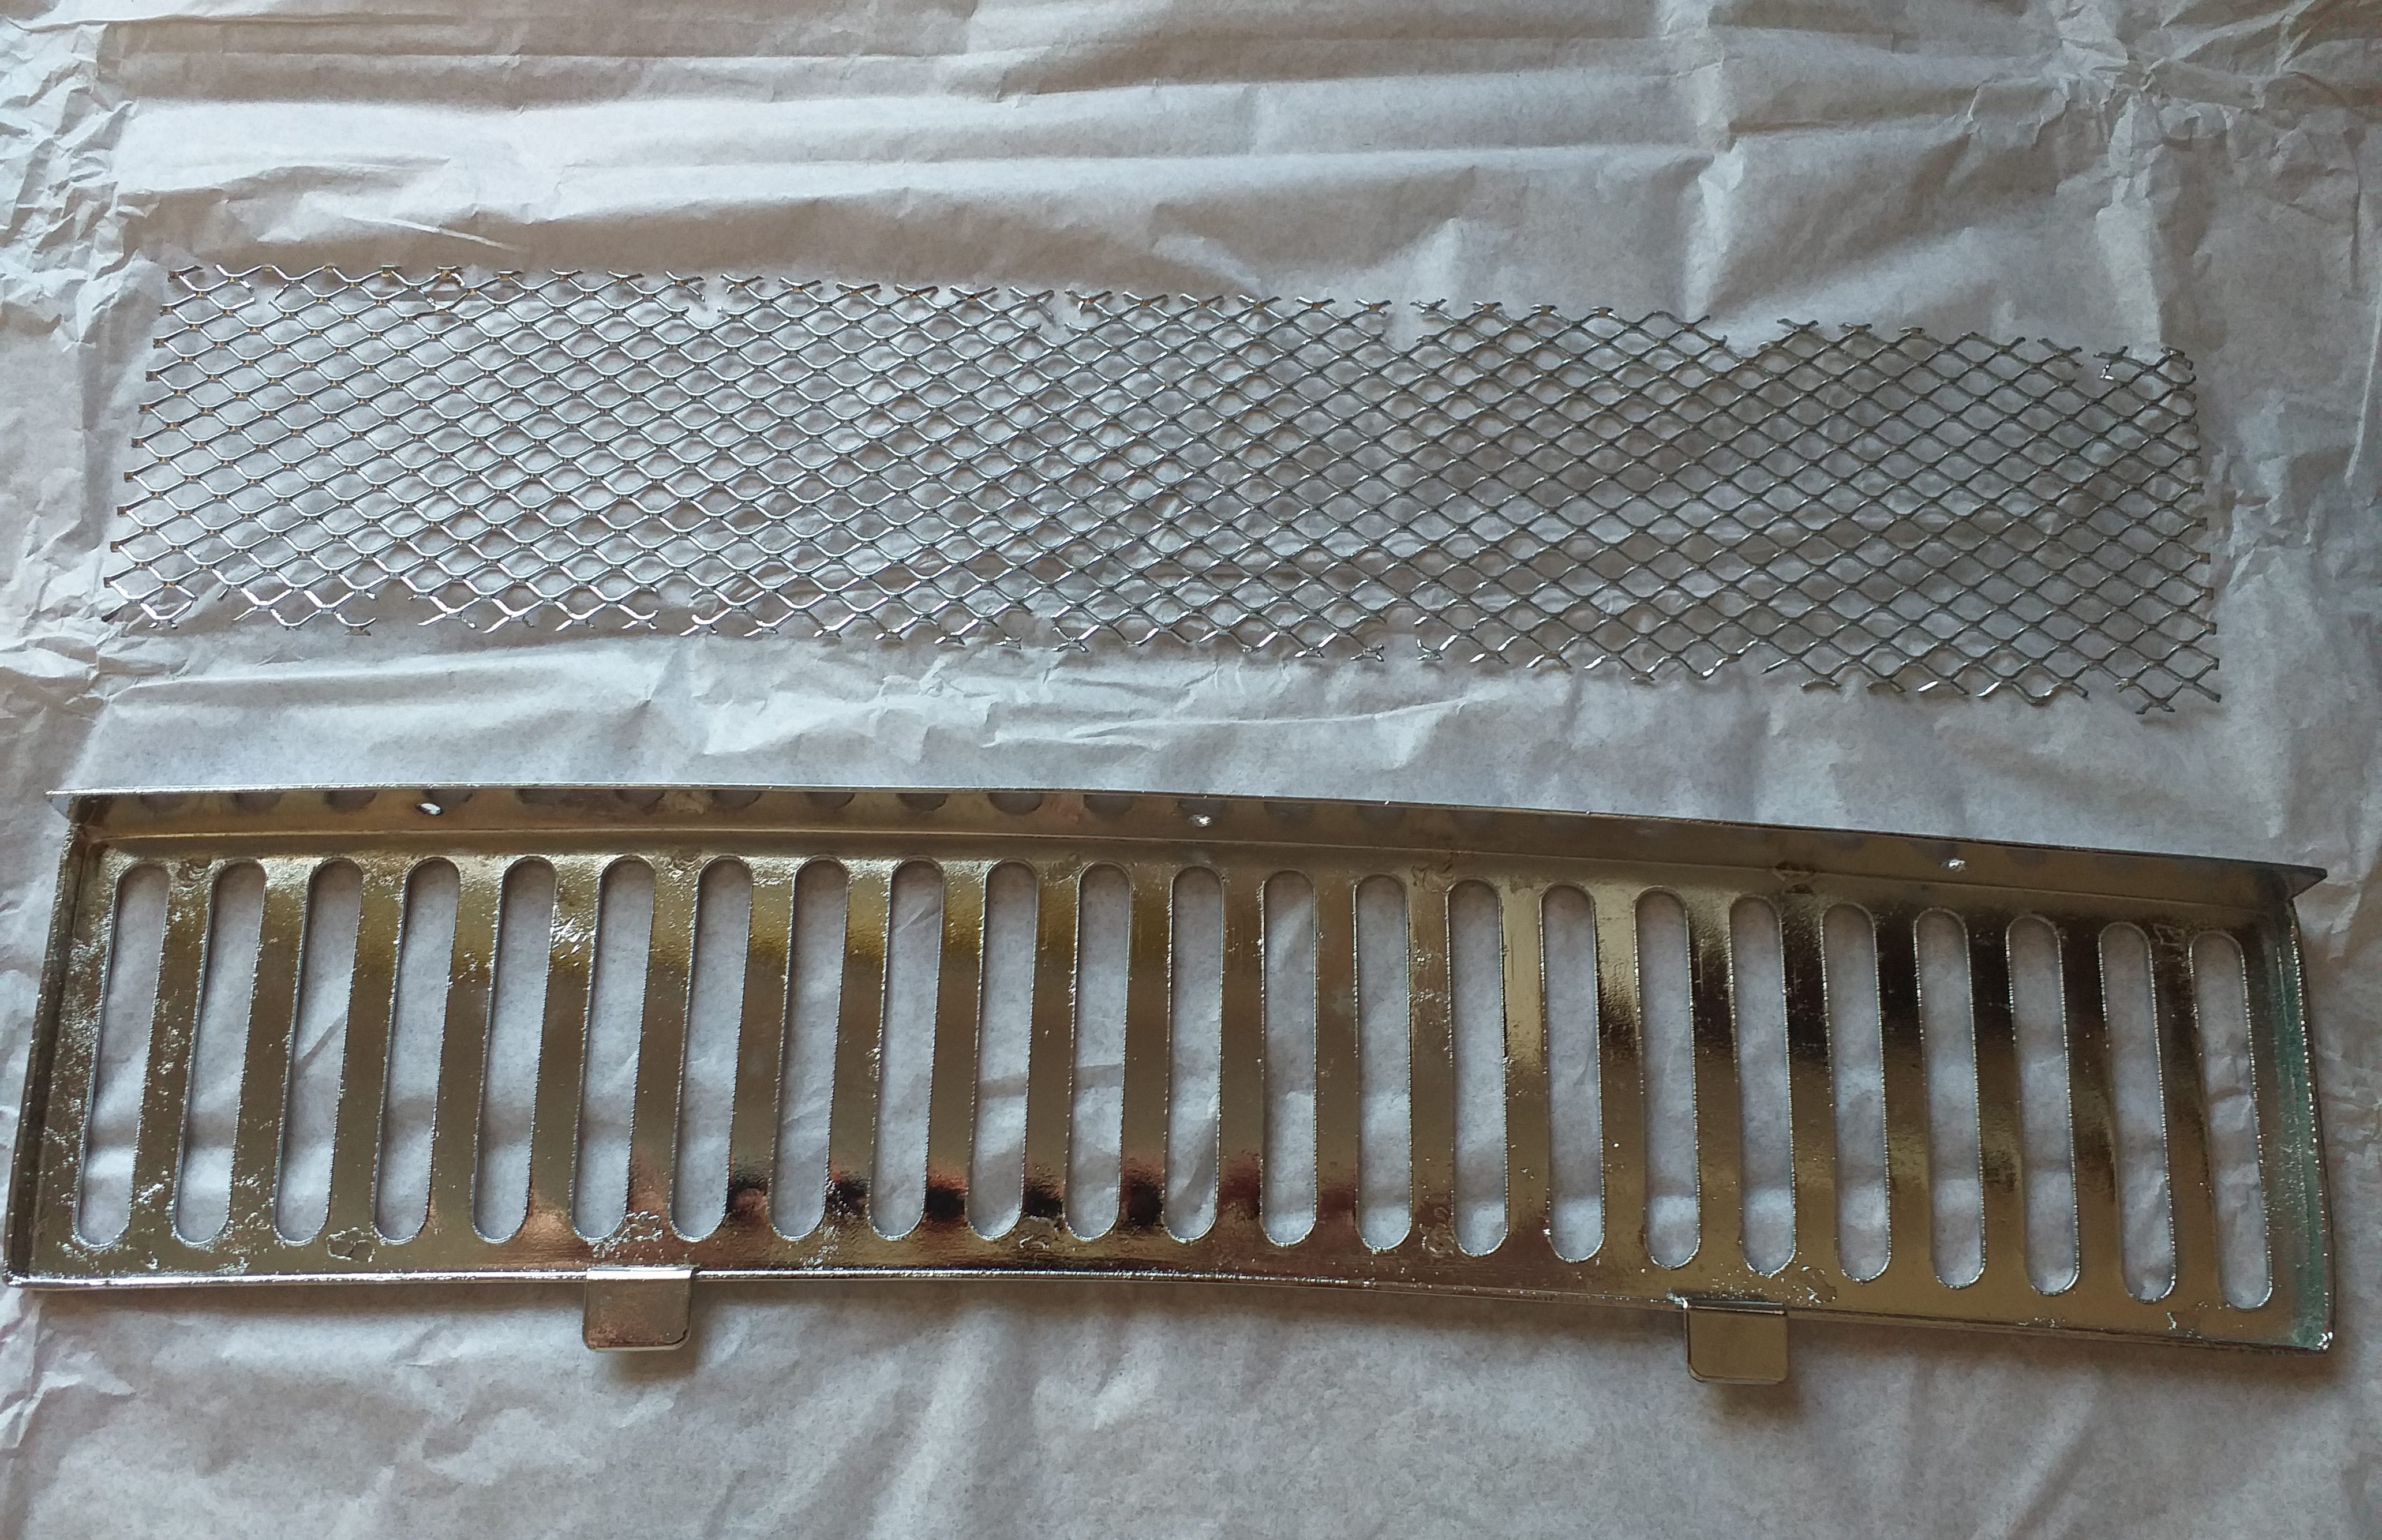
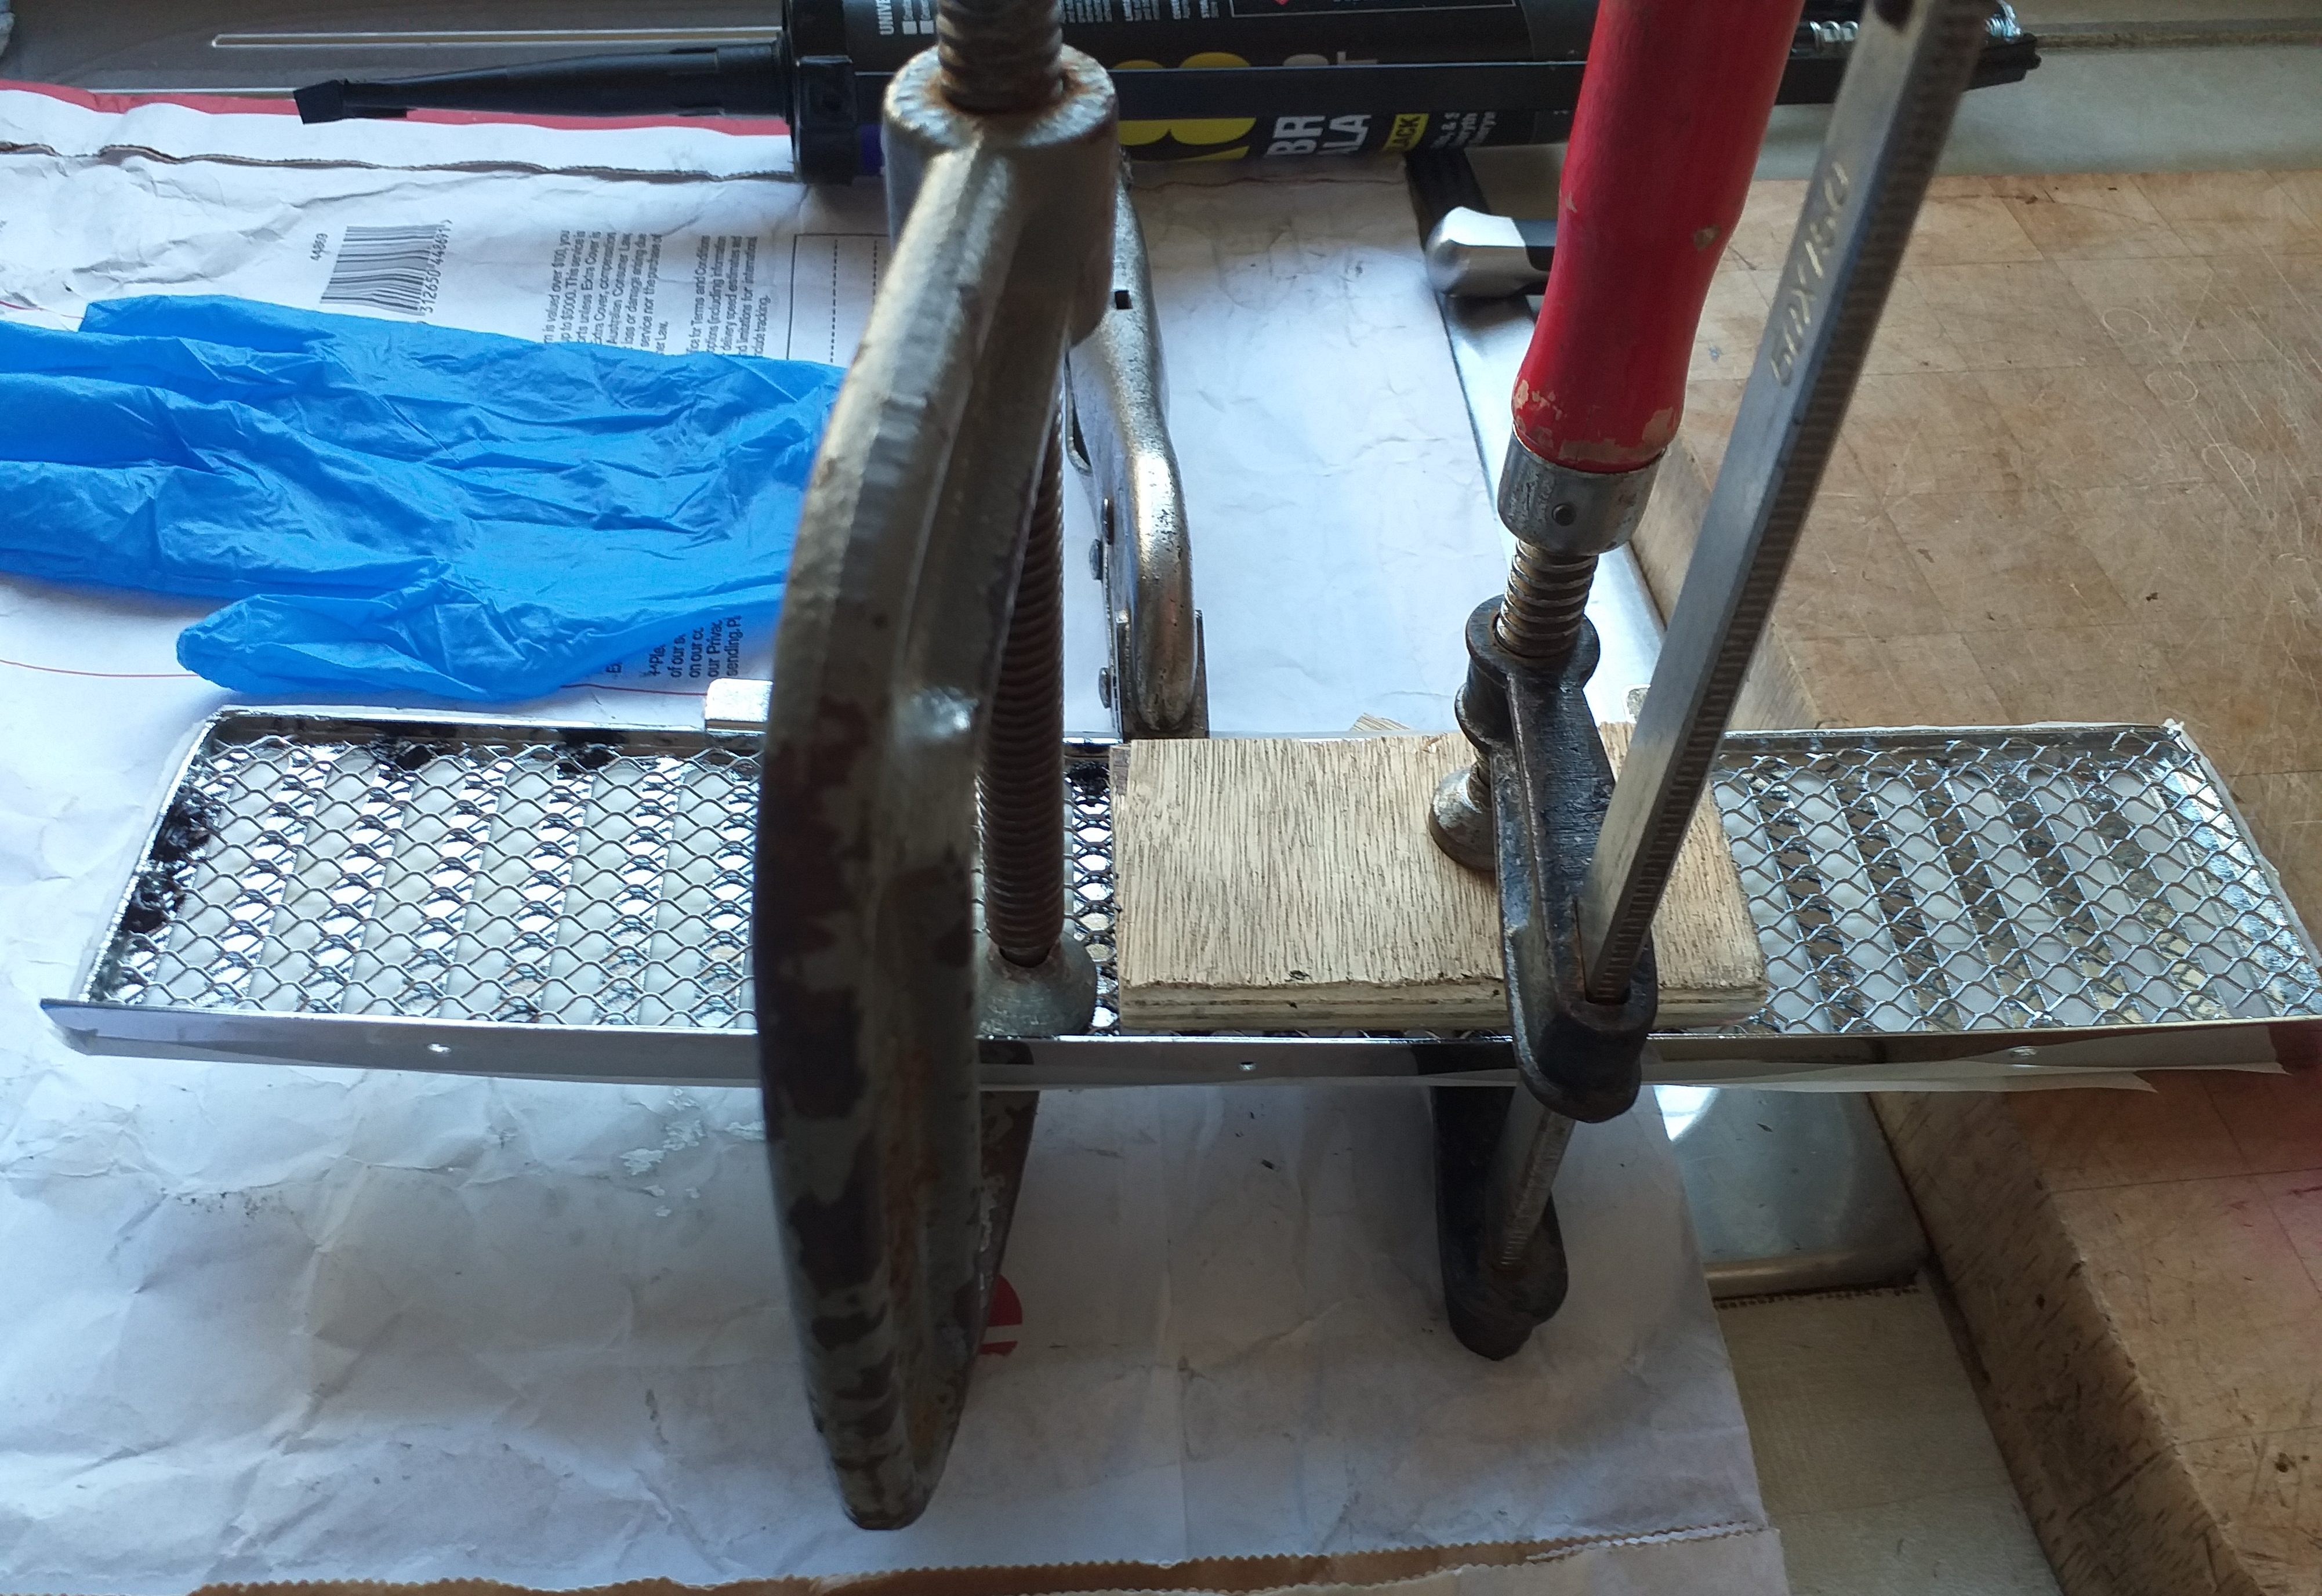
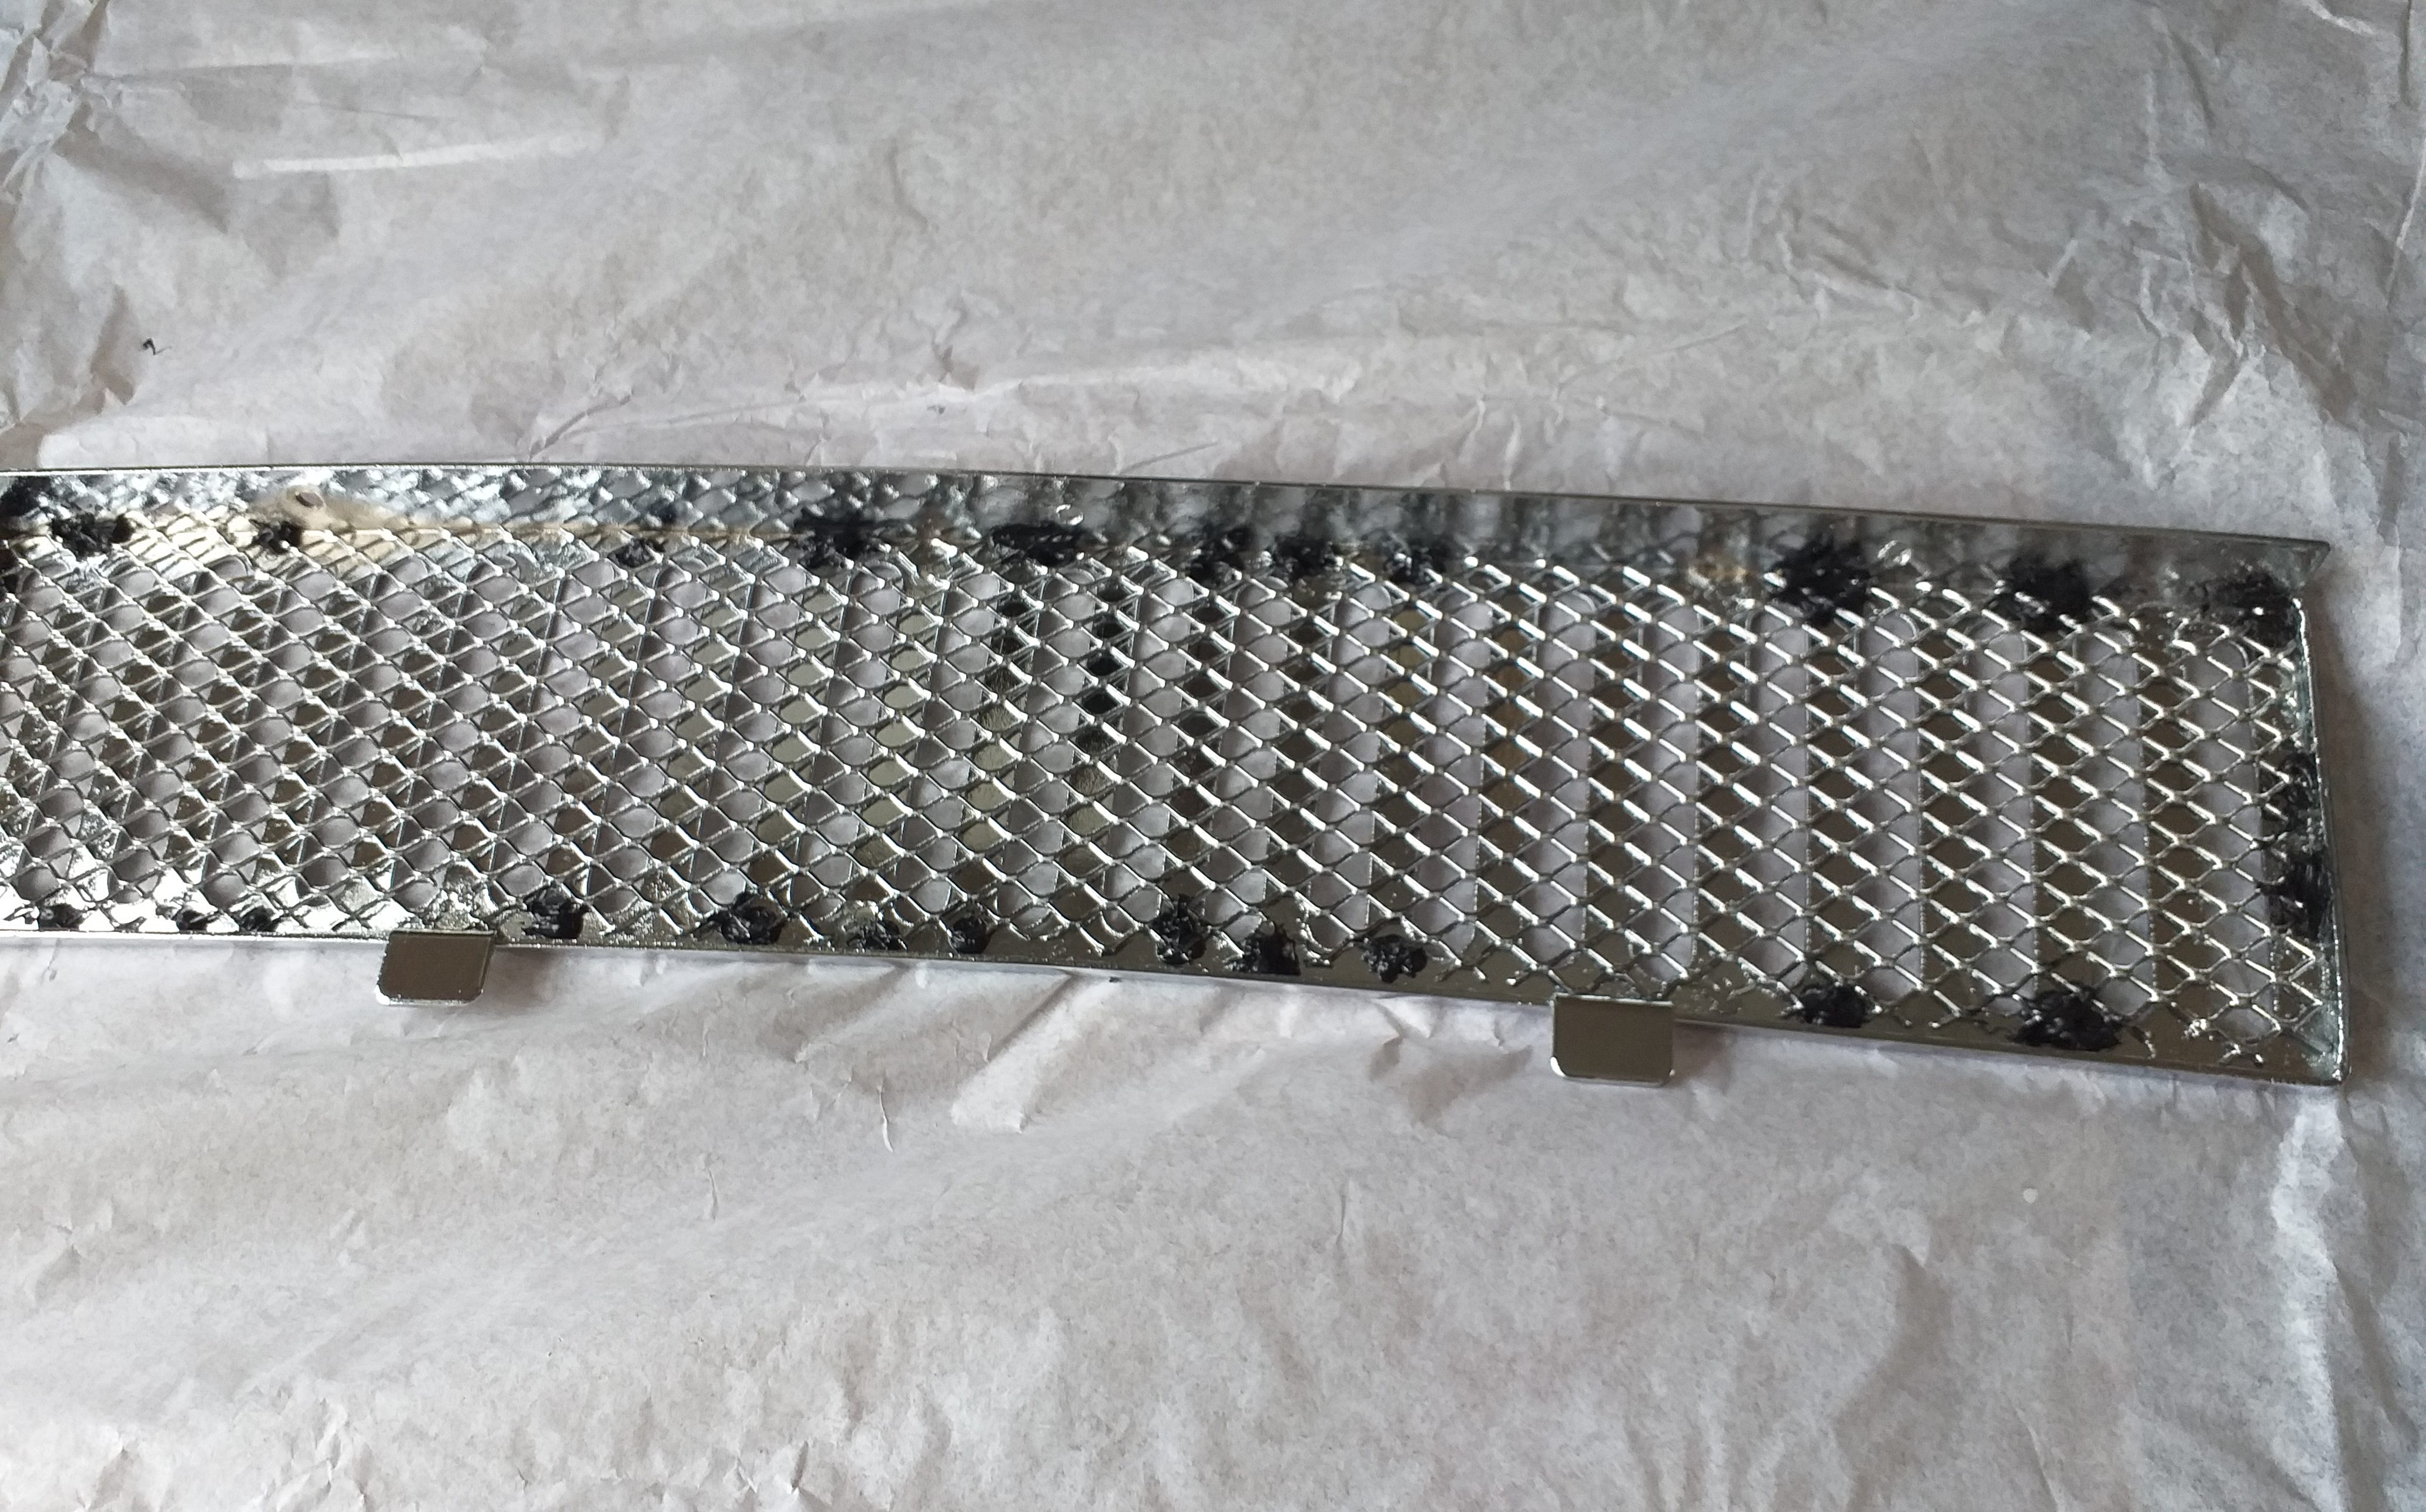
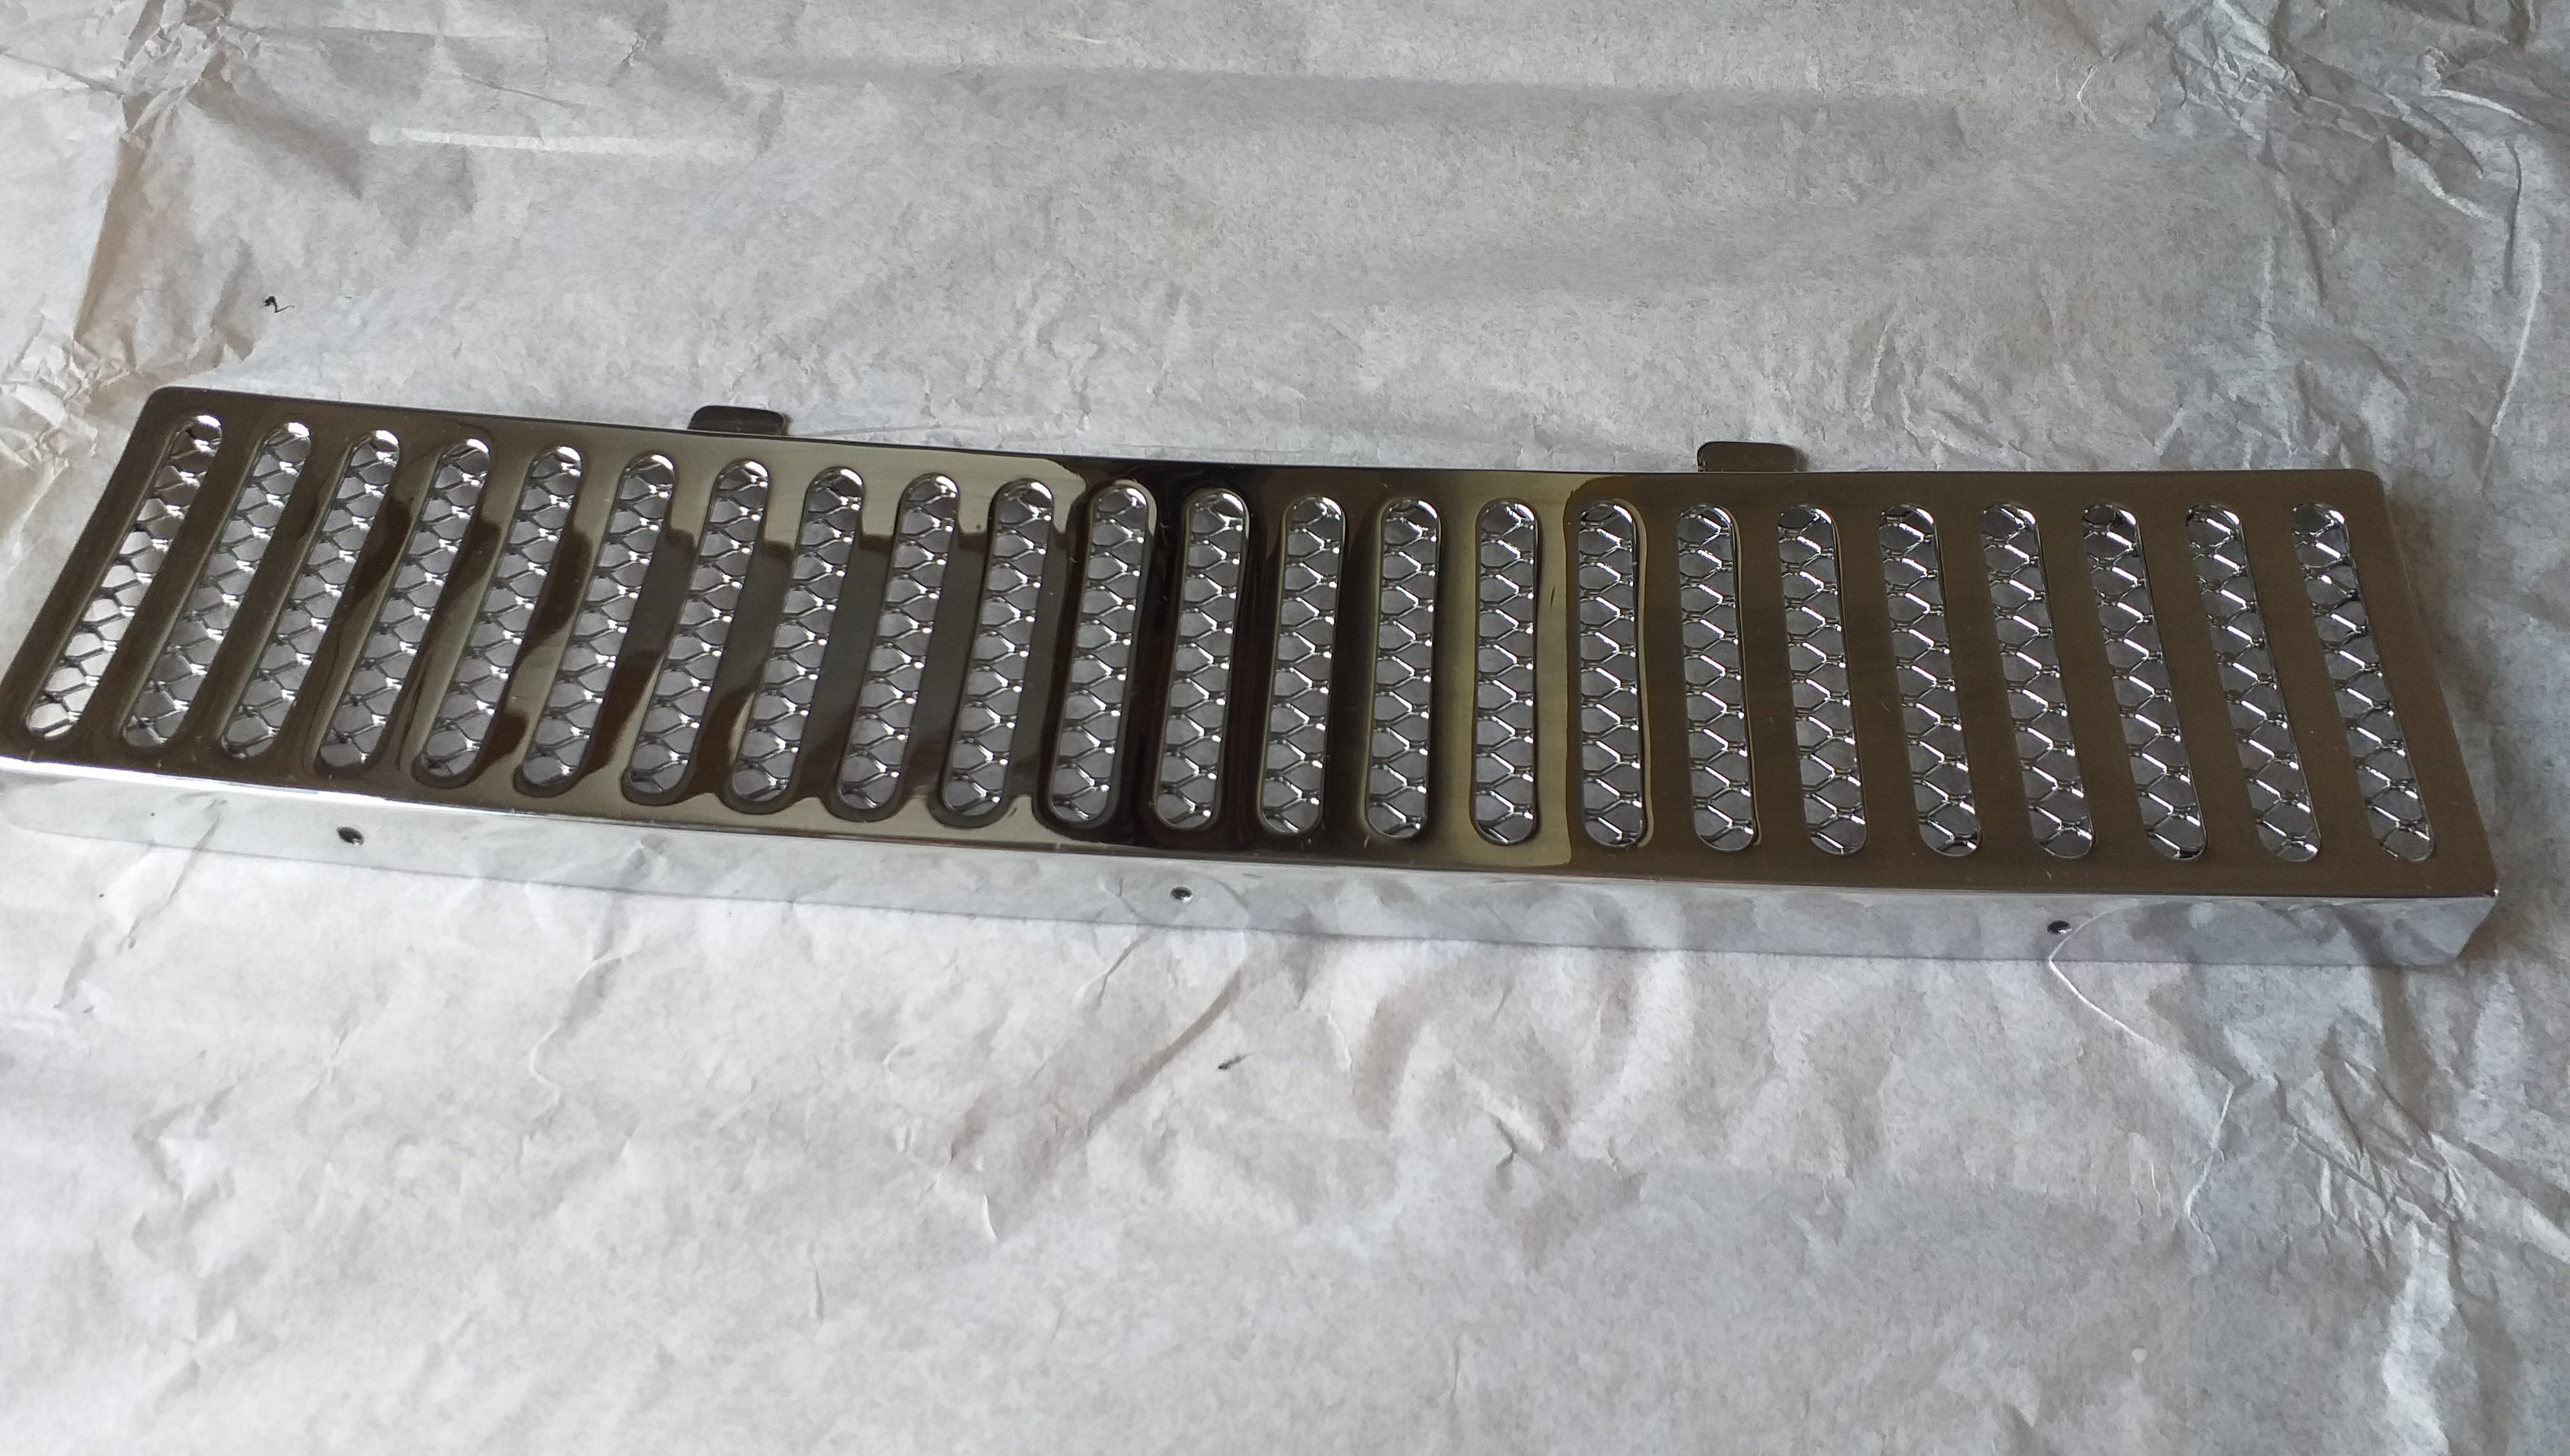
The grille in front of the windscreen, as you see earlier in the blog, was taken apart so that both parts could be chromed well. After along time, I got round to putting these two parts back together. Originally, they were spot welded together, here I used a good silicon adhesive, for exterior use. Many small blobs of adhesive, and then plenty of holding together with clamps for a good fit.
このブログの冒頭でご覧いただいたように、フロントガラスの前のグリルは、両方のパーツをうまくクロームメッキできるように分解されました。長い時間が経ってから、この 2 つのパーツを再び組み立てることにしました。元々はスポット溶接されていましたが、ここでは外装用の良質のシリコン接着剤を使用しました。接着剤を小さな塊にして、クランプでしっかりと固定して、しっかりとフィットさせました。
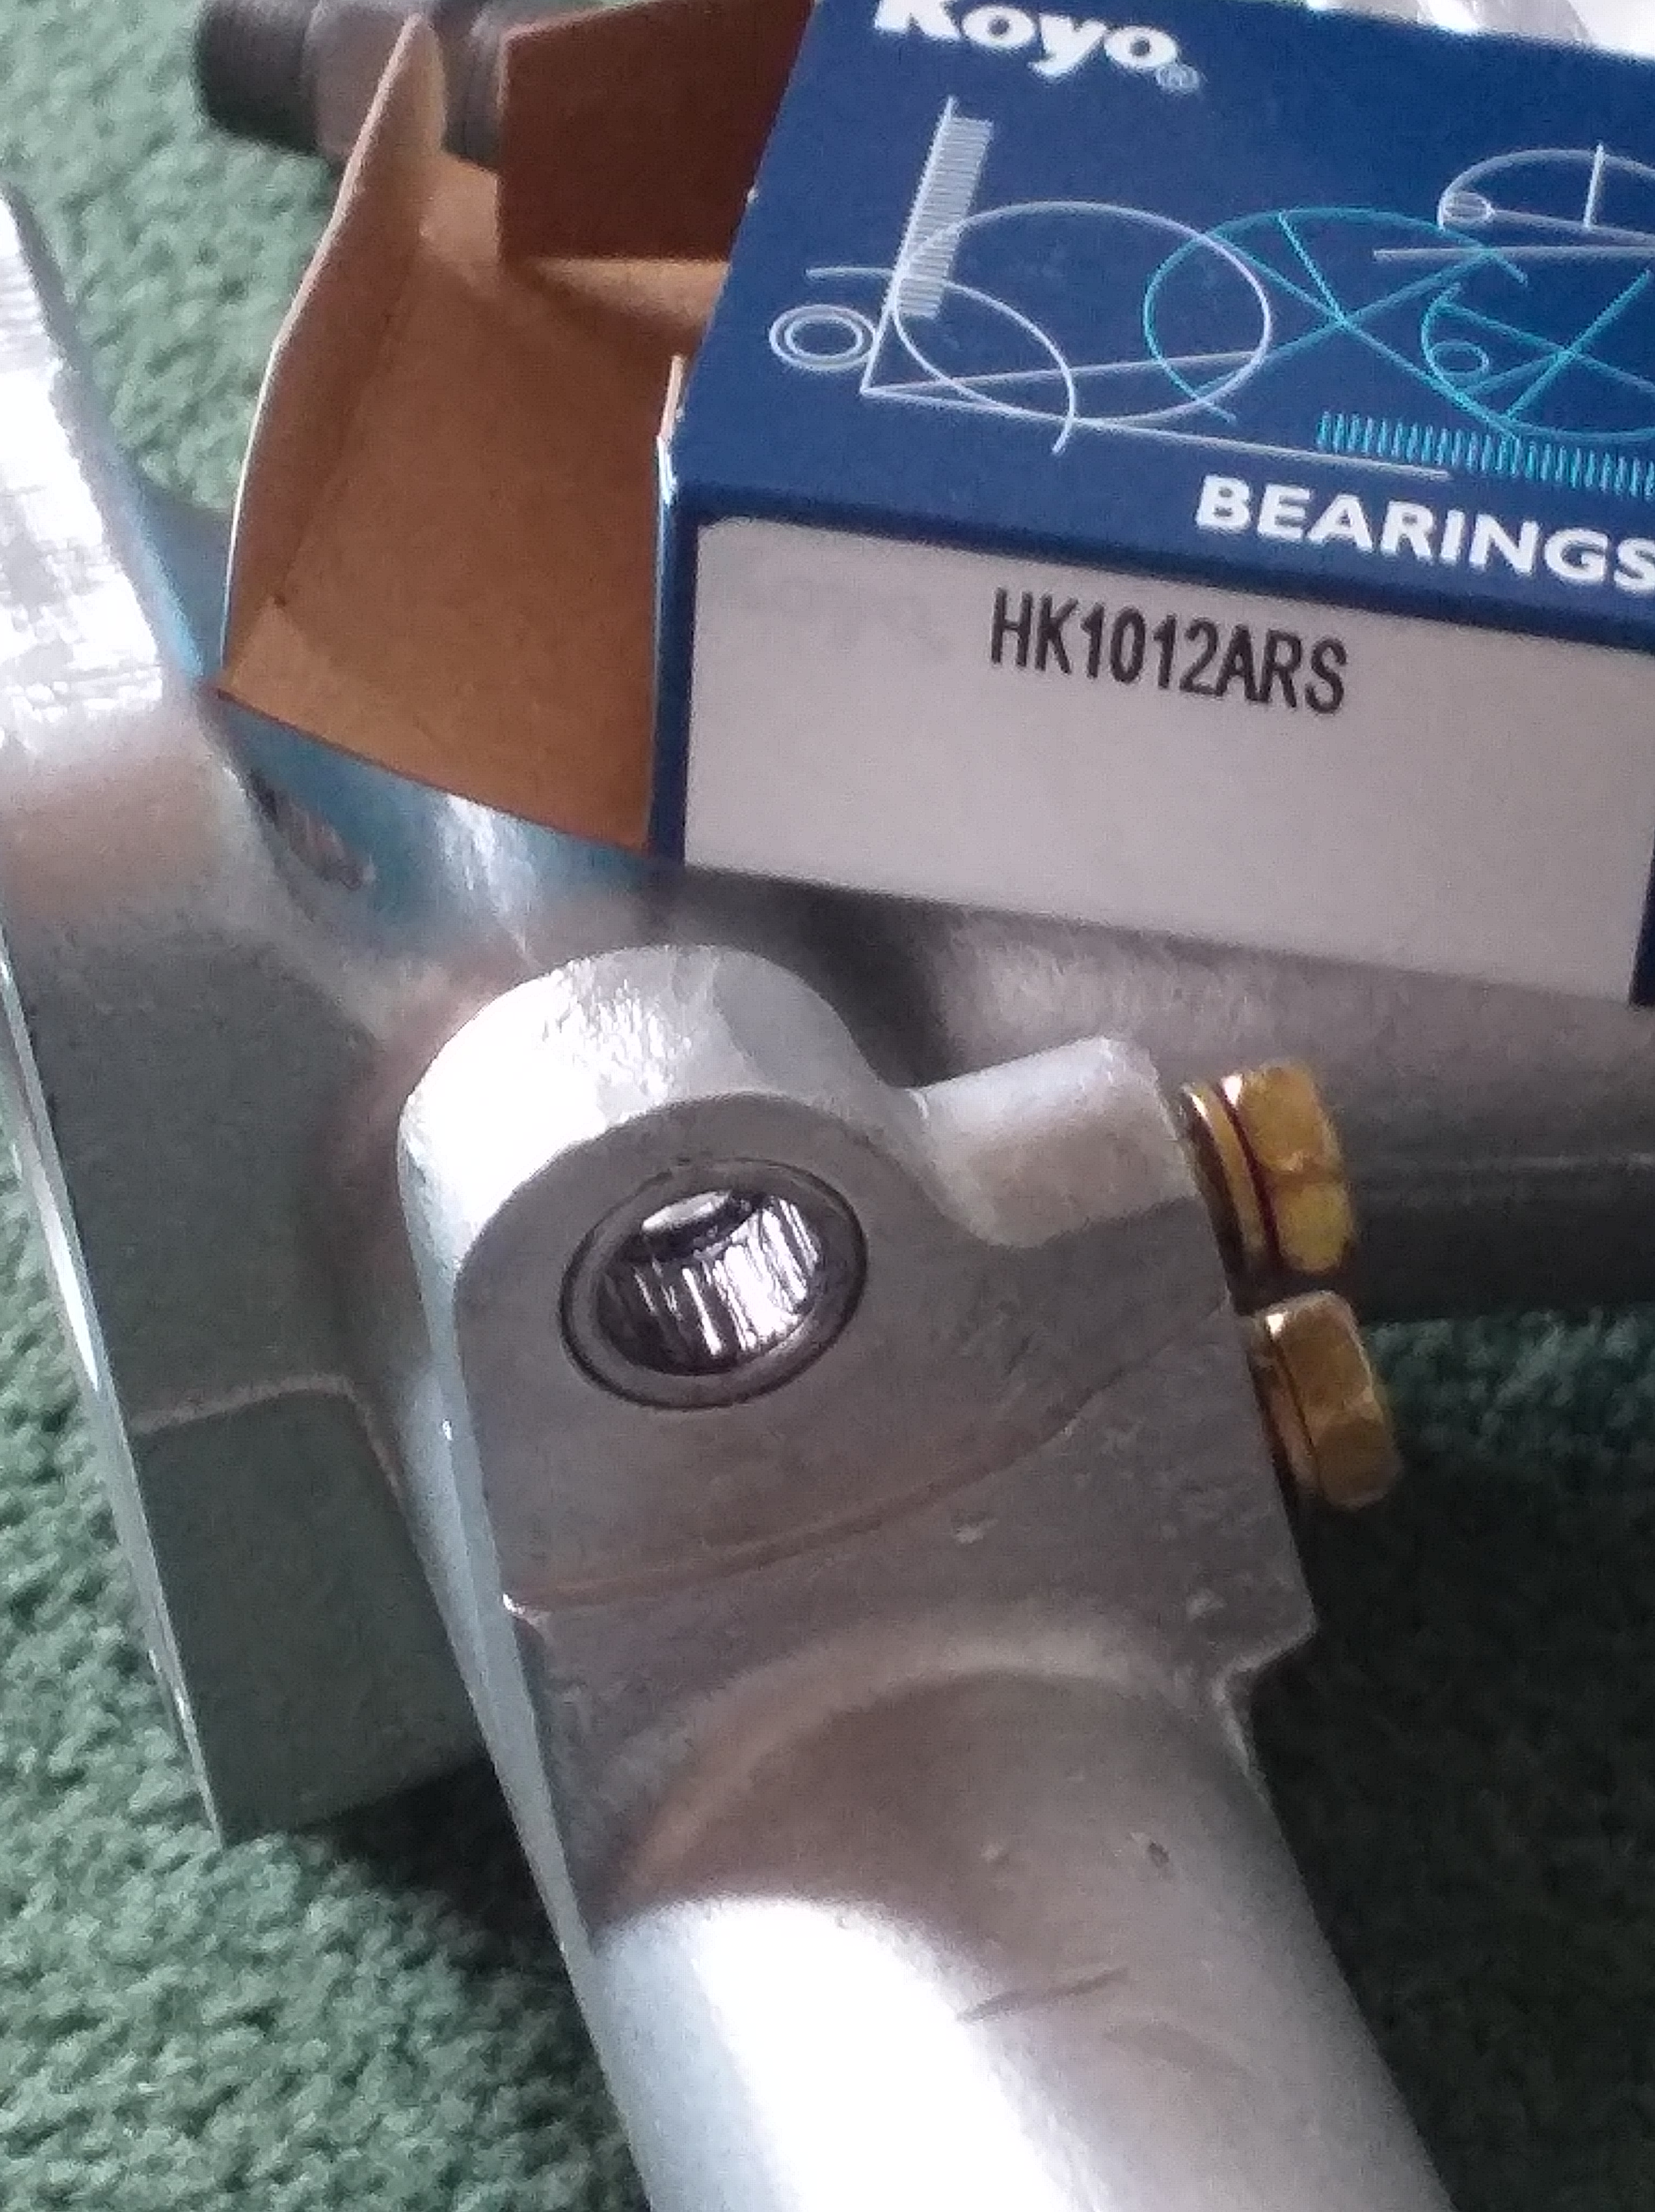
Another job (I have many on the go, at various stages of completion) is rebuilding an intake manifold. As with a lot of parts, these are sourced separately, as my CSP311 was nearly just a shell. Anway, after the manifold was blasted, new core plugs were fitted (Nissan parts), new connector manifold to water pump, was also found. Replated hardware, and roller bearings for the throttle shaft, instead of the brass press fit old bearings.
もう一つの仕事 (進行中の作業がいくつもあり、完了の段階もさまざま) は、吸気マニホールドの再構築です。多くの部品と同様に、これらは別々に調達されます。私の CSP311 はほぼシェルだけだったからです。とにかく、マニホールドをブラストした後、新しいコア プラグ (日産部品) を取り付け、ウォーター ポンプへの新しいコネクタ マニホールドも見つかりました。ハードウェアを再メッキし、真鍮のプレス フィットの古いベアリングの代わりに、スロットル シャフトのローラー ベアリングを取り付けました。
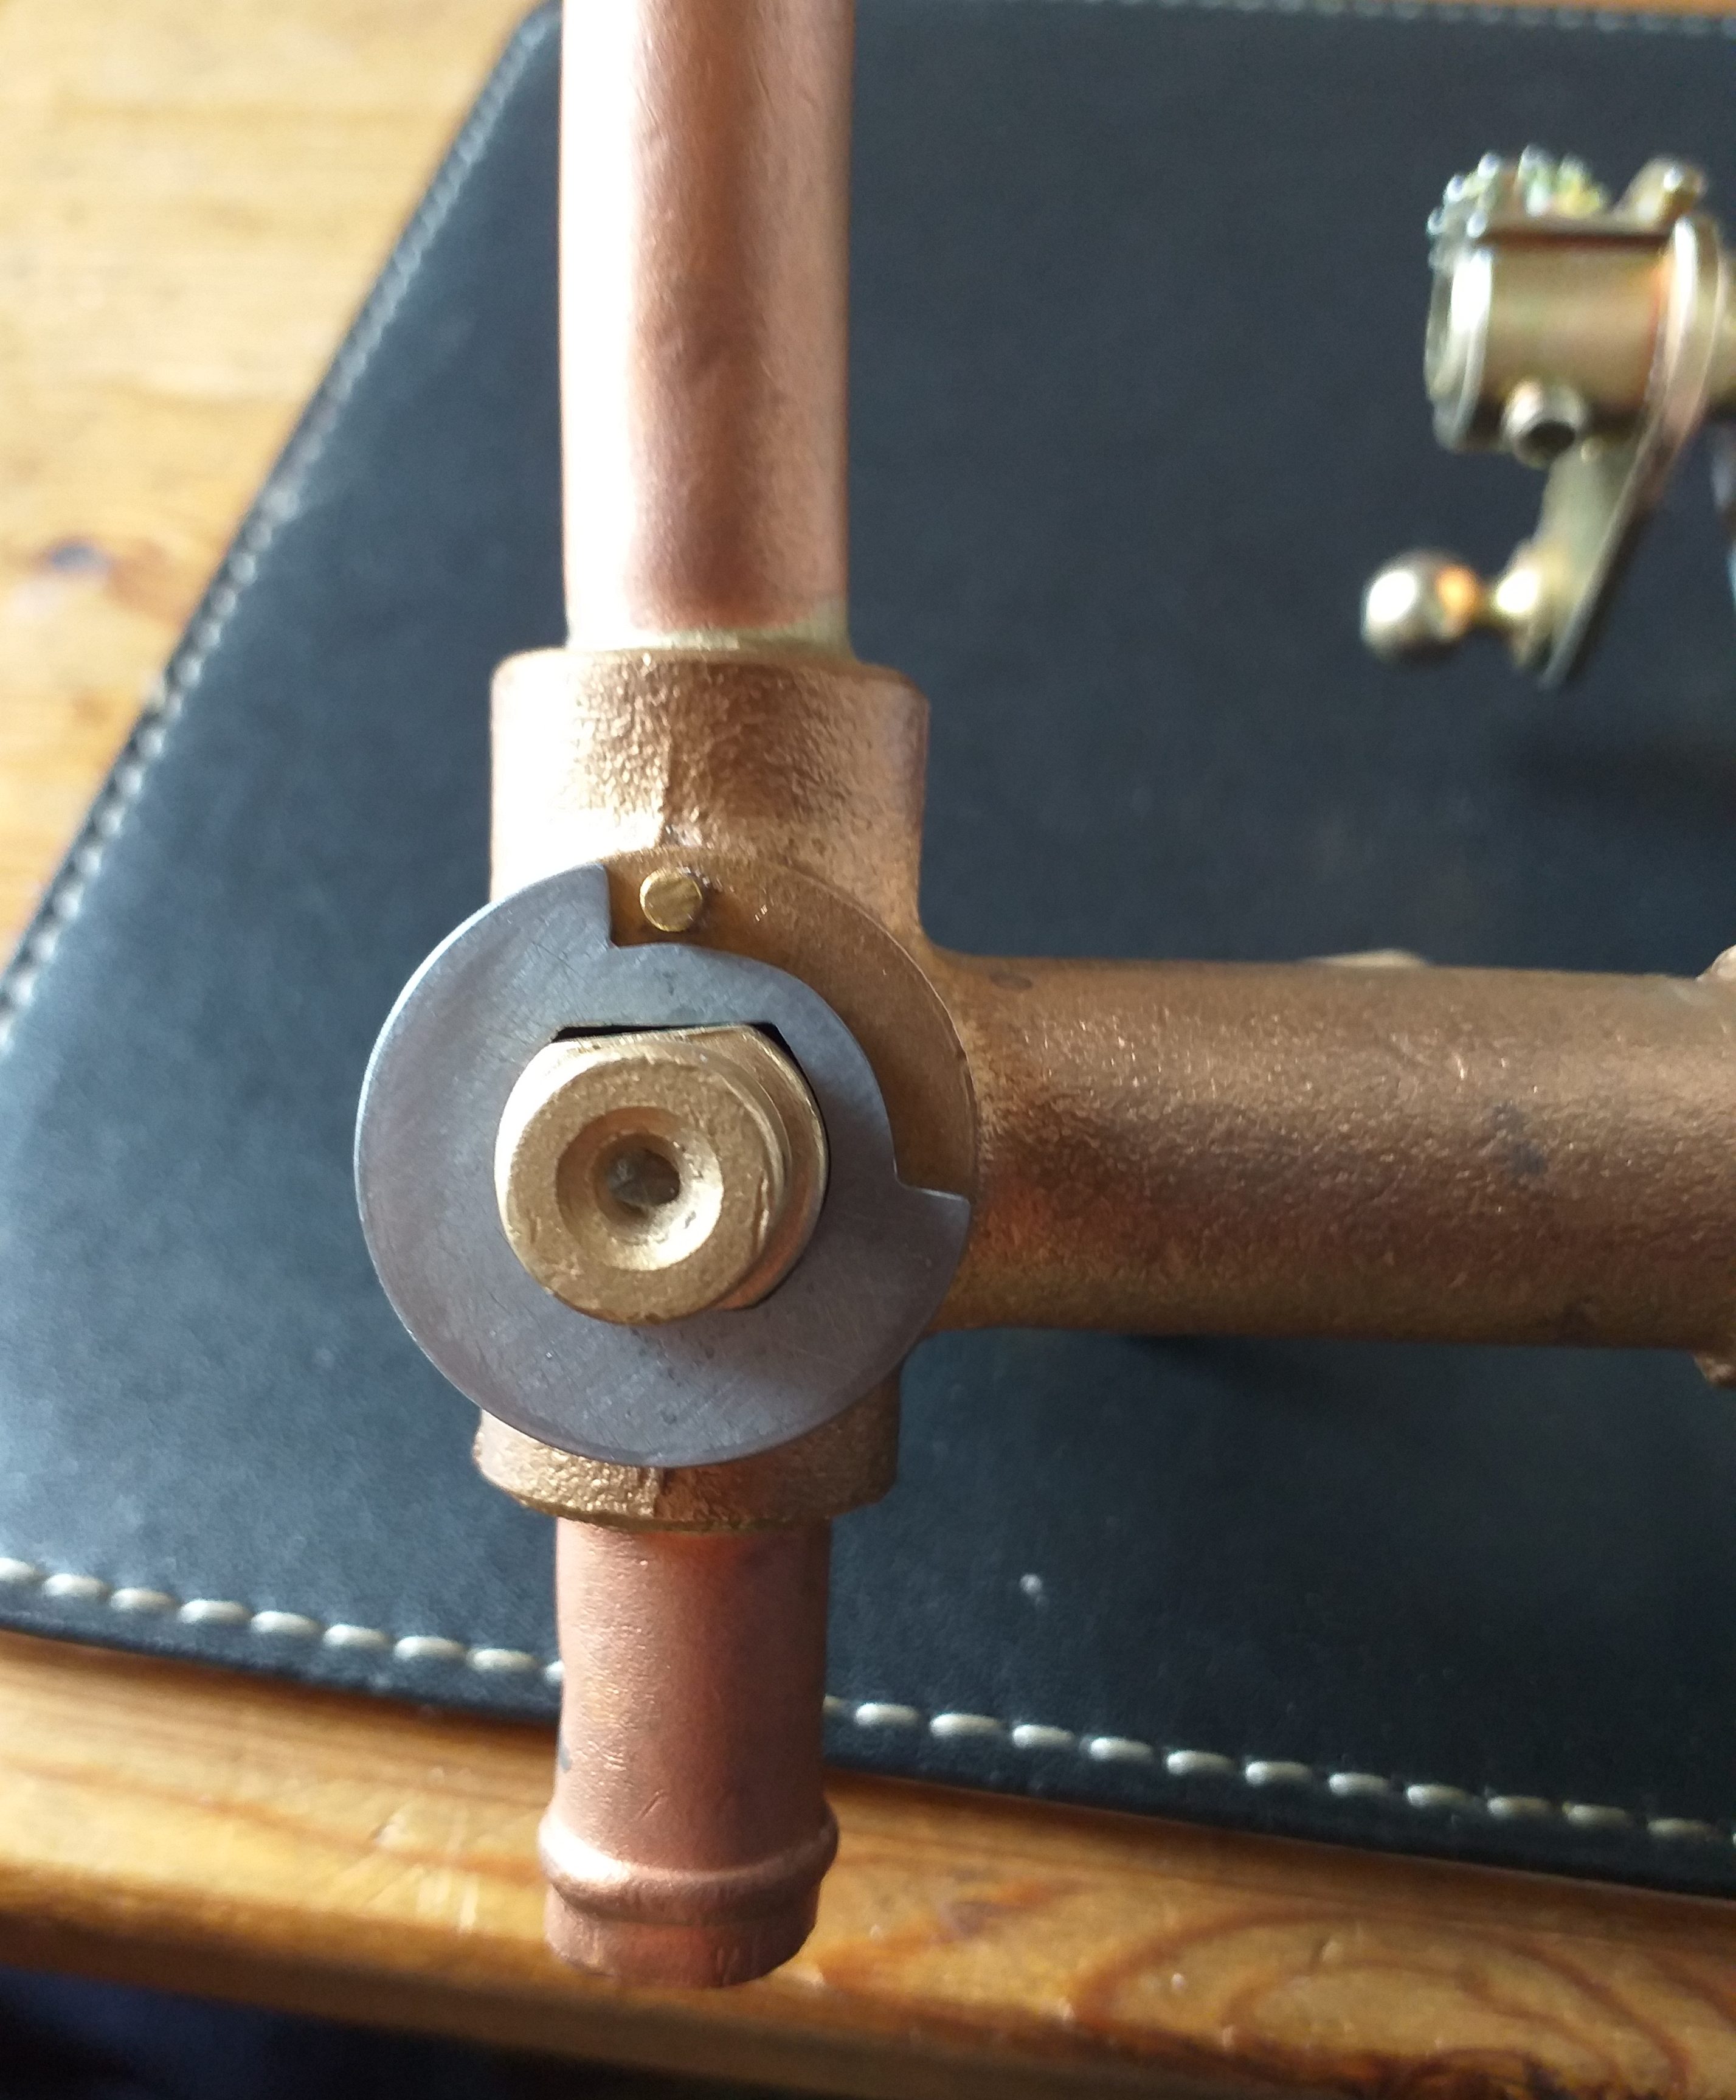
To finish the restoration of the intake manifold both ends of the coolant fittings required work. To the rear is a brass tap that can be turned open to give warm coolant to the heater in the car, or to route round under the manifold. The tap was seized, and after a clean and blast was back to working. The tap is held behind with a special washer (that turns with the tap) a spring and another washer. As you see from the image below (to the right) is what remains of the original washer. Not much! Next to it is the start of the fabrication of a new special washer.
吸気マニホールドの修復を完了するには、冷却水フィッティングの両端に作業が必要でした。後部には真鍮の蛇口があり、これを回して開くと、車内のヒーターに温かい冷却水を送るか、マニホールドの下を迂回させることができます。蛇口は固着していましたが、洗浄とブラスト処理の後、再び機能するようになりました。蛇口は、蛇口と一緒に回転する特殊なワッシャー、スプリング、および別のワッシャーで後ろで固定されています。下の画像 (右側) からわかるように、元のワッシャーが残っています。ほとんどありません! その隣では、新しい特殊なワッシャーの製造が始まっています。

After further work the special washer is complete (below).
さらに作業を進めた結果、専用ワッシャーが完成しました(下)。
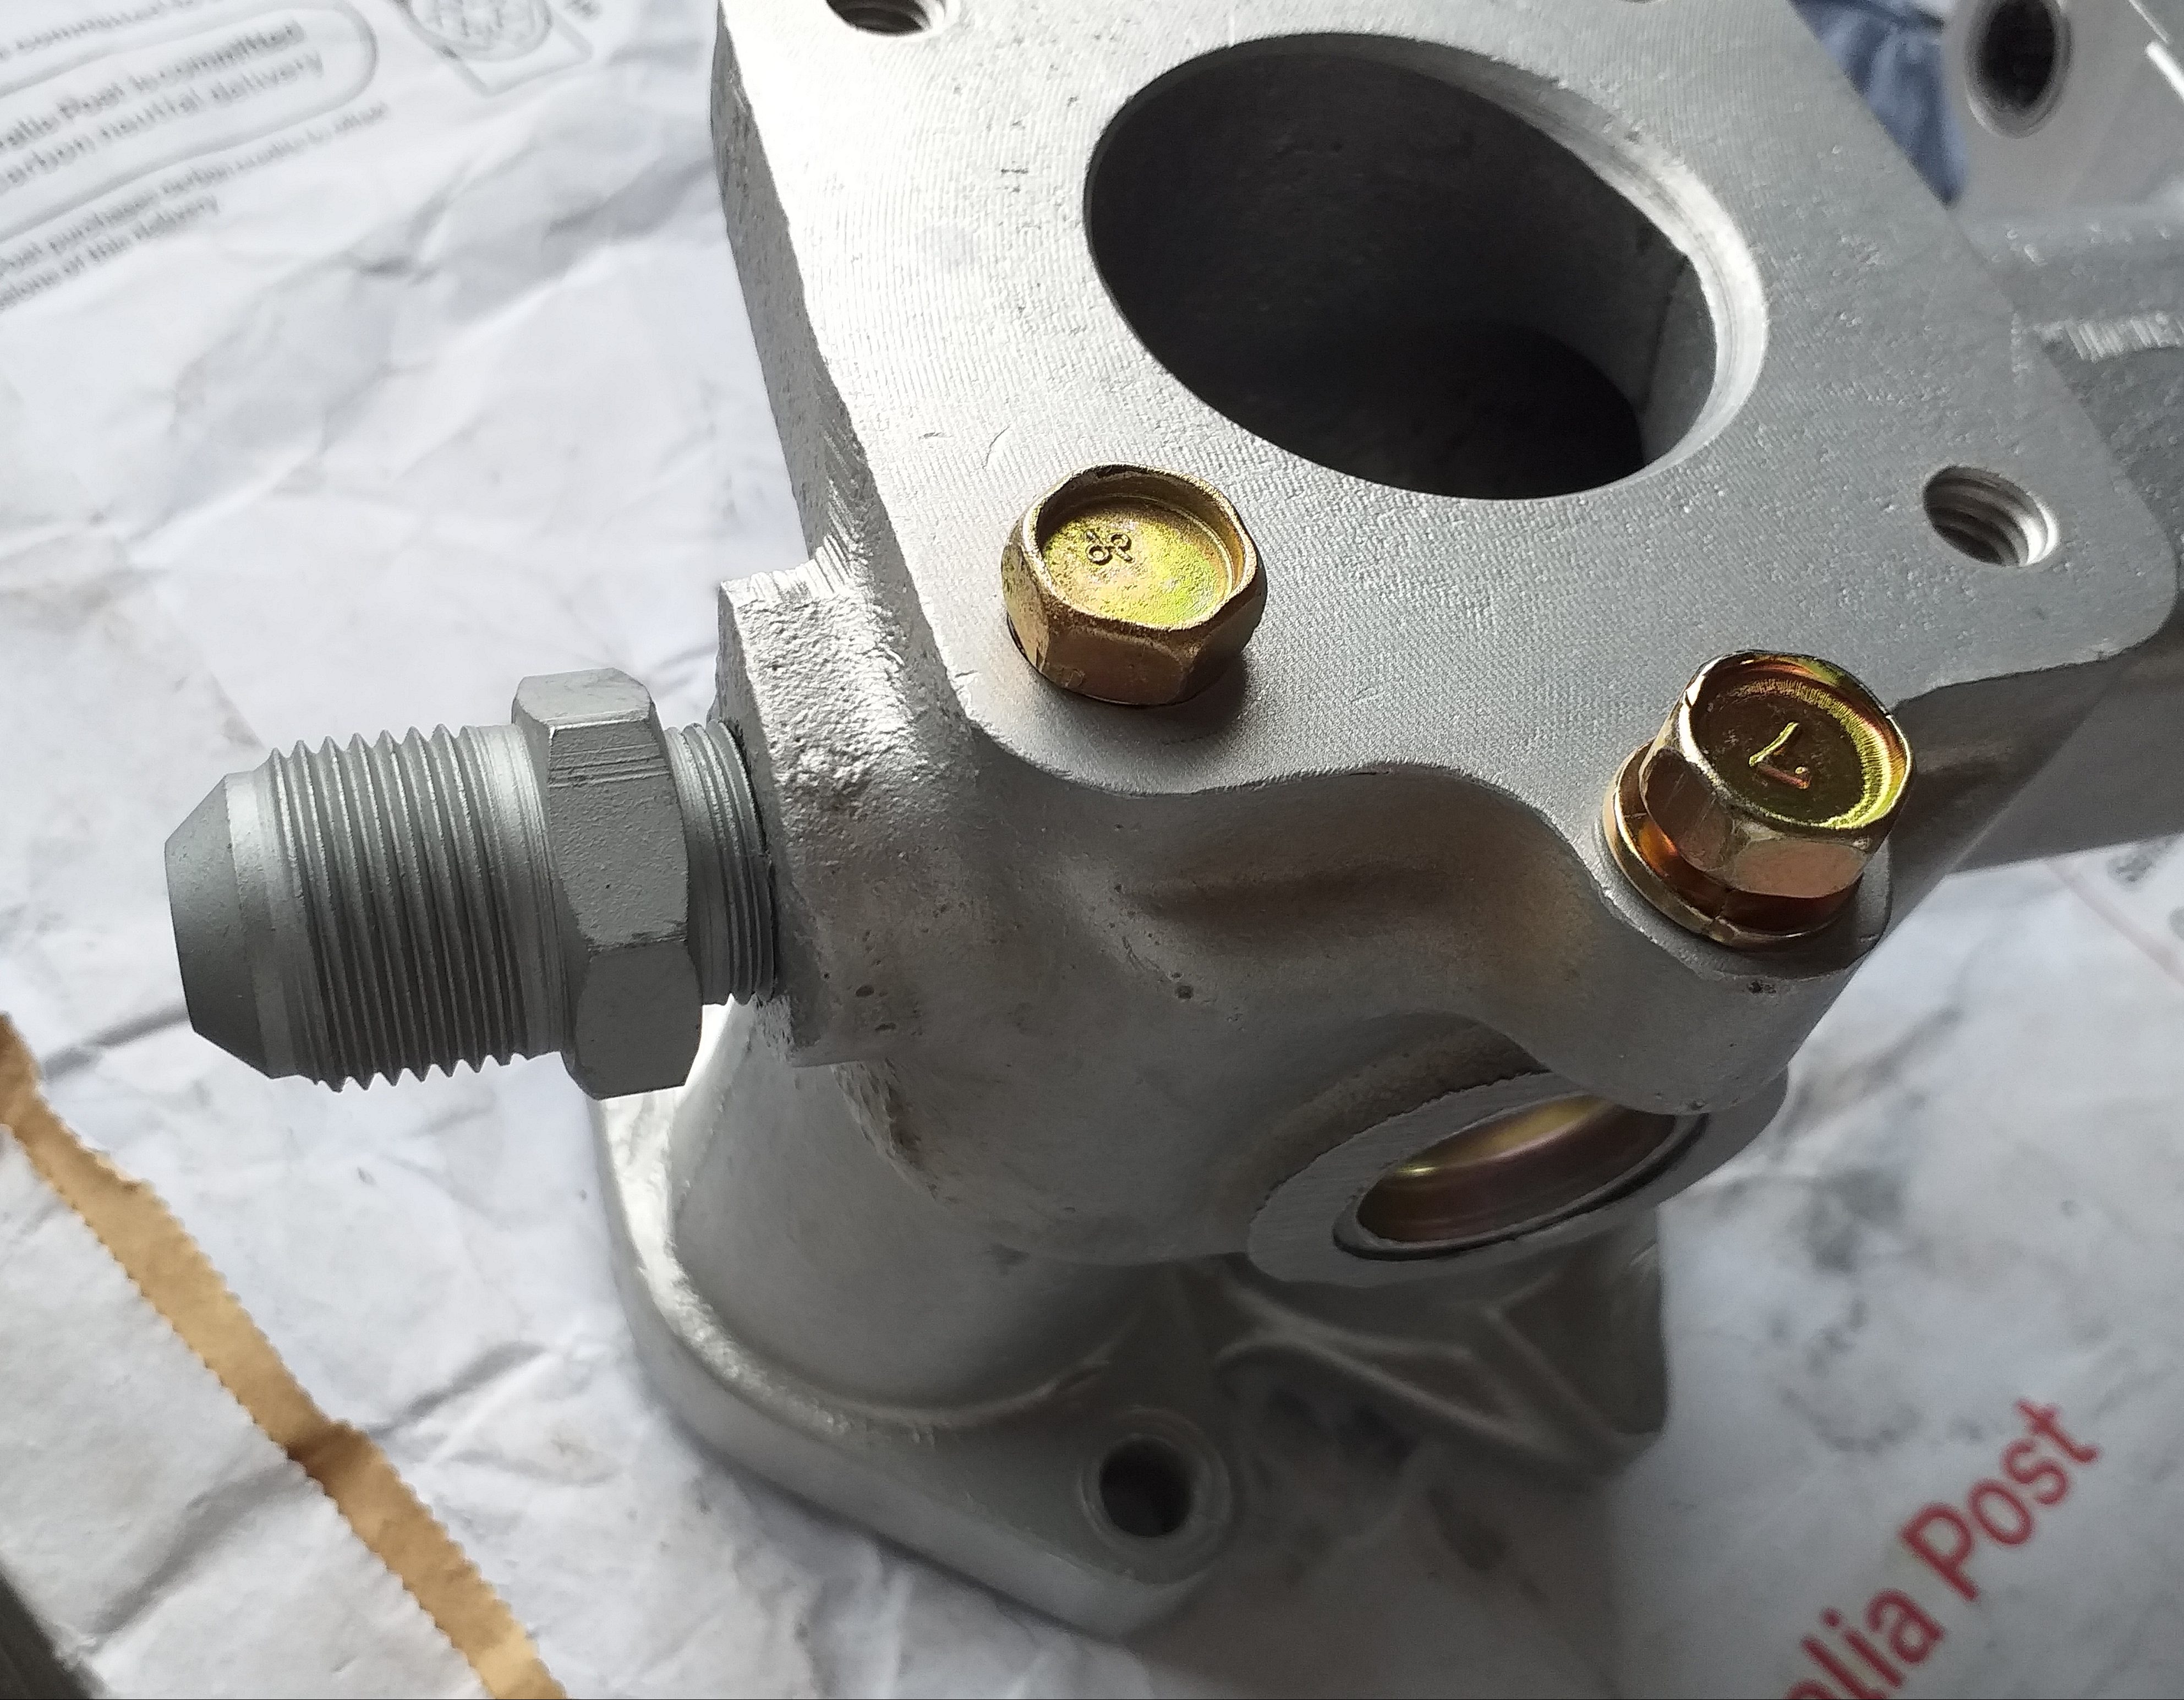
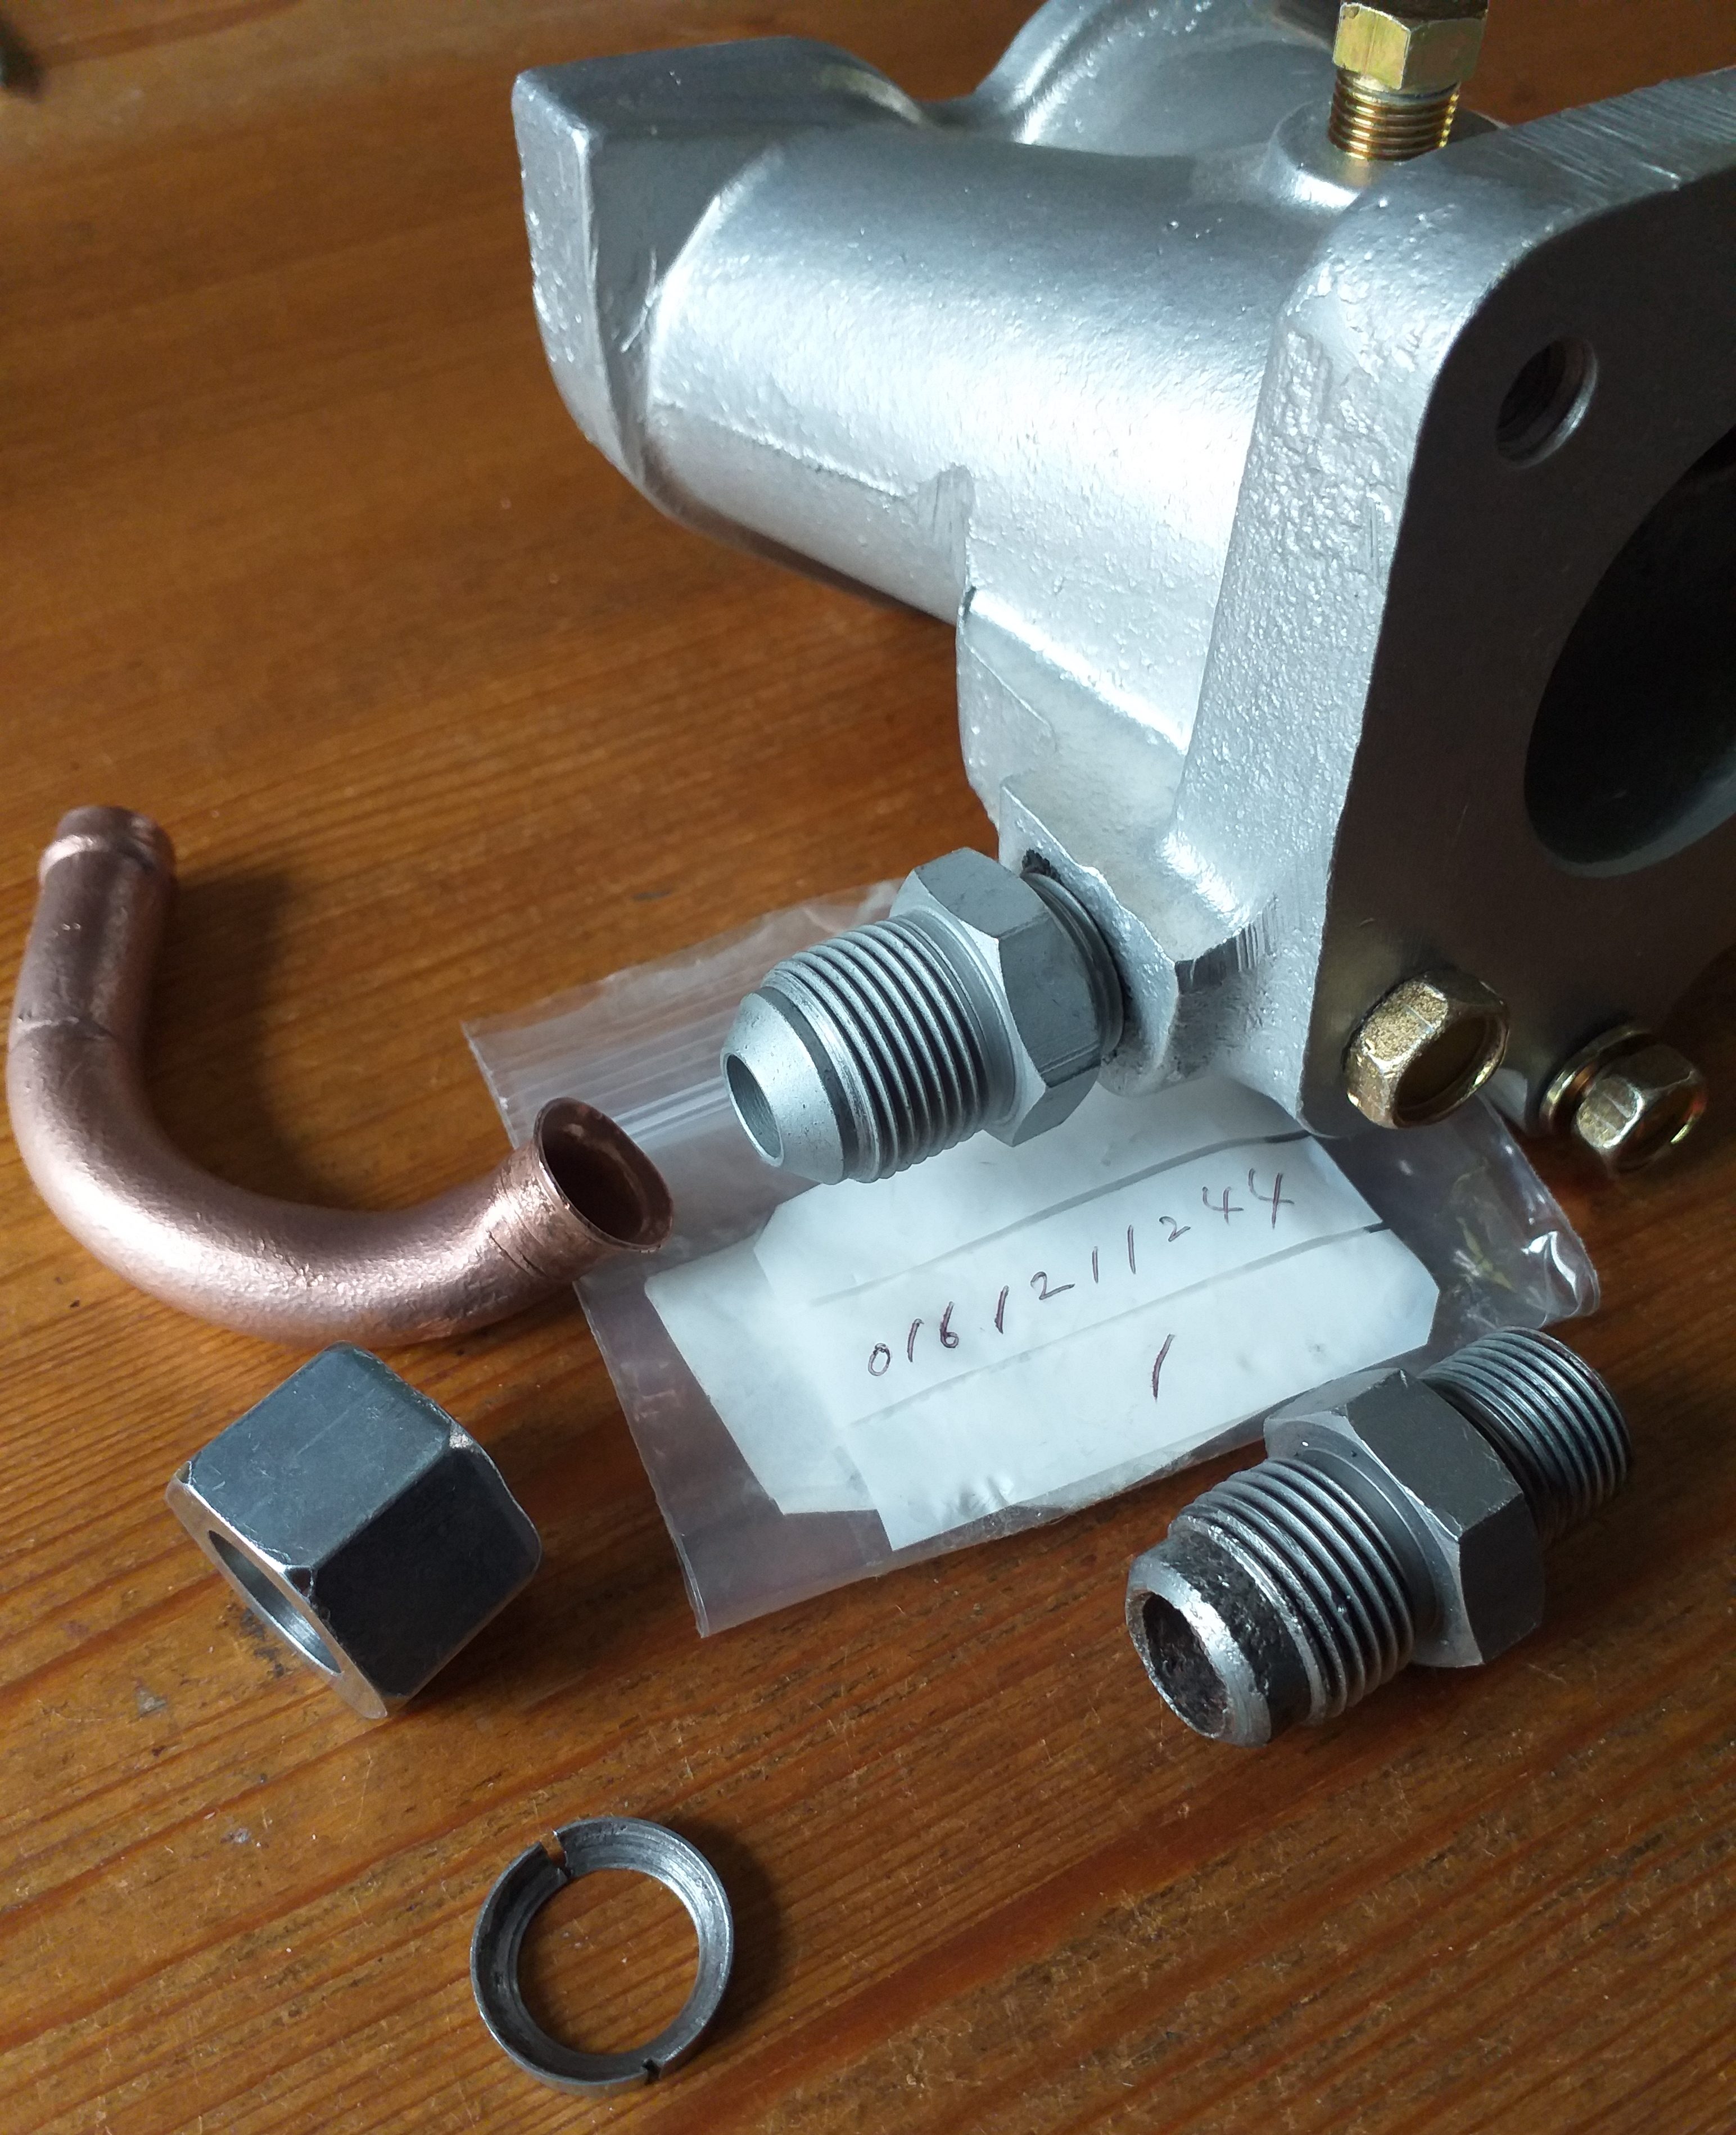
At the other end of the inlet manifold is a coolant connector that joins the water pump. Again, mine was corroded and not good enough to use. The correct fitment into the manifold is not available. But Nissan do a new one which is slightly different (01612-11244). The inlet manifold I am using is a later R16 one, so is partly metric, so the -11244 will fit. But, the other end is M20 rather than the original M19 thread size. I had to find a M20 nut with the right thread pitch (1.25), machine it down a little (too long). The inside of the old nut has a conical shape to match the old fitment, but the new one does not. (It is flat). So, I machined the old but to make a “collet” which will seal better around the copper pipe.
インレット マニホールドのもう一方の端には、ウォーター ポンプに接続する冷却水コネクタがあります。私のものは腐食していて、使用には適していませんでした。マニホールドへの正しい取り付け部品は入手できません。しかし、日産はわずかに異なる新しいもの (01612-11244) を製造しています。私が使用しているインレット マニホールドは後期の R16 のもので、部分的にメートル法なので、-11244 が適合します。ただし、もう一方の端は、元の M19 スレッド サイズではなく、M20 です。適切なスレッド ピッチ (1.25) の M20 ナットを見つけて、少し短く加工する必要がありました (長すぎます)。古いナットの内側は、古い取り付け部品に合わせて円錐形になっていますが、新しいものはそうではありません (平らです)。そのため、古いナットを加工して、銅管の周囲をより密閉する「コレット」を作成しました。
Below image, new manifold fitment attached to manifold (01612-11244) old fitment to right, new nut to left below copper pipe and collet, bottom.
下の画像では、新しいマニホールド フィッティングがマニホールド (01612-11244) に取り付けられています。右側が古いフィッティングです。左側が銅管の下の新しいナットです。コレット、底部。
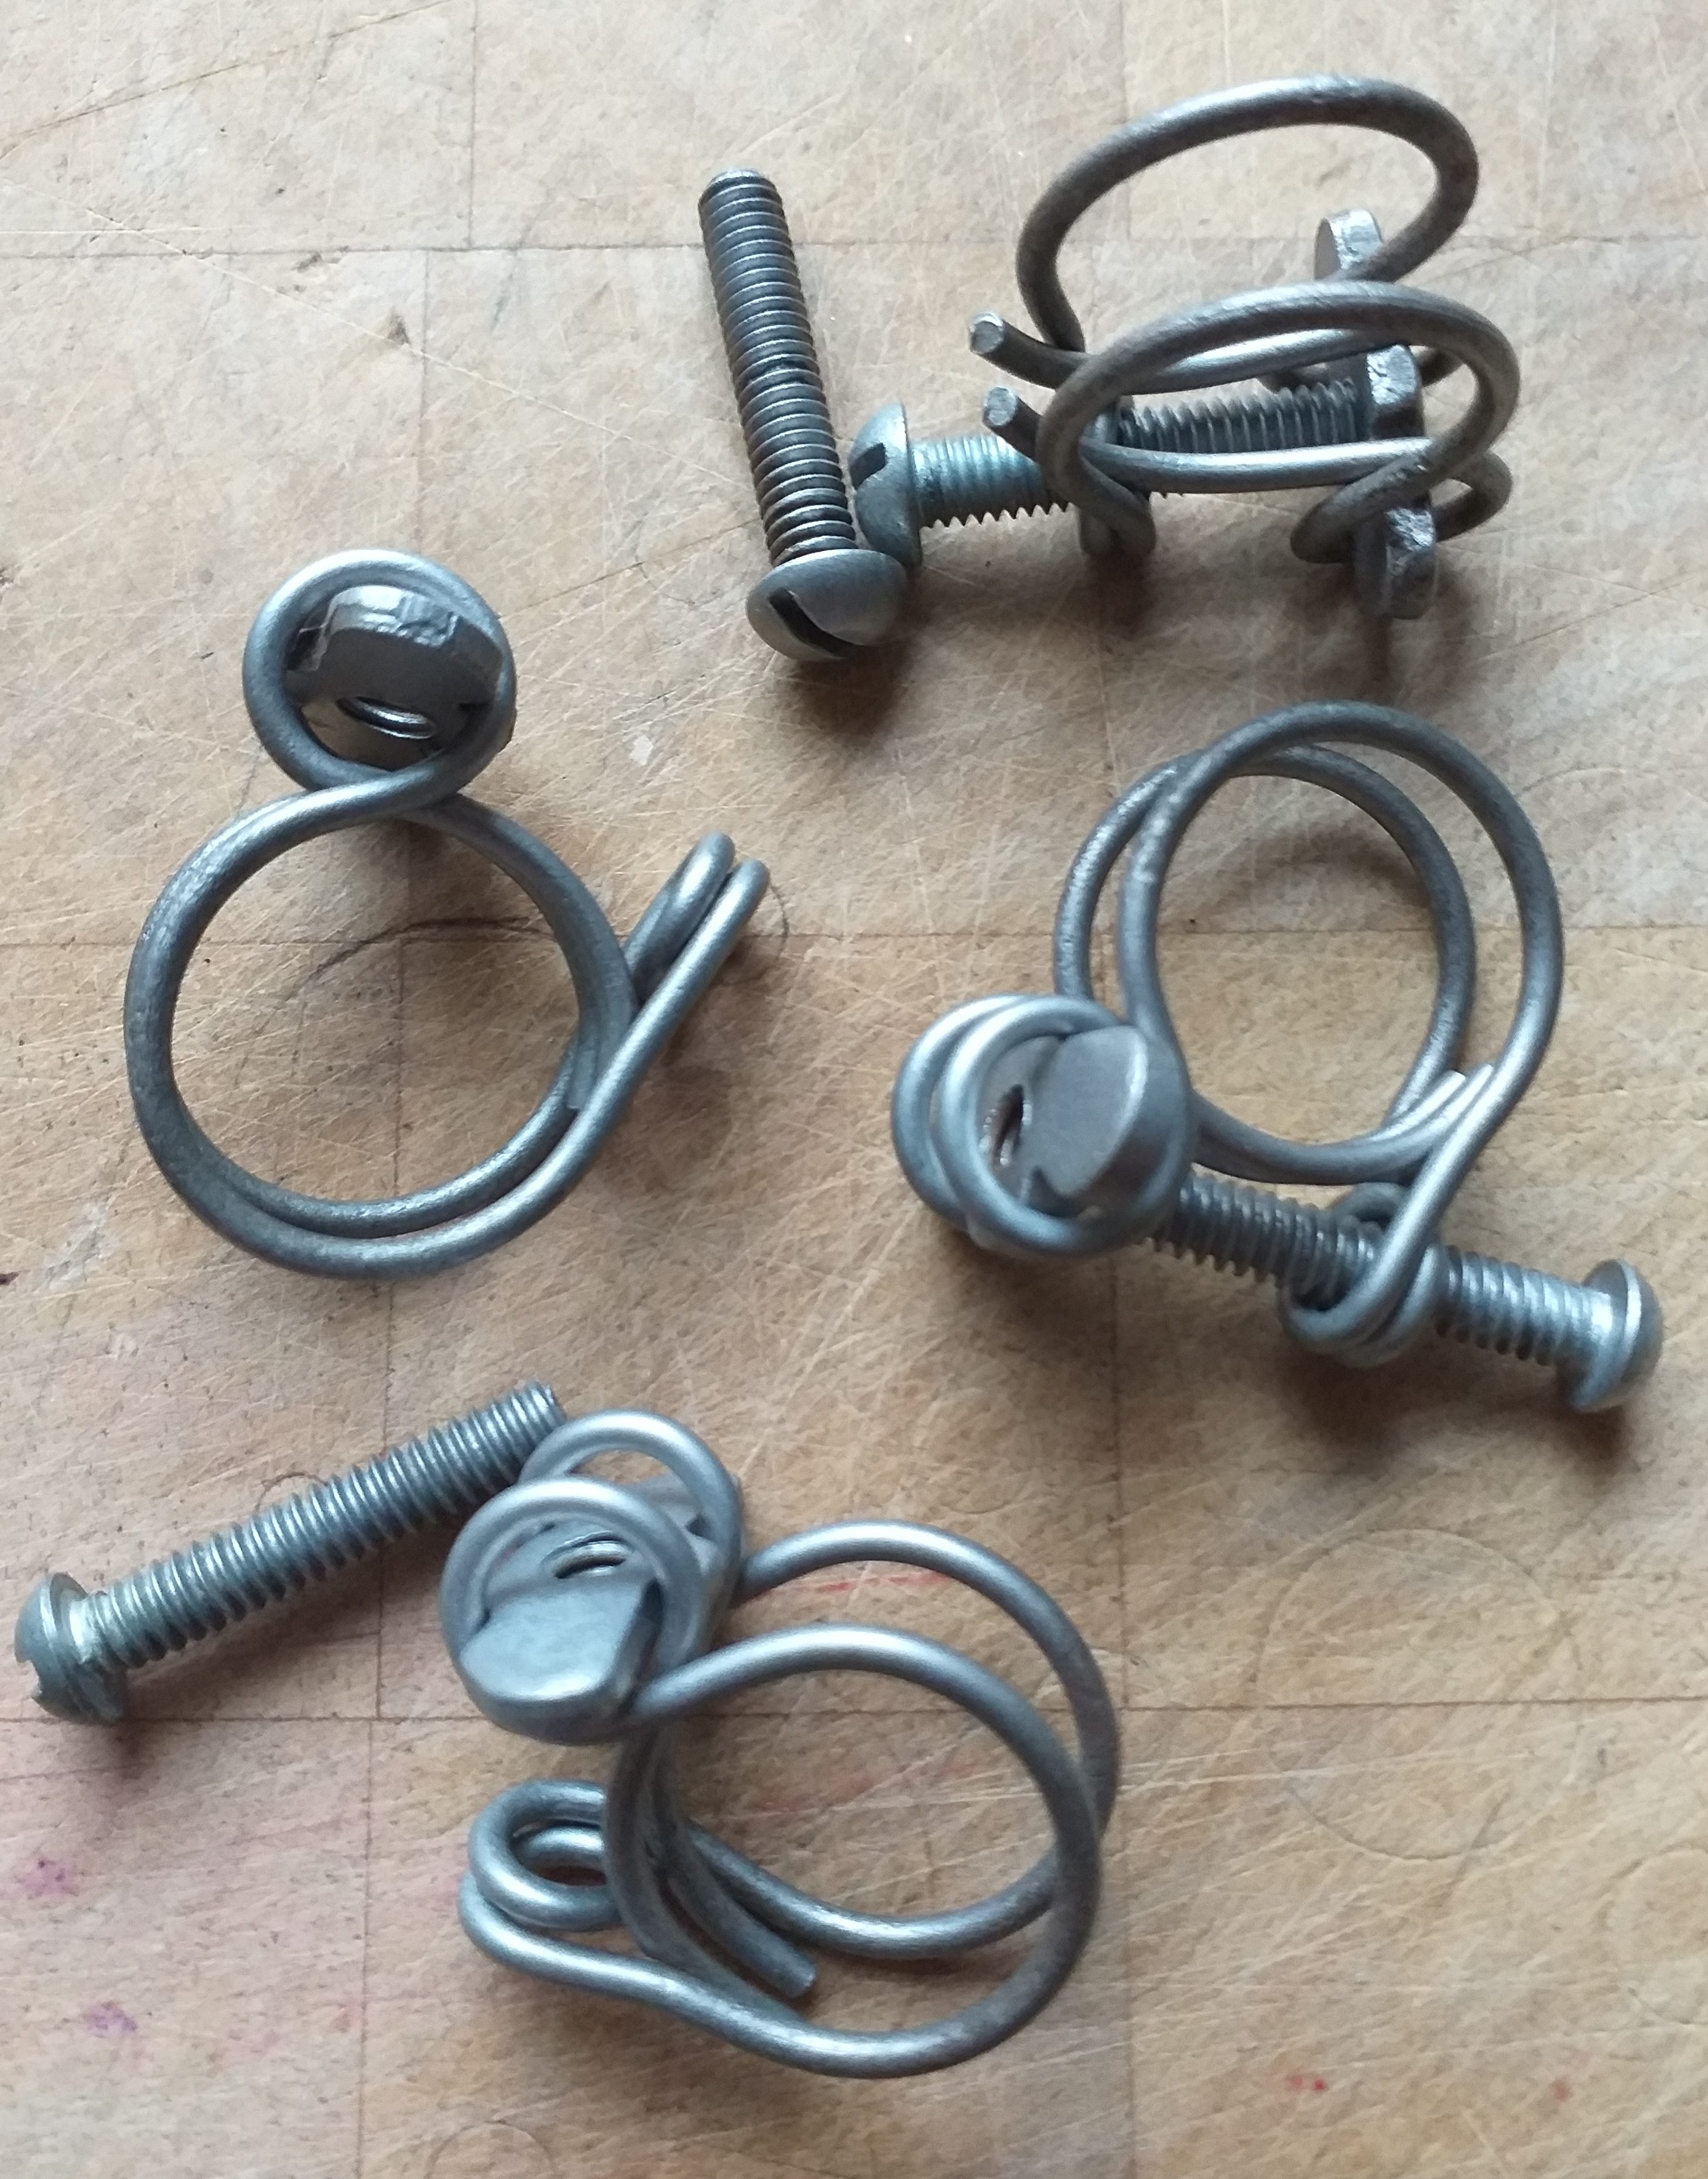
Another small part I would like to get correct as I can, is the original Nissan hose clips for that period. I am unsure what is correct for the CSP311, but if I can find period correct Nissan ones, even if they come from a SP311/SR311/Bluebird 410/411, that will be something. I none are available, the next stage is use originals from the S30. Below, are some that came from a Bluebird 411, they have been blasted.
私ができる限り正確に入手したいもう一つの小さな部品は、その時代のオリジナルの日産ホース クリップです。CSP311 にとって何が正しいのかはわかりませんが、たとえ SP311/SR311/ブルーバード 410/411 のものであっても、年代の正しい日産製を見つけることができれば、それは何かになるでしょう。もし何も入手できない場合は、次の段階では S30 のオリジナルを使用します。以下は、ブルーバード 411 から取り外されたもので、ガラスブラスト加工が施されています。
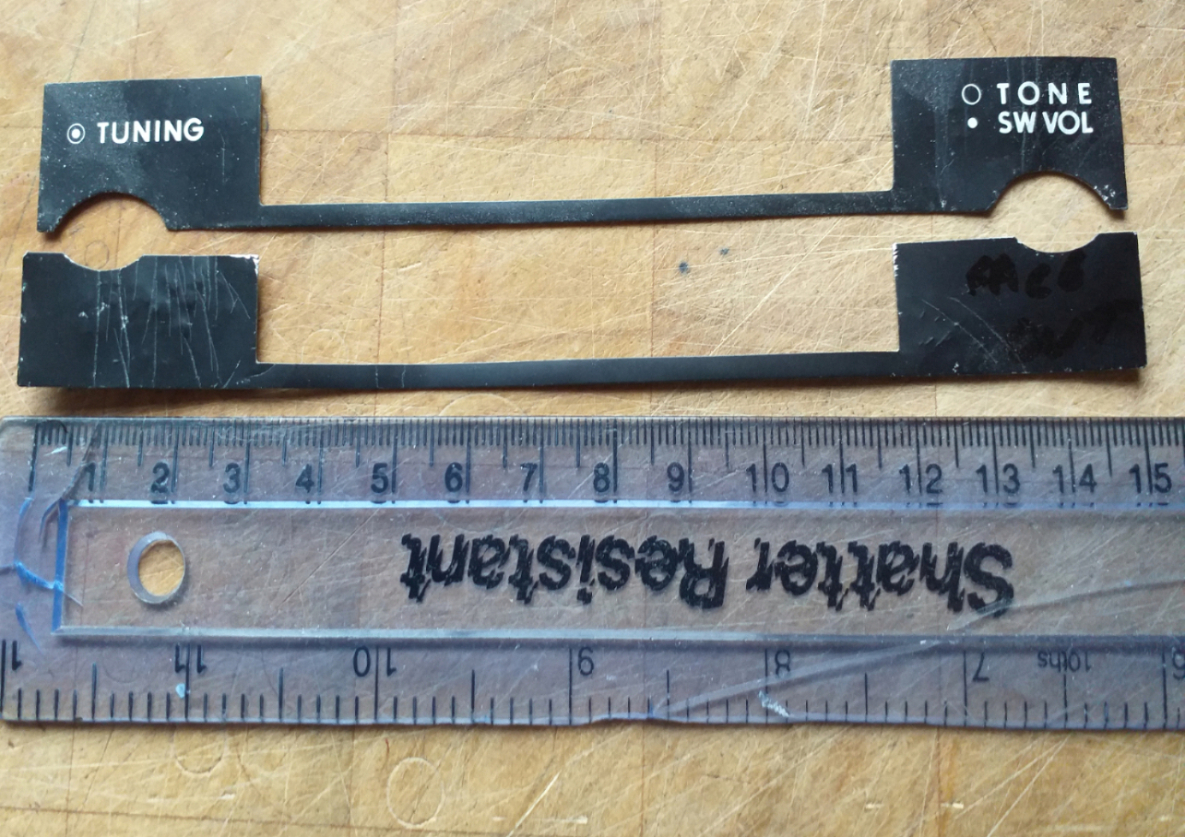
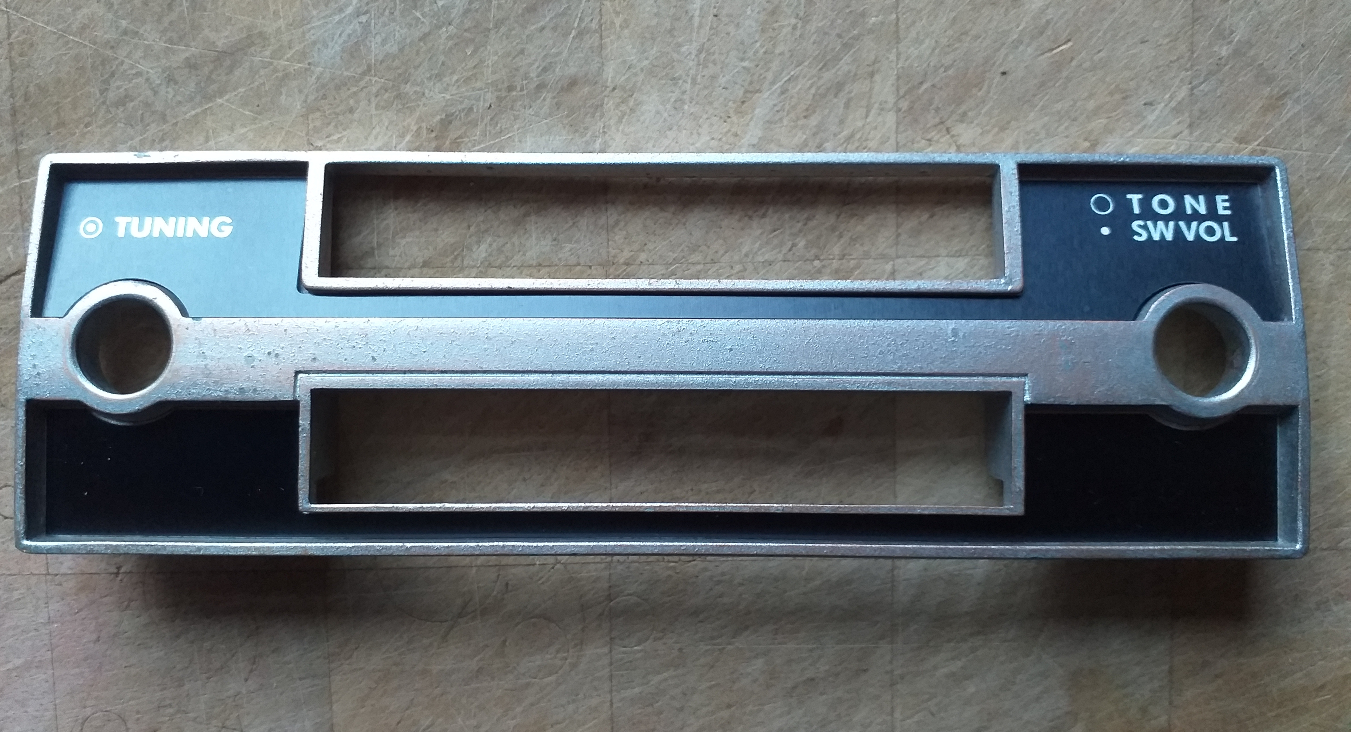
As part of my collection of parts that require a re-chrome, is the correct radio for the CSP311. But to do so, the thin aluminium fascia plates need to be removed. Not easy, and as you see even with as much care as I could, they are a bit too damaged to put back on when the chrome is done (below).
再クロームが必要な部品のコレクションの一部として、CSP311 用の正しいラジオが含まれています。しかし、そのためには薄いアルミ製のフェイシアプレートを取り外す必要があります。これは簡単ではありません。そして、ご覧の通り、どんなに丁寧に作業しても、クロームメッキが終わった後(下の写真)、フェイシアプレートは元に戻すには少し傷みすぎています。
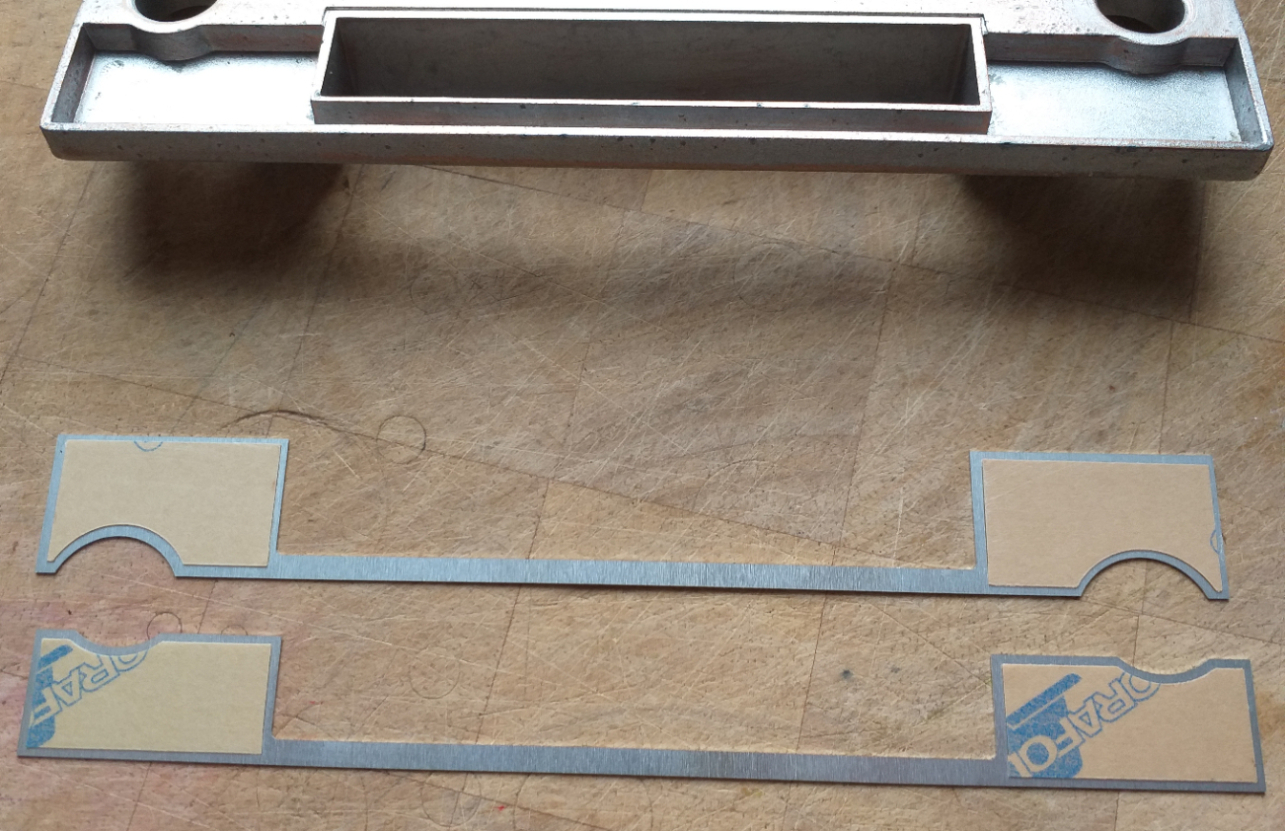
So, I had a pair made by a company who makes these sorts of fascia plates/number tags. UV resistant, and comes with sticky back to put back on. A great job. I have a couple sets spare, as it was not worth the work to do just 1 pair, see the for sale page.
そこで、こういうフェイシアプレートやナンバータグを作っている会社に頼んで作ってもらいました。耐紫外線性があり、裏面に粘着剤が付いているので貼り直しが可能です。素晴らしい出来栄えです。1 ペアだけでは作業の価値がなかったので、予備の 2 セットを持っています。販売ページを参照してください。

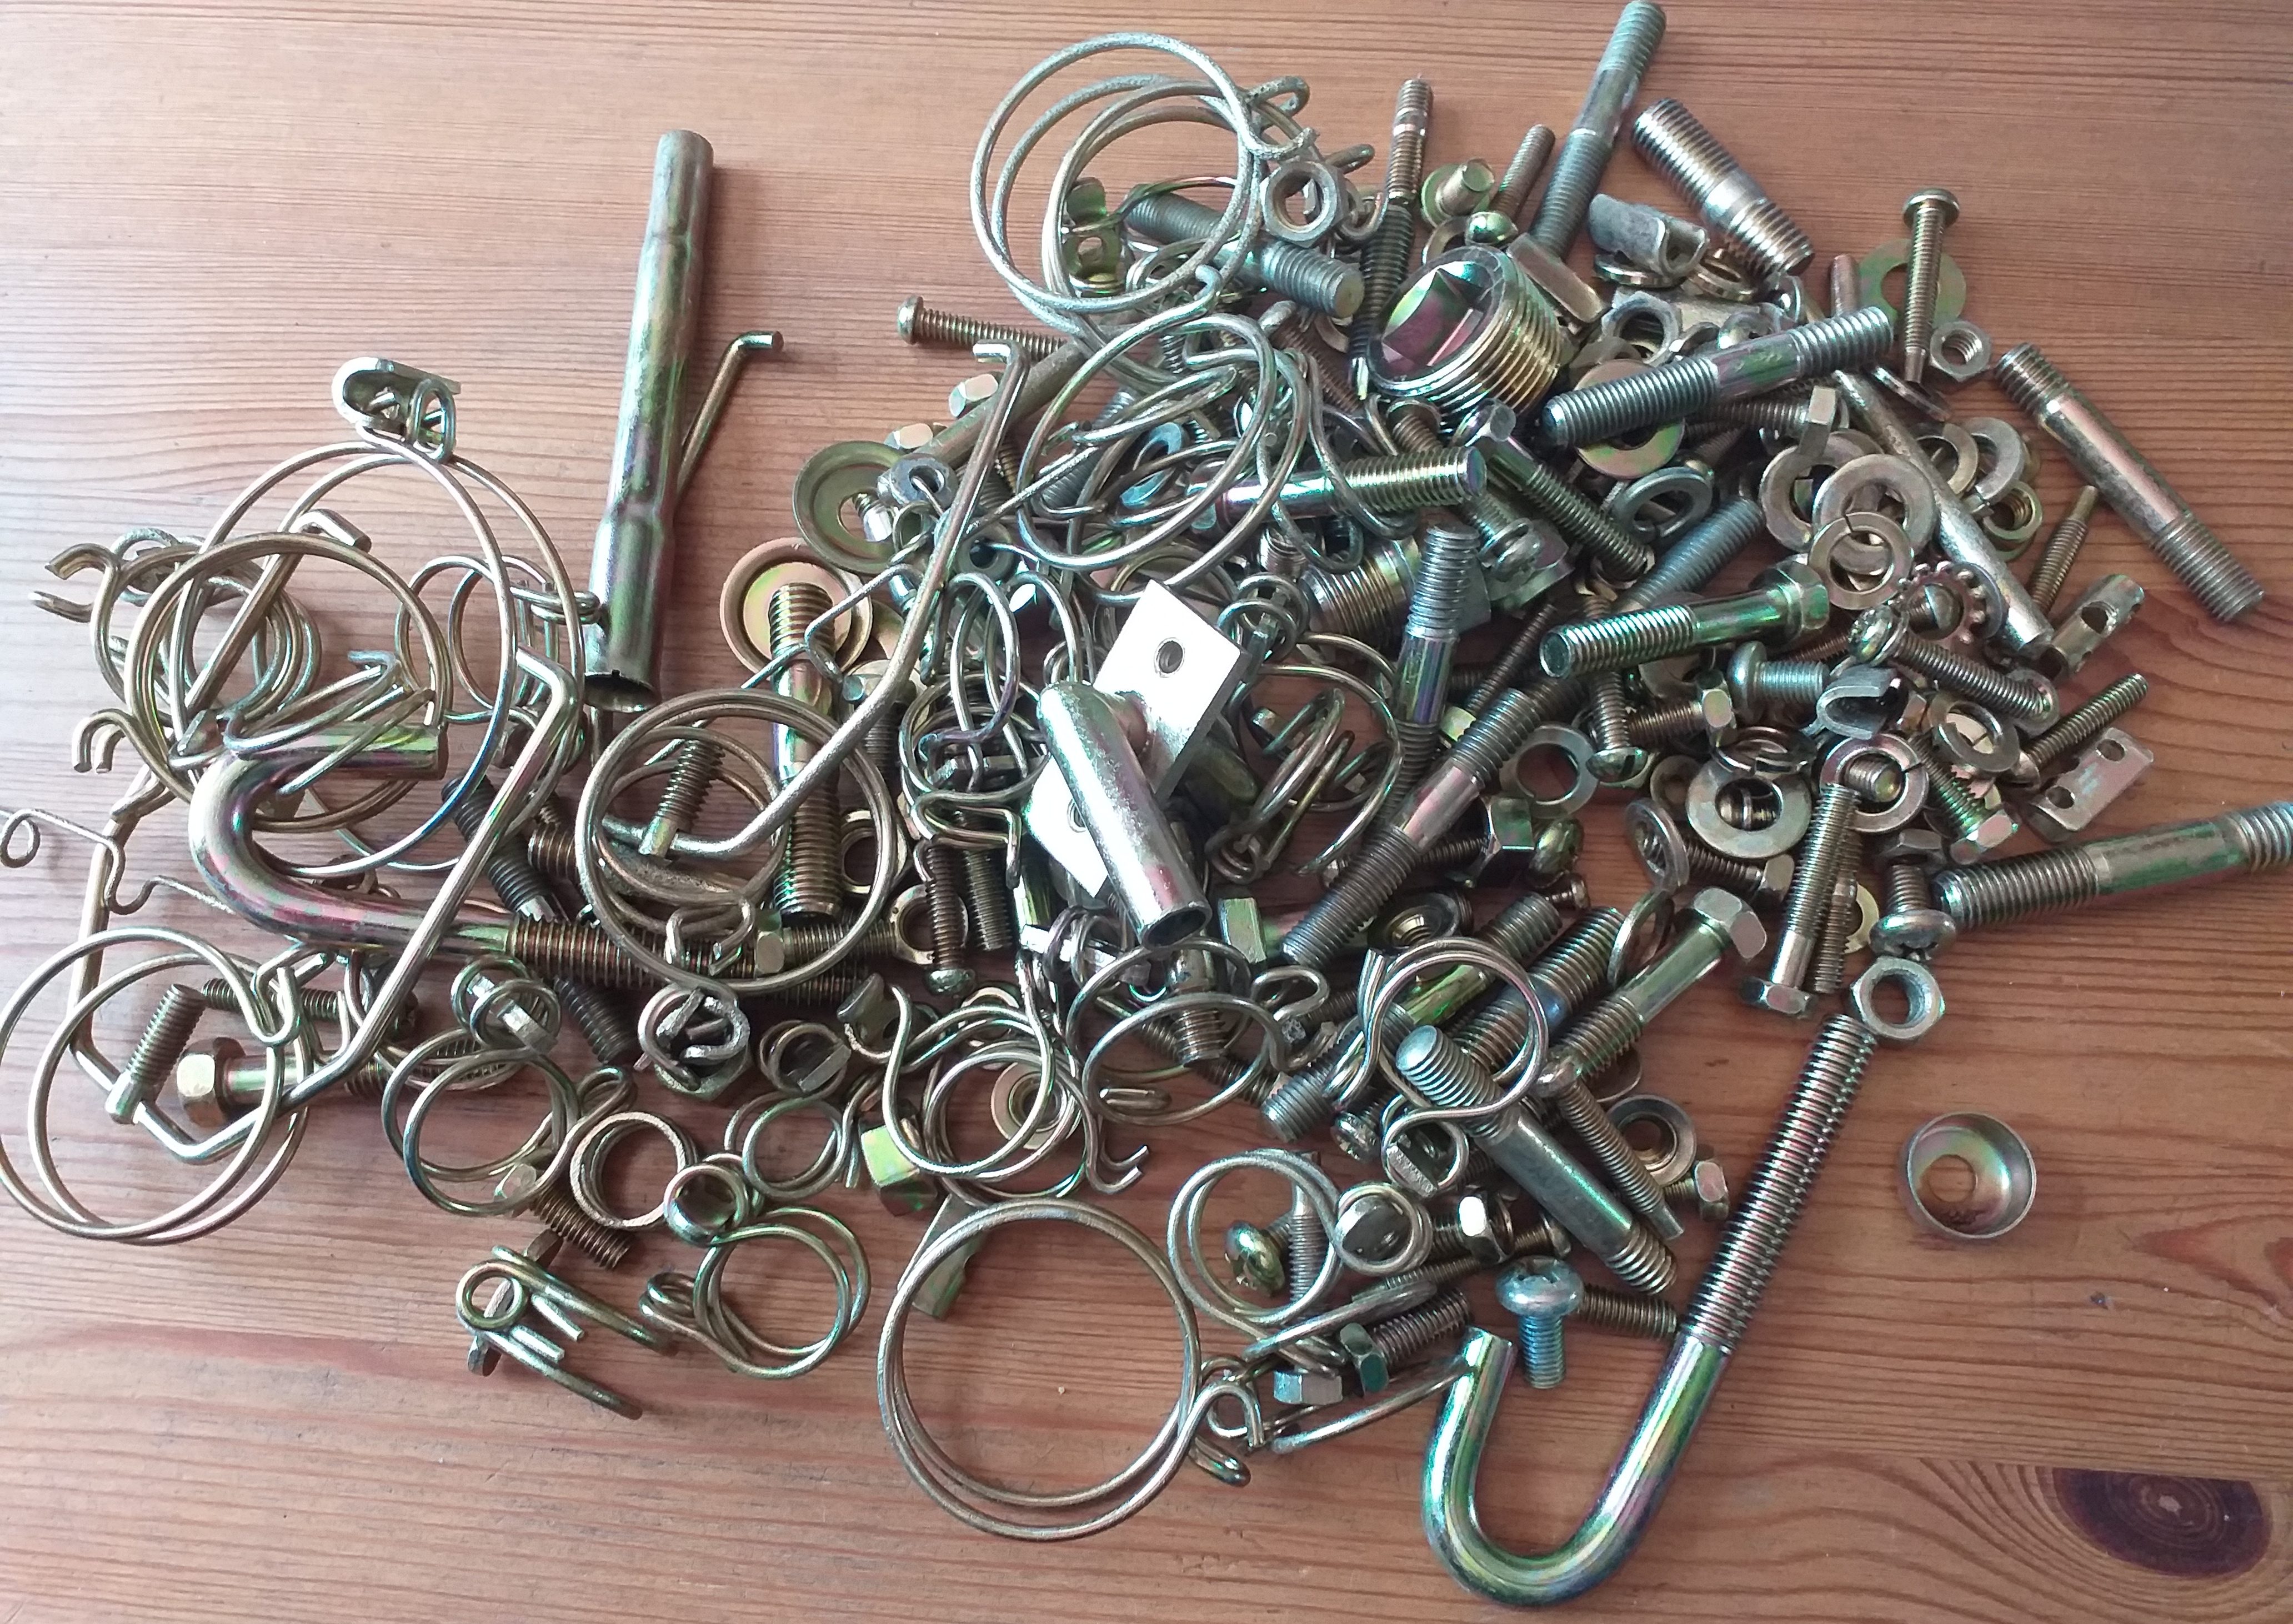
Another batch of yellow zinc parts finished.
黄色の亜鉛部品の別のバッチが完成しました。
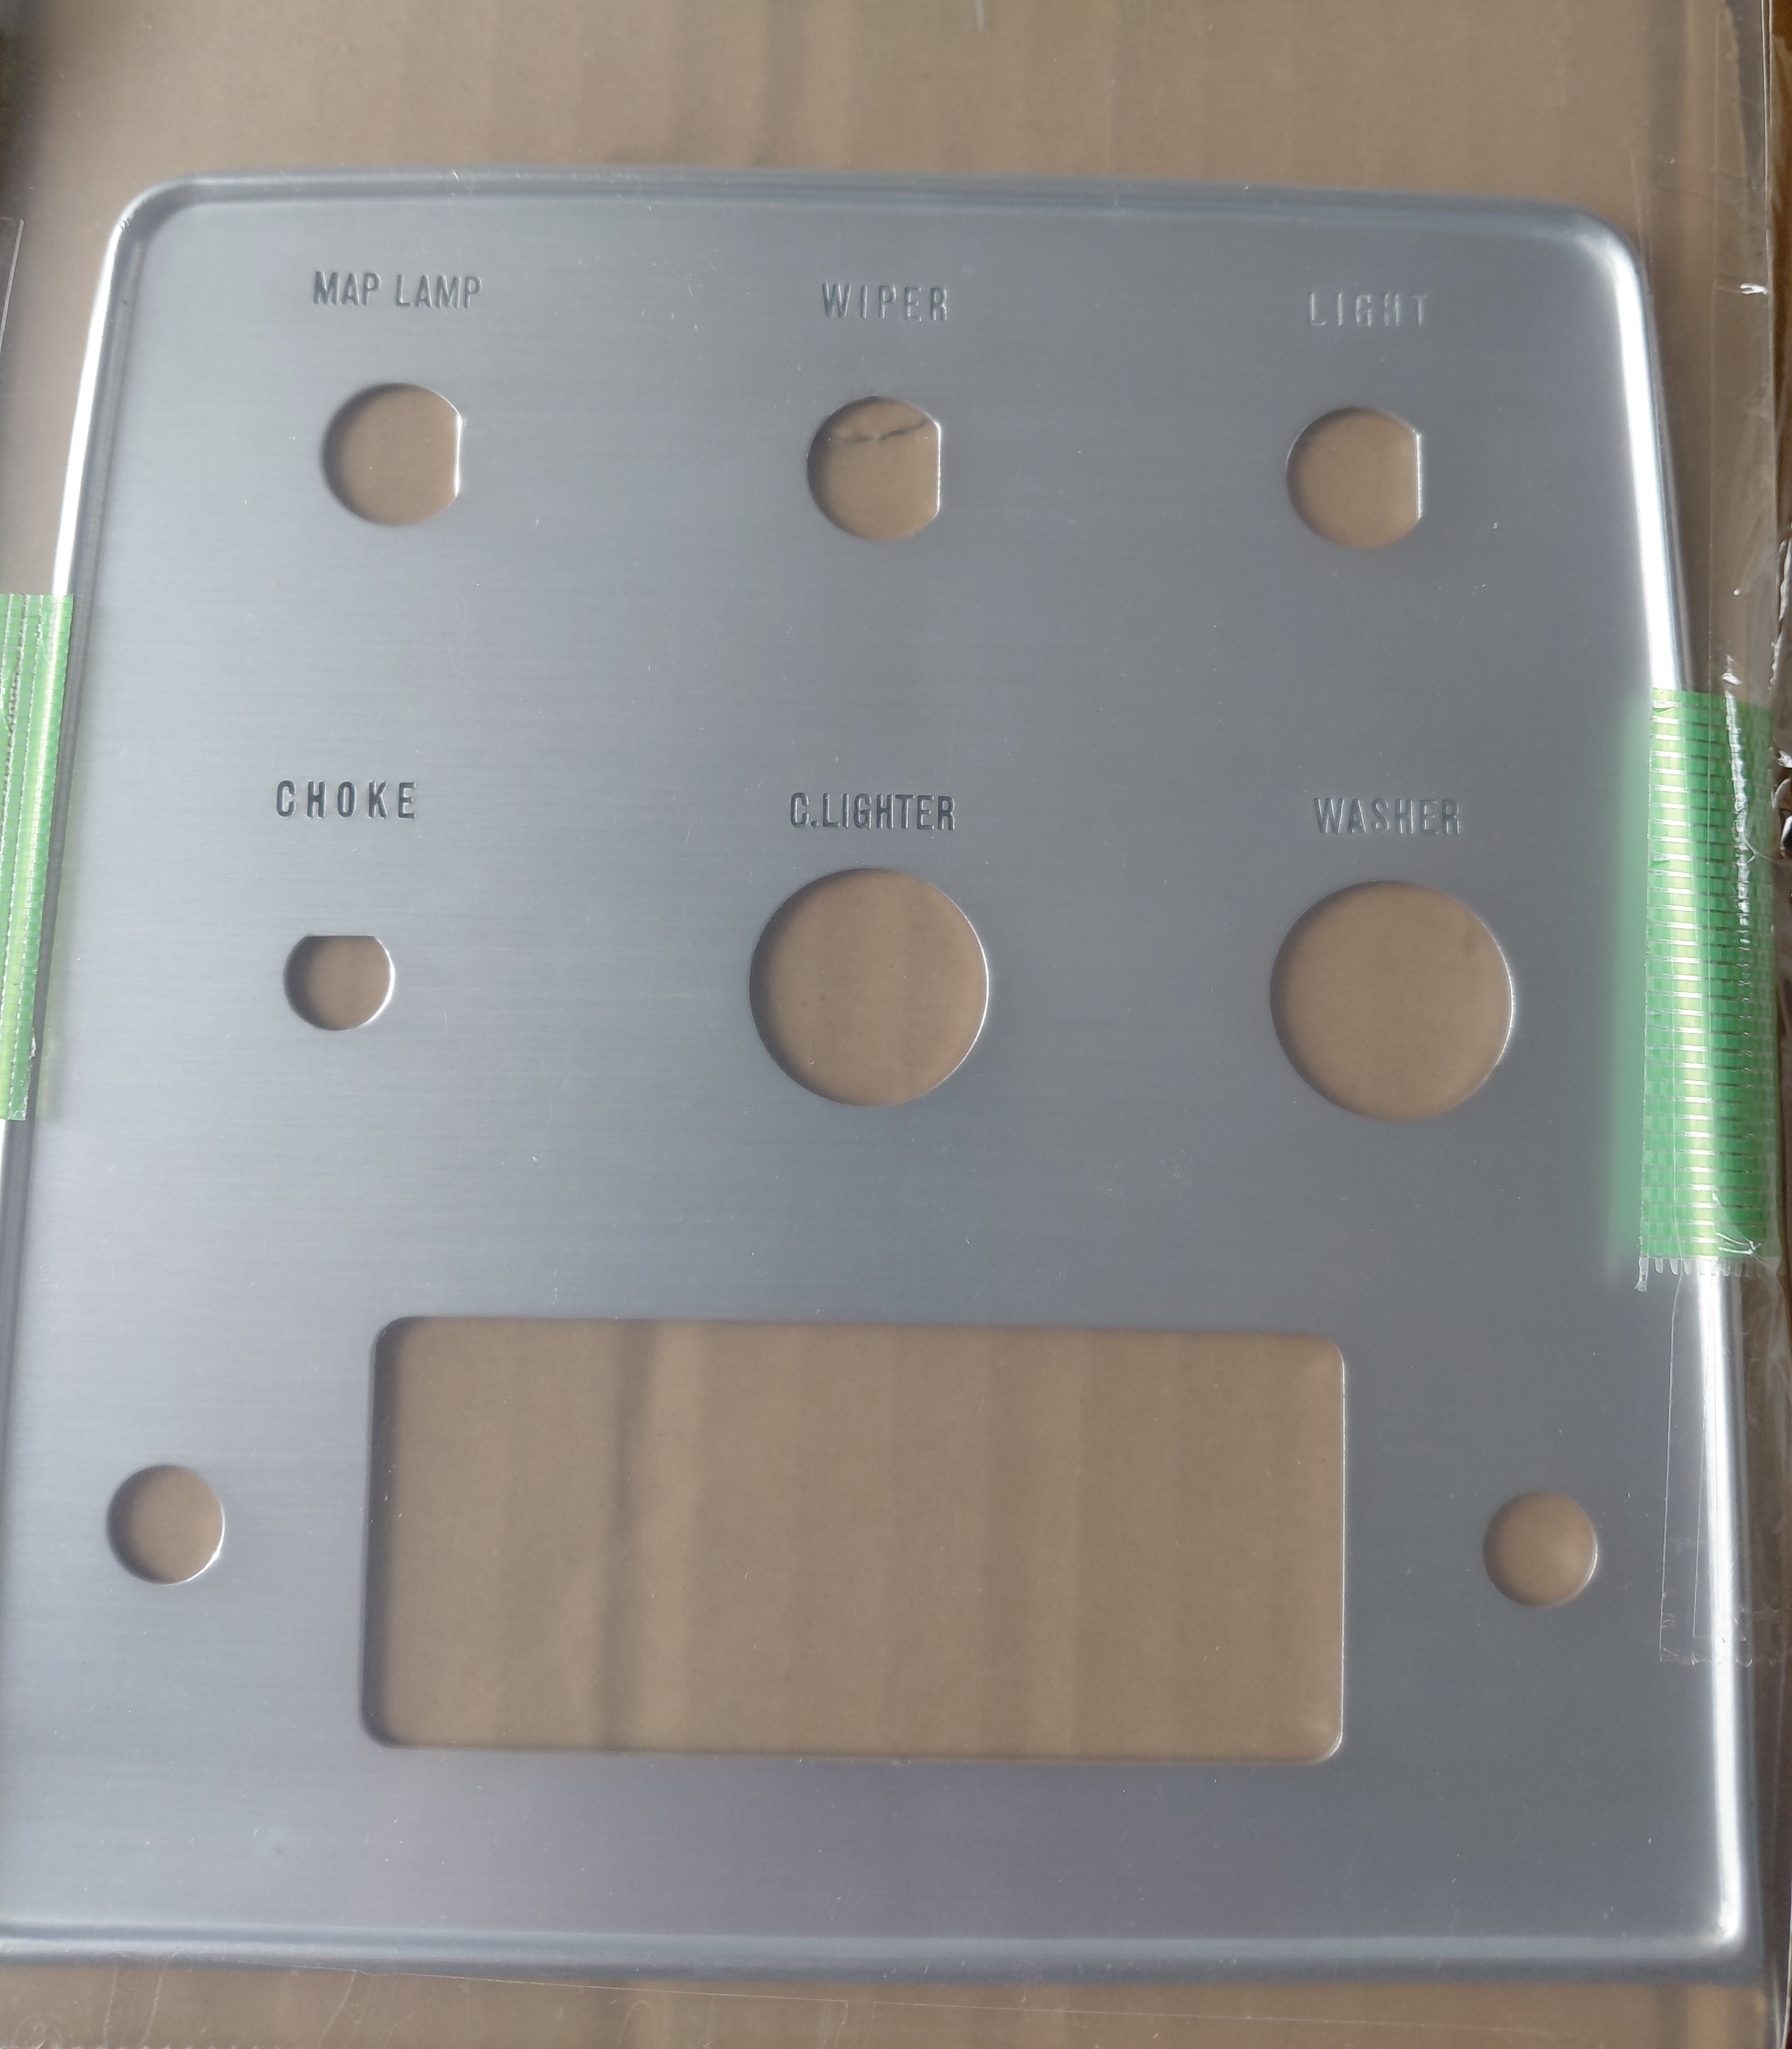
New old stock centre console fascia plate. Very nice. My fascia plate is in good condition, but if I can get hold of parts when I can, I will.
新古在庫のセンター コンソール フェイシア プレート。とても素敵です。私のフェイシアプレートは良い状態ですが、部品が手に入るようであればそうするつもりです。
Another long term small project is making new body to chassis clips. Somewhere back in the blog, there is some early work. But this, and other work has been held up by not being able to find a welder who wants to do my work, or the way I want it done. I have at last found someone fairly local. The work is excellent.
もう一つの長期的な小さなプロジェクトは、ボディとシャーシをつなぐ新しいクリップを作ることです。以前のブログのどこかに、初期の作業の様子が載っています。しかし、この作業も他の作業も、私の作業を、あるいは私の希望通りに仕上げてくれる溶接工が見つからず、滞っていました。ようやく地元で溶接工を見つけました。作品は素晴らしいです。
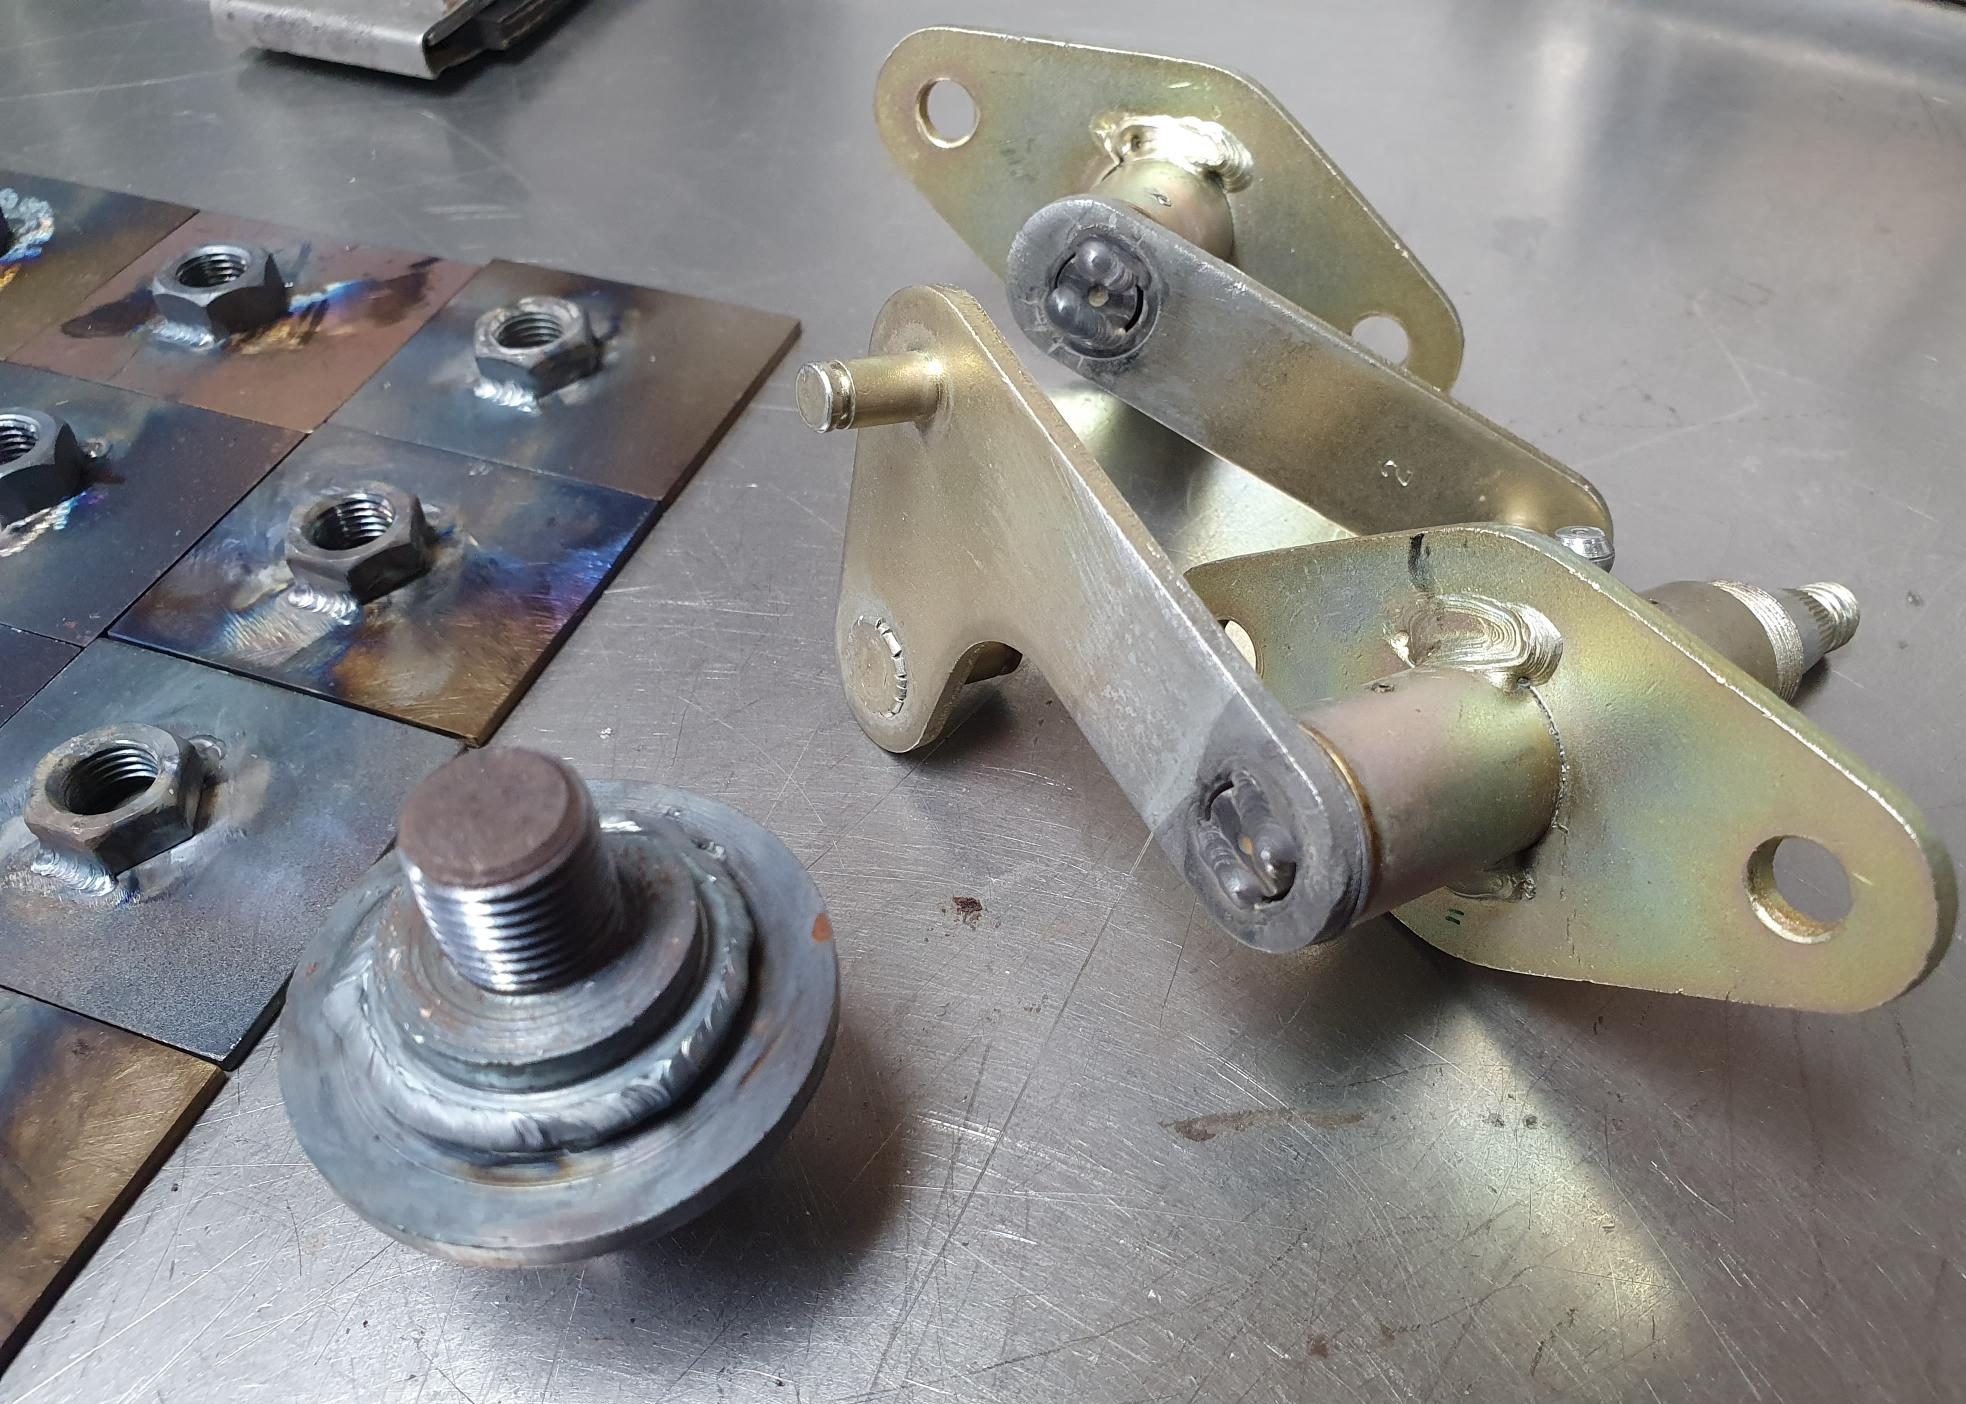
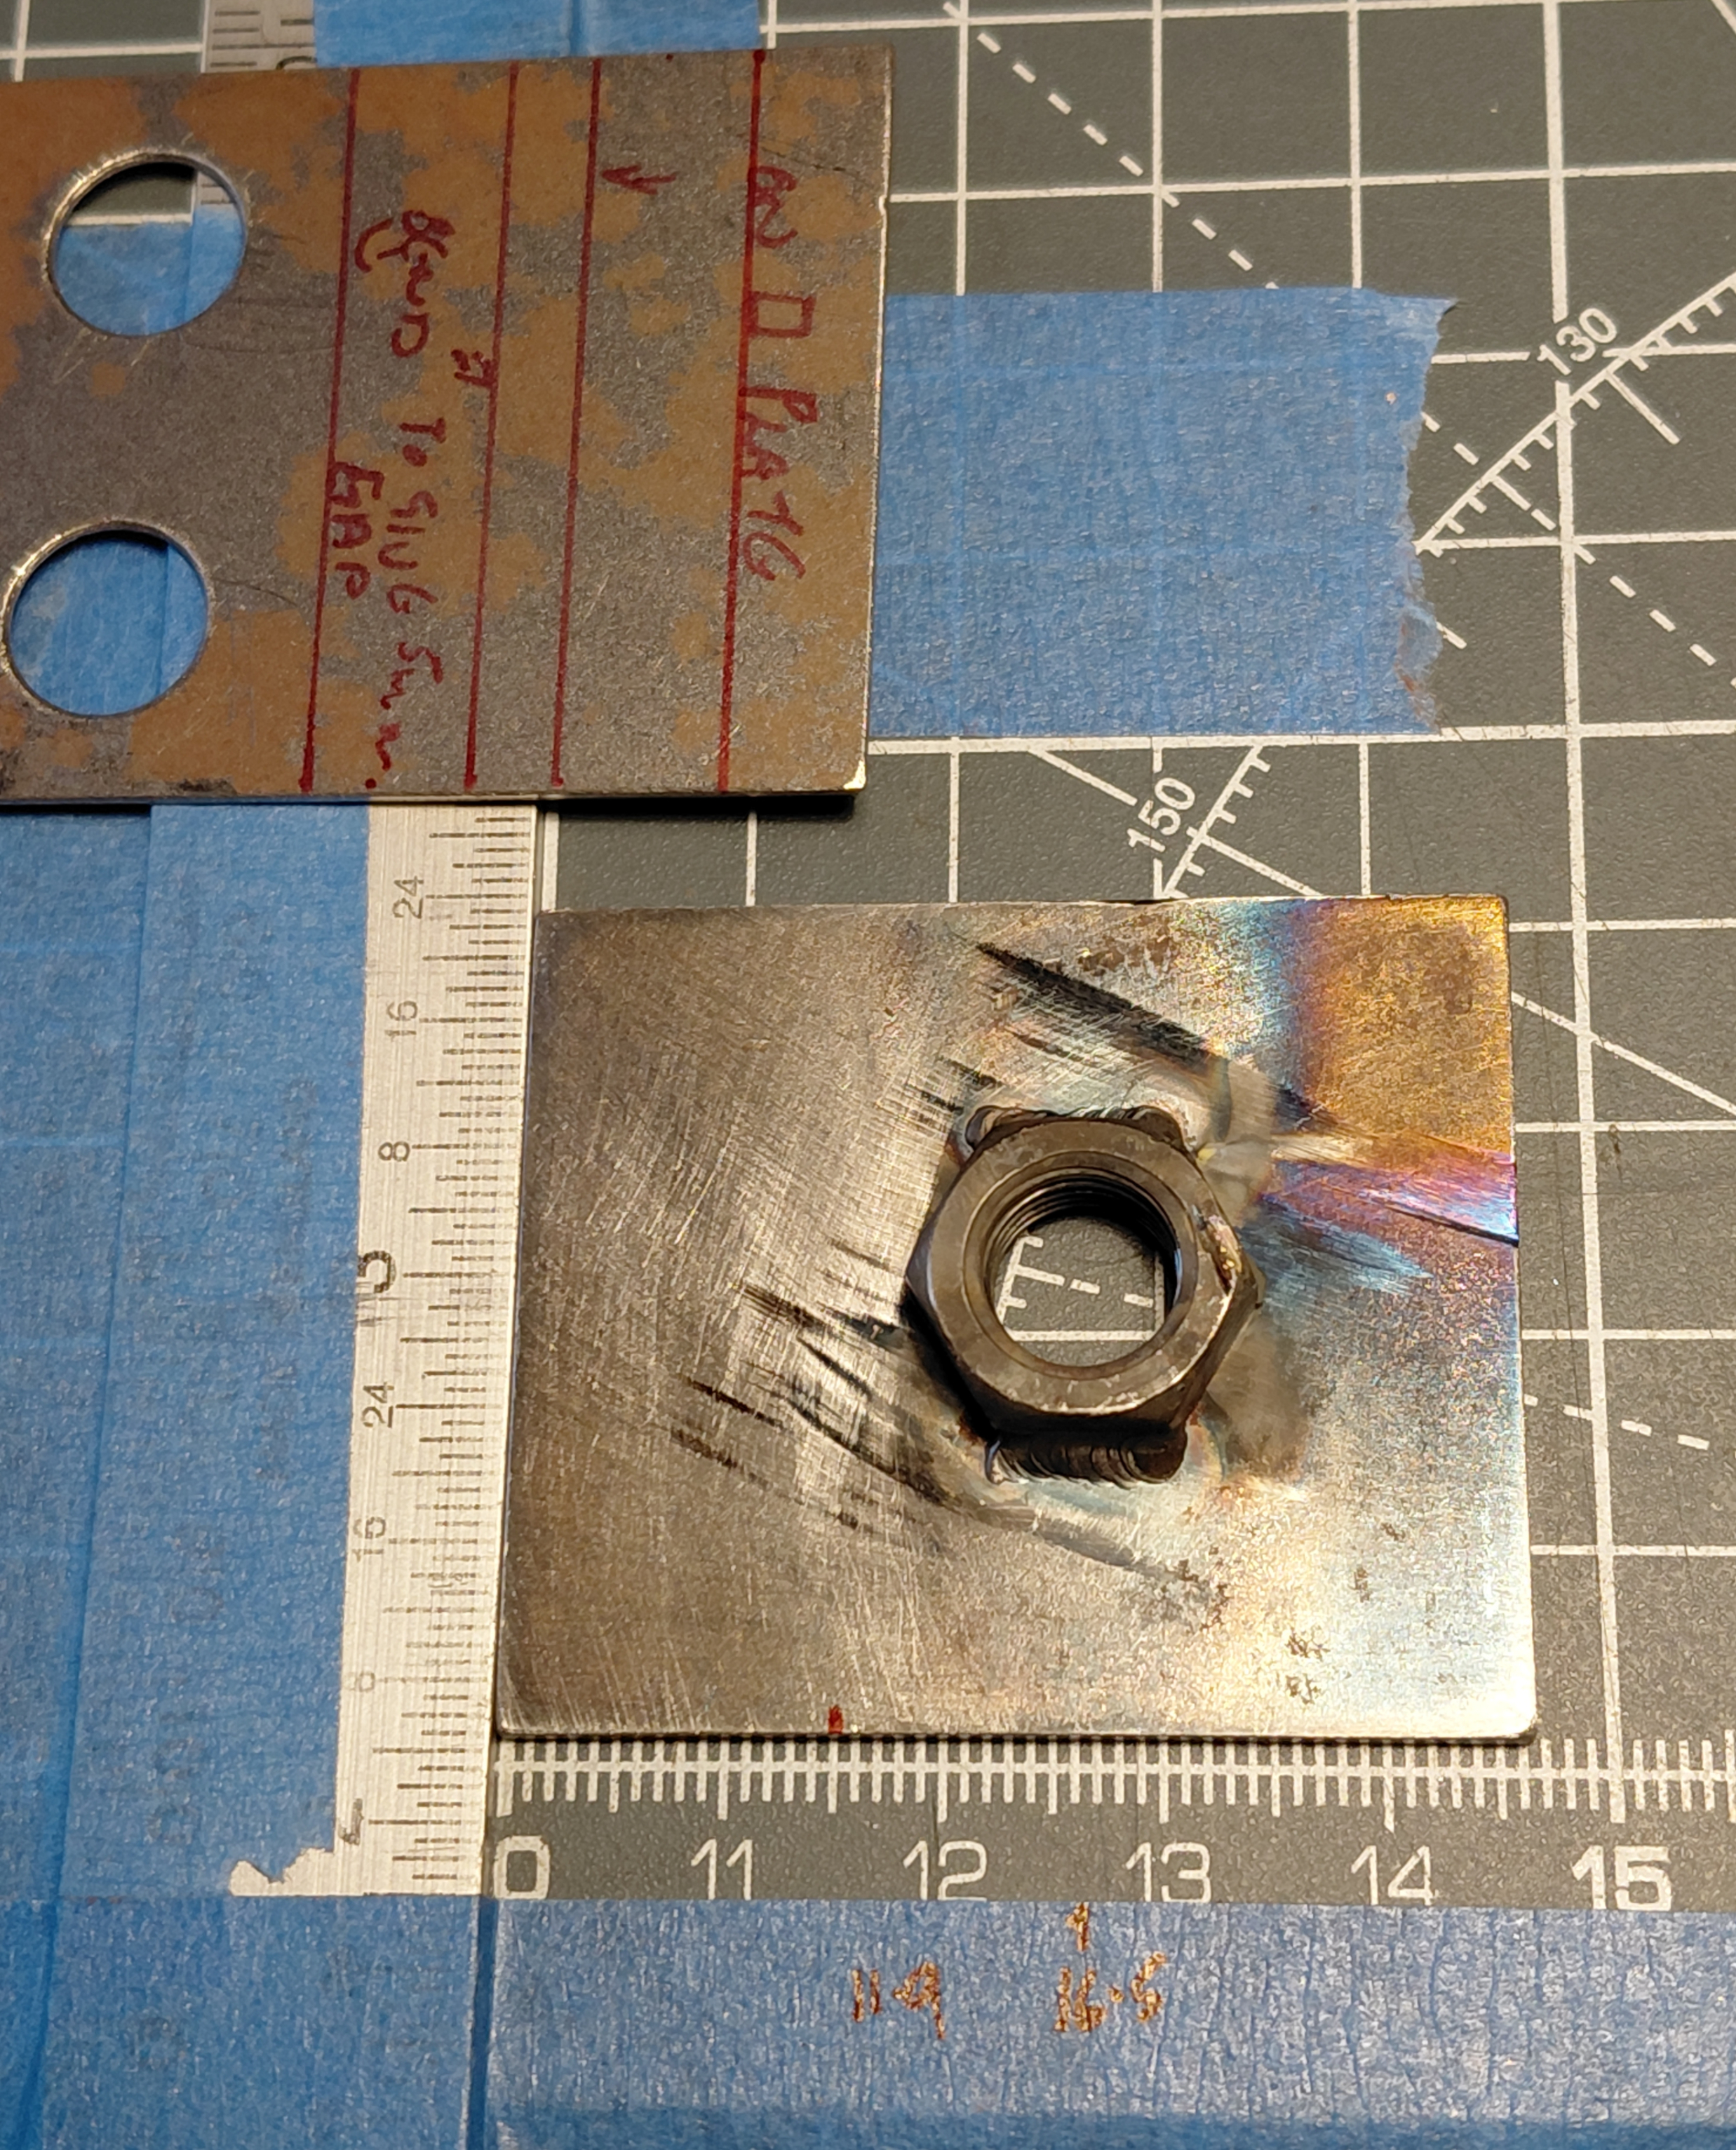
The photo below shows part of the chassis clip with a nut welded to a small plate. Also in the picture is the windscreen wiper pivots, which I worked on (see previous blog post) and both needed a small weld to finish. And the drivers seat pivot was worn, so a bead of weld was added, so I can machine to size.
下の写真は、小さなプレートにナットが溶接されたシャーシクリップの一部です。また、写真には私が作業したワイパーピボットも写っています(以前のブログ記事参照)。どちらも仕上げに小さな溶接が必要でした。運転席のピボットが摩耗していたため、サイズに合わせて機械加工できるように溶接ビードを追加しました。

Next, marking out these plates, and the other needed, to indicate where to drill for plug welding and folding.
次に、プラグの溶接と折り曲げのために穴を開ける必要がある場所を示すために、これらのプレートとその他の必要なプレートに印を付けます。
Masked up to spray with zinc weld through primer.
亜鉛溶接用プライマーをスプレーするためにマスクします。

